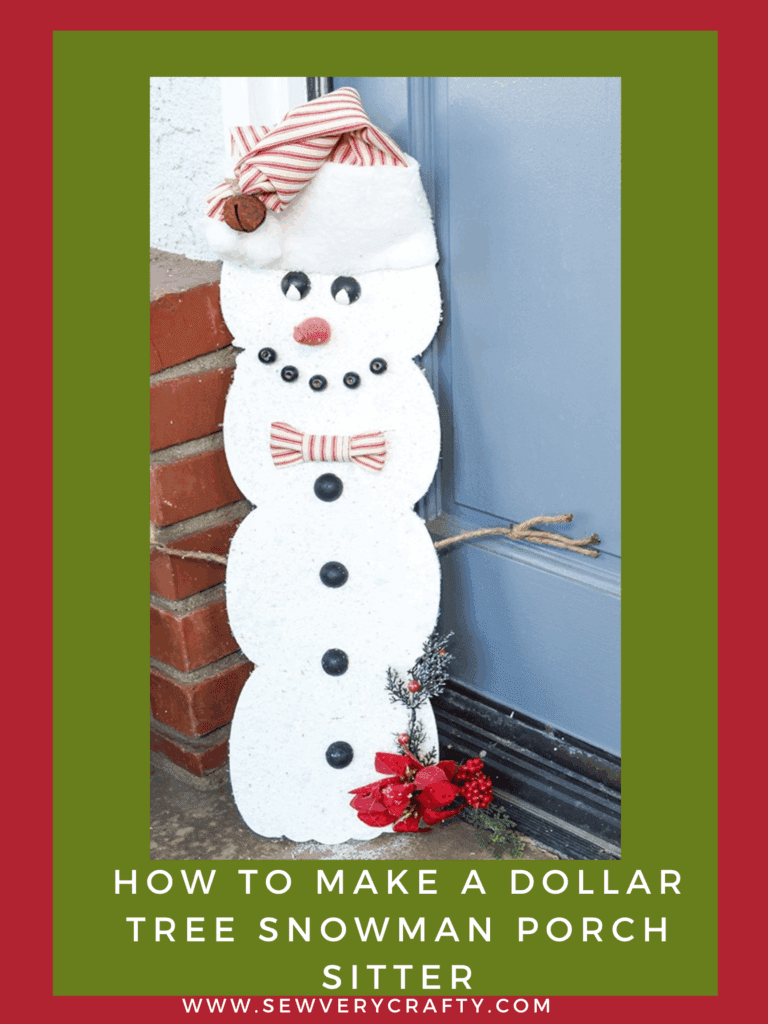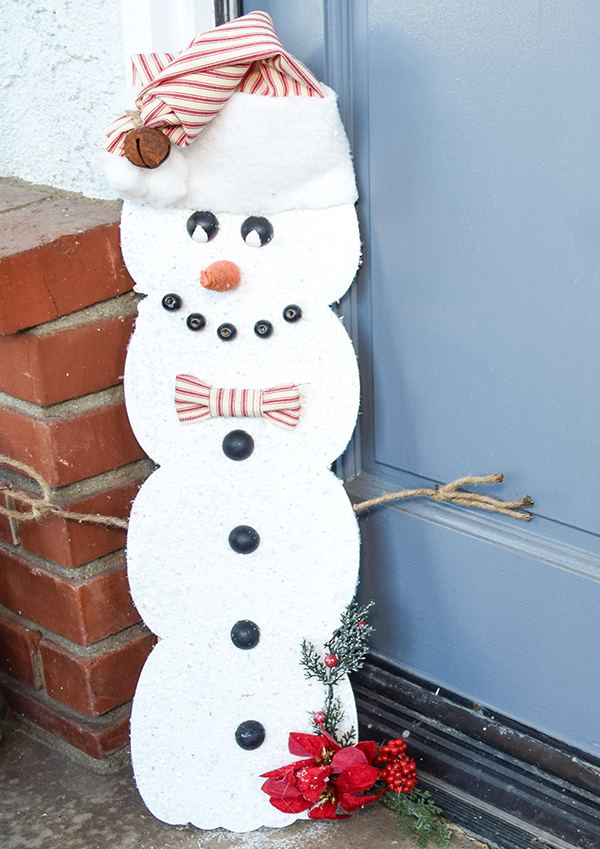
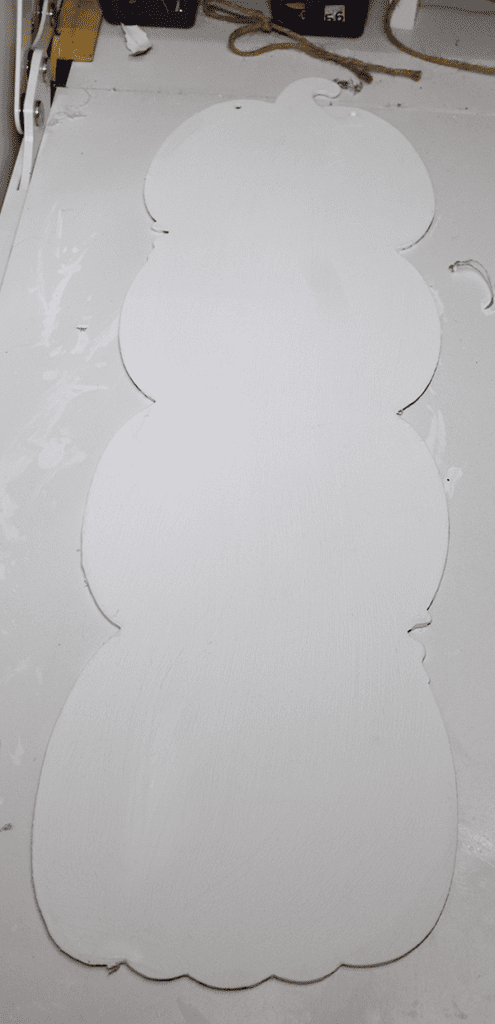
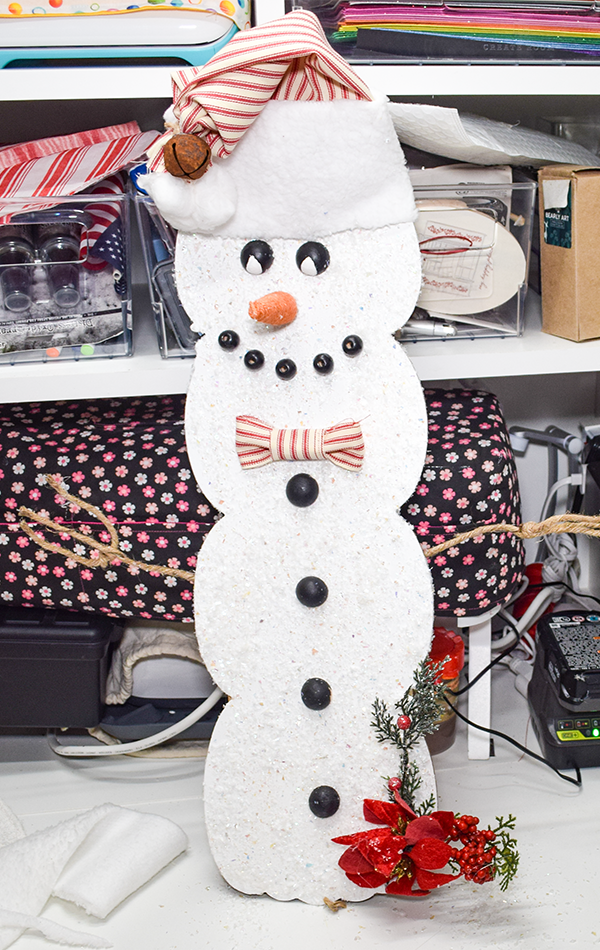
I purchased a Dollar Tree stackable pumpkin plaque. There are four cardboard pumpkins in the stack so I decided to turn it into a snowman for the Christmas season. This Dollar Tree Snowman Porch Sitter is super simple to make and only requires basic crafting supplies. Most everything for my project was purchased at Dollar Tree so head over there to get what you will need. If you would like more holiday project head over to our Holiday Project Vault. For more Dollar Tree projects check out our Dollar Tree page.
Note: This post contains affiliate links that if you click on them and make a purchase I will receive a small commission at no extra cost to you. As an Amazon Associate I earn from qualifying purchases.
What you will Need: How to Make a Dollar Tree Snowman Porch Sitter
- Stacked pumpkin plaque
- White chalk paint
- Mod Podge
- Christmas fabric
- White fur
- Faux snow
- Christmas floral
- Jute Carrot
- Rusted jingle bell
- 6 wood half rounds
- 5 wood beads
- Wired jute
- Hot Glue
Step 1: Remove the image
Using a scraper and some water scrape off the attached image.

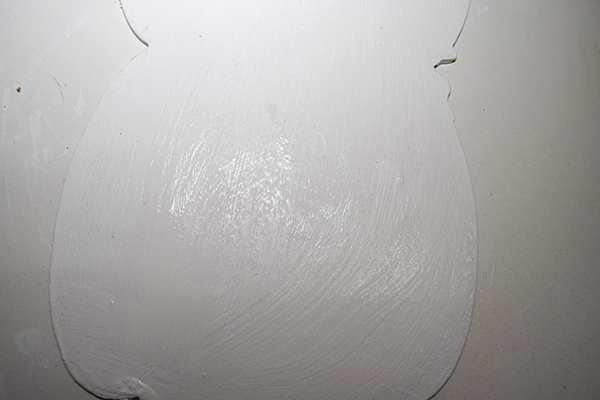
Step 2: Paint the Pumpkin Stack
Using white chalk paint cover the entire pumpkin stack.
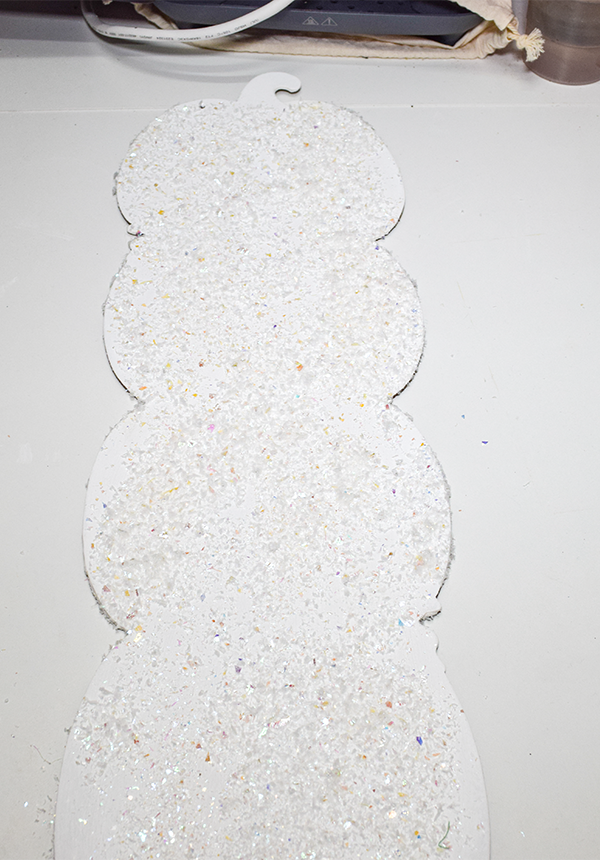
Step 3: Cover with Mod Podge
Cover the pumpkin stack with a fairly thick coating of Mod Podge. Immediately add the faux snow to cover the entire piece.
Step 4: Paint the wood pieces
Paint all of the wood pieces black. I used acrylic paint for this process.

Step 5: Create the Arms
Take the wired jute and cut two pieces. Create a U shape with one and then wrap the other piece around the center so that part of it goes through the U and the other part faces down. If you live in a place that has actual trees you can use real branches. I live in California and do not have that luxury.

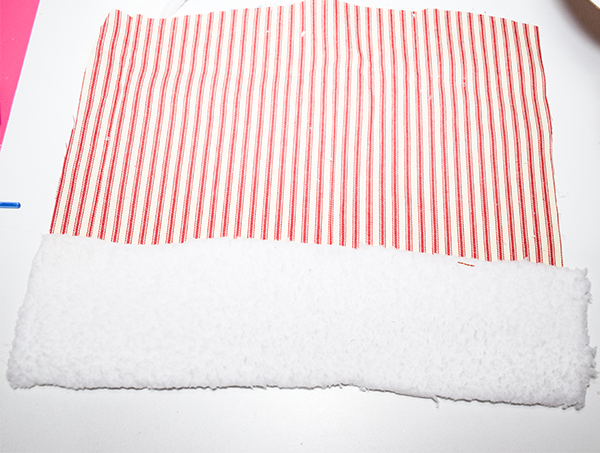
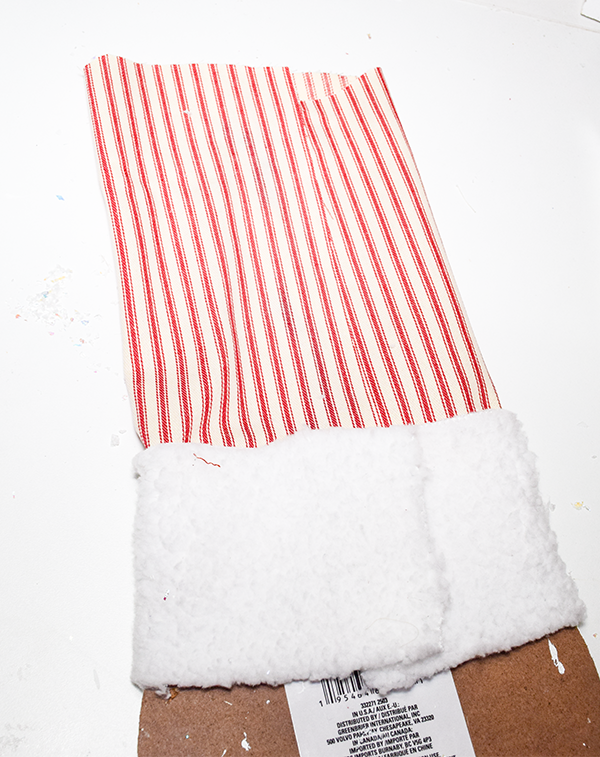
Step 6: Create the hat
Take a piece of Christmas fabric and lay it flat on your work surface. Hot glue some faux fur to the bottom. I wrapped the fabric around the top of the pumpkin stack to determine the length and height.
Step 7: Add the Hat
Wrap the fabric around the top of the pumpkin stack and hot glue it to the back and along the seam. Gather the ends of the fabric and tie them together using some twine or a rubber band. Add a large fur pompom to the end of the fabric. You can use some of the faux fur and wrap it around a styrofoam ball or I had some cotton balls open hand and I just glued several of them together tho get the size I wanted. Glue the pom pom to the end of the hat. Add a rusted jingle bell to the twine.


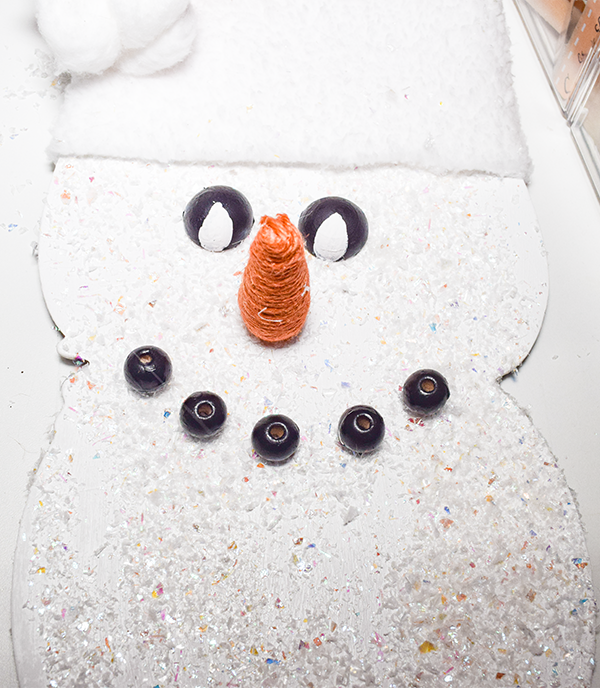
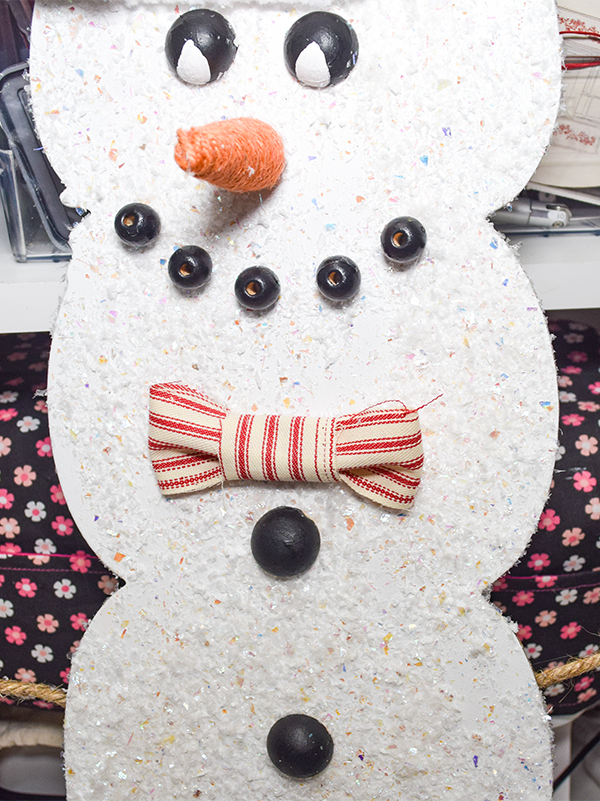
Step 8: Add the Face
Add to half rounds as eyes using hot glue. Then attach a Dollar Tree carrot as the nose and Dollar Tree beads also using hot glue.
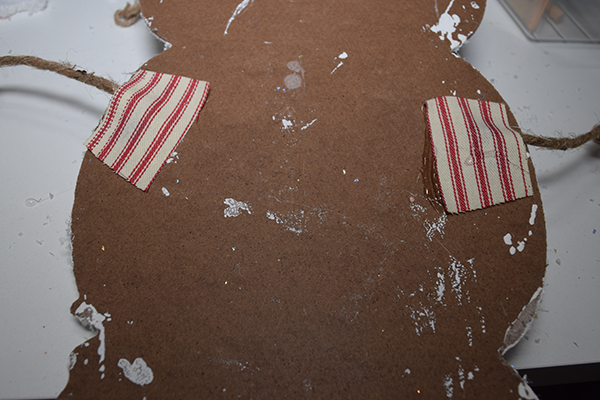
Step 9 Attach the Arms
Hot glue the arms to the back of the pumpkin stack. Add a square of fabric for more support. Ad that with hot glue as well.
Step 10: Add the Front Buttons
Add four painted half round wood pieces to the front of the snowman to act as buttons. Attach them using hot glue.

Step 11: Add the Florals
I had some Christmas flowers and greenery that I added to the bottom right of the snowman to add more color. I attached each piece using hot glue.

Step 12: Add a Bow
Create a simple bow tie using some of your Christmas fabric. Hot glue it just above the buttons.
I hope you enjoyed this simple Dollar Tree craft. If you would like more sewing and crating projects subscribe to our free newsletter and receive your free Dollar Tree Holiday Ebook
If you would like video tutorials of some of Sew Very Crafty's most popular posts subscribe to our free YouTube channel here.