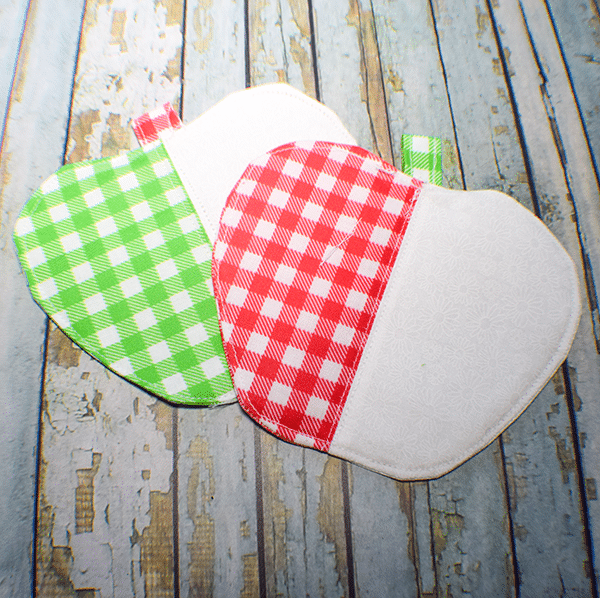
I suppose it's apple season all year round but I particularly like the fall. These apple coasters make great gifts for teacher or others. This is a simple sewing project for any beginner sewest. This tutorial will walk you through just how easy it is to sew apple coasters in just minutes. This is a fun and functional sewing project but if you would like my cat mug rugs or my windowed fabric coasters check these out.
I used basic quilting cotton for this project with quilt batting in the center. I purchase all of my fabrics and batting at JOANN Fabric & Craft Stores![]() online and picked up in store. You could head to Amazon Fabrics or
online and picked up in store. You could head to Amazon Fabrics or
What you will Need: How to Sew Apple Coasters
- Pattern you can get by clicking on this link
- 1/8 yd of two different fabrics
- Scrap of a third fabric
- scrap of Fusible fleece
- Sewing machine
- Standard sewing supplies
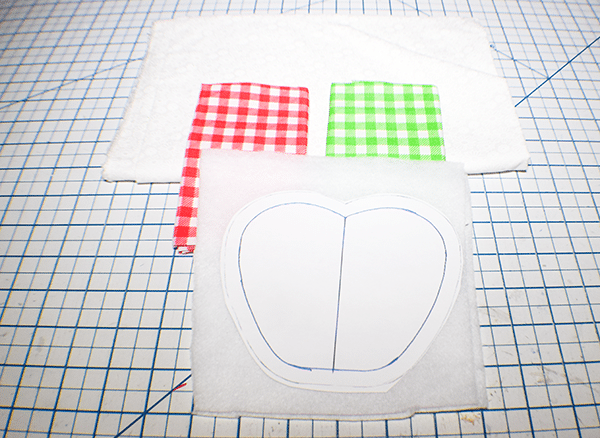
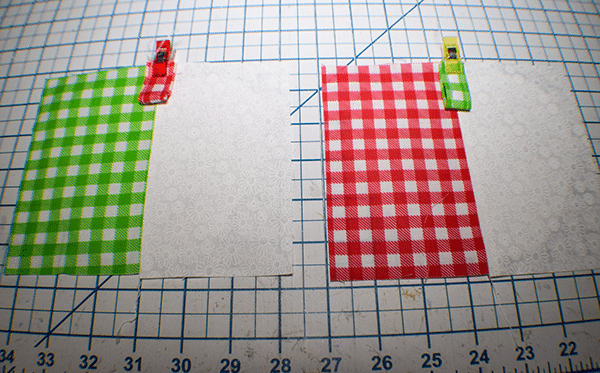
Step 1: Cut your Fabrics
Cut four pieces of fabric that measure 3 5/8″ x 5 5/8″, two of each fabric color. Cut a piece of the third fabric that measures 2 1/2″ x 3″. Using the pattern piece cut one piece of fusible fleece
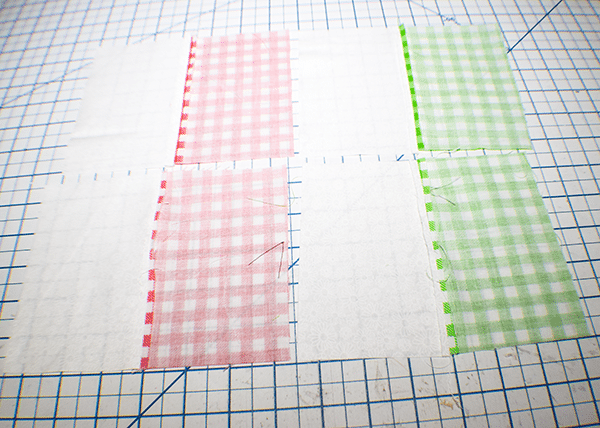
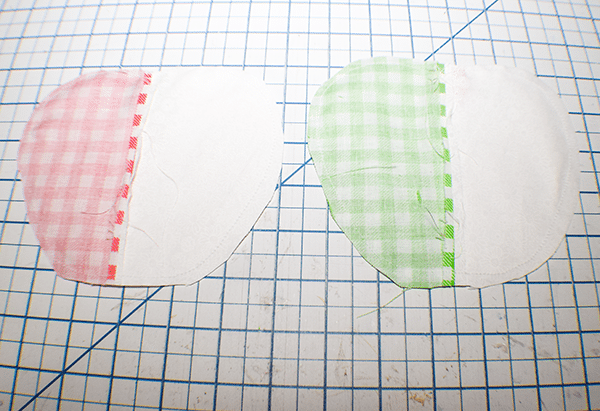
Step 2: Stitch the Rectangles
Place the opposite pieces right sides together and stitch along one side using a 1/4″ seam allowance. On one pair of rectangles leave an opening in the seam for turning. Determine if you want the back sides to match when they are turned right sides out or be opposite to determine which side you want to stitch your line. Press the seams open.
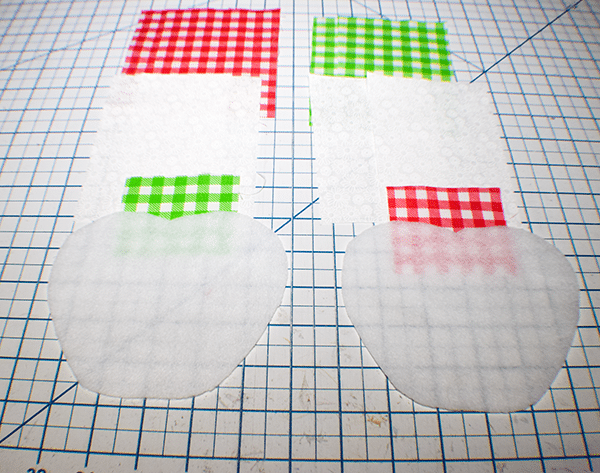
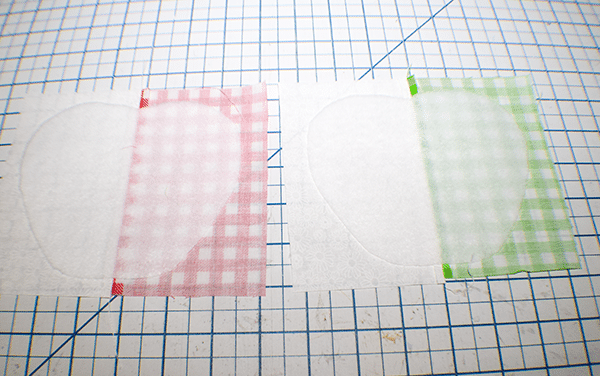
Step 3: Fuse the Fleece
Fuse the apple shaped fleece piece to the center of one o the rectangle pieces.
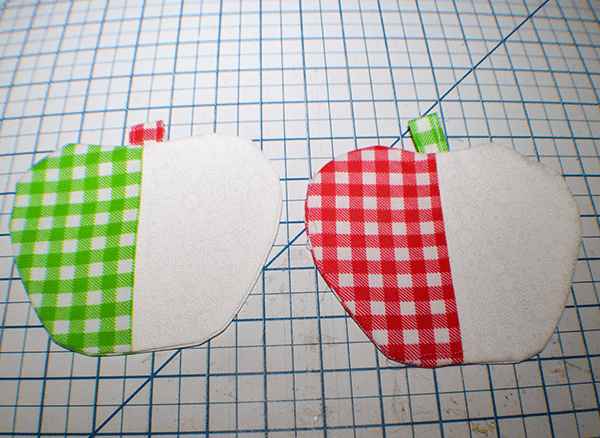
Step 4: Create the Stem
Fold the third fabric piece in half lengthwise and press. Open the piece and fold the raw edges to the center crease and press. For in half on the crease to enclose the raw edges. Topstitch on both sides. Fold in half.

Step 5: Add the Stem
Place the folded stem on the right sides of the piece with the fleece on the center seam matching the raw edges. Stitch the stem to the to of the fabric.
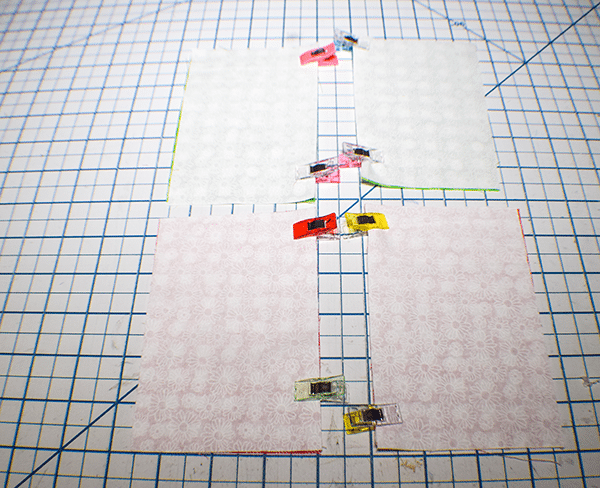
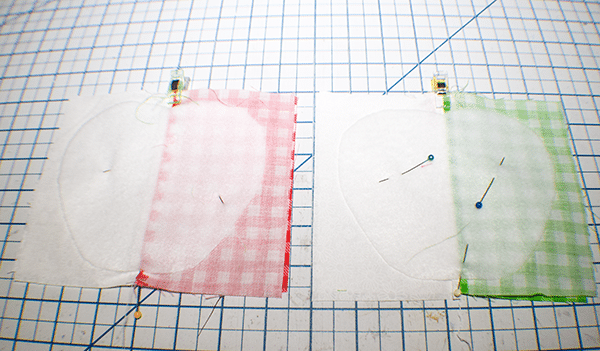
Step 6: Stitch the Coaster
Place the two pieces right sides together matching the center seams. Stitch all the way around the apple shaped fleece. Trim off the excess leaving about a 1/4″ seam allowance.
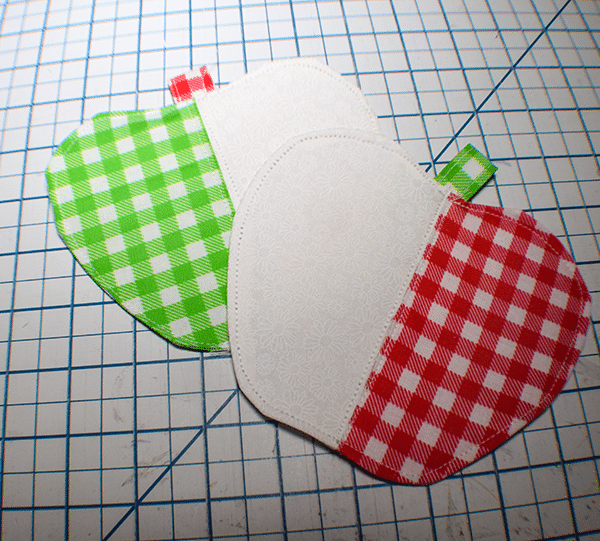
Step 7: Turn Right Sides Out
Turn the coaster right sides out through the opening in the seam. Press.
Step 8: Stitch the Opening Closed
Stitch the opening closed using ladder stitch. Topstitch all the way around the apple coaster and down both sides of the center seam. You have now finished your apple coaster.
I hope you enjoyed this simple coaster project. If you would like more sewing and crafting projects subscribe to our newsletter and receive access to our free printables library.
If you would like video tutorials of some of Sew Very Crafty's most popular posts subscribe to our free YouTube channel here.