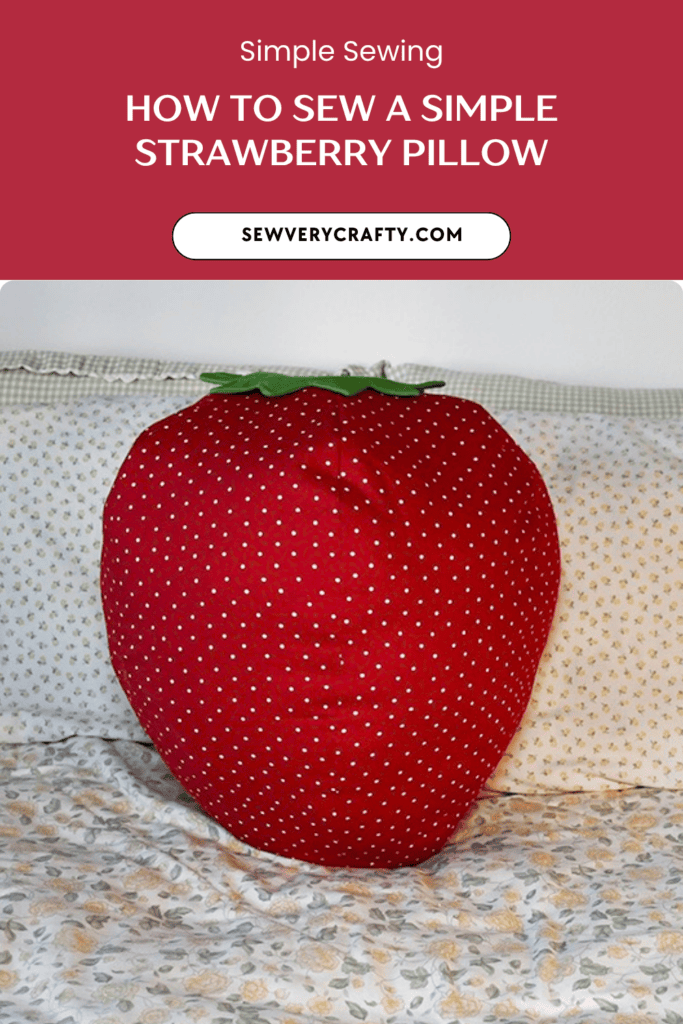
I love strawberries. I can’t wait until the farmer’s market comes and I can get them fresh and in season. My strawberry obsession inspired me to create this very simple summer strawberry throw pillow. Honestly, this is a very easy beginner sewing project that can be created in no time. It was made all the easier by using some red polka dot fabric. I had in my stash. This is quite a large pillow so you will need a large amount of fiberfill. I hope you like this simple sewing project with, of course, a free pattern. For more holiday and seasonal sewing and crafting projects check out my Holiday Project Vault.

Note: This post contains affiliate links that if you click on them and make a purchase I will receive a small commission at no extra cost to you. As an Amazon Associate I earn from qualifying purchases.
What you will Need: How to Make a Summer Strawberry Throw Pillow
- Pattern you can get by clicking on this link
- 2 yds red polka dot cotton or plush fabric
- 1/4 yd green cotton or plush fabric
- 32 oz Polyester Filberfill
- Scrap of quilt batting
- Sewing machine
- Standard Sewing Supplies
Step 1: Print the Pattern
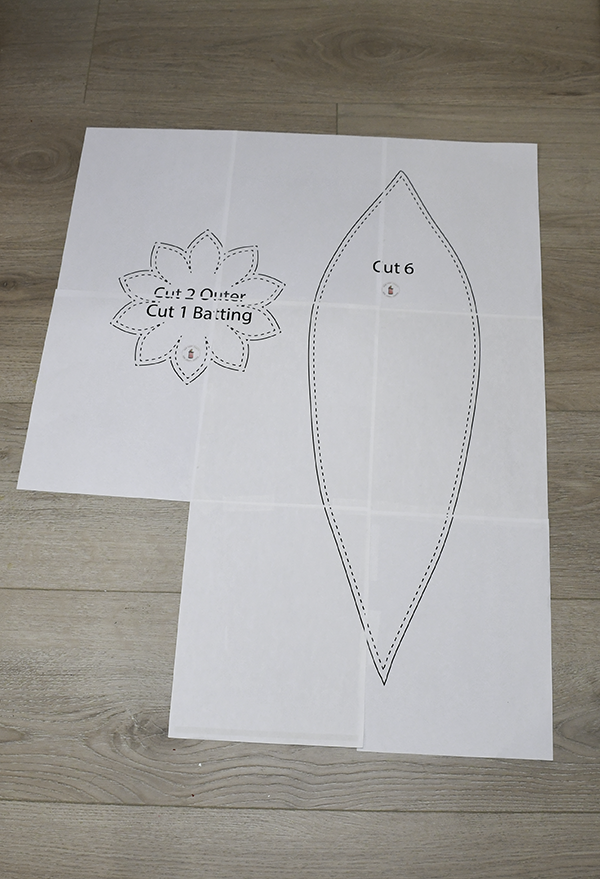
The pattern comes in eight pages. The red strawberry shape, the green top and the center of the top. Print all of the pages in full size. Tape the pieces together.
Step 2: Trace the Pattern
Trace the pattern pieces on the fabric using an erasable pen or tailor’s chalk. Add a 1/4″ seam allowance all the way around on all the pieces.
Step 3: Cut out the pieces
Cut six red strawberry body pieces and two leaf pieces.
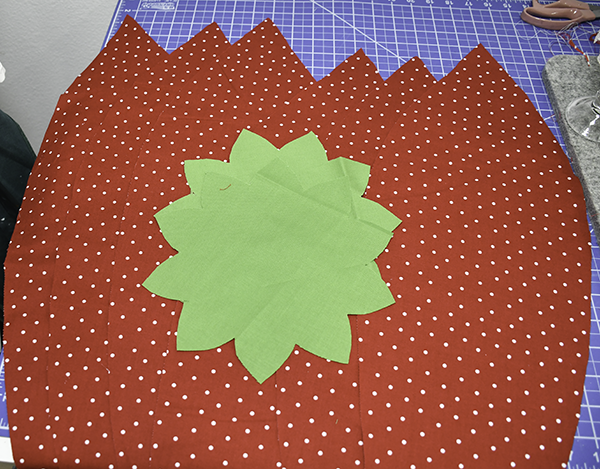
Step 4: Stitch the Strawberry body
Place two of the body pieces right sides together and stitch just about 1/4 of the way from the top down the side. Stitch the third piece to one of the two other pieces in the same way. Set aside. Stitch the remaining three pieces in the same way. Place the two sets of three right sides together and stitch together so that the fabric is stitched about 1/4 of the way down on all pieces.
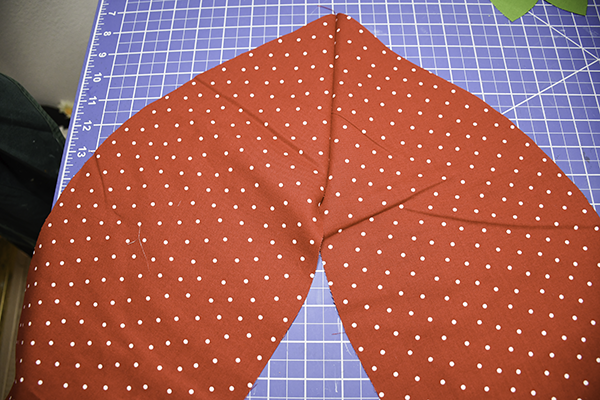
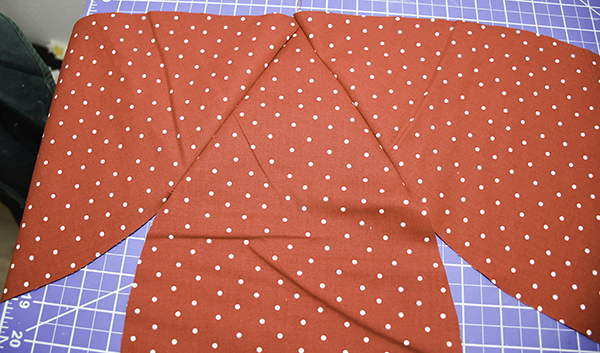
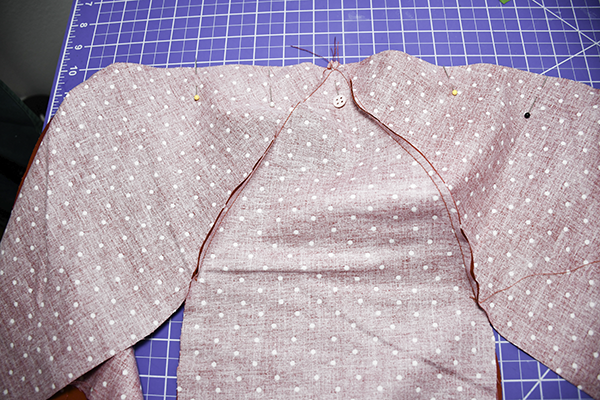
Step 5: Stitch the Top Leaves
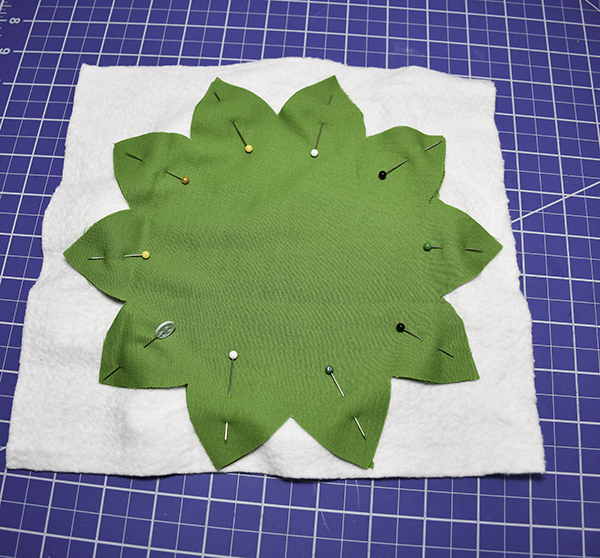
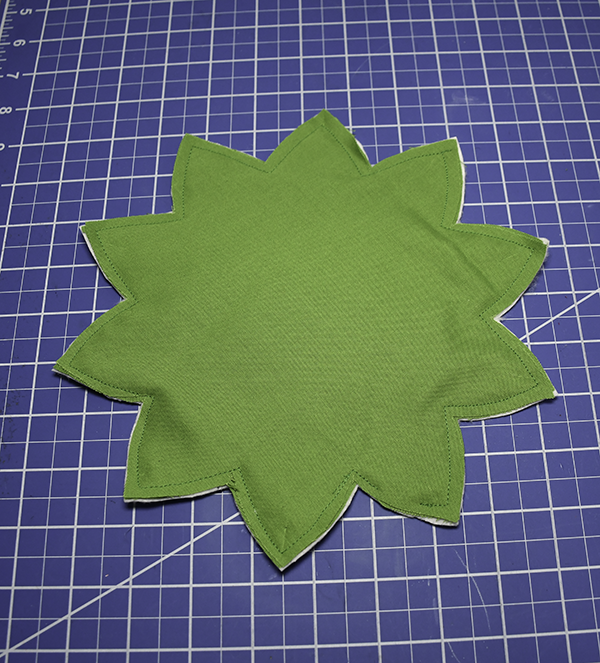
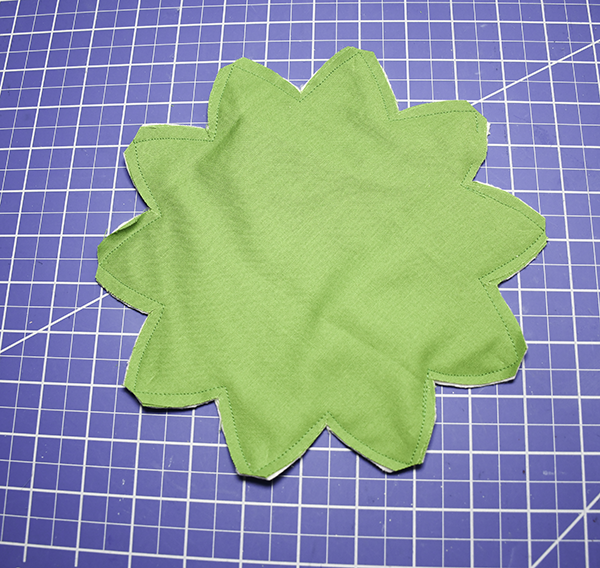
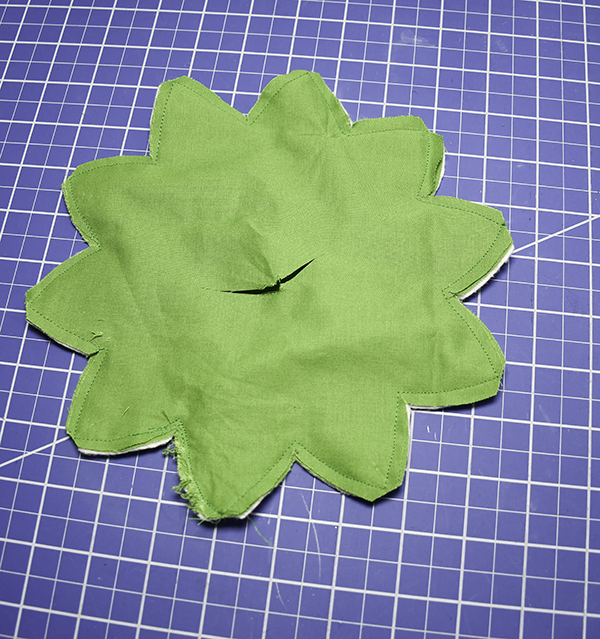
Place the two leaf pieces right sides together. Add the leaf pieces to a square of quilt batting and stitch all the way around. Cut a slit in one of the green pieces. Snip the V parts of the leaf pieces just until you reach the stitching. Do not cut the stitching. Clip the top of each pointed end. Turn right sides out through the slit that you left. Press and topstitch all the way around.
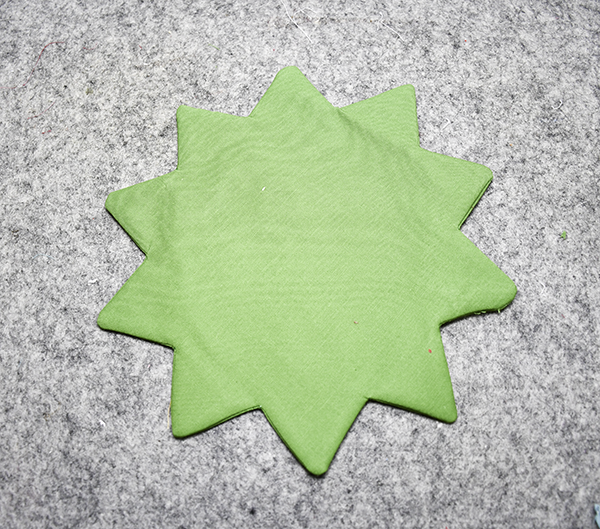
Step 6: Add the Leaf Piece
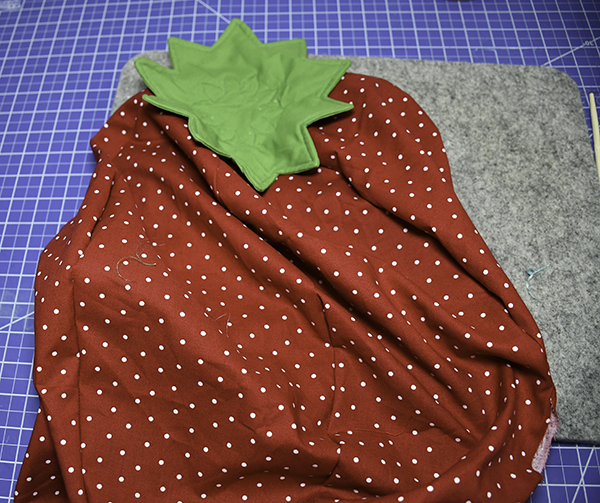
Trace the small leaf pattern piece in the center of the leaf you just created lines using tailor’s chalk. or an erasable pen. Place the leaf onto the center of the berry pieces and pin. Stitch the leaf pieces to the top of the berry pieces on the traced lines.
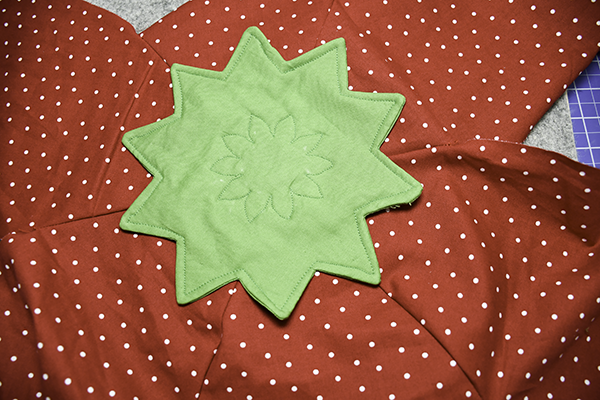
Step 7: Stitch the Sides of the Berry
Continue to stitch the sides of the berry pieces to the end. Stitch them all but leave an opening for turning and stuffing on one of the sides. Turn the berry right sides out.
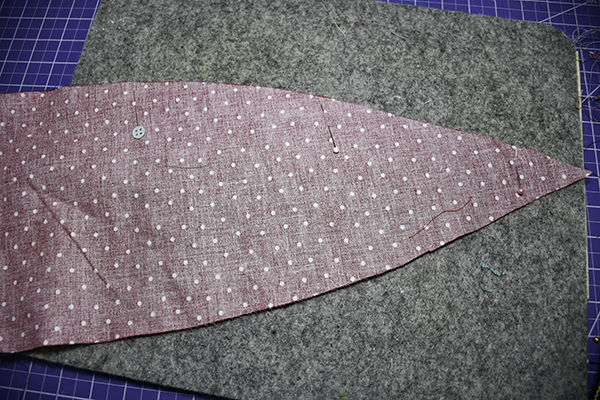
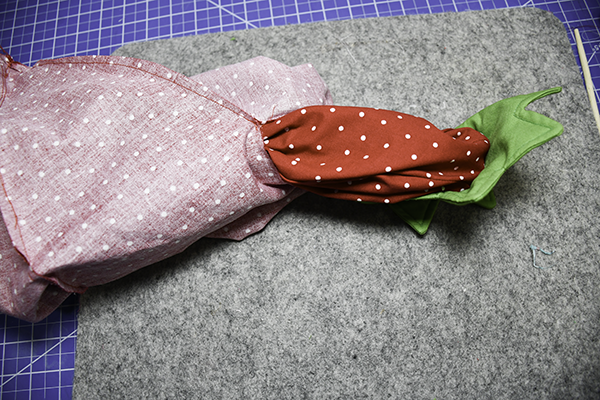
Step 8: Stuff the Berry
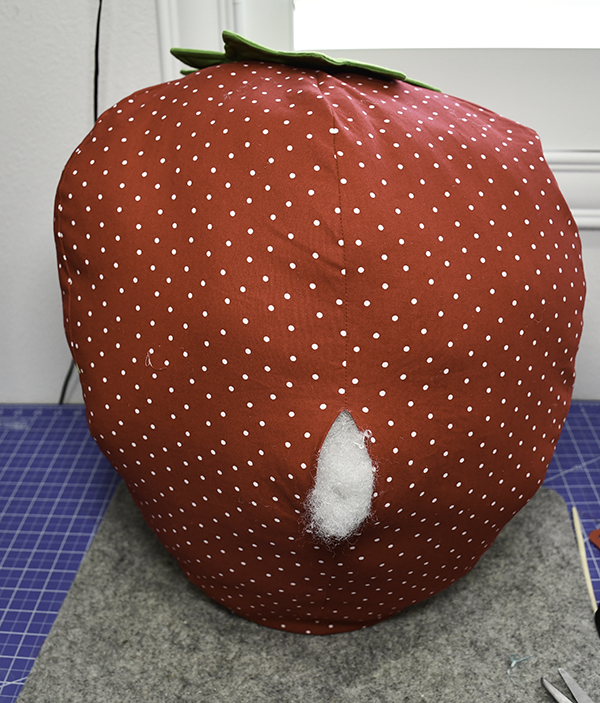
Insert the fiberfill into the strawberry body until it is completely full. You can stuff it as much as you want.
Step 9: Close the openings
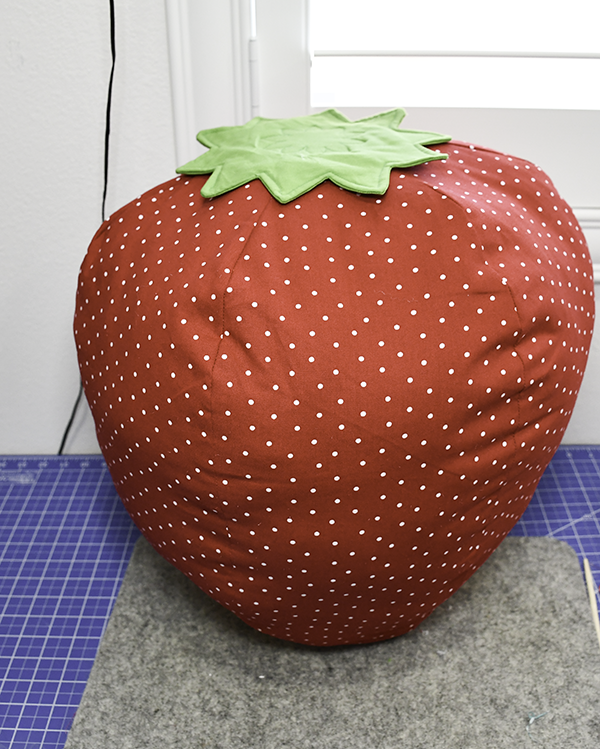
Stitch the openings closed by hand using ladder or invisible stitch and using matching thread. Once the opening has been closed you have finished your summer strawberry throw pillow.

I hope you enjoyed this simple sewing project. If you would like more sewing and crafting projects subscribe to our free newsletter and receive access to our free printable library.
Subscribe to our Free YouTube Channel!
Join our Sew Very Crafty Fans Facebook group
If you want to ask questions and share your projects join our Facebook group here. The community will help to achieve your sewing and crafting dreams.