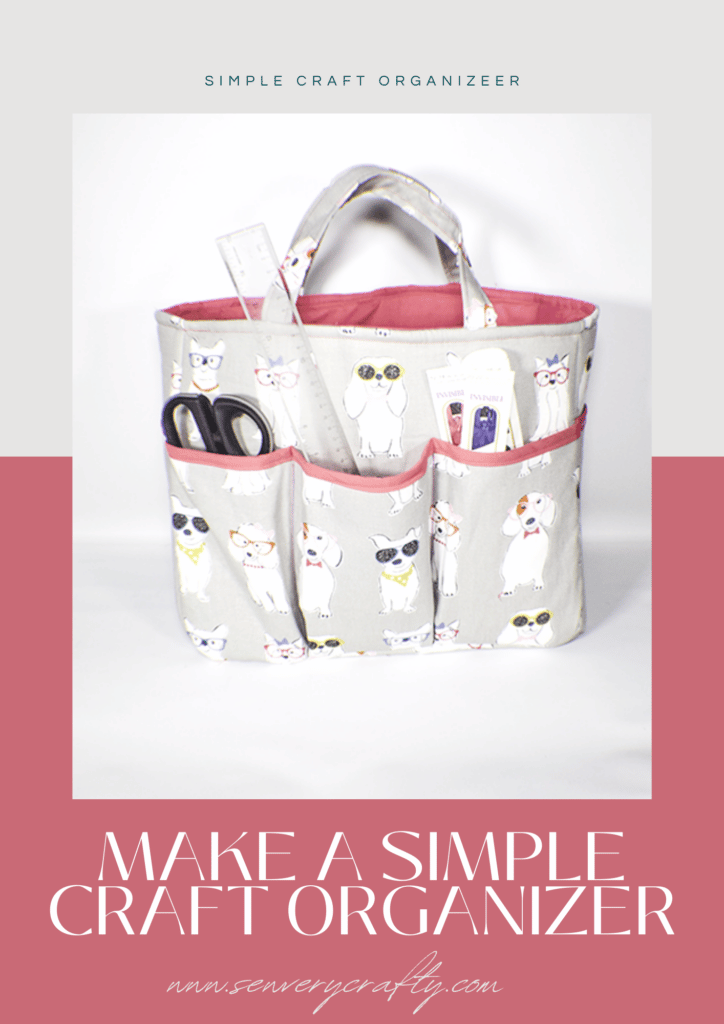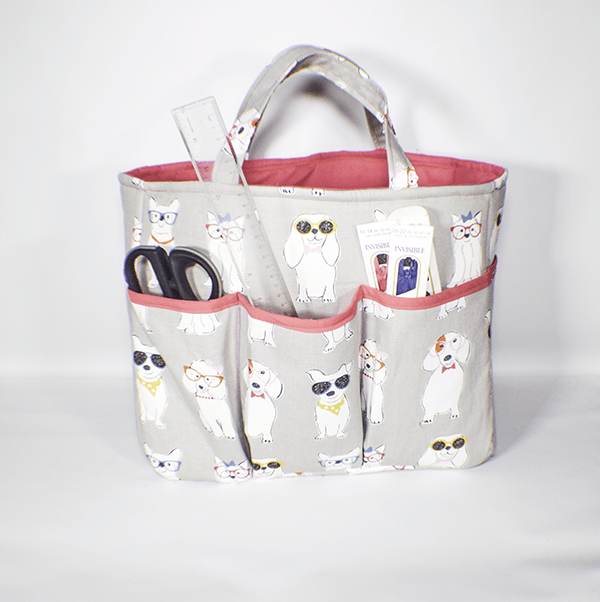
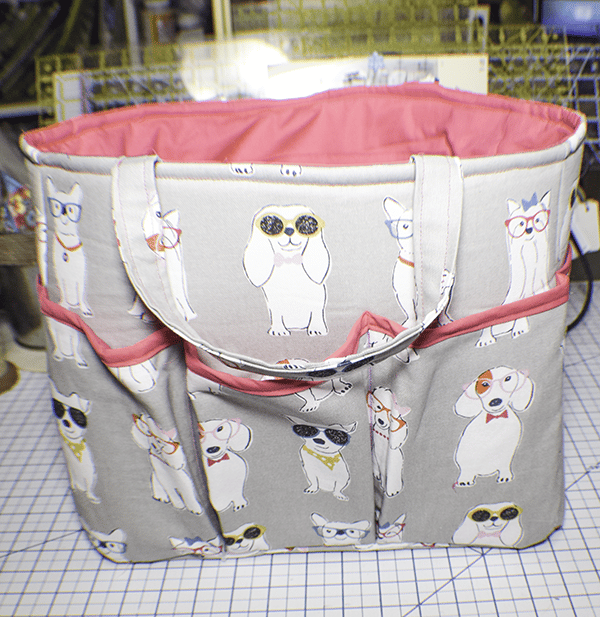
With all of the stuff I have in my room I thought that I could use a good craft organizer to put it in so here it is. I decided to make this craft organizer with lots of pockets and handles to carry it if I wanted. It was a fun little project that I thought to share with all of sexists and crafters out there who could use a little extra storage. This is a simple project to make though it is probably for a strong beginner to intermediate sewist. If you would like to check out my knitting organizer check it out here.
I used home decorator weight fabrics for my outer bag and some quilting cotton for my lining that I purchased at JOANN Fabric & Craft Stores![]() . But you could head to
. But you could head to
What you will Need: How to Make a Craft Organizer
- 1 yd outer fabric
- 1 yd lining fabric
- 1/2 yd fusible foam
- 1/2 yd fusible fleece
- 1 package pre-made bias binding
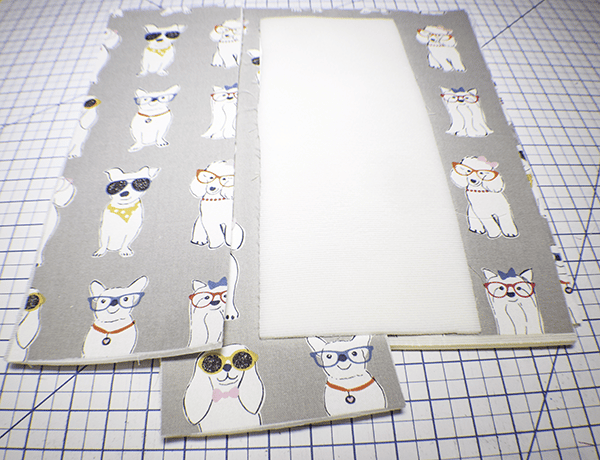
Step 1: Cut your Fabrics
Outer, Lining and Foam Pieces for outer and lining bag
- 2 pieces — 12″H x 14 1/2″W
- 2 Pieces — 12″H x 5 1/2″ W
- 1 piece — 5 1/2″H x 14 1/2″W
Outer and Lining and Fleece for pockets
- 2 Pieces 8 1/4″H x 19 1/4″ W
- 2 Pieces 8 1/4″H x 5 1/2″W
Lining Pieces for interior pockets
- 4 Lining pieces that measure 10″ x 8″ for the interior pockets
Outer fabric
- 2 Pieces — 4″ x 15″ for handles
Step 2: Fuse the Foam and Fleece
Fuse the Foam to the outer bag pieces following the manufacturer's instructions. Then fuse the fleece to the outer pocket pieces also following the manufacturer's instructions.
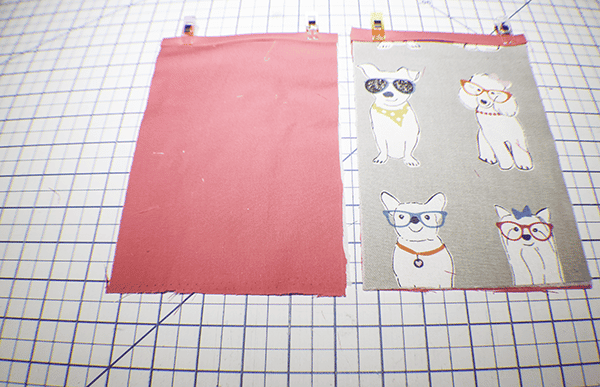
Step 3: Add the Bias Binding
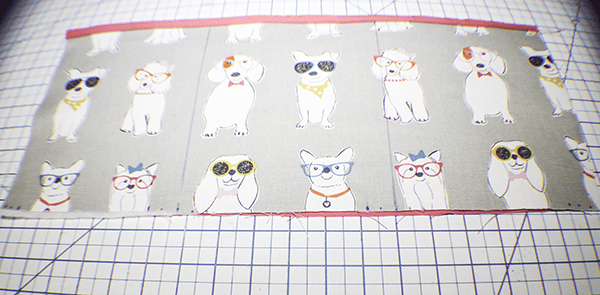
Take each of the outer pocket pieces and place them wrong sides together with the comparable lining piece. Stitch across the top using a 1/8″ seam allowance. Add the binding to the top of all of the outer pocket pieces to enclose the raw edges.
Step 4: Add the Pockets to the Side Outer Panels
Place each side pocket to the side panels matching up the bottom and side raw edges. Baste in place.
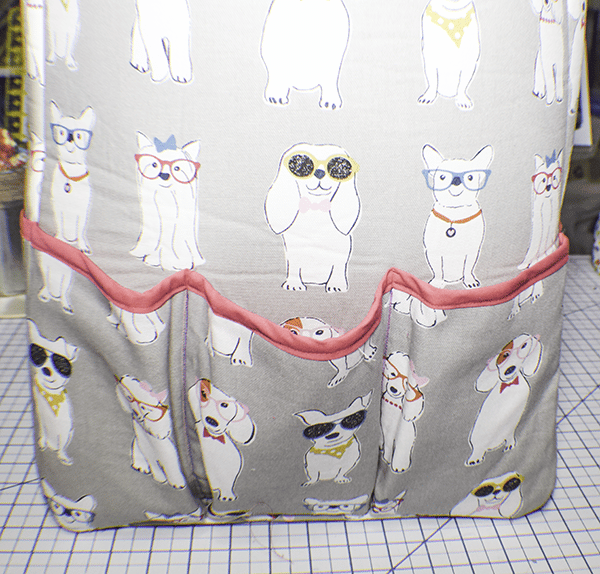
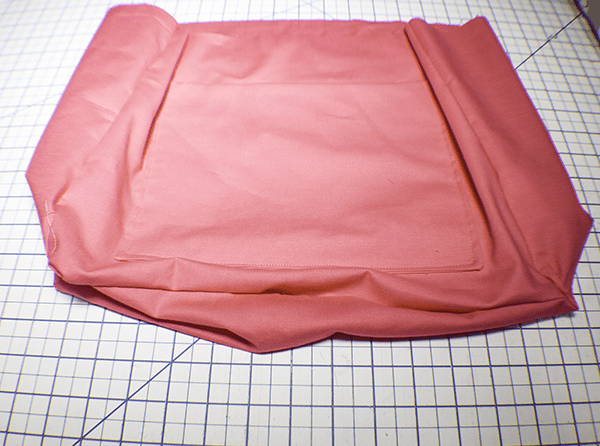
Step 5: Create the Front and Back Pockets
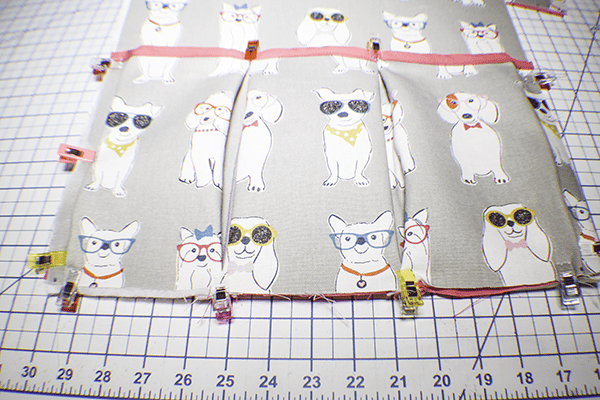
This is the most difficult part of the project as the pockets ate pleated to provide space for all of your stuff. Start by pleating the pockets. To do this use the diagram and a heat erasable pen and mark the lines as demonstrated on the diagram. Stitch along the stitch lines. Fold the pleats along the fold lines as demonstrated below. Pin in place.

Step 6: Add the Pockets
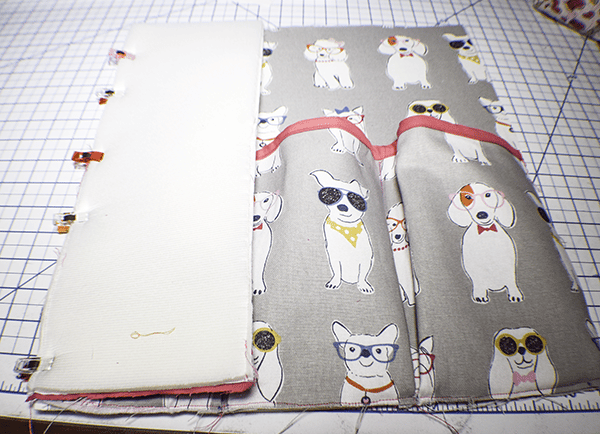
Place the pockets that you have pleated to the front and back panels matching the bottom and side raw edges and pin. Stitch the pockets in place along the sides and bottom using a 1/4 seam allowance.
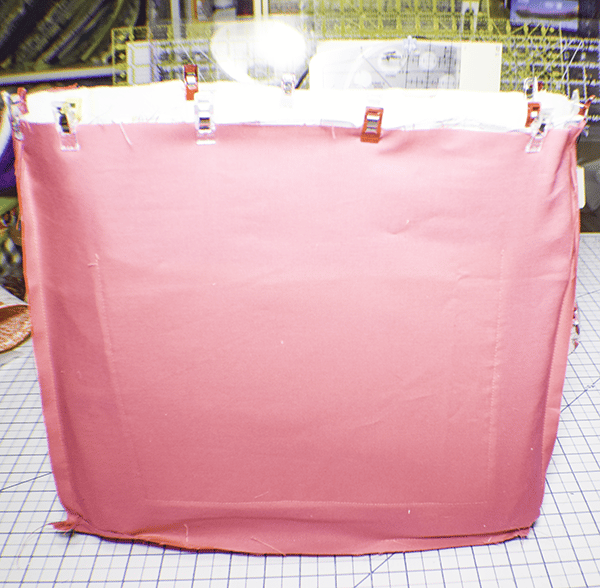
Step 7: Stitch the Craft Organizer Together
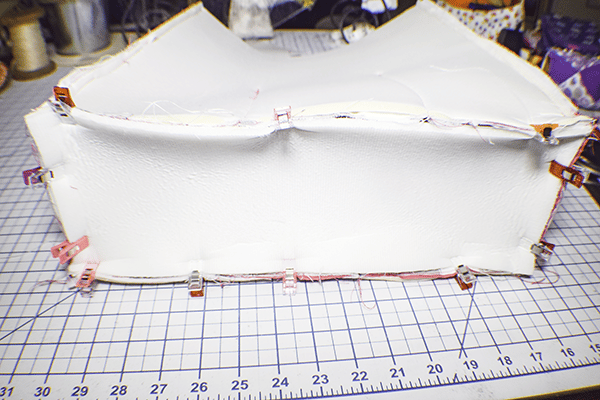
Place the side to the front right side together and stitch using a 3/8″ seam allowance starting at the top and finishing 3/8 from the bottom. Repeat for all sides so that you have a rectangle with no bottom. Add the bottom to the sides of the bag also using a 3/8″ seam allowance. Turn the organizer right sides out.
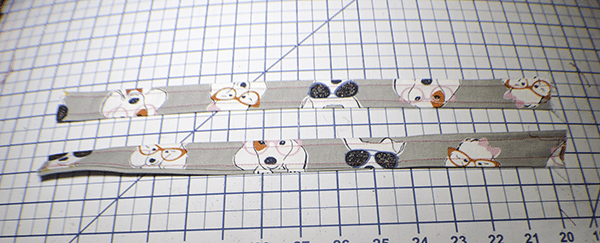
Step 8: Create the Handles
Take the handle pieces and fold the long edges to the center and press. Fold in half to enclose the raw edges. Stitch along both long edges.
Step 9: Add the Handles to the Craft Organizer
Measure 3 3/8″ from each side seam and place the handles. Stitch in place using a 1/8″ seam allowance.

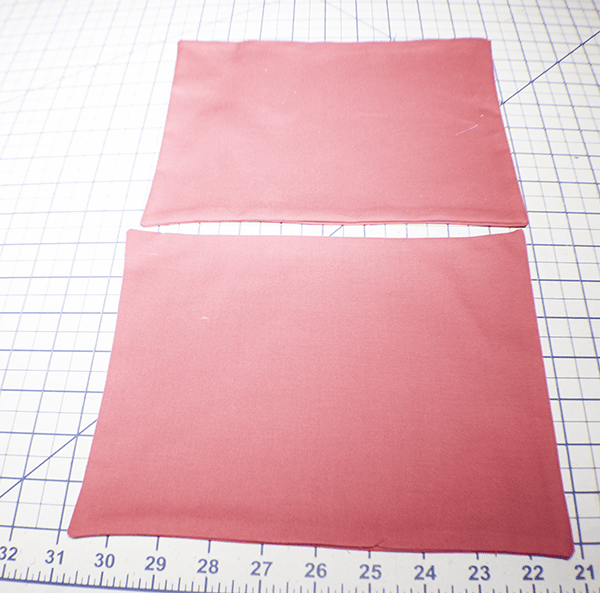
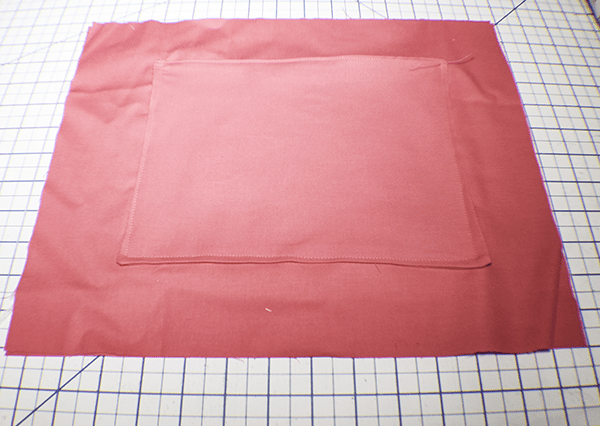
Step 10: Create the Lining
Take two of the 8″ x 10″ pieces and stitch them right sides together leaving an opening for turning. Turn right sides out and press. Stitch along the side with the opening to close the opening and to strengthen the pocket. Add the pocket pieces to the center of the front and back panels by stitching around the sides and bottom.
Stitch the lining pieces the same way that you stitched the outer bag but leave an opening for turning. You should have two bags.
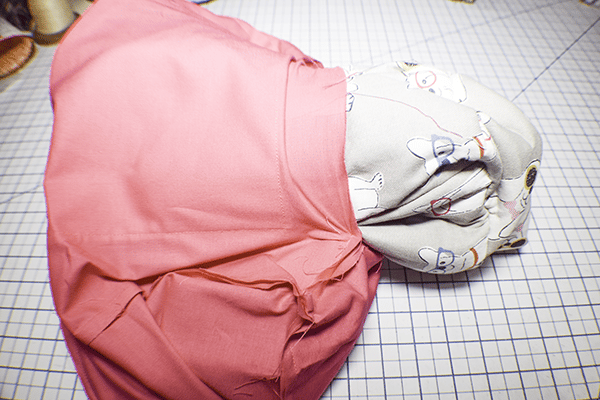
Step 11: Add the Lining to the Outer Bag
Place the outer bag into the lining bags so that they are right sides together. Stitch all the way around the top to secure the lining to the outer bag.
Step 12: Turn Right Sides Out
Turn the organizer right sides out through the opening you left in the lining. Close the opening either with your machine or using ladder stitch. Stuff the lining into the outer bag and topstitch all the way around the top of the bag to secure the lining in place. Fill your craft organizer and you are finished.
I hope you enjoyed this craft organizer project. if you would like more sewing and crafting projects subscribe to our newsletter and receive access to your free eBook of 15 handbag patterns and tutorials taken from the blog
If you would like video tutorials of some of Sew Very Crafty's most popular posts subscribe to our free YouTube channel here.