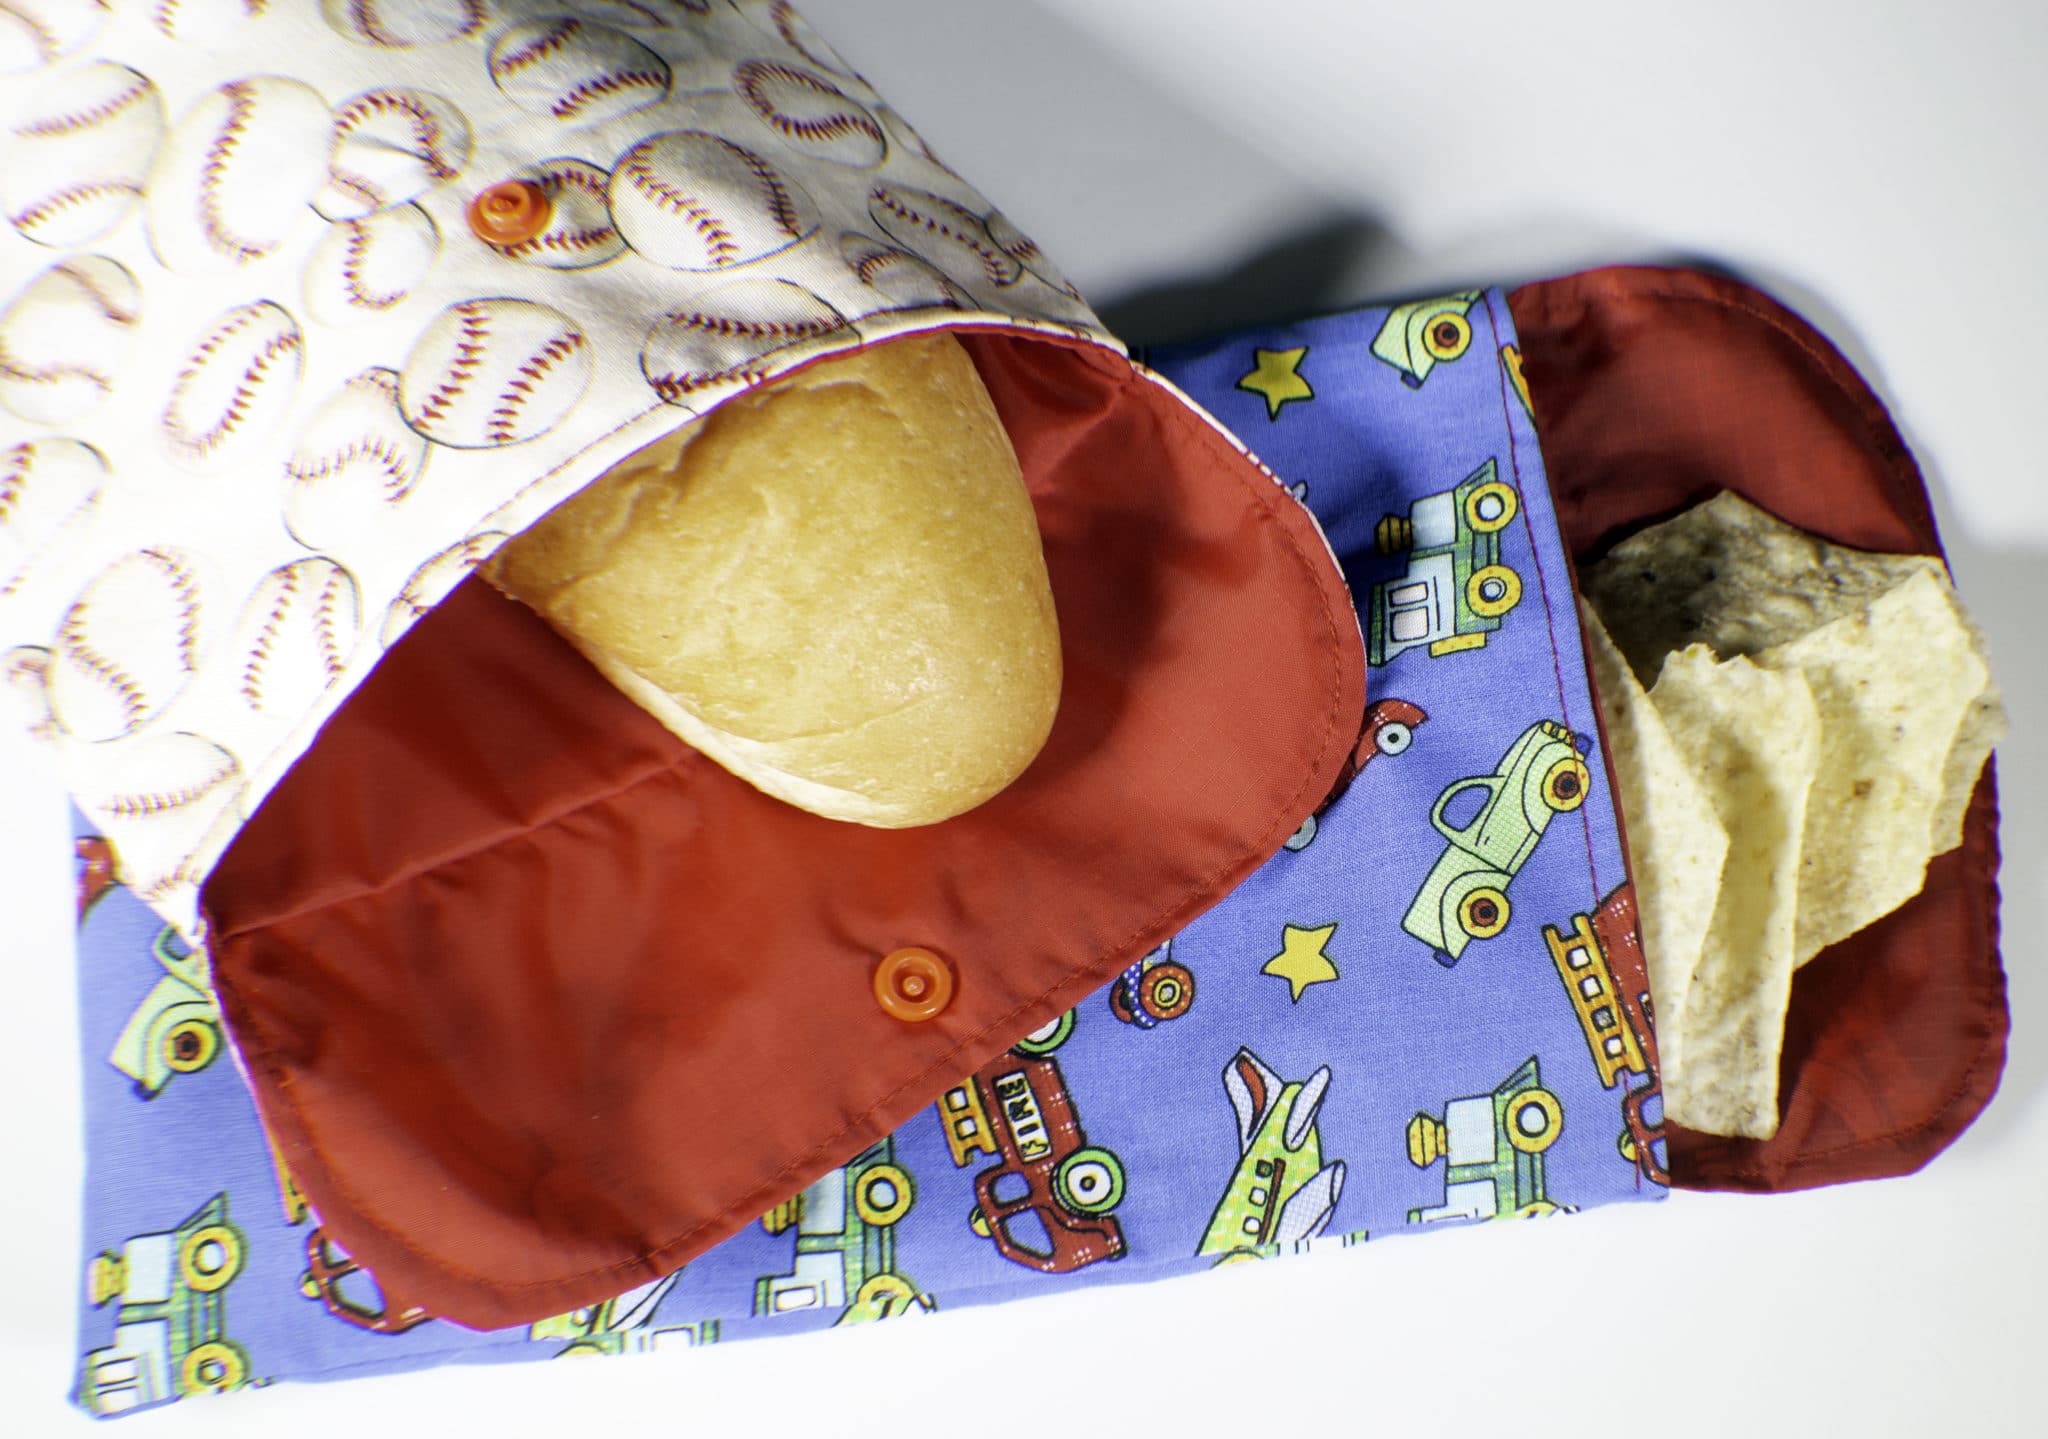
How to Make Reusable Sandwich and Snack Bags
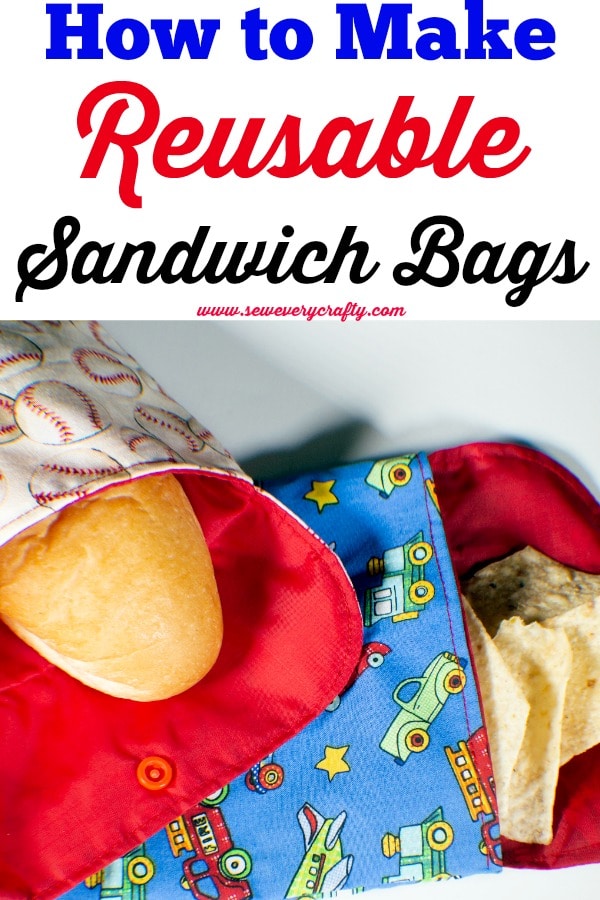
I read an article recently about the impact that plastic bags are having on the environment, particularly the oceans. I live in California where reusable shopping bags are now required when I shop at the supermarket or other store but there are still many plastic bags that we don't think about that we use everyday. Among those bags are lunch and snack bags. I decided that it was time to make some reusable and washable sandwich and snack bags to use for my lunch. These are perfect for children's lunches. Put together with a reusable lunch bag they are perfect for everyday use. This tutorial on how to make reusable sandwich and snack bags is super simple to follow and takes about 15 minutes or so to make. Lets get started.
I used remnants from my stash for this project but if you need either the fabric or the rip stop nylon I recommend that you head to Hobby Lobby or Fabric.com to get exactly what you need. This project contains affiliate links that if you click on them and make a purchase I may receive a small commission at no extra cost to you.
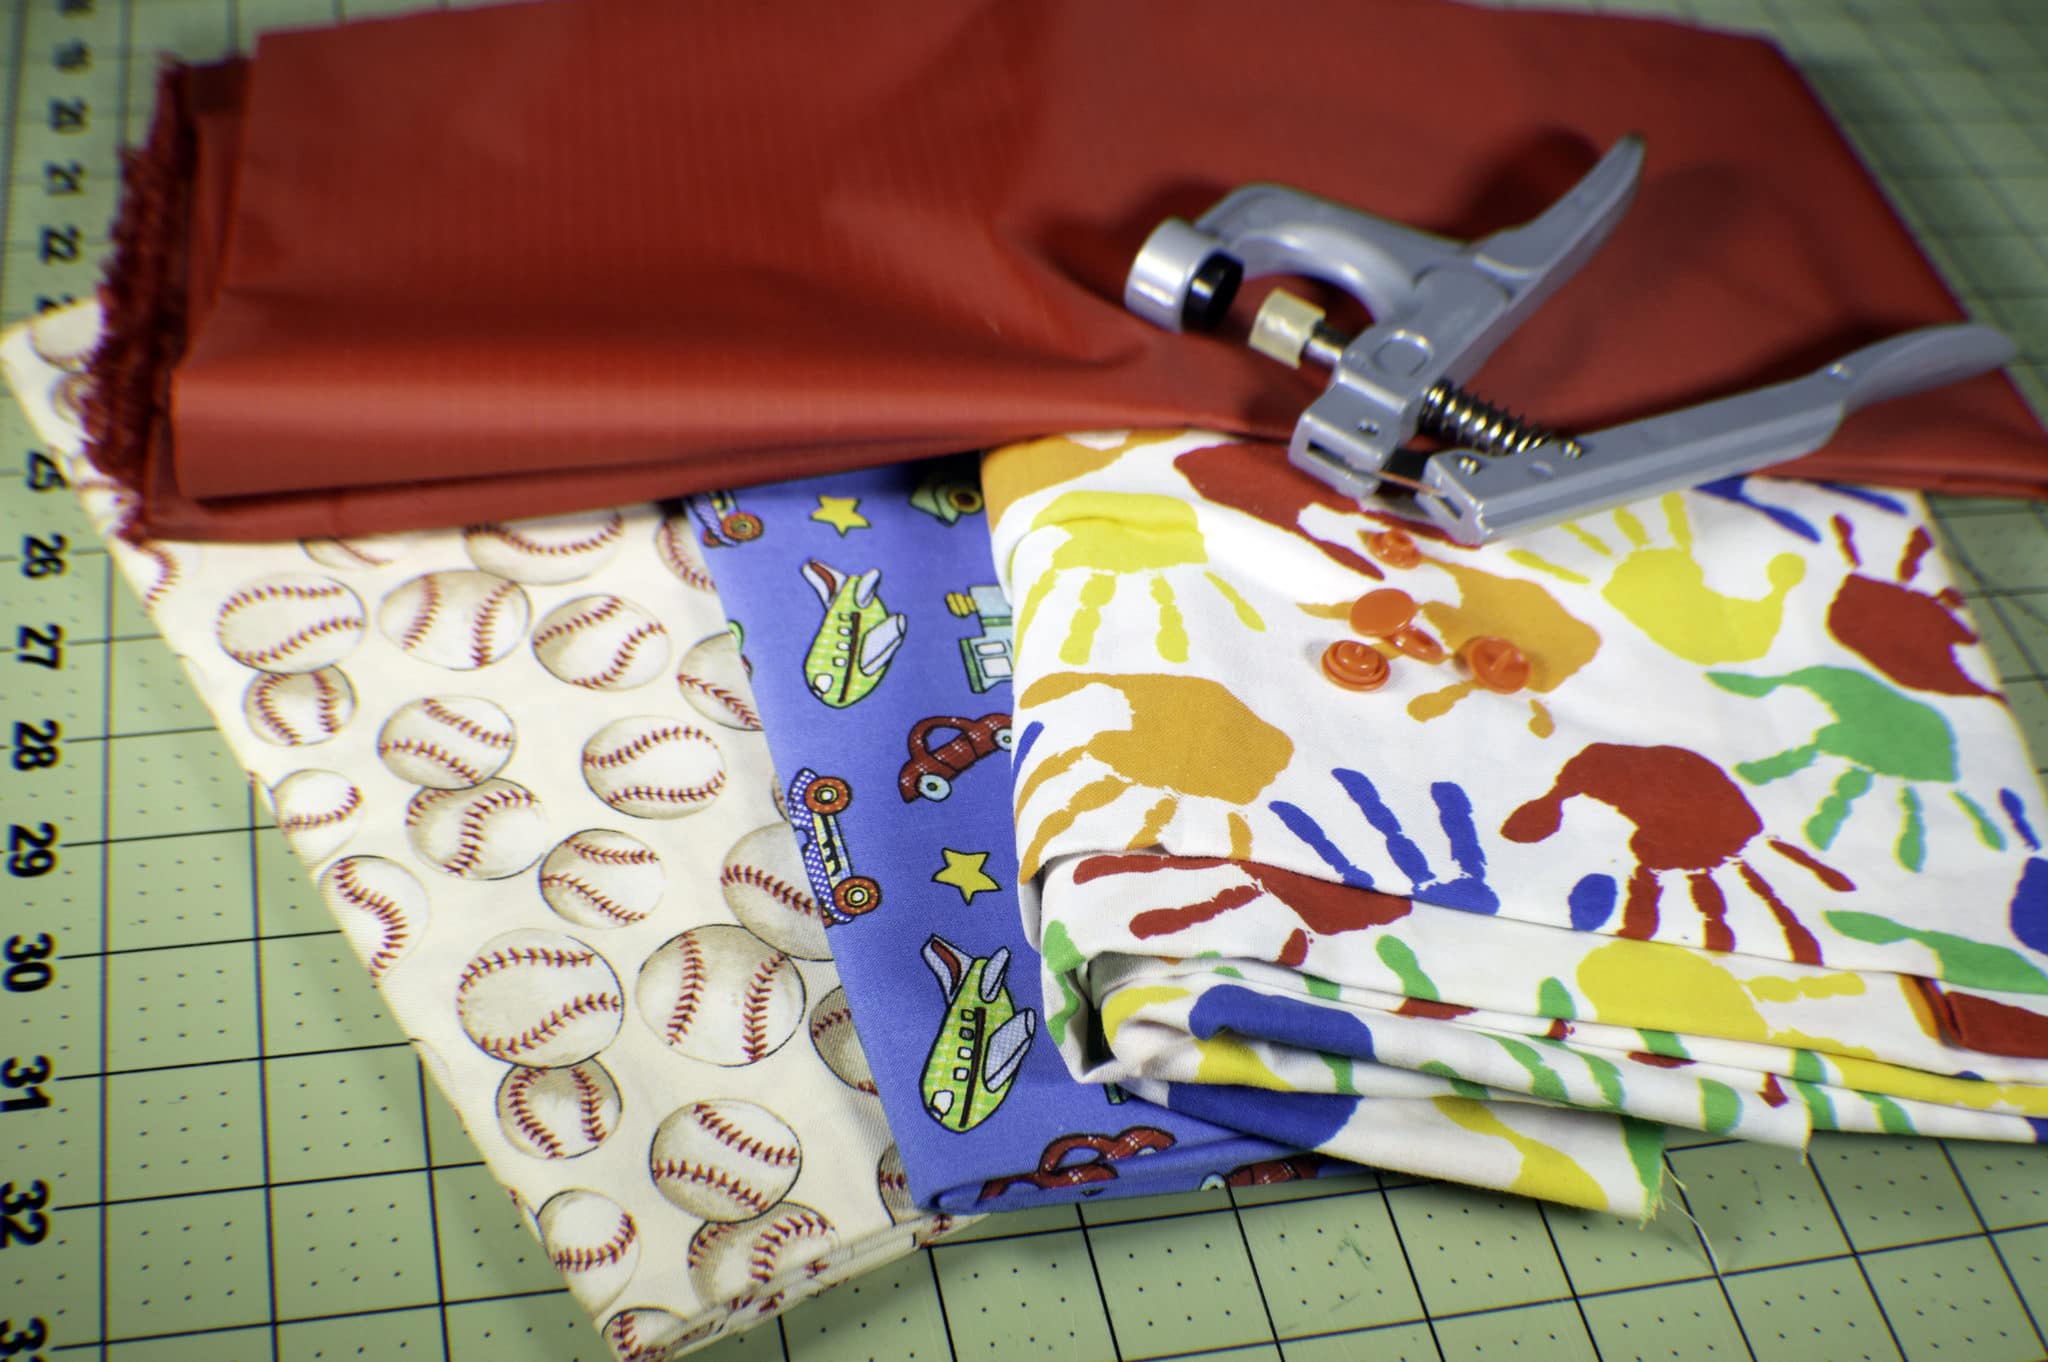
What you will Need:
- Pattern
- Fat quarter or remnant of outer cotton fabric
- 1/4 yd of Ripstop Nylon (Lining fabric)
- Kam snaps
 or Velcro
 - Standard Sewing Supplies
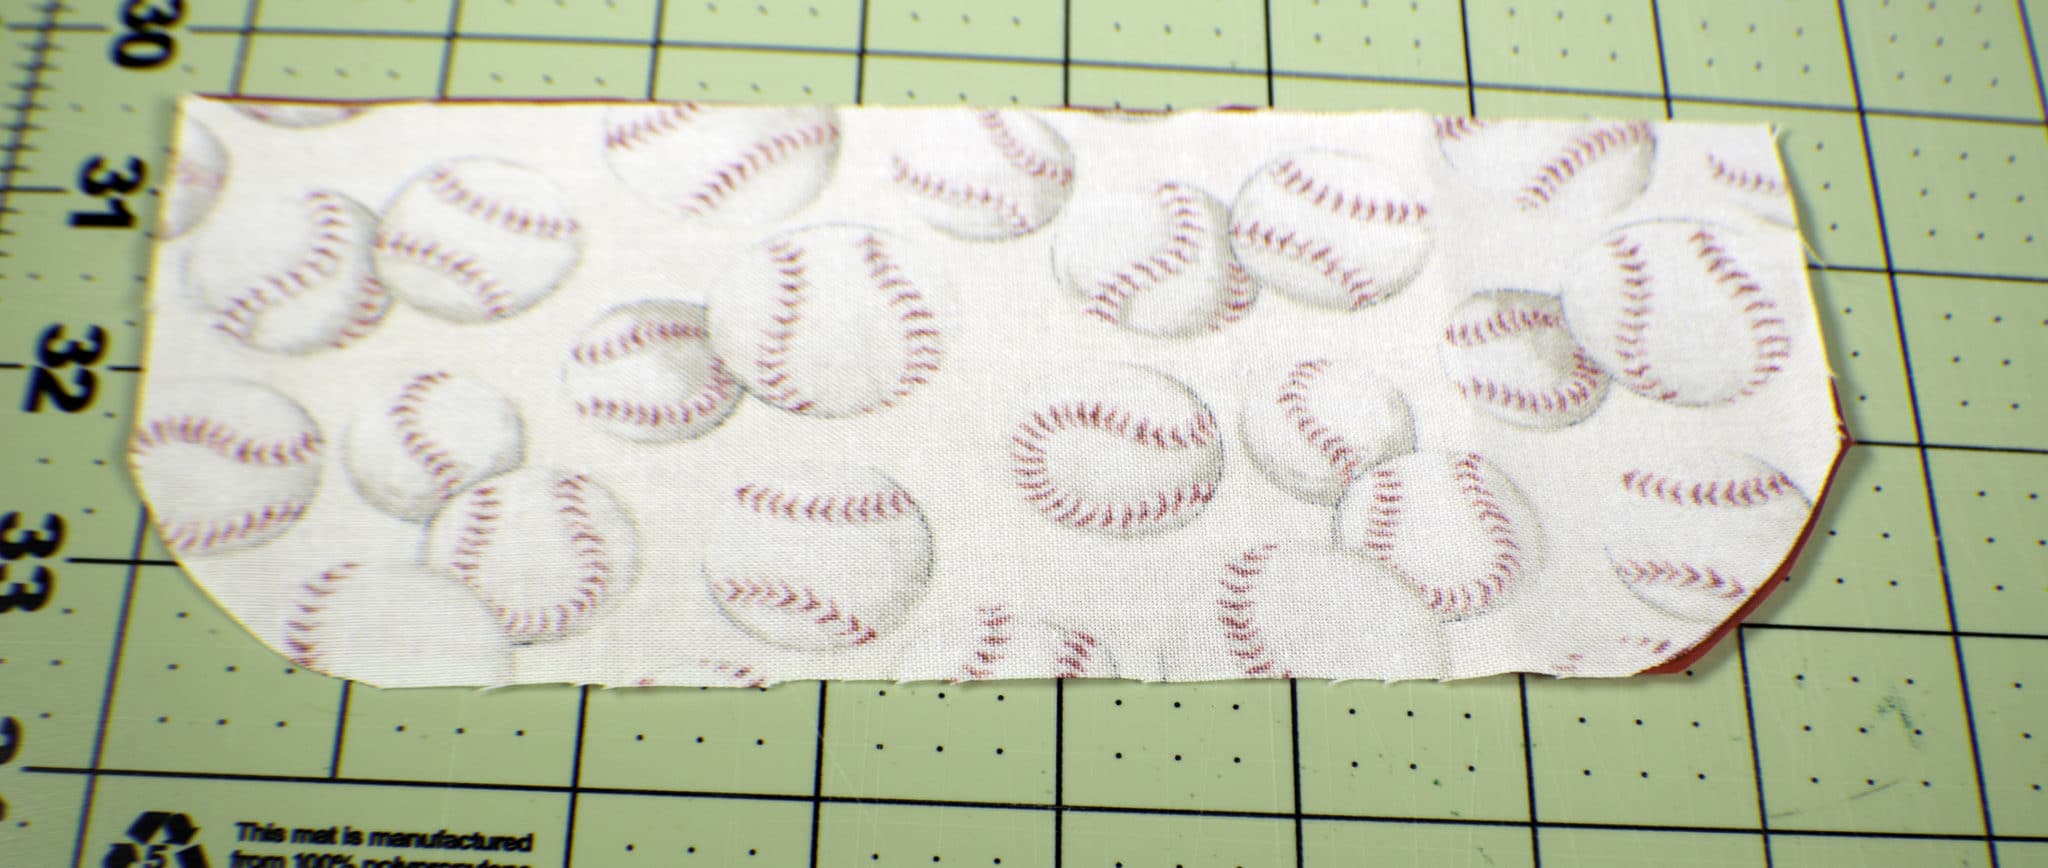
Step 1: How to Make Reusable Sandwich and Snack Bags
Both the sandwich and snack bags are made exactly the same they are just different sizes. Cut out the size you want. Cut one from the main outer fabric and one from the main lining fabric. Make sure these pieces are cut on the fold. Cut one from the flap outer fabric and one from the flap lining fabric. These are just suggested sizes but you can modify this pattern to make it any size that you would like.
Step 2: How to Make Reusable Sandwich and Snack Bags
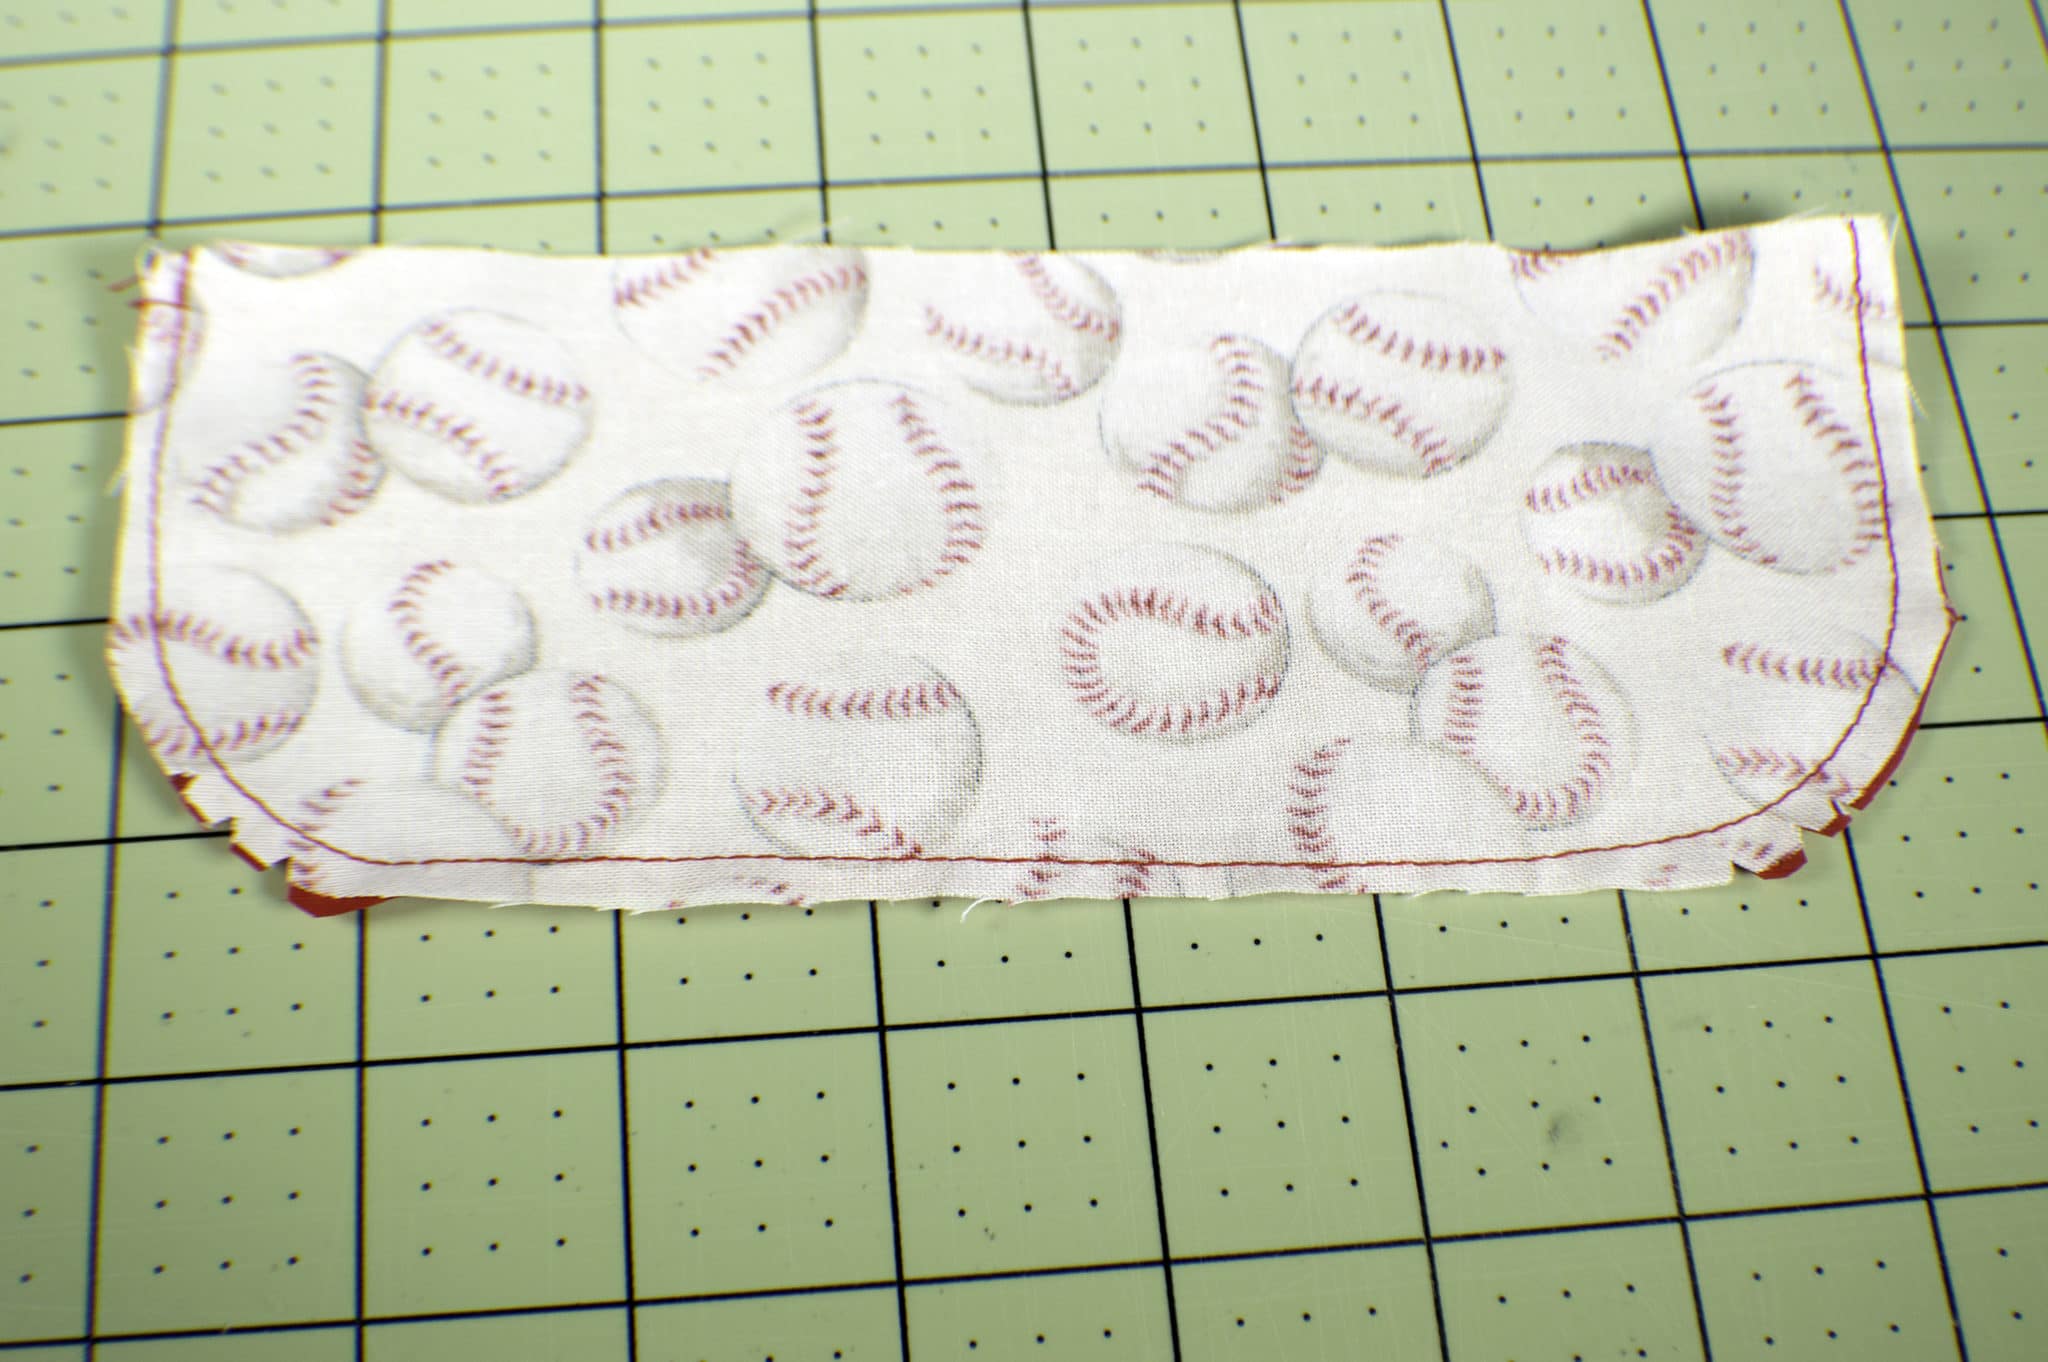
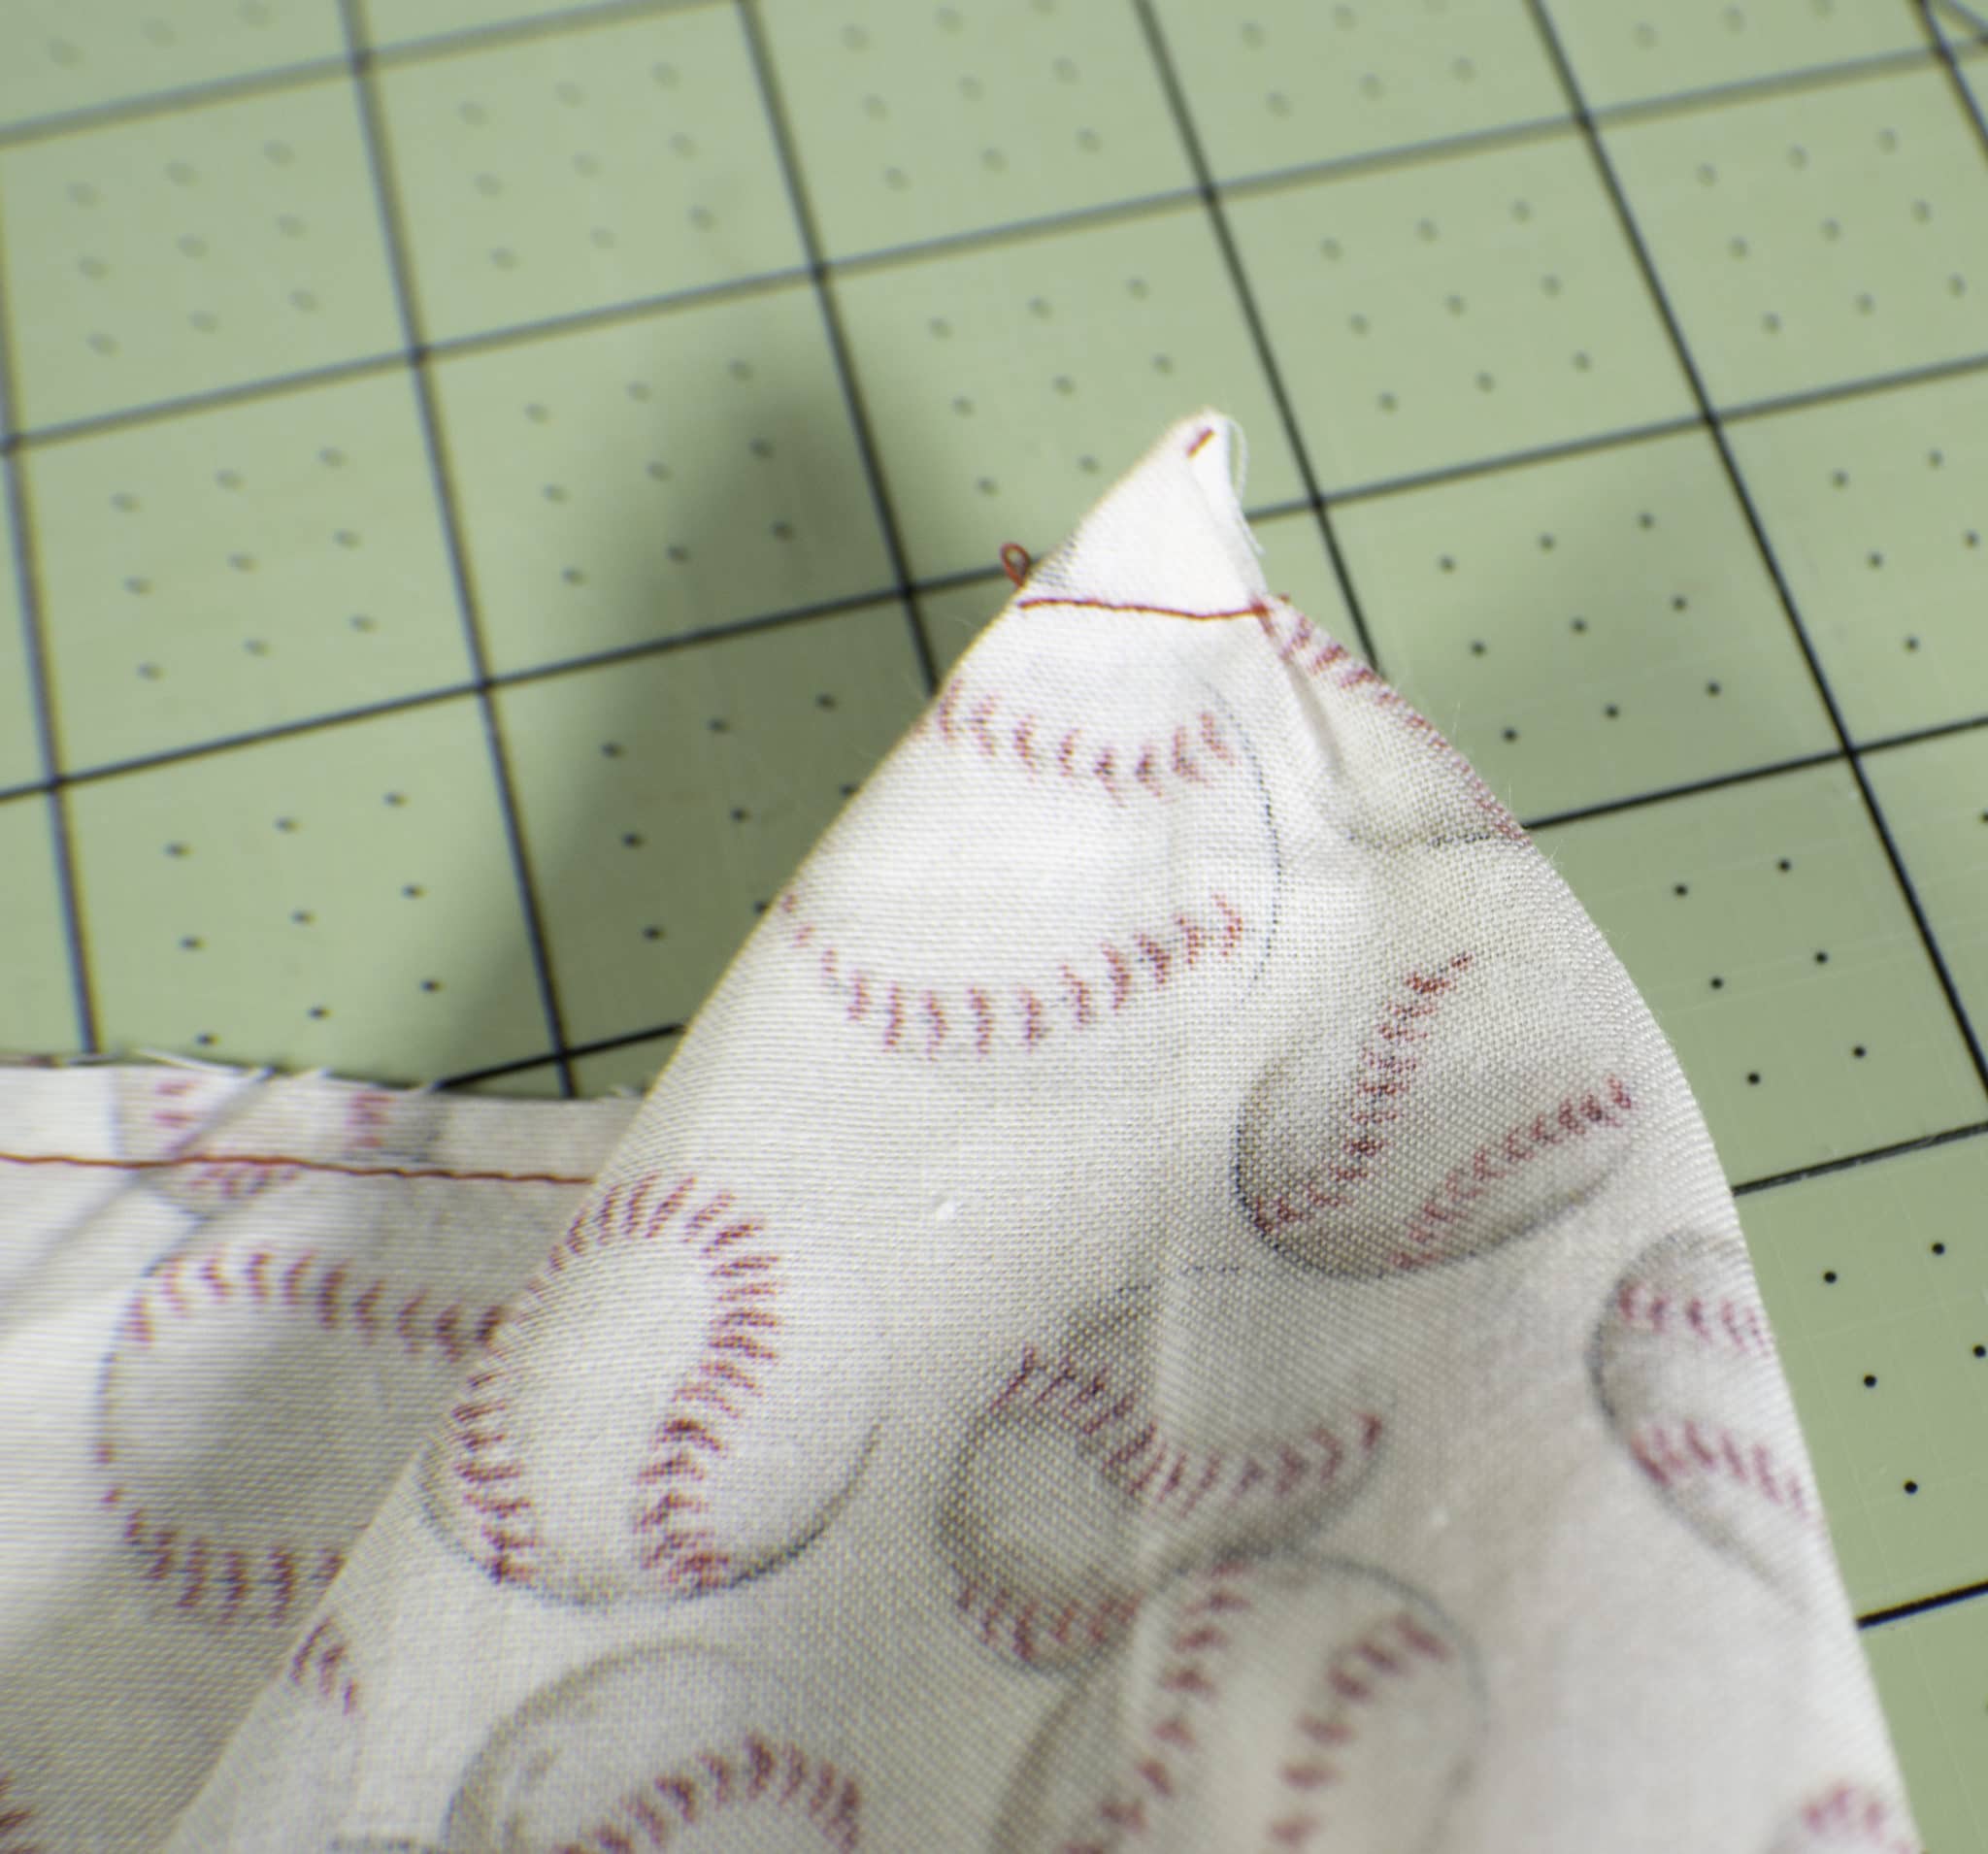
Make the flap first. Place the flap fabric and lining right sides together. Round off the corners using a small glass or other round shape. Sew around the sides and rounded bottom using a 1/4″seam allowance. Leave the top open. Clip the curves by clipping triangles into the seam allowance or use pinking shears. Turn right side out. Top Stitch around sides and curve.

Step 3: How to Make Reusable Sandwich and Snack Bags
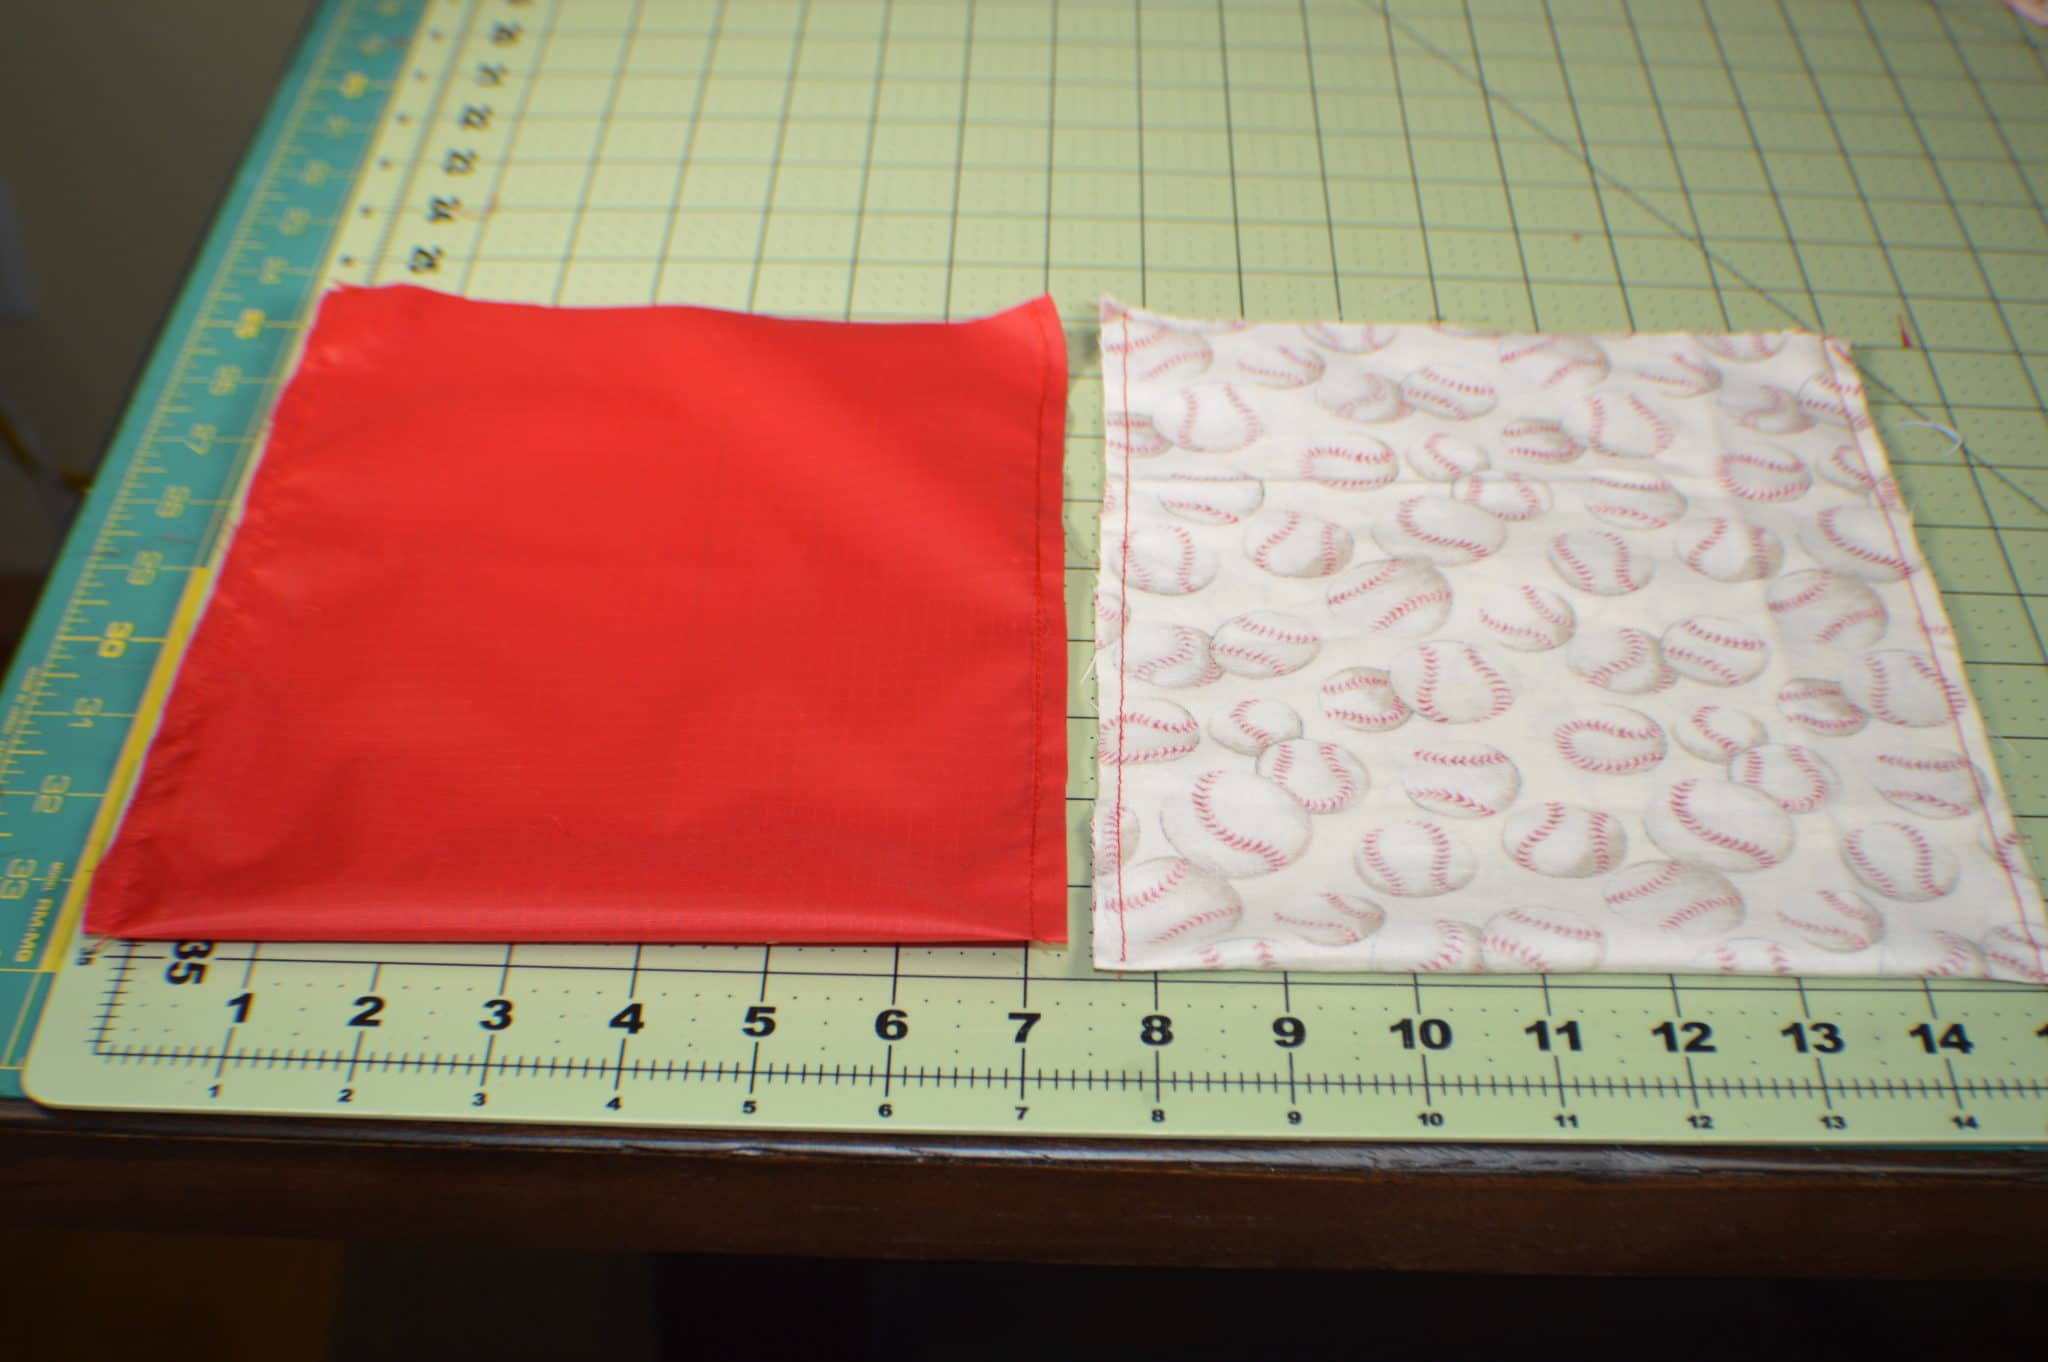
Fold the outer fabric right sides together and sew along the long sides leaving the top open. Repeat for the lining fabric but this time leave an opening on one side of the lining fabric to use for turning the bag. If you have never worked with ripstop nylon before it is a very slick surface. You may have to use a Teflon foot to sew it. If you do not have a Teflon foot take it slow but sure with your regular foot. If you feel that you have to iron your nylon do so with a press cloth on a low setting because it will melt.
Step 4: How to Make Reusable Sandwich and Snack Bags
Box the corners by placing the side seams together with the bottom and sewing across the triangle that you have created. This will square up the bottom to provide room for your sandwich.
Step 5: How to Make Reusable Sandwich and Snack Bags
Pin the flap with the outer fabrics right sides together and the pieces centered.
Step 6: How to Make Reusable Sandwich and Snack Bags
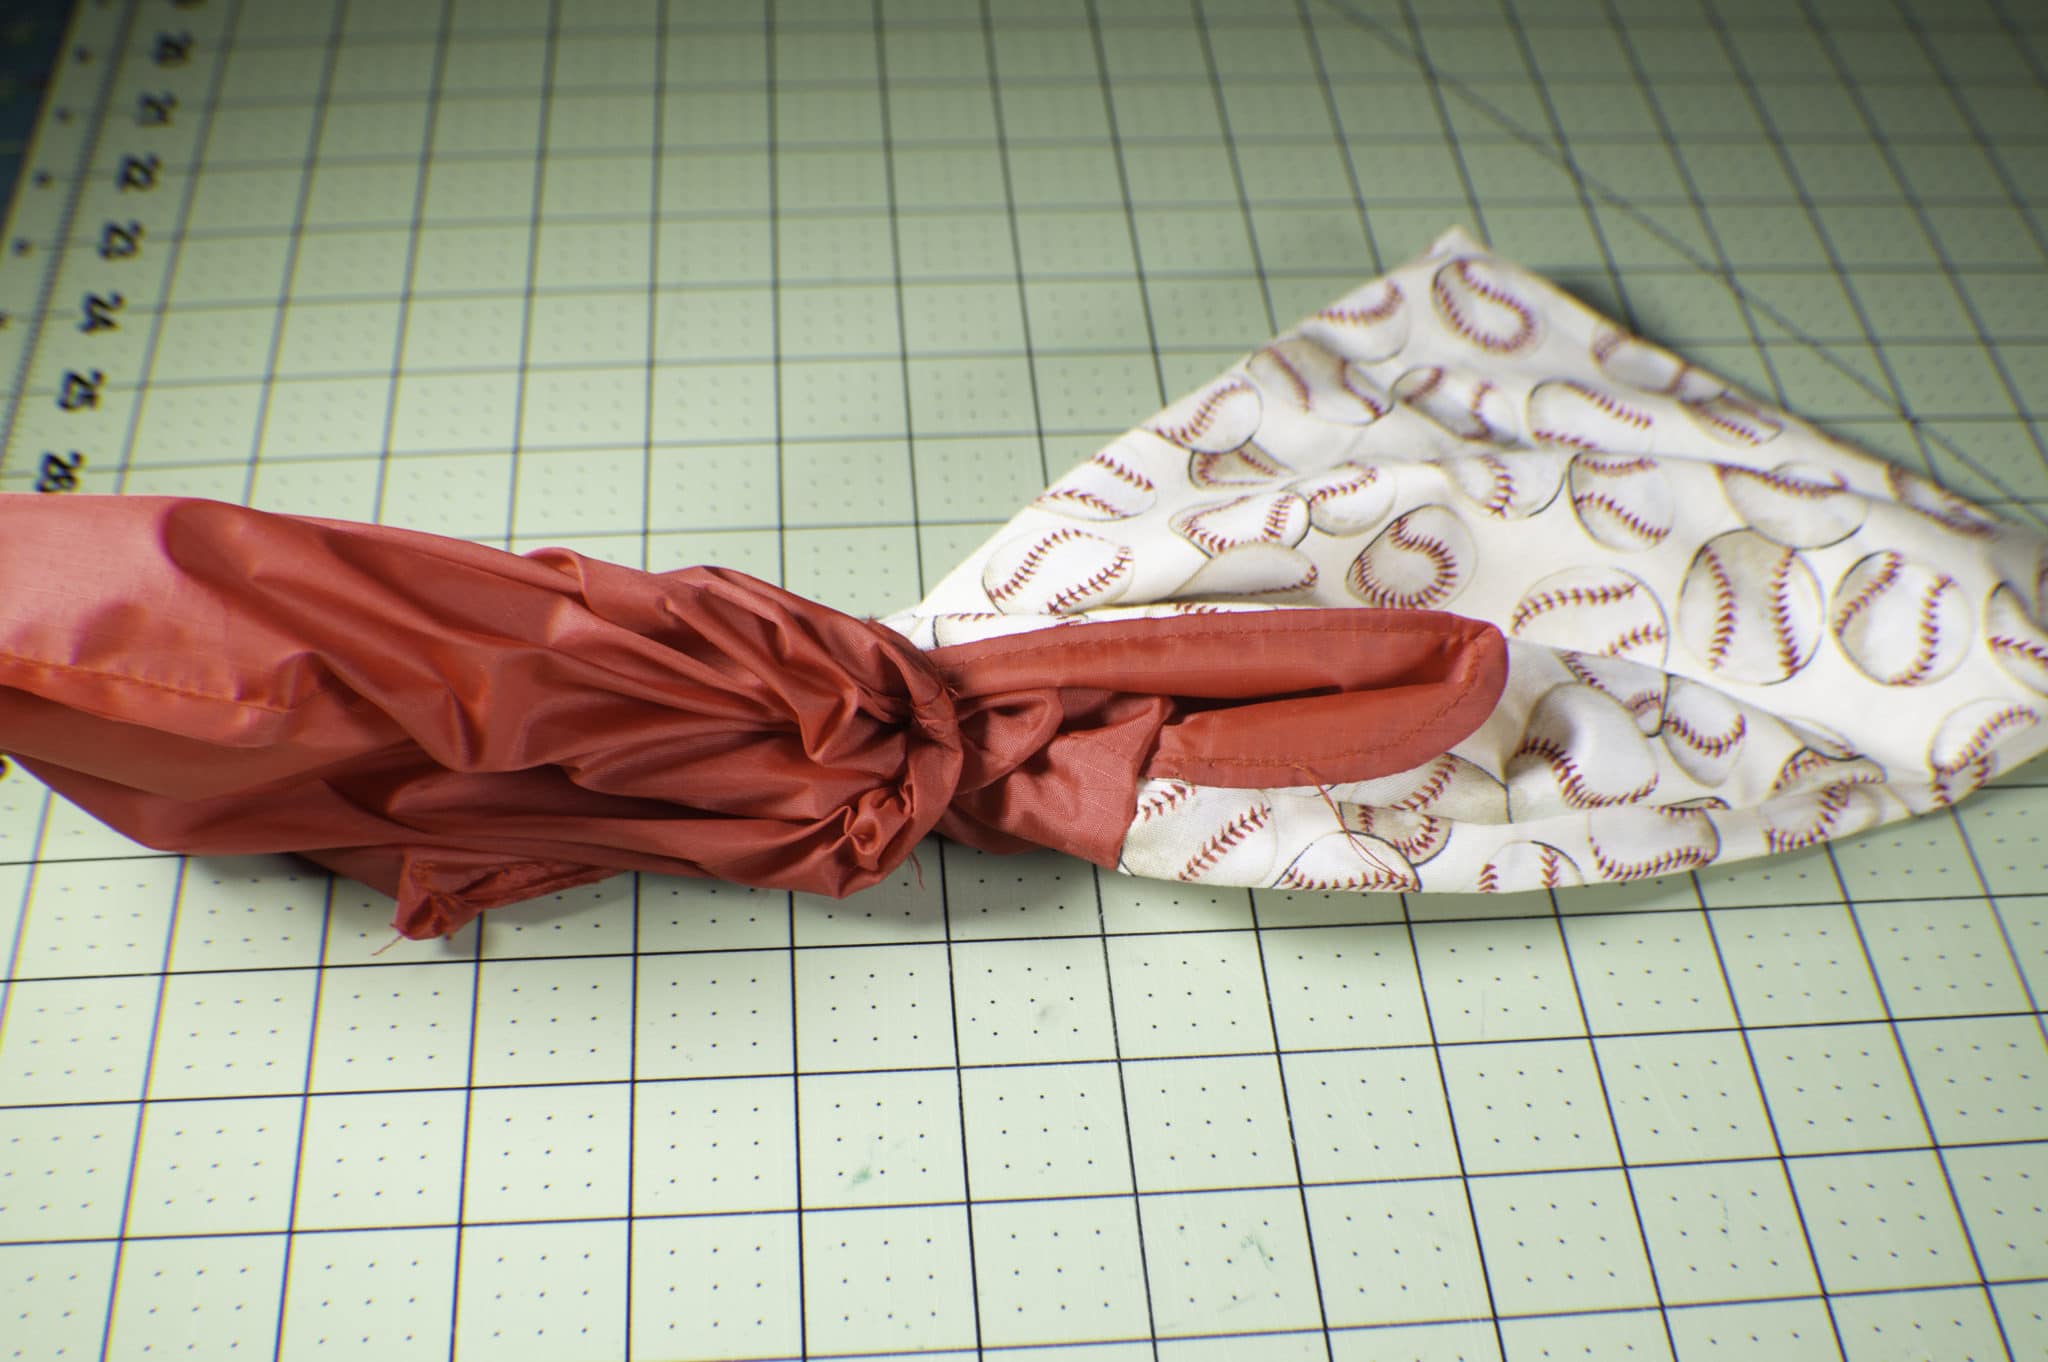
Insert both pieces into the bag you made from the lining fabric. Line up the side seams. Sew completely around the top of the bag.
Step 7: How to Make Reusable Sandwich and Snack Bags
Turn the bag by pulling the outer bag through the opening you left in the side. Push the lining into the outer bag. Top stitch along the front of the outer bag. Close the opening in the lining using ladder stitch.
Step 8: How to Make Reusable Sandwich and Snack Bags
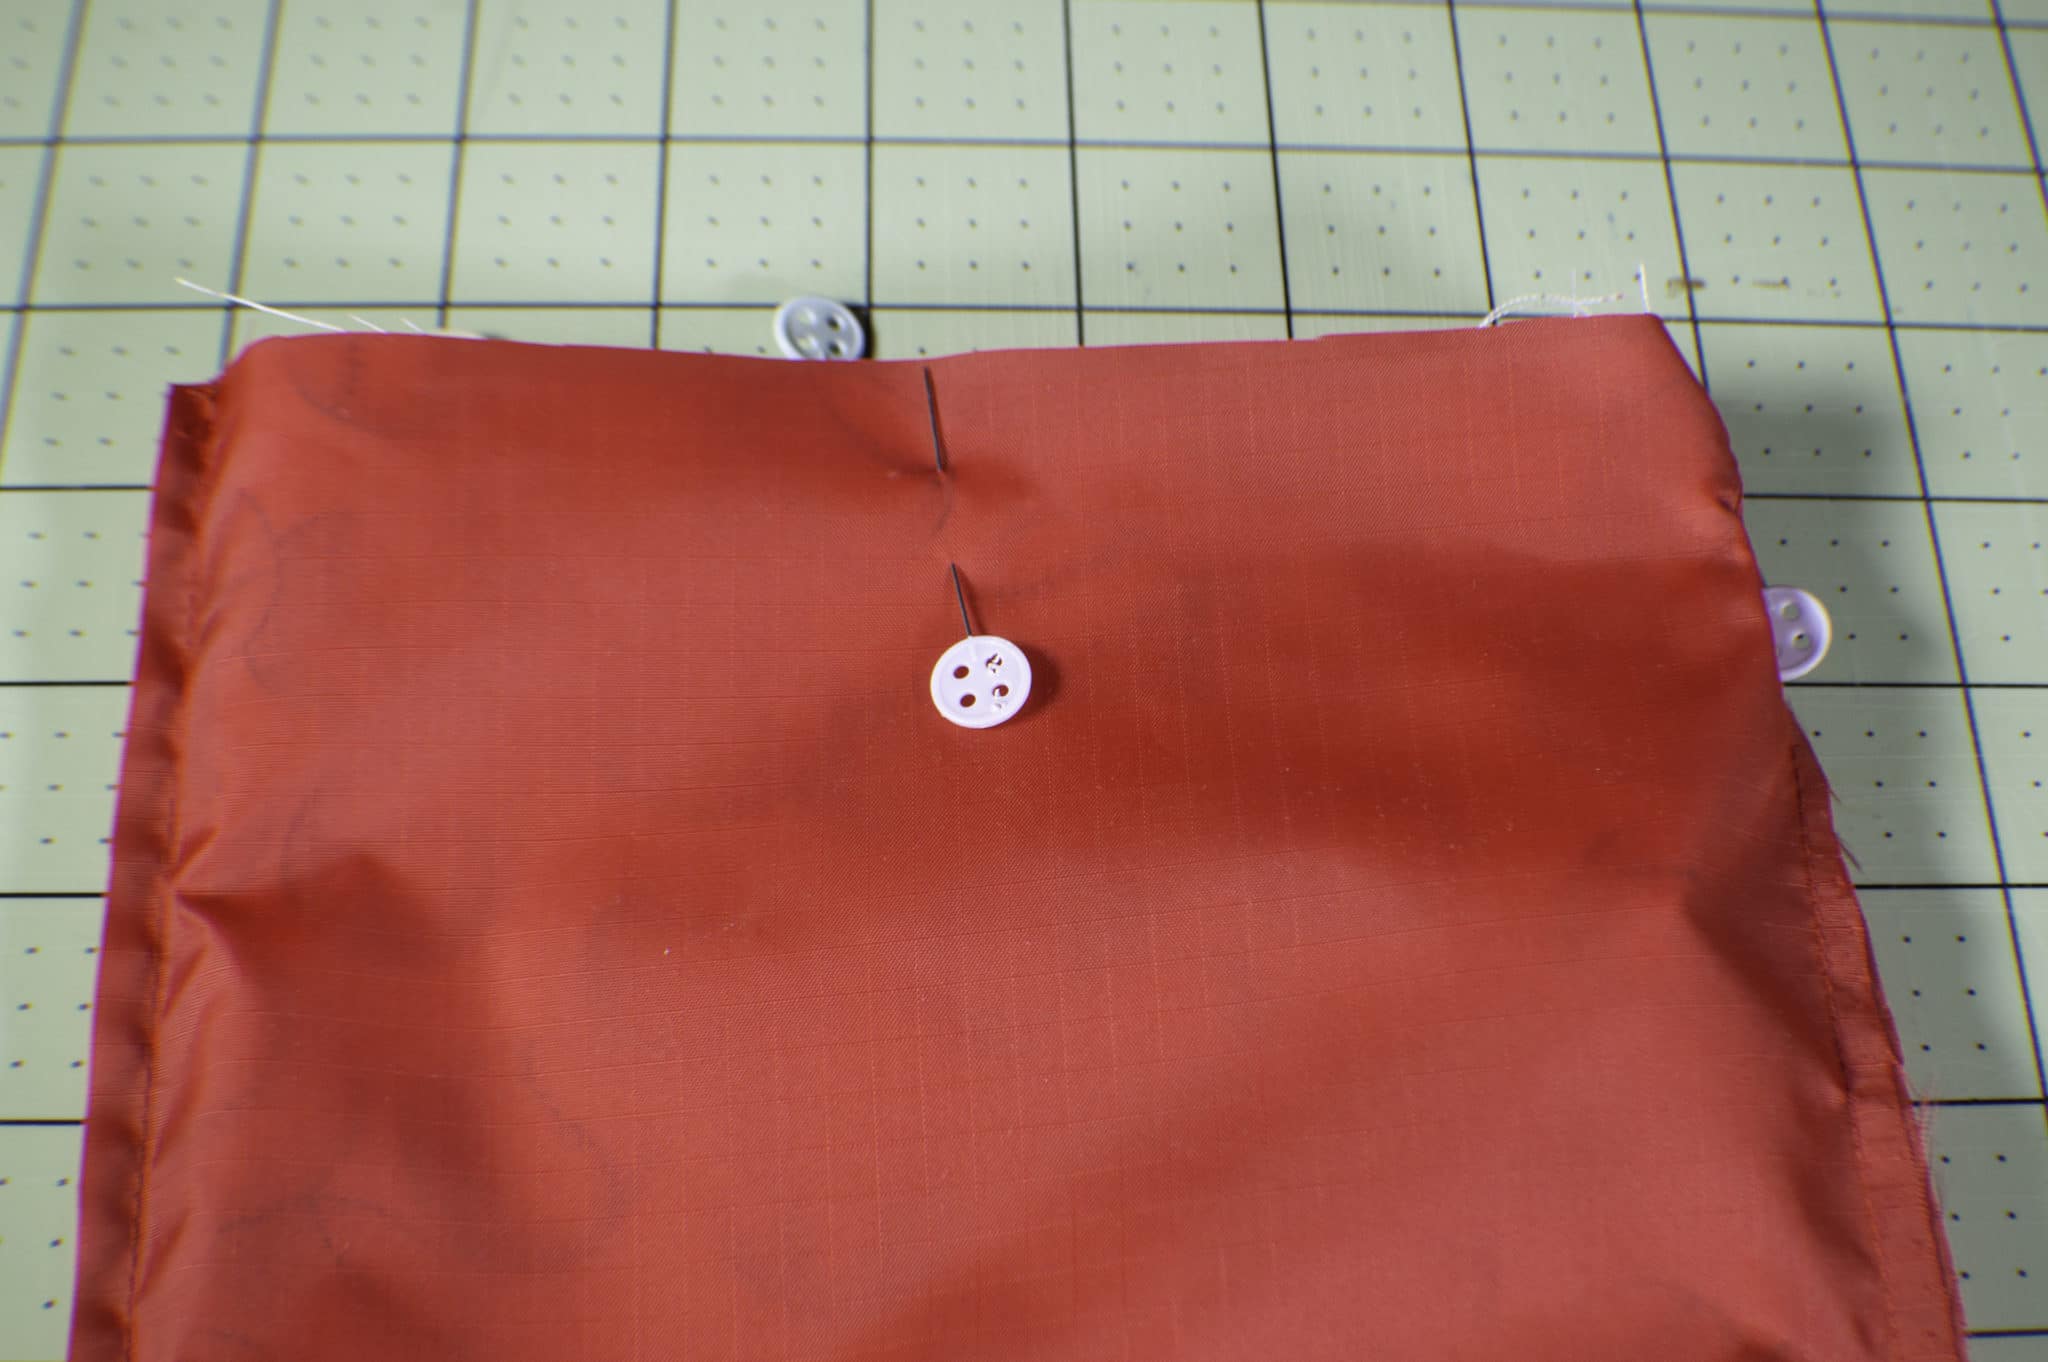
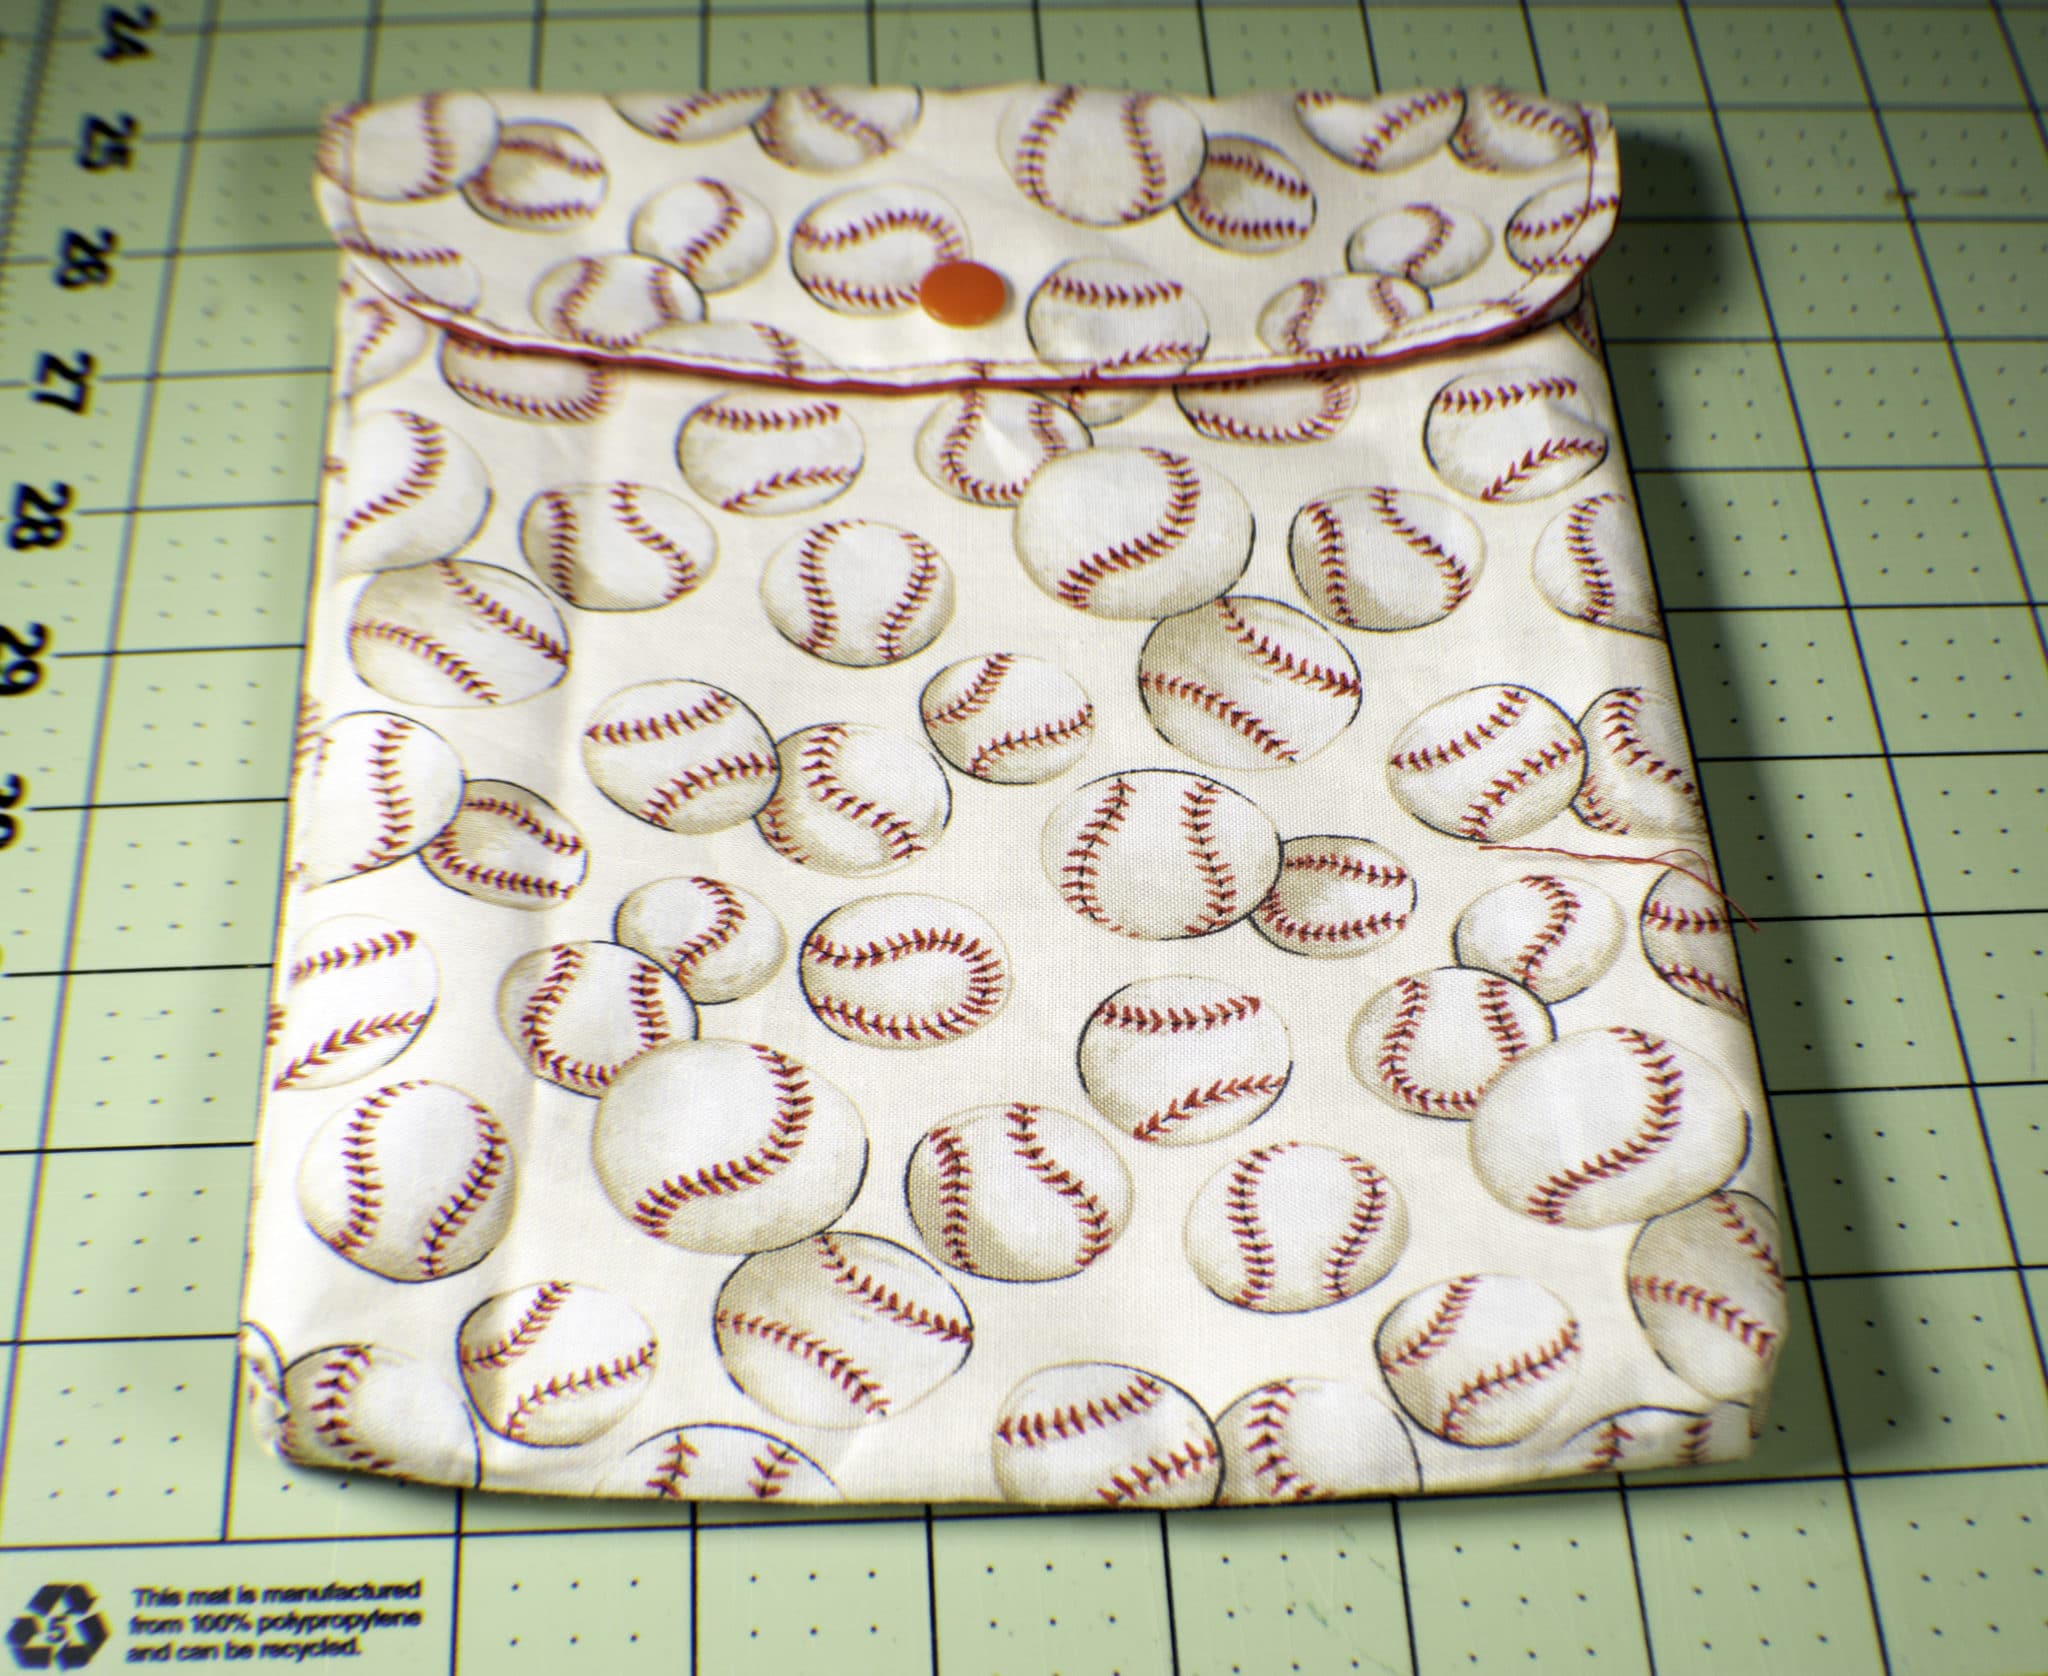
Add the Kam snaps to the flap and the front of the bag as the closure. I like using Kam snaps because they are simple and easy to install and they come in a wide variety of colors. Once you have added your Kam Snaps you have completed your reusable sandwich or snack bag. These bags are washable and the interior ripstop nylon is waterproof. Make sure that when you wash them you wash them on the cold cycle and dry them on a low setting to avoid melting the nylon.
If you want to see a video on how to install Kam snaps check this out.

I hope that you have enjoyed this project and will take the time to make this planet saving sandwich bag option. If you did enjoy this project and would like more projects sign up for our newsletter and receive your free eBook of 15 handbag patterns and tutorials.
If you would like some of my video tutorials subscribe to my free YouTube Channel here.