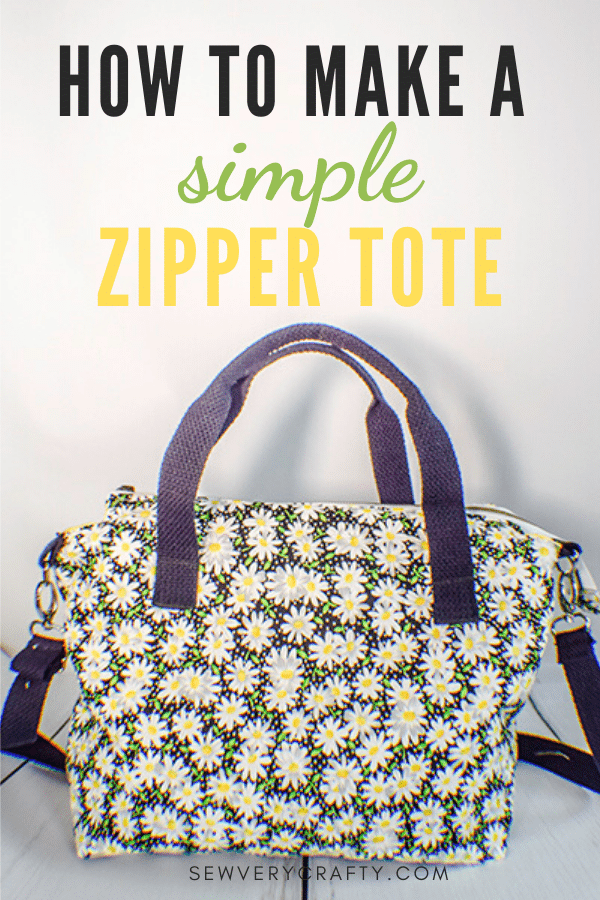
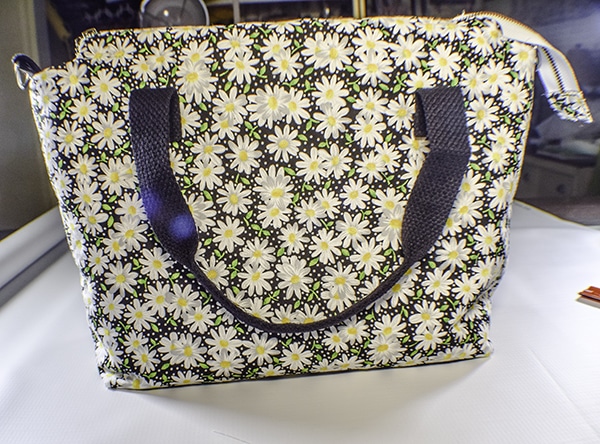
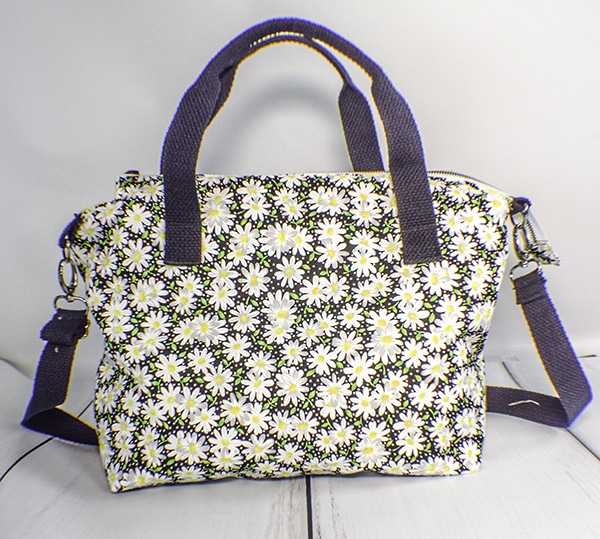
How to Make a Simple Zipper Tote Bag

I love making bags. I needed something that was a little larger than what I was currently carrying so I thought to make one and share it with you so you could make one too. This is a simple sewing project though there are a lot of steps to it so just be patient and you can make one too. This is a terrific handbag that can be made quicker than you think. It is a fun and functional sewing project that if you can sew a straight line you can create this zipper tote bag yourself with a little patience.
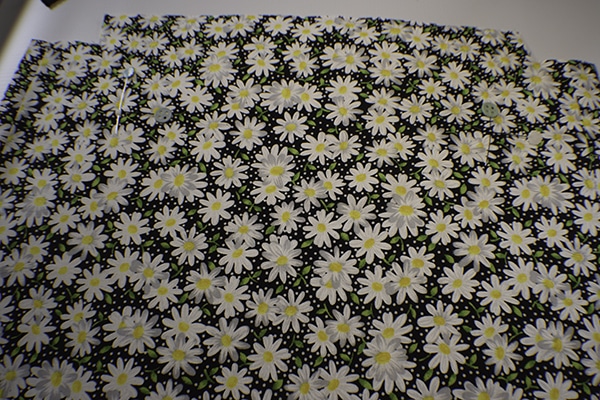
Since it is spring I thought to use this daisy fabric that I used in a previous project and purchased at JOANN Fabric & Craft Stores![]() . Of course you could head to Hobby Lobby or Fabric.com to get the precise fabric for your project. The beauty of making your own handbags is that you can make them to fit every season. How fun is that? This post contains affiliate links that if you click on them and make a purchase I may receive a small commission at no extra cost to you. As an Amazon Associate I earn from qualifying purchases.
. Of course you could head to Hobby Lobby or Fabric.com to get the precise fabric for your project. The beauty of making your own handbags is that you can make them to fit every season. How fun is that? This post contains affiliate links that if you click on them and make a purchase I may receive a small commission at no extra cost to you. As an Amazon Associate I earn from qualifying purchases.
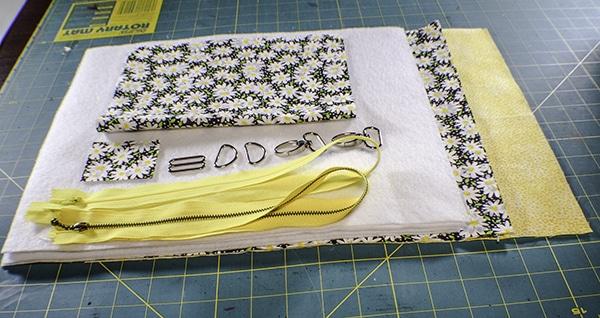
What you will Need: How to Make a Simple Zipper Tote Bag
- 1/2 yd of outer fabric and lining fabric
- 1 yd fusible fleece
- 16″ Zipper that you will shorten
- 8″ zipper
- 1″ Cotton Webbing
- 2 1″ D-Rings
- 1 1″ tri-Glide
- 2 1″ swivel clips
- Standard Sewing supplies
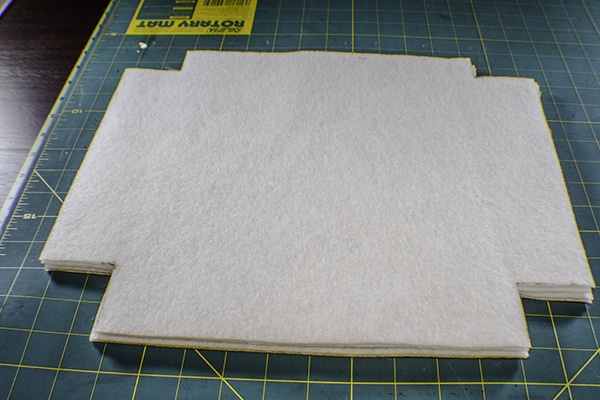
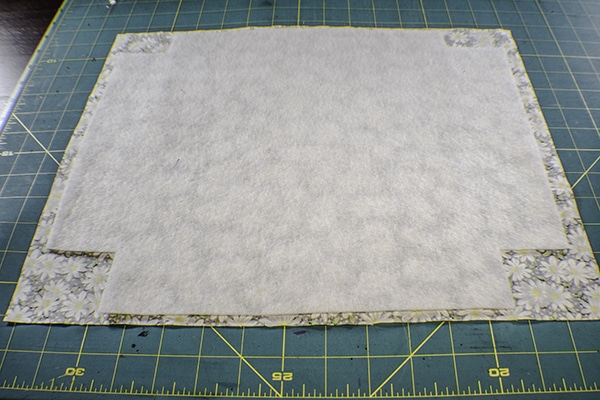
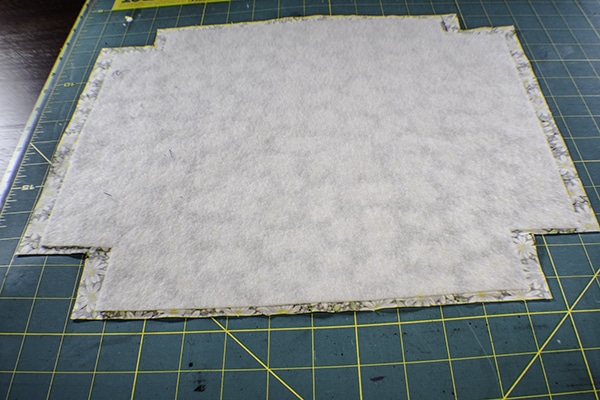
Step 1: Cut your fabrics
From the fusible fleece cut four pieces that measure 14 1/2″ x 11 7/8″ then cut out the corners of the fleece. From the bottom of the fleece cut out 2″ x 2″ squares and from the top of the fleece cut out rectangles that measure 1 1/8″ x 2″. The outer fabric and the lining fabric should measure 15 3/8″ x 12 5/8. Cut out the same size squares and rectangles as you did for the fleece. Cut one small outer fabric piece to measure 2 1/2″ x 2″ for the zipper tabs. An additional lining or outer piece that measures 9 1/2″ x 13 1/2″ for the pocket piece should be cut.
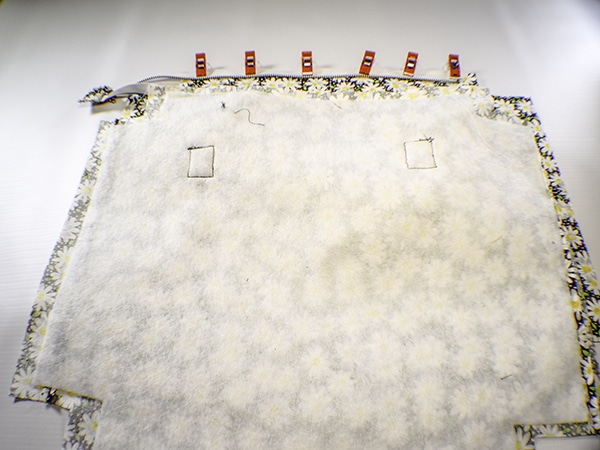
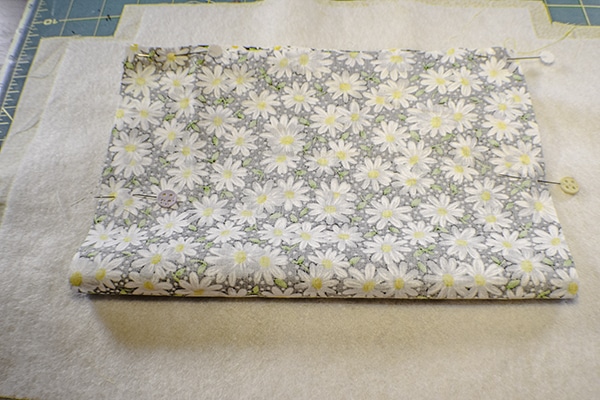
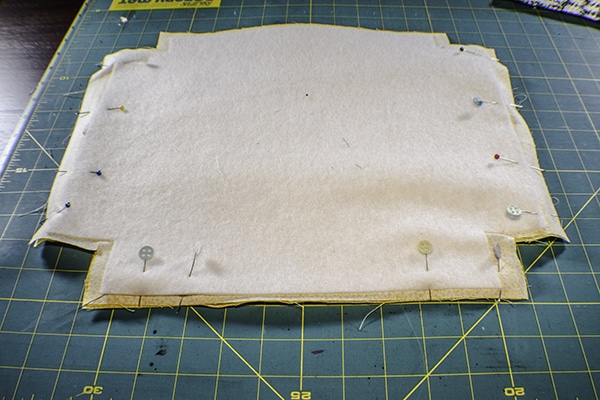
Step 2: Fuse the fleece
Fuse the fleece to the center of the outer and lining fabric following the manufacturers instructions.
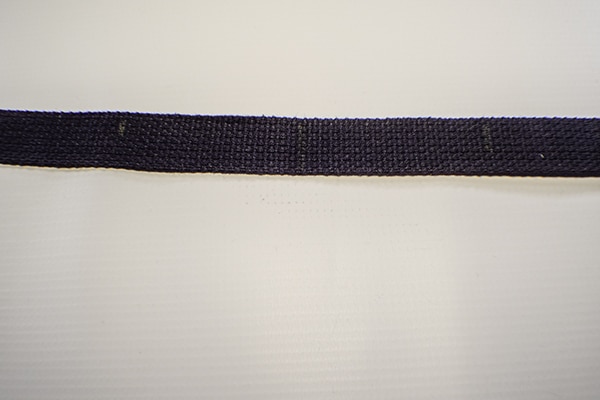
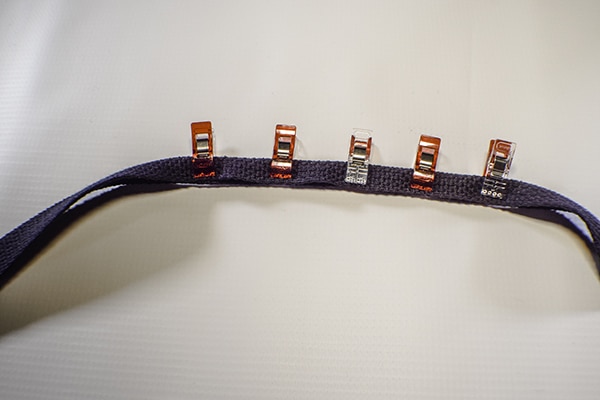
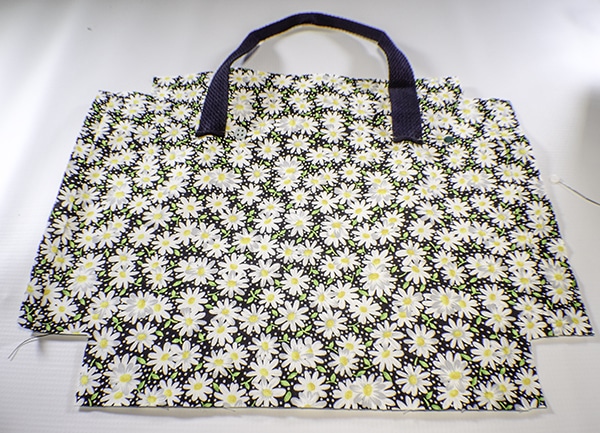
Step 3: Create the Handles
Cut two pieces of strapping that measure 19 1/2″. These will be the handles. Find the center and make a mark using an erasable pen like Frixion that you can find in my Amazon shop here. Measure 3″ on each side of the center mark and make another mark. Fold the strapping in half lengthwise and clip using wonder clips that you can also get in my Amazon shop. Top stitch along just the folded edge.
Step 4: add the Handle
From the bottom of each strap measure up 3/4″ and make a mark. On the outer fabric pieces measure from the top of the fabric down 3 1/2″ and over 4 1/4″ and make a mark on both sides and on both pieces. Pin the strapping so that the center of the strap falls on the mark you just made. Fold under the raw edge at the 3/4″ mark you previously made on the strapping and pin to the fabric. Measure up 1 1/8″ from the folded up strapping and draw a line across the strap. Stitch a box all the way around the bottom of the strap to hold it in place. Do this for all four strap bottoms.
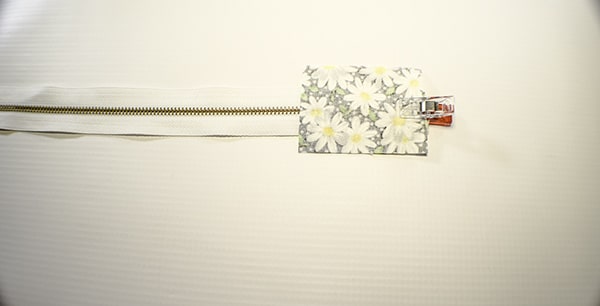
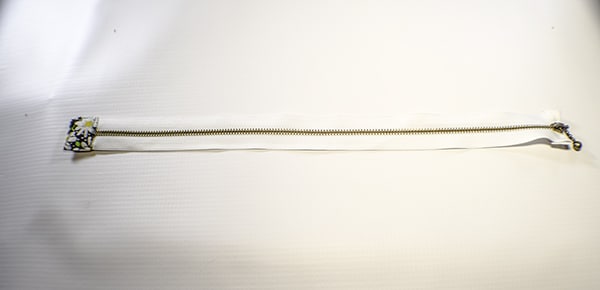
Step 5: Add the Zipper Tab
Measure 14 5/8″ from the top of the zipper and cut the zipper. This will be the length of the zipper. Place the tab piece right sides together with the zipper bottom. Stitch the short end of the zipper tab to the zipper using a 1/4″ seam allowance. Open the tab. Fold in the sides of the tab to be even with the zipper. Fold the raw edge of the tab in by 1/4″ and fold the tab in half and pin to zipper. Stitch all the way around the tab to secure it to the zipper. Fold under the little ears at the top of the zipper and hand stitch them closed.

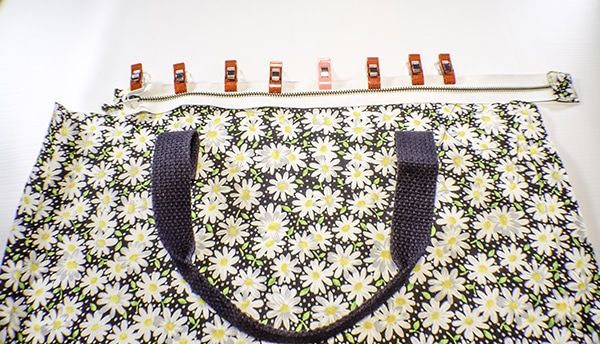
Step 6: Add the Zipper
Measure in a little more than half an inch from the edge of the front and back piece and make a mark on each side. It is really about 6/10″. Place the zipper wrongside down on the front with the top of the zipper at the mark you made. Clip the zipper to the top of the fabric piece stopping at the second mark. Stitch the zipper to the bag just from mark to mark not the whole way. Place the back side of the bag on your work surface right sides up. Place the front side right sides down matching the zipper edge to the raw edge of the back side of the bag. Stitch the zipper to the back side just between the marks as before.
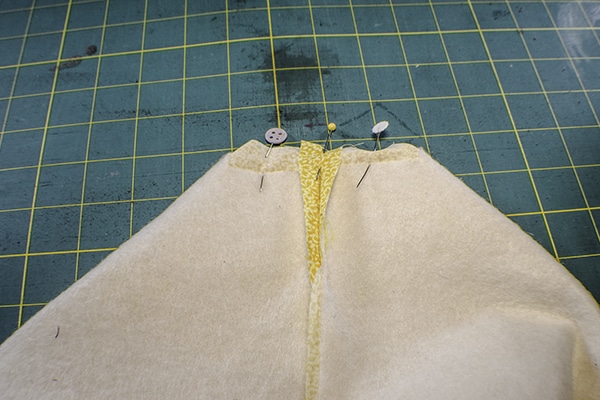
Step 7: Stitch the sides and bottom
Stitch the sides and bottom of the outer bag using a 3/8″ seam allowance.
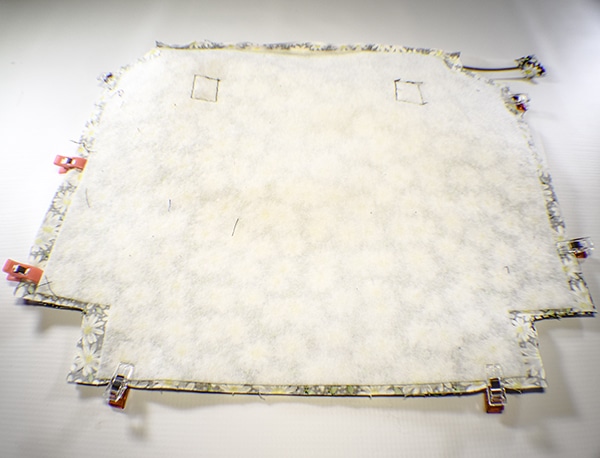
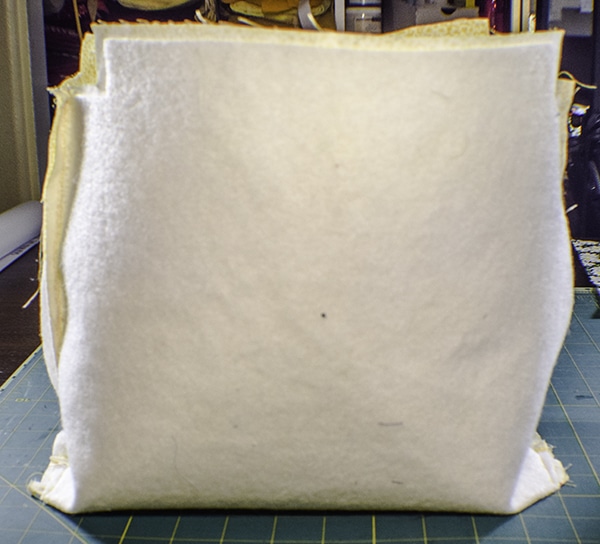
Step 8: box the corners
Box the corners. To do this pinch the bottom side seam to the bottom seam to create a line that closes the opening you created when you cut out the corners. Stitch the seam you created using a 3/8″ seam allowance. Turn the bag right sides out.
[See lining for picture]
Step 9: Add the D-Rings to the tote bag
Cut 2 pieces of strapping that measure 2 3/8″. Wrap the strapping around the D-Rings. Clip the tabs to the top seams of the bag. Stitch them to the bag using a 1/4″ seam allowance.

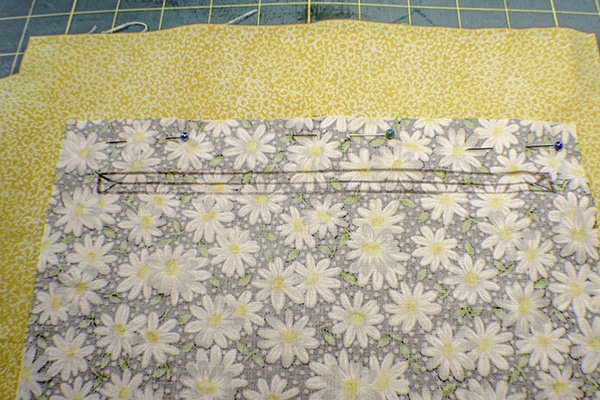
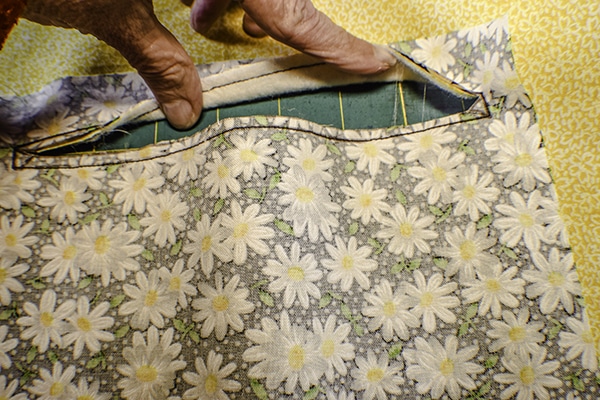
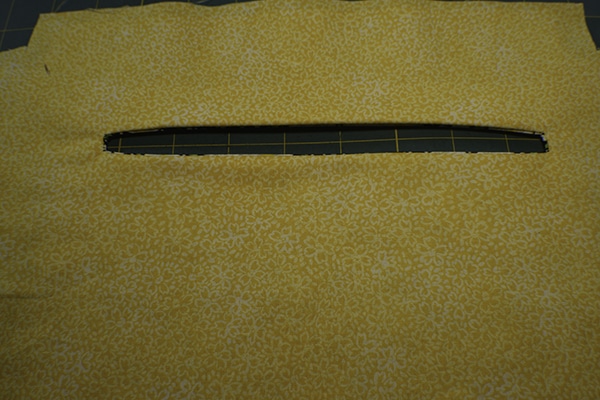
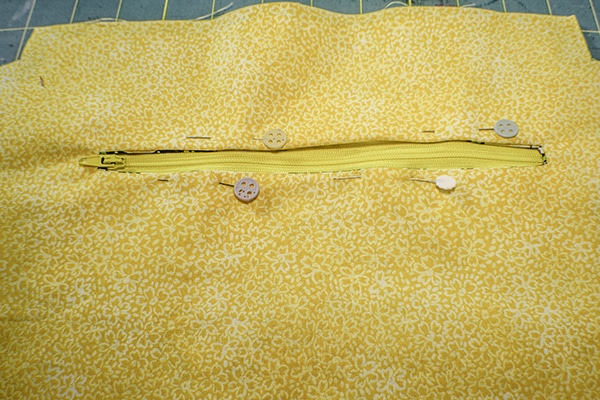
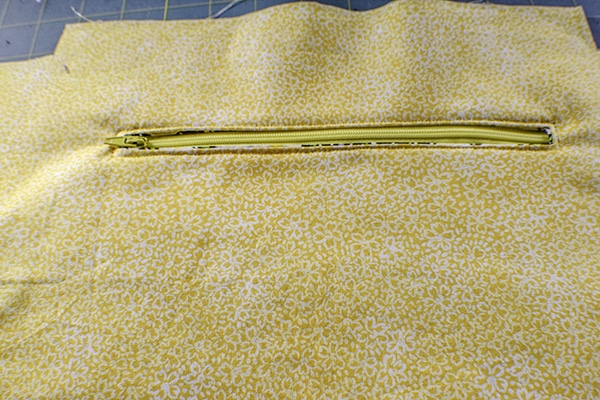
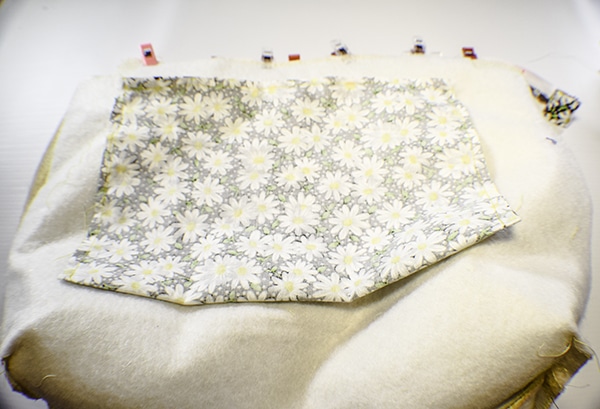
Step 10: Create the inside zipper pocket
Take one of the lining pieces and find the center. Measure down 2″ and make a mark. Place the center of the pocket piece and pin it to the lining piece right sides down. Draw a box 1″ down from the top of the lining piece on the lining piece that is centered and measures 7 7/8″ x 3/8″. Inside the box place two small triangles at the ends and join them with a long line. Stitch around the exterior of the box. Cut the line and the legs of the triangle. Push the pocket piece inside the opening you just created and press. Place the zipper on the reverse side of the lining piece so that the teeth are facing up. Pin and stitch the zipper in place. Turn to the wrong side. Fold up the pocket piece and stitch along the sides and top of the piece remembering not to catch the lining.
Step 11: Stitch the lining to the tote bag
Place the lining right sides together. Sew the sides and bottom using a 3/8″ seam allowance. Leave an opening in the bottom for turning. Box the corners in the same way you did for the outer bag.
Step 12: Add the lining to the tote bag
Place the outer bag inside the lining bag so that they are right sides together. Pin the lining to the outer bag and the zipper. Stitch to the outer bag and zipper all the way around. Turn the bag right sides out through the opening you left in the lining. Push the lining into the bag and press. Topstitch all around the top of the bag. Stitch the opening in the lining closed using ladder stitch or your machine.
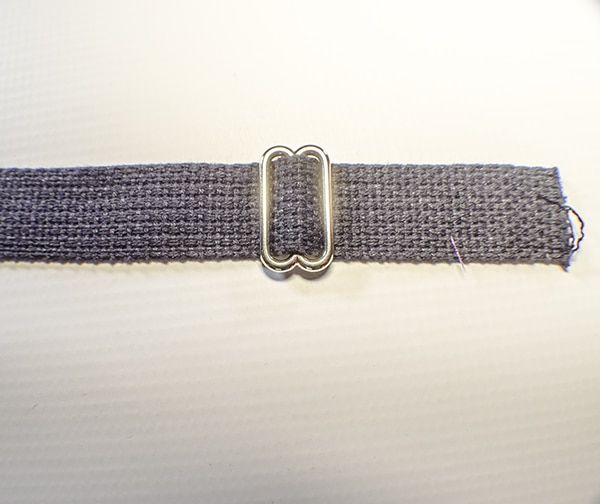
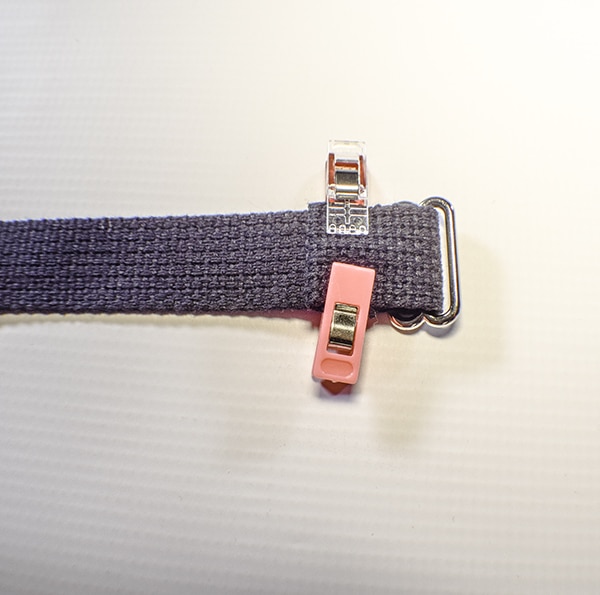
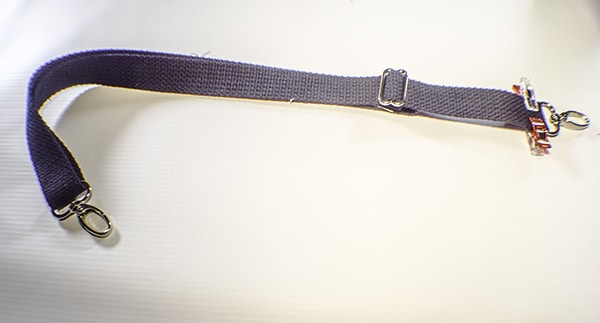
Step 13: Add Hardware to the tote bag
Add the Tri-glide to the shoulder strap. Cut a piece of strapping that measures 39″. Place the end of the strap through one wrung of the tri-glide over the center bar and through the other wrung. Fold the end under and stitch to the strap. Place one of the swivel clips onto the strap. Thread the other end of the strap through the tri-glide then add the second swivel clip. Fold under the end of the strap and stitch securing the swivel clip at the end. One of the swivel clips will be secure and the other one will appear to be free moving. This is the way it is supposed to be. Clip the strap to the bag and you have finished your simple zipper tote bag.
I hope you enjoyed this project. If you would like more sewing and crafting projects sign up for our newsletter and receive your free eBook of 15 handbag patterns and tutorials.
If you would like video tutorials of some of Sew Very Crafty's most popular post subscribe to our free YouTube channel here.