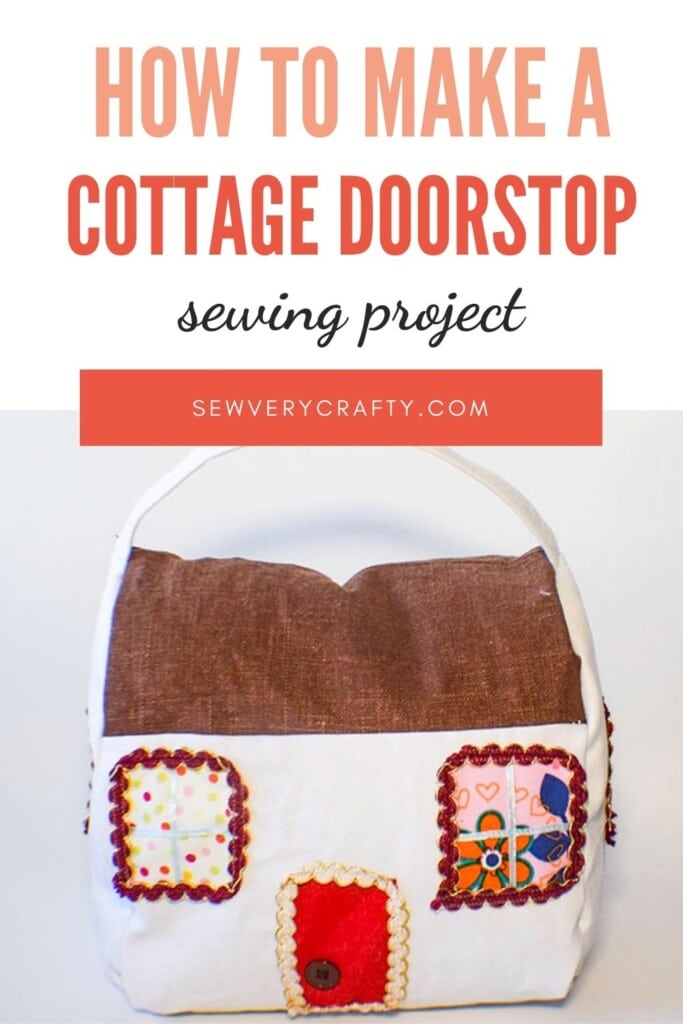
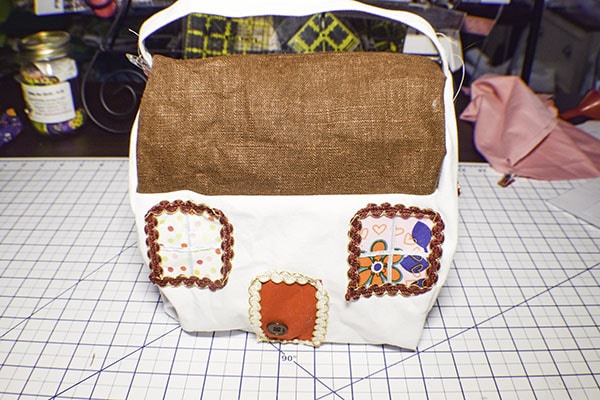
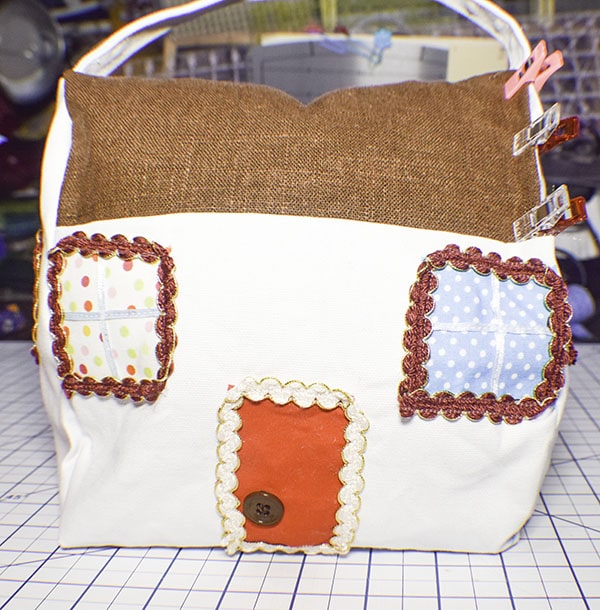
This is the first door stop that I have ever made. I thought it was a cute idea so wanted to share it with you. If you are going to need to keep a door open it might as well be cute. This cottage door stop is not only practical it is fun to make as well. You can really embellish this cottage any way you like. Doors and windows and trim go a long way to really make this cottage cute. I thought to make mine an Irish thatch cottage so I used a white canvas for the body and a brown linen look for the roof. I then used a variety of scraps and trims for the doors and windows.
All of the fabrics and trims were in my stash. Some of the items were purchased at JOANN Fabric & Craft Stores![]() , Hobby Lobby, Fabric.com and onlinefabricstore.net and some were given to me. I love making projects that I can delve into my stash. I am trying to get it to a manageable level. Haha. But this is a good one if you have a stash of fabrics and some scraps. This post contains affiliate links that if you click on them and make a-purchase I may receive a small commission at no extra cost to you.
, Hobby Lobby, Fabric.com and onlinefabricstore.net and some were given to me. I love making projects that I can delve into my stash. I am trying to get it to a manageable level. Haha. But this is a good one if you have a stash of fabrics and some scraps. This post contains affiliate links that if you click on them and make a-purchase I may receive a small commission at no extra cost to you.
What you will Need: How to Make a Cottage Door Stop
- Pattern Pieces you can get by clicking on this link
- 1/4 yd main outer fabric — I used canvas for the body
- 1/8 yd fabric for the roof — I used linen look
- 1/4 yd fabric for the sides
- 1/4 yd Pellon 808 for the roof and sides if using a lighter weight fabric
- 1/8 yd Pellon Wonder Under
- Scraps of fabric and trim for doors and windows
- Small buttons for door knobs

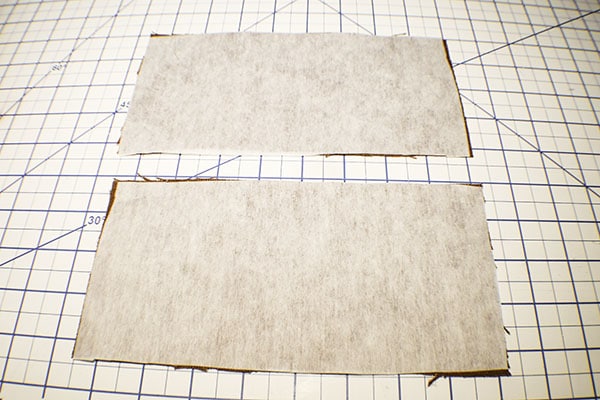
Step 1: Cut out your Fabrics
Using the pattern pieces cut two front/back pieces, roof pieces and side pieces. Cut two pieces of Pellon 808 for the roof and sides.
Step 2: Fuse the Interfacing
Fuse the Pellon 808 to the roof pieces and the sides following the manufacturer's instructions.
Step 3: Create the Handle
Take a piece of fabric that measures 2 1/2″ wide and 10 3/4″ long and fold the long edges to the center and press. Fold in half again to enclose the raw edges and press. Stitch both sides.

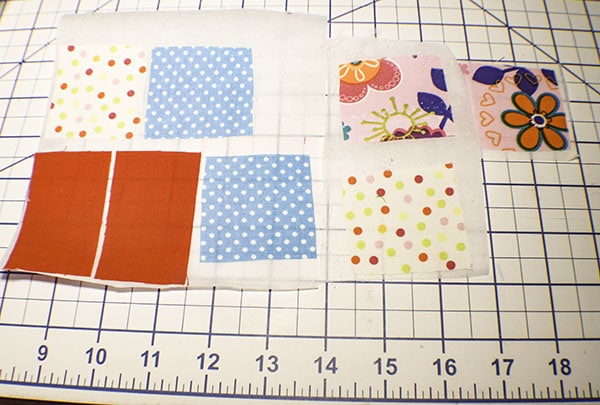
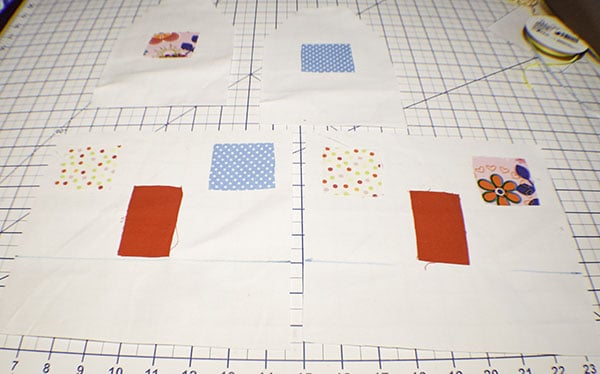
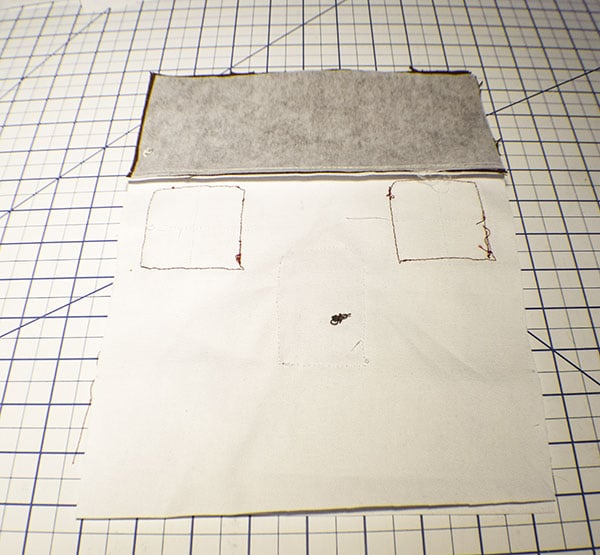
Step 4: Add your Doors and Windows
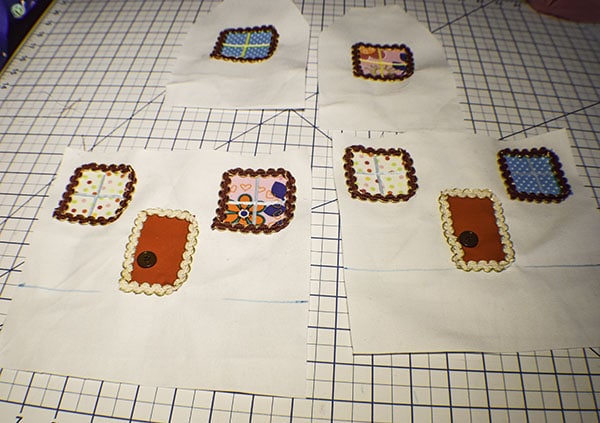
Cut out two rectangles for the doors and six squares for the windows using a variety of scrap fabrics. Place all of these pieces on your Pellon Wonder Under and press on the paper side of the Wonder Under. Cut out the pieces. Peel off the paper and place the doors and windows where you would like them to be on your cottage and press. You will notice that there is a line on the pattern. Make sure that you place the doors and windows above this line. You can use an erasable pen to draw it pin your fabric for guidance. Trim your windows and doors using ribbon or other trim. Add a small button for the door knob.
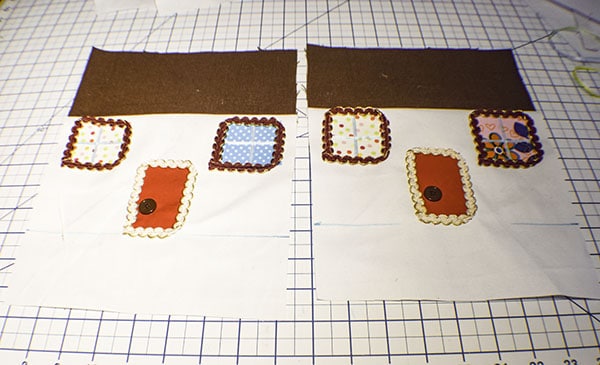
Step 5: Stitch the Roof to the Front and Back
Using a 1/4″ seam allowance stitch one roof piece to the front and one to the back of the cottage door stop. Press.
Step 6: Stitch the Front and Back
With right sides together stitch the roof pieces together using a 1/4″ seam allowance. Also with right sides together stitch the bottoms of the cottage together creating a tube.
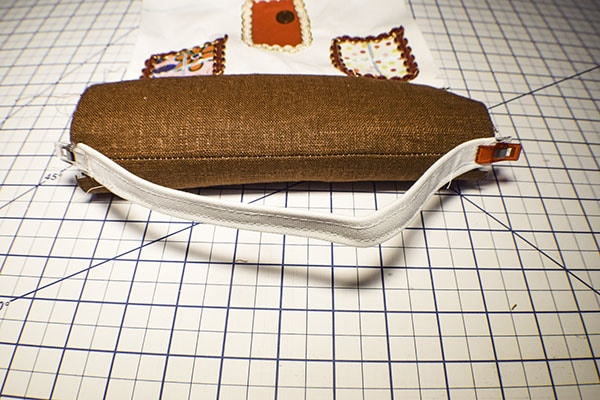
Step 7: Add the Handle
Before adding the handle clip 1/4″ where you drew your lines from the pattern. There will be four small cuts all together. Also, Clip a 1/4″ clip 3/8″ on either side of the central roof seam on both sides tp create a flap. Turn the body of the cottage right sides out and pin the handle to the flaps you just created. Stitch the handles in place using a 1/8″ seam allowance.
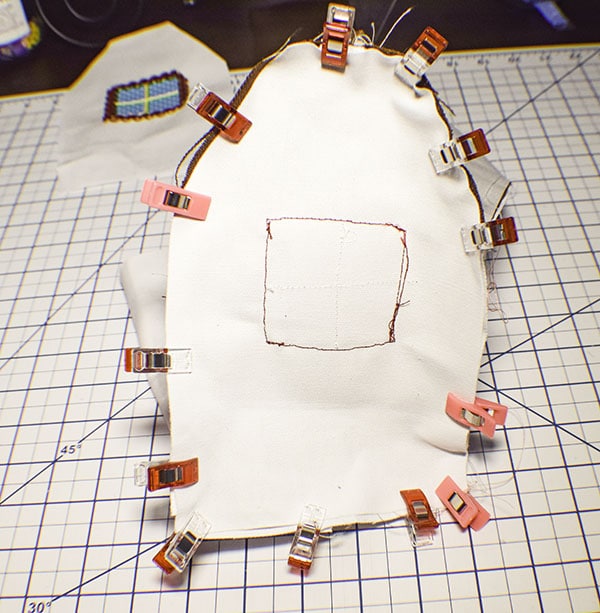
Step 8: Add the Sides to the Cottage Doorstop
Turn the body wrong sides out. Place one side piece right sides together with the body so that the seam from the roof matches the angle of the side. Stitch the side to the body using a 1/4″ seam allowance. Repeat for the other side but leave one of the roof sides open so that you can turn the cottage right sides out. Turn the cottage right sides out through the opening.
Step 9: Fill the Doorstop and Stitch the Opening Closed
Fill the bottom of the cottage with rice or beans for weight and fill the top with polyester fiberfil to fill out the cottage door stop. Stitch the opening closed using ladder stitch.
I hope you enjoyed this cottage doorstop project. If you would like more sewing and crafting projects subscribe to our newsletter and receive access to our free printables library
If you would like video tutorials of some of Sew Very Crafty's most popular posts subscribe to our free YouTube channel here.