
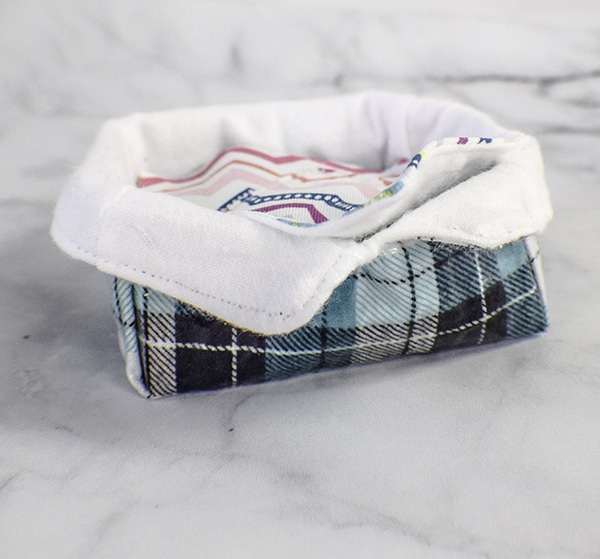
How to Make Reusable Makeup Remover Pads

Tired of all the paper waste in your life. I was, so I decided to make as many reusable products as I could. One of the things I made were these reusable makeup pads. They are super simple to make and washable. Each one takes just minutes. Used with a skin sensitive makeup remover, these pads are perfect. Make as many as you need and just wash them when you are done. These makeup pads and fabric container make great gifts too.
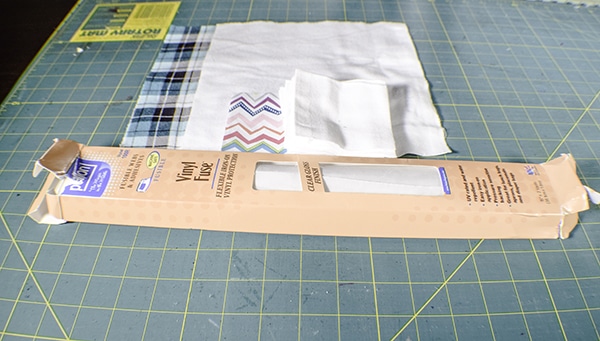
I used soft flannel for my makeup pads. I went to JOANN Fabric & Craft Stores![]() and purchased some white flannel and a patterned flannel for the pads. Basic quilting cotton was used for the container. I decided to use some Pellon Vinyl fuse to make the exterior of my cotton fabric waterproof. You could buy water proof fabric or just leave it plain if you want. I would recommend that you head over to JOANN Fabric & Craft Stores
and purchased some white flannel and a patterned flannel for the pads. Basic quilting cotton was used for the container. I decided to use some Pellon Vinyl fuse to make the exterior of my cotton fabric waterproof. You could buy water proof fabric or just leave it plain if you want. I would recommend that you head over to JOANN Fabric & Craft Stores![]() , Hobby Lobby or Fabric.com to get exactly what you need for this project. This post contains affiliate links that If you click on them and make a purchase I may receive a small commission at no extra cost to you. As an Amazon Associate I earn from qualifying purchases.
, Hobby Lobby or Fabric.com to get exactly what you need for this project. This post contains affiliate links that If you click on them and make a purchase I may receive a small commission at no extra cost to you. As an Amazon Associate I earn from qualifying purchases.
What you will Need: How to Make Reusable Makeup Remover Pads
- Up to 1/2 yd of white flannel
- Up to 1/2 yd of patterned quilting cotton or flannel
- 1/4 yd quilting cotton for outer fabric of container
- 1/4 yd quilting Cotton for lining fabric of container
- Pellon Fusible Vinyl 102R
- Standard sewing supplies
Step 1: Cut your Fabrics
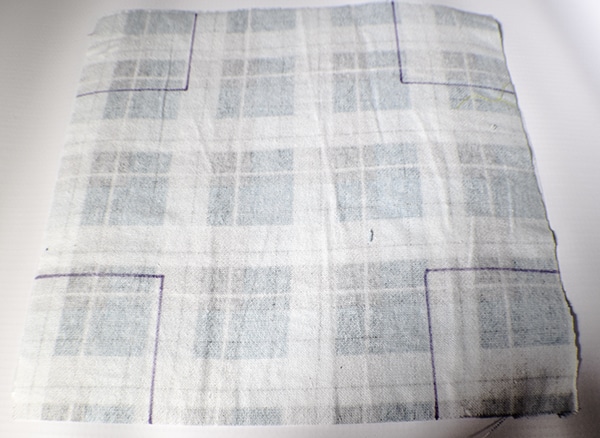
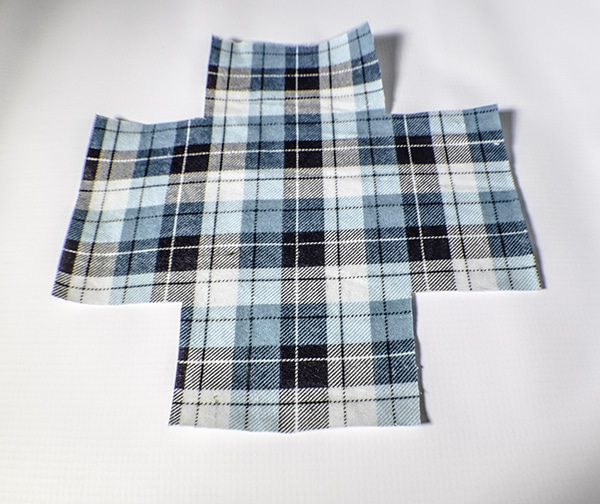
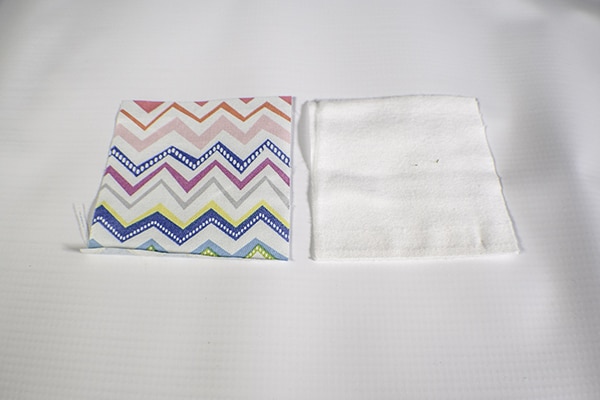
From your fleece cut as many 3.5″ x 3.5″ squares of white flannel and patterned cotton as you want to make pads. From the quilting cotton and the fusible vinyl cut one each of 10″ x 10″ squares. After you have cut the 10″ x 10″ squares cut squares from each corner that measure 2 1/2″.
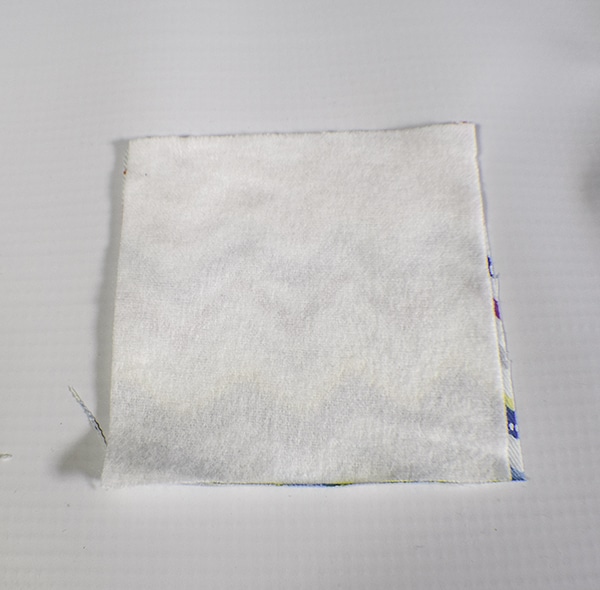
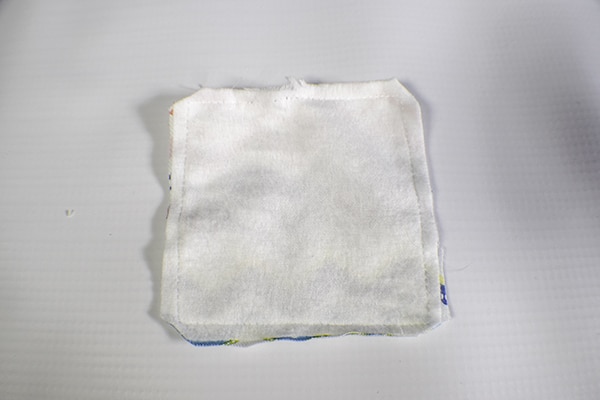
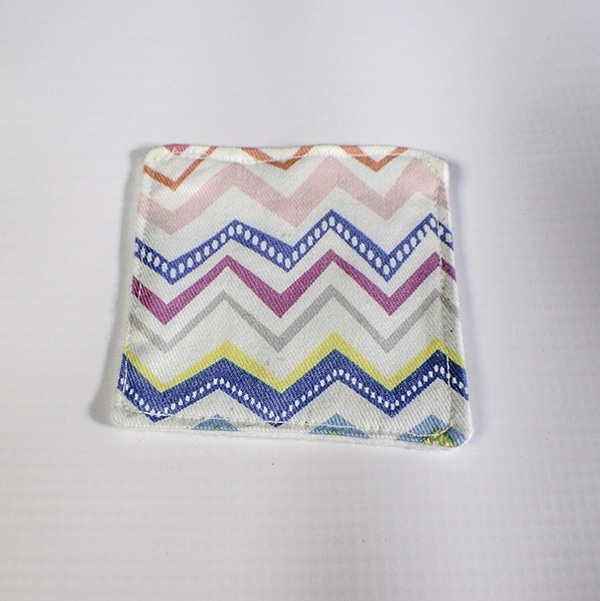
Step 2: Sew the pads
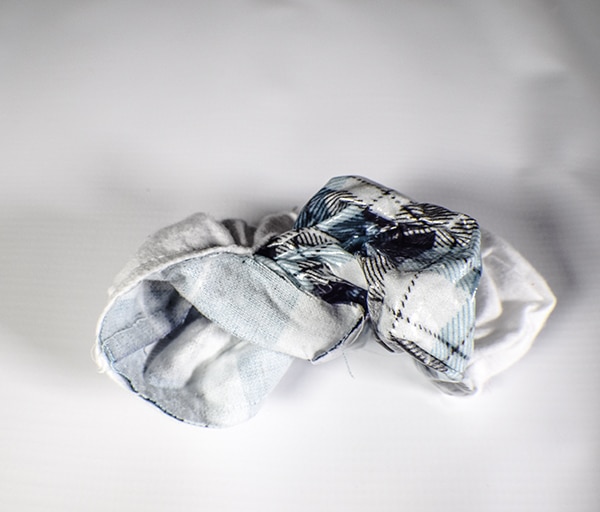
Place the cotton and the white flannel right sides together. Sew all the way around the square using a 1/4″ seam allowance and leaving a small opening to turn the pad right sides out. Turn the pads right sides out using a poking tool like That Purple Thang. Press. Top stitch all the way around the pad using a 1/8″ seam allowance and enclosing the opening you left when turning. Press. You have completed your makeup pads.
Step 3: Fuse the vinyl
If you are using fusible vinyl. Fuse the vinyl onto your outer cotton 10″ x 10″ piece of fabric following the manufacturers instructions. I like this product because I can use any fabric I have on hand and make it waterproof.

Step 4: Create the Container
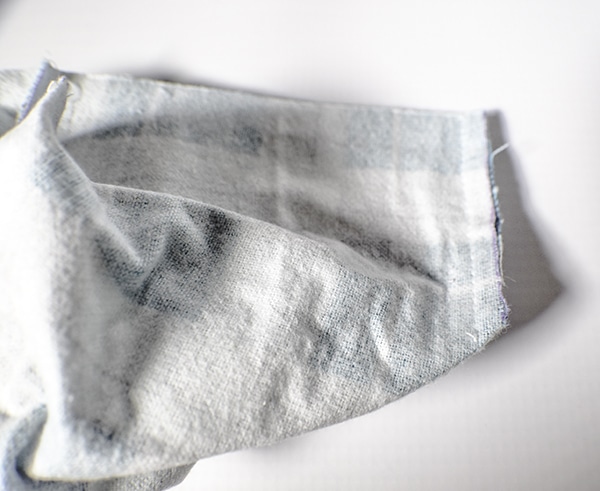
Box the four corners of the outer container and the lining container. To do this, simply align the raw edges of the corners together and clip or pin. Do this for each corner. Stitch across using a 1/4″ seam allowance. You have now created your two containers.
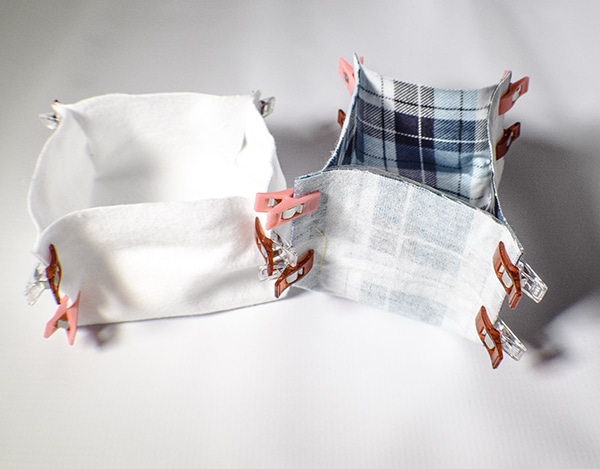
Step 5: Sew the Container
Place the outer container inside the lining container so that they are right sides together. Cut a slit on one side of each of the containers that measures 1″ and centered. Stitch around the top and the slit but leaving a small opening so that you will be able to turn the container right sides out.
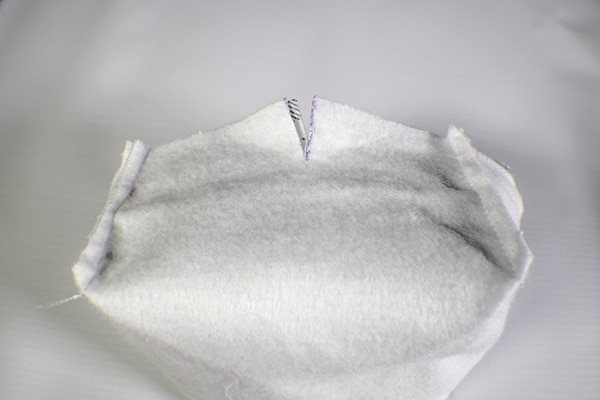
Step 6: Turn the Container
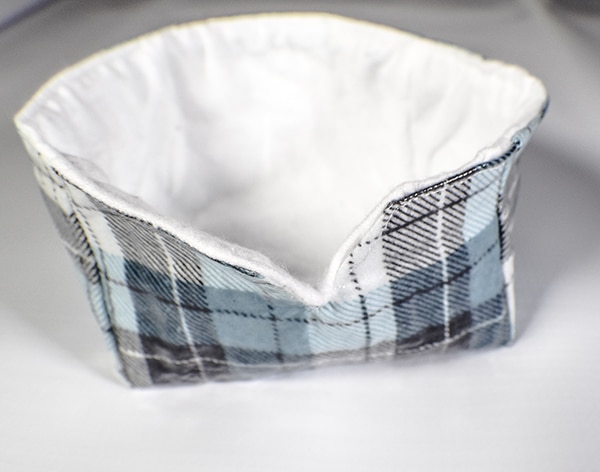
Turn the container right sides out through the hole you left in the top. finger press the seams. Top stitch all the way around the top and the slit enclosing the opening. You have finished your container. Place your makeup pads in the container and you are ready to use. them.
I hope you enjoyed this project, If you would like more sewing and crafting projects sign up for our newsletter and receive access to our free printables library.
If you would like video tutorials of many popular Sew Very Crafty projects subscribe to our free YouTube Channel here!


I’ve been wanting to make these for a while! Great post
Thank you so much.