
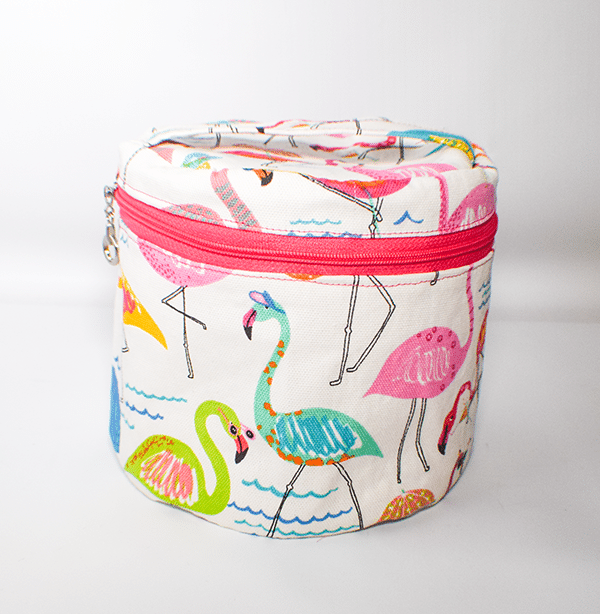
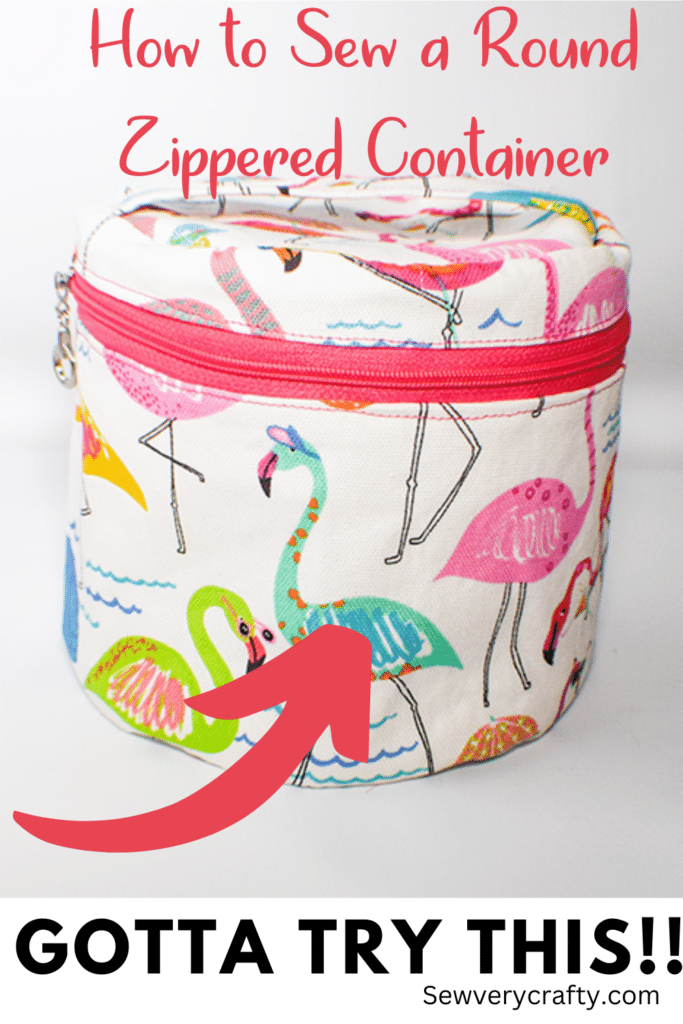
I love these round zippered containers. They are great for storage and can be made in no time. This round zippered container is a nice size for storing a variety of things. It is a fairly simple project to sew but it does have a zipper and uses bias binding so take care in stitching this one up. The zipper is pretty easy to install so don't be intimidated by it. If you would like another simple zippered pouch check out this one.
I used cotton canvas for the outer container and quilting cotton for the dining. I also used a continuous zipper for this project. The fabrics were purchased at JOANN Fabric & Craft Stores![]() but you could head to Amazon Fabrics or
but you could head to Amazon Fabrics or
What you will need: How to Sew a Round Zippered Container
- 1/2 yd outer and lining fabric
- 1/4 yd Pellon 808 interfacing
- 16″ zipper
- Sewing Machine
- Standard Sewing Supplies
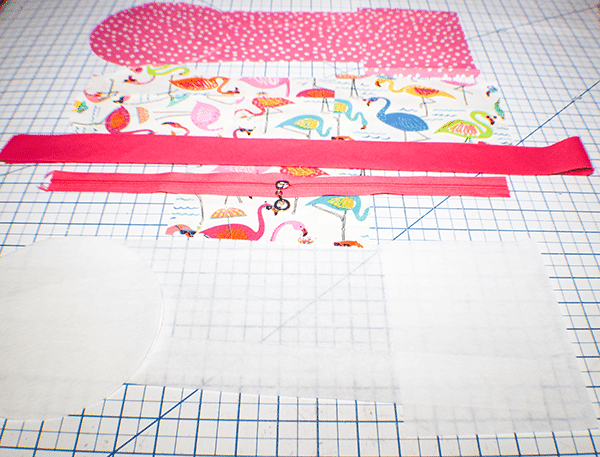
Step 1: Cut your Fabrics
Cut three 6 1/2″ circles from the outer, lining, and interfacing. For the sides cut an outer, lining, and interfacing piece that measure 15 3/8″ x 5″. Cut an outer, lining, and interfacing piece for the back panel that measures 5″ x 6 7/8″ . An outer, lining, and interfacing that measure 15 3/8″ x 1 5/8″. Cut an outer piece that measures 4″ x 6 1/2″ for the handle. Finally, cut two pieces of 1 1/2 bias binding that measure 44″.
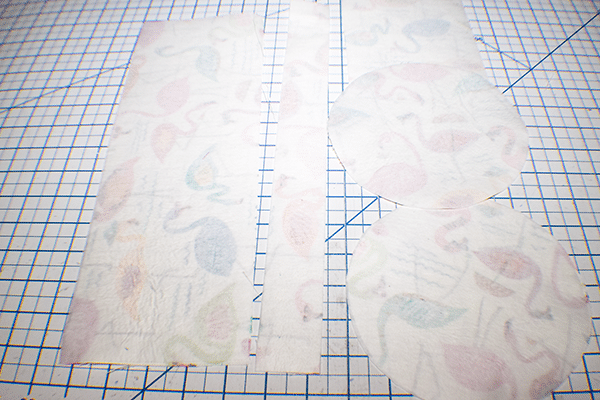
Step 2: Fuse the Interfacing
Fuse the interfacing to each of the corresponding user fabric pieces following the manufacturer's instructions.
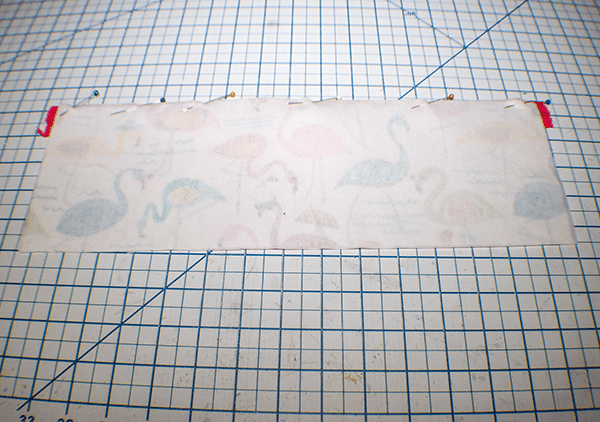
Step 3: Add the Zipper
Place the bottom lining side right sides up on your work surface. Center your zipper right sides up on the lining. Lay the bottom outer side right sides down on the zipper to create a zipper sandwich. Stitch through all layers using a zipper foot. Turn right sides out. Press and topstitch along the zipper.
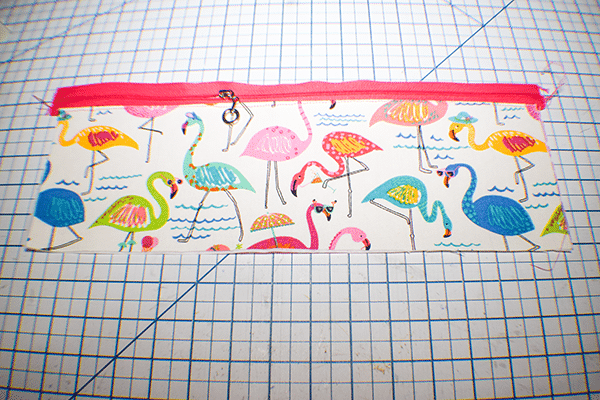
Place the upper lining piece right sides up on your work station. Lay the zipper right sides up on he lining top. Place the outer top right sides down n the zip. Stitch through all layers. Turn right sides out, press and topstitch.
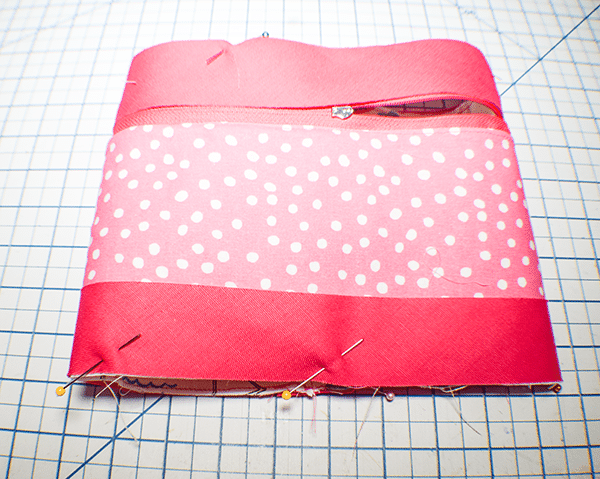
Step 4: Add the Back Panel
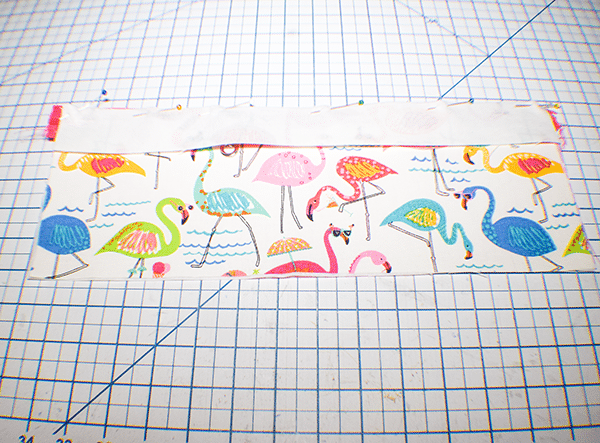
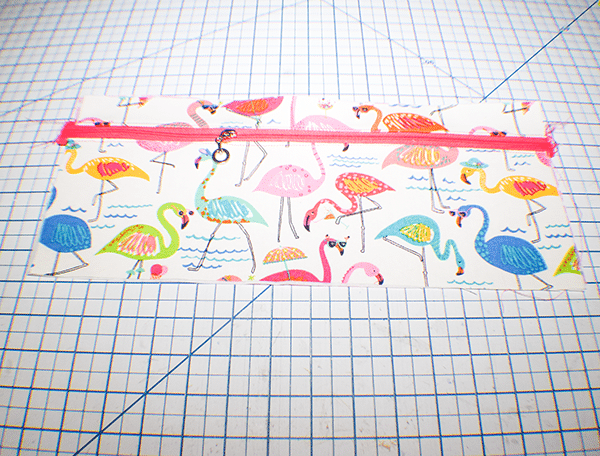
Place the lining back panel right sides up on your work surface. Lay the zipper panel lining sides together then place the outer back panel right sides together with the zipper panel. Stitch through all layers using a 1/4″ seam allowance. Open up the panel. Topstitch through all layers. Fold the piece in half matching the short outer ends. Then roll up everything so that you can fold the lining end over so that it is right sides together with the other lining end. Stitch through all layers using a 1/4 seam allowance. Tim off the excess zipper. Turn right sides out and topstitch. Topstitch around the top and the bottom to secure the lining to the outer fabric.


Step 5: Add the Bias Binding
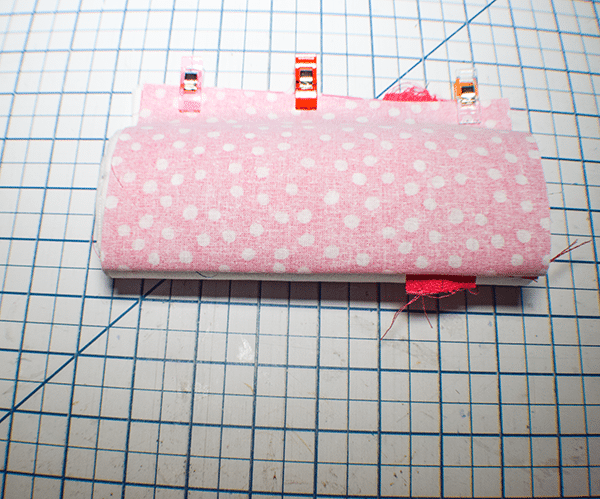
Turn the container lining side out. Fold the short end of the binding under. Clip or pin the binding to the raw edges of the top and bottom of the container. Stitch all the way around using a 1/4″ seam allowance.
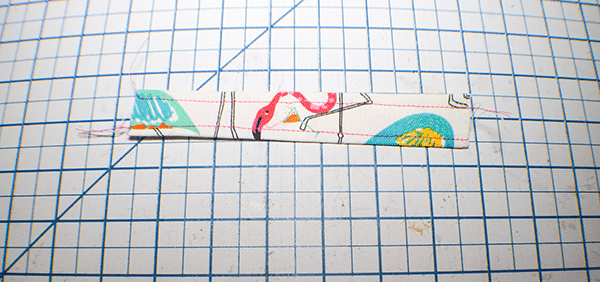
Step 6: Create the Handle
Take the outer handle piece and fold the long edges t the center and press. Fold in half to conceal the raw edges. Stitch along both sides.
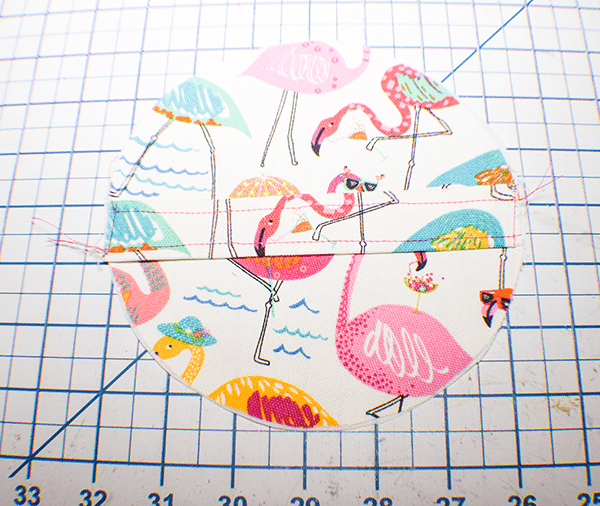
Step 7: Add the Handle
Place the handle piece onto one of the outer circles and baste to secure.
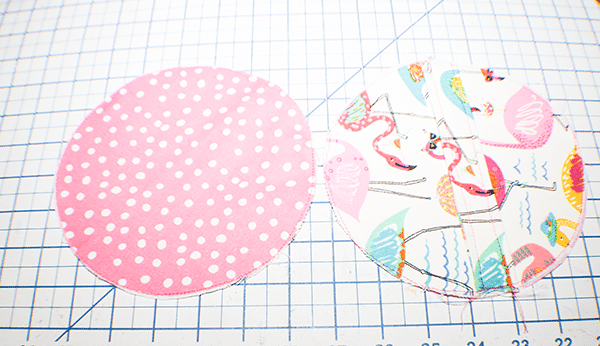
Step 8: Create the Top and Bottom
Place the top outer circle with the handle wrong sides together with one of the lining circles. Do the same with the other two circles. Stitch all the way around to secure the lining to the outer circles.
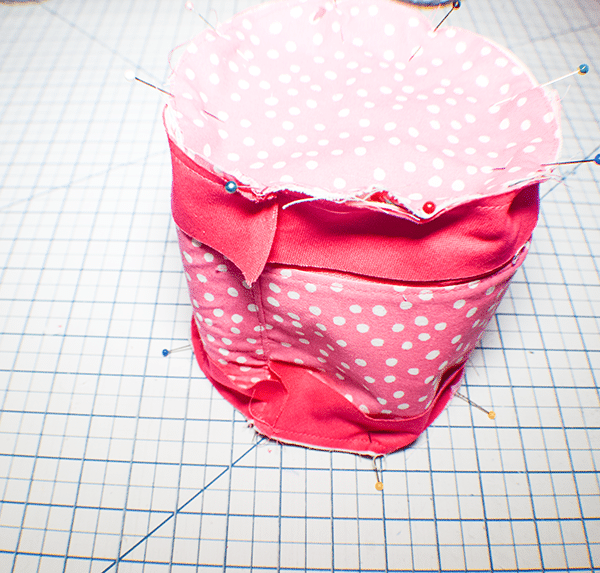
Step 9: Add the Top and Bottom Circles
Fold the container in half to find the centers. Mark them. Fold in half the other direction and mar the centers again. Do the same for the circles. Place the circles right sides together with the outer container while the lining side is facing out matching the centers. Stitch the circles to the container.
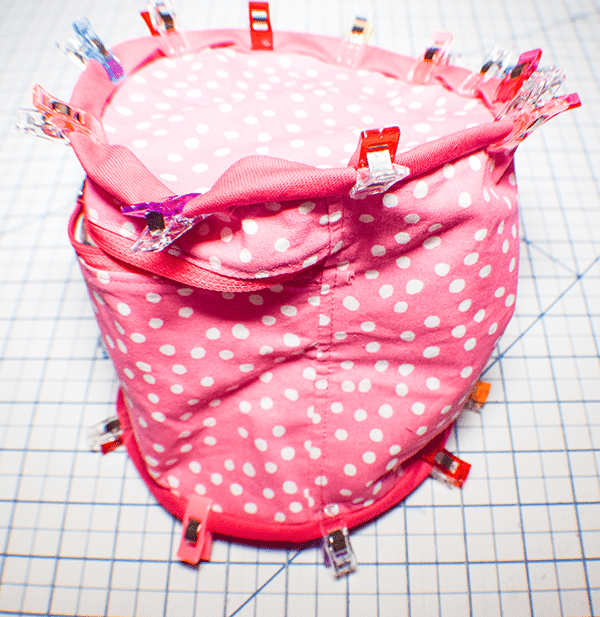
Step 10: Stitch the Bias Binding
Double fold the bias binding over the raw edges and clip. Stitch the binding to the container either by ache or by hand. Turn the container right sides out and add your items. You are now finished!
I hope you enjoyed this round zippered container project. If you would like more sewing and crafting projects subscribe to our newsletter and receive your free eBook o 15 handbag patterns and tutorials then from the blog.
If you would like video tutorials of some of Sew Very Crafty's out popular posts subscribe to our free YouTube channel here.

Hi! What are the dimensions of your round zippered container? I want to make one to fit a quart size Mason jar. How would I change the dimensions?
It is 5 1/2″ h and 19 1/2″ around. To make it smaller you would have to measure the circumference of the mason jar reduce the measurements of each piece to correspond with that measurement while also adding seam allowance. Keep in mind that there is a hinge piece in the back. On mine it is 4″ on yours it will be smaller. The zipper will be shorter too. Measure the top and bottom circles and add seam allowance. I would create a paper or muslin pattern first to see if it fits. Hope this helps.