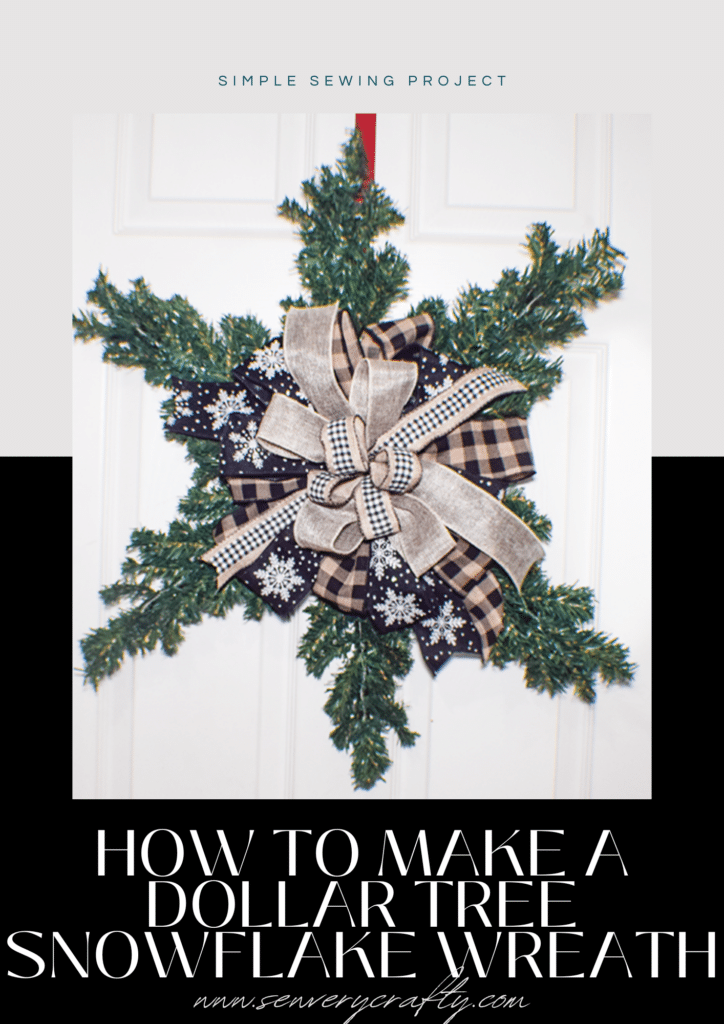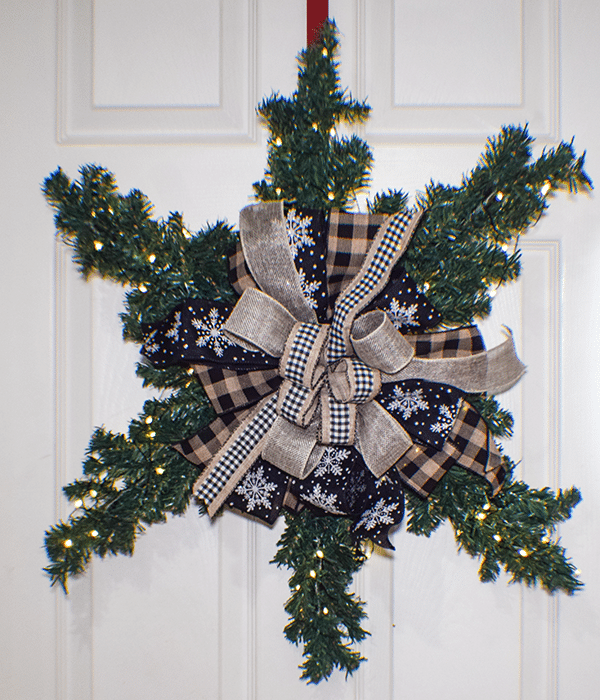
It's getting close to Christmas so I say head over to Dollar Tree and purchase some little Christmas trees to make a Dollar Tree Snowflake Wreath. This is such a simple wreath project that literally anyone can make it. All you need for this project is six Dollar Tree Christmas trees, wire and bow. It can't get any easier than this and it is just beautiful when it is all finished. If you love Dollar Tree crafts as much as I do check out my Dollar Tree page. If you just like holiday sewing and crafting projects head over to my Holiday project vault.
What you will Need: How to Make a Dollar Tree Snowflake Wreath
Step 1: Connect the Christmas Trees
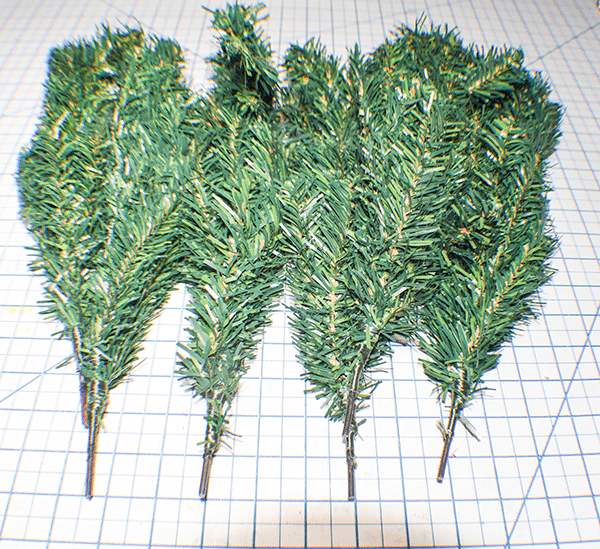
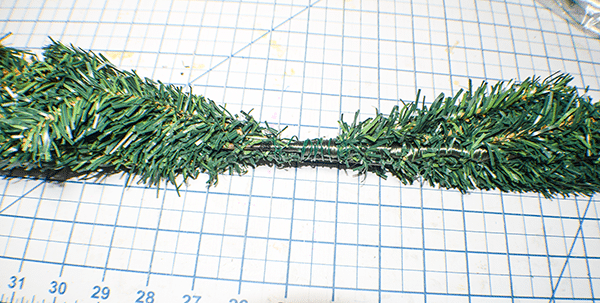
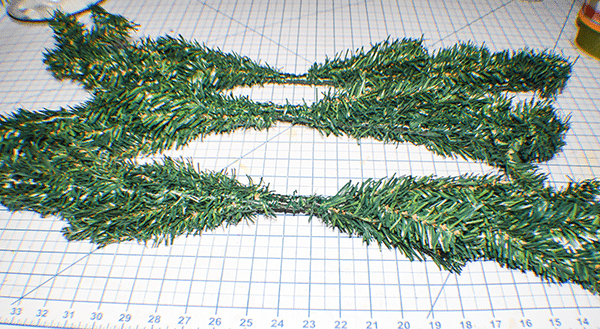
Remove the trees from the boxes and take off the stand. Start by connecting the trees in three sets of two by placing them bottom to bottom. Wrap floral wire around the stems several times to secure them together.
Step 2: Tie the Pieces Together
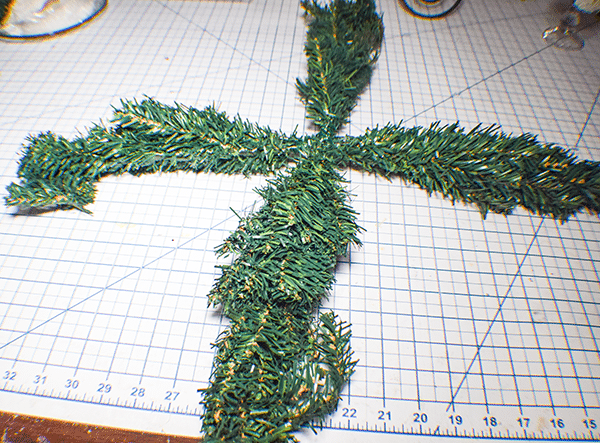
Place one set of threes on top of another set of trees in a crisscross manner and use the floral wire to secure. Add a bit of hot glue. Attach the third set of two to the first two with floral wire and glue.
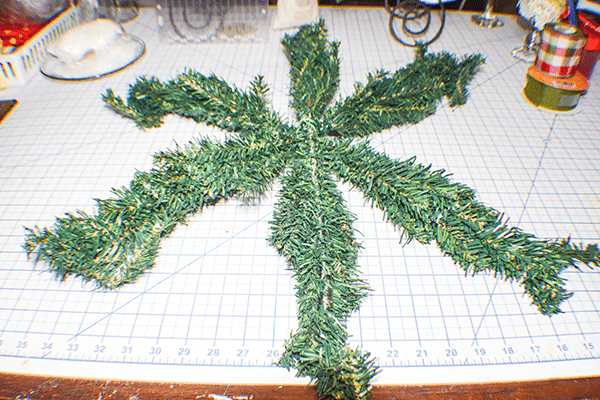
Step 3: Fluff out the Trees
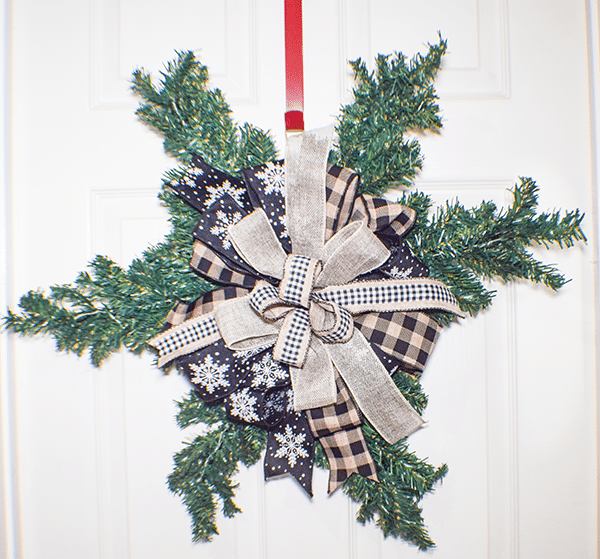
Pull out the branches of the trees to each side to simulate the arms of a snowflake. Do not pull them up. Just pull the to the sides.
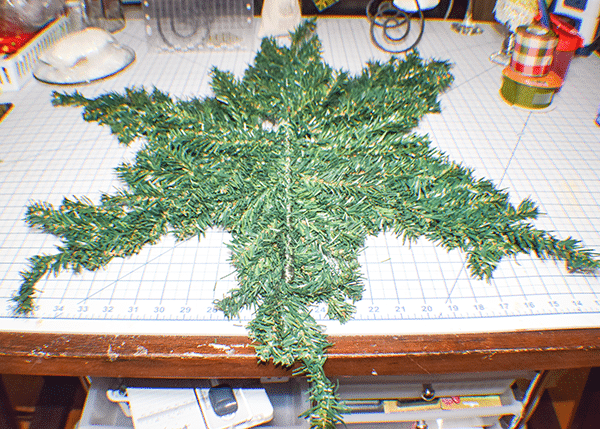
Step 4: Cut off Ends
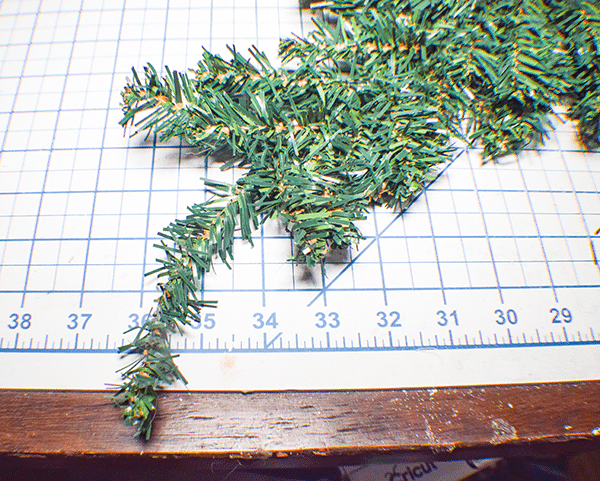
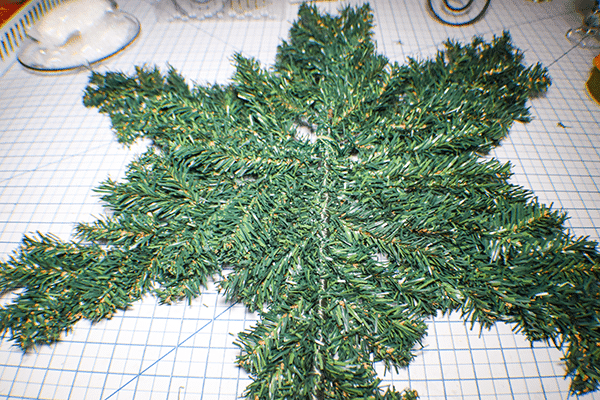
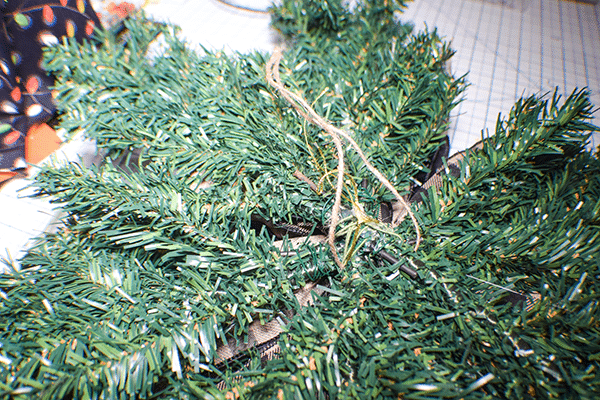
Step 5: Add a Hanger
Take a piece of twine and attach it to the back as a hanger.
Step 6: Create a Bow
I used my Bowdabra to create a bow for my project. In addition, I used the lessons I learned in the Southern Charms Wreath bow making course to create a really nice multi-layered and multi-ribbon bow for my wreath. If you want to take the class just click this link. I also recommend their wreath making class if you have some time.
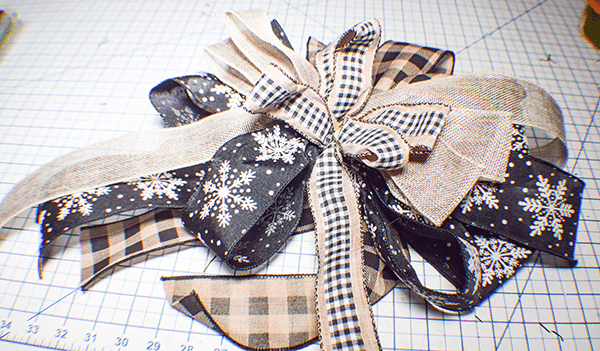
Step 6: Add the Bow
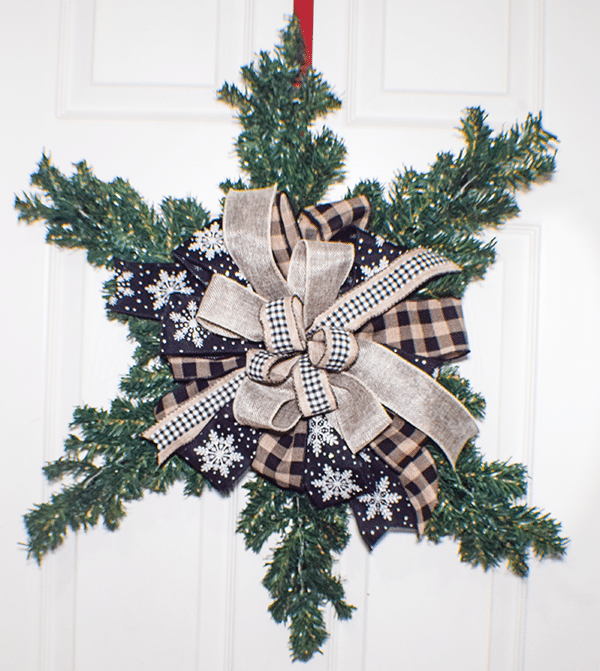
Attach the bow with floral wire and a bit of hot glue. Fluff out the bow. You have now finished your Dollar Tree Snowflake Wreath. Merry Christmas!! I hope you enjoyed this project.
Step 7: Add Lights
Add the battery operated mini lights to the wreath. This is an optional step.

I hope you enjoyed this project. If you would like more sewing and crafting projects subscribe to my newsletter and receive access to our free printables library.
If you would like video tutorials of some of Sew Very Crafty's most popular posts subscribe to our free YouTube channel here.
