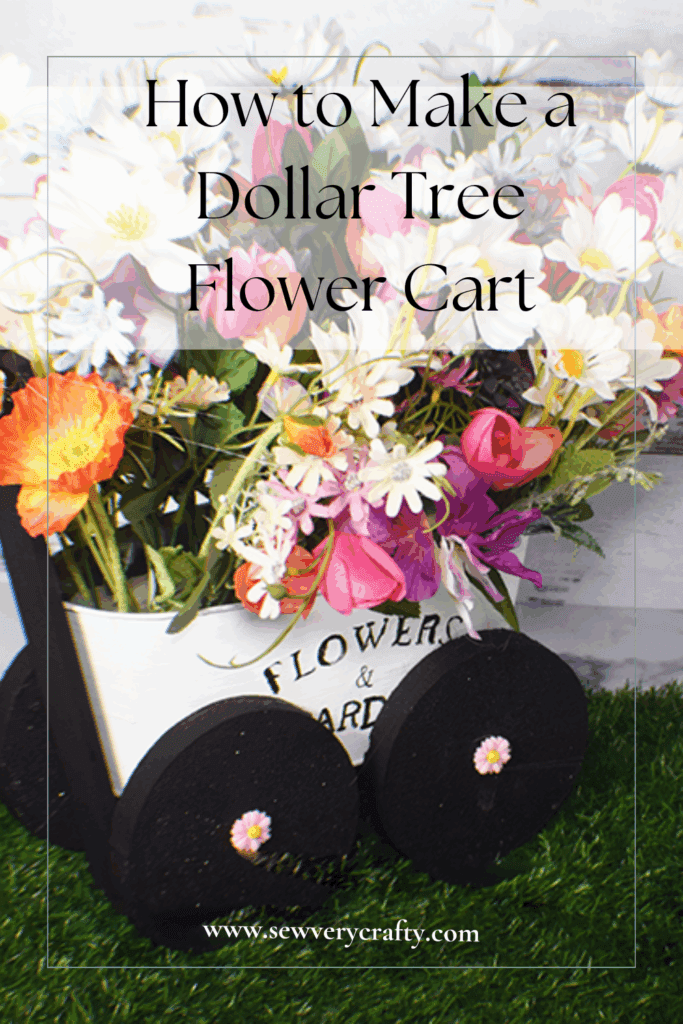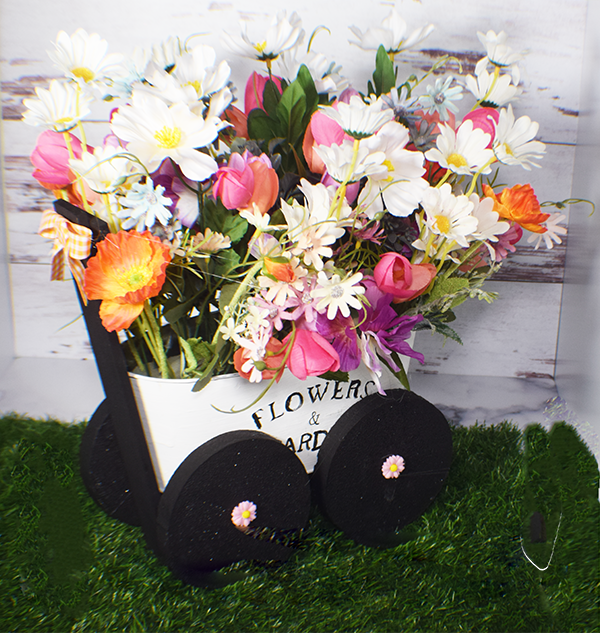
With summer on the horizon I really wanted to spruce up the house with flowers. Of course I used Faux flowers for this project so that it would last all summer long. I really love color so I made this Dollar Tree Flower Cart very colorful. This was such a fun Dollar tree craft that I had to share it with you. I originally saw a version of this on Facebook but this is my version. I hope you enjoy it. If you would like more Dollar Tree crafts head over to my Dollar Tree page.
Note: This post contains affiliate links that if you click on them and make a purchase I will receive a small commission at no extra cost to you. As an Amazon Associate I earn from qualifying purchases.
What you will Need
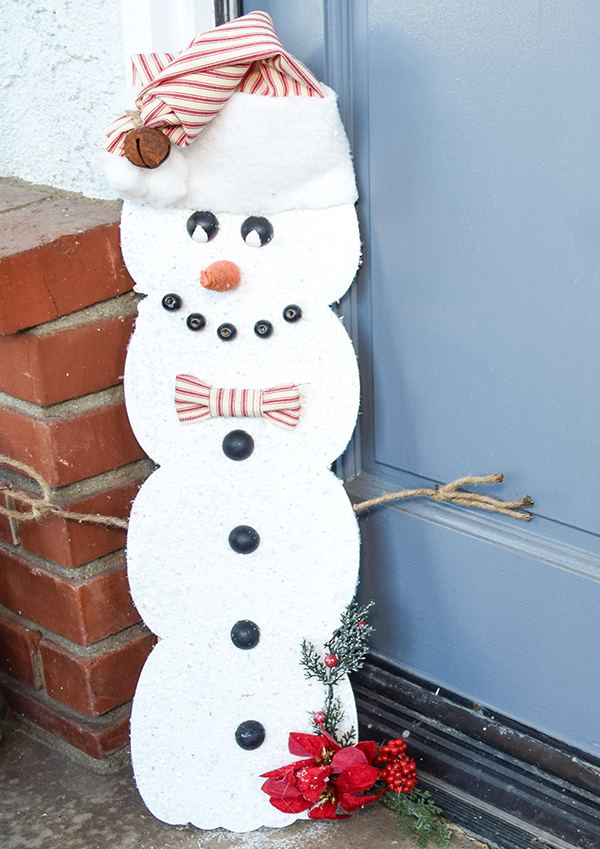
You can make this for autumn, spring or Christmas
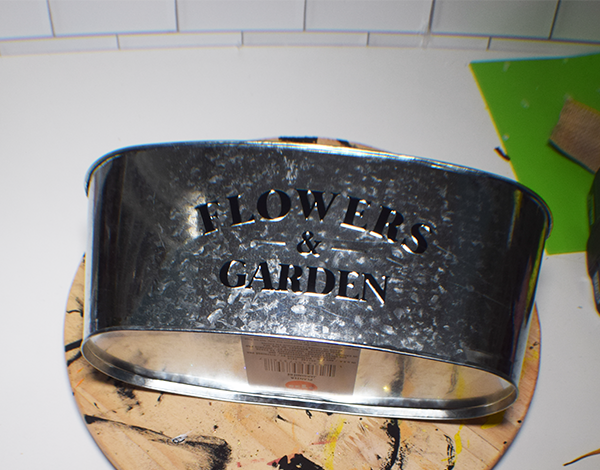
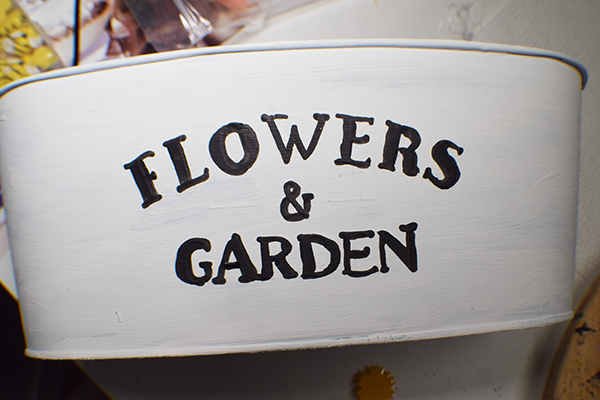
Step 1: Paint the Metal Planter
Paint the metal planter using white chalk paint. I did a couple of coats. Once the paint is completely dry sand off some of it to age the planter. Try to highlight the words on the side. Use black paint if you need to. I also added a piece of Dollar Tree wood on the bottom for extra support.
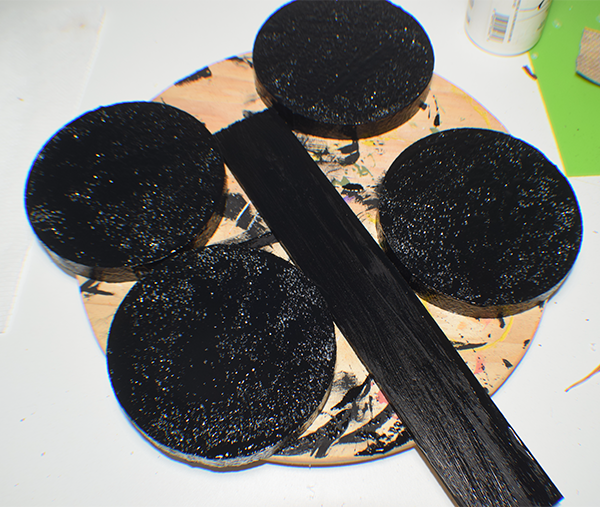
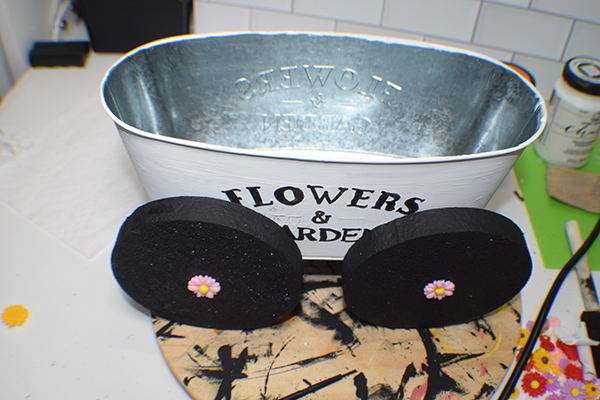
Step 2: Paint the Wood and Wheels
Using black chalk paint cover the styrofoam discs, and the wood pieces. You may need a few coats for this as well.
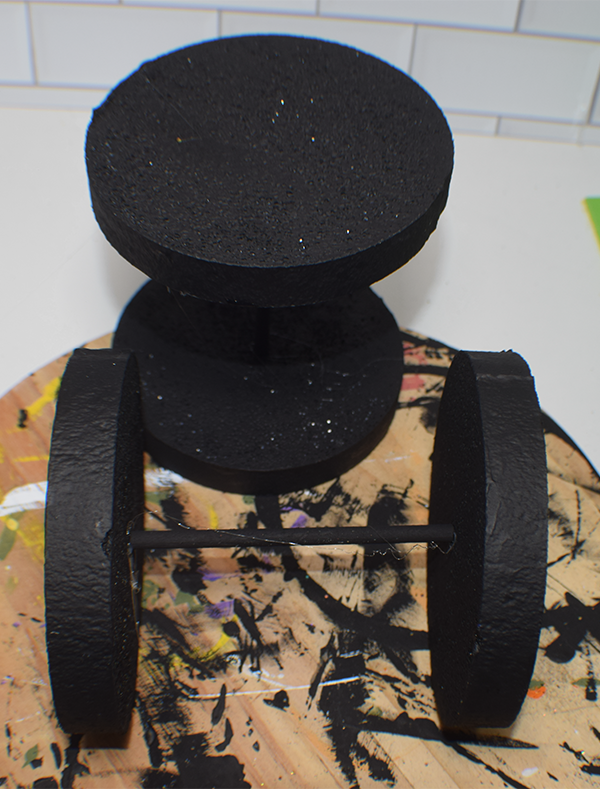
Step 3: Add the Dowels
Cut the dowels to measure 5″. Push the dowels into the wheels in the center. Add hot glue to secure. Place a disc on each end of the dowels so there is an axle for the cart you are making. Once the discs are glued add a flower finding to each wheel in the center.

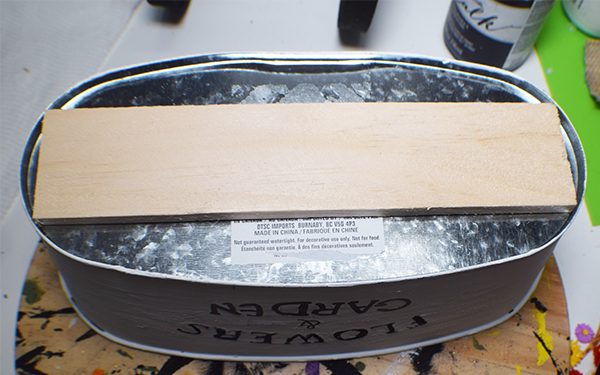
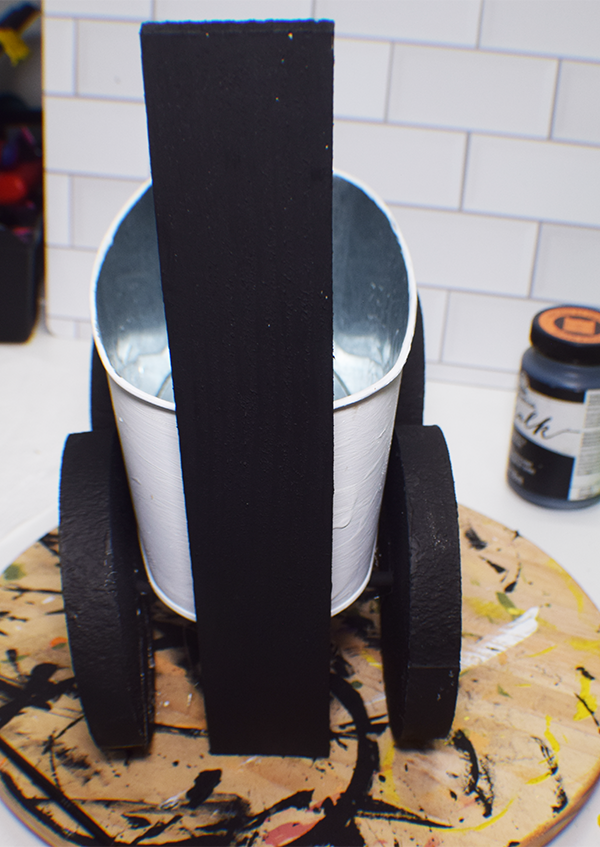
Step 4: Add the Planter
Add apiece of Dollar Tree wood to the bottom of the planter. Using hot glue and e6000 glue the planter to the dowels so that it is snug against the wheels and sits securely. This creates the main part of the cart.
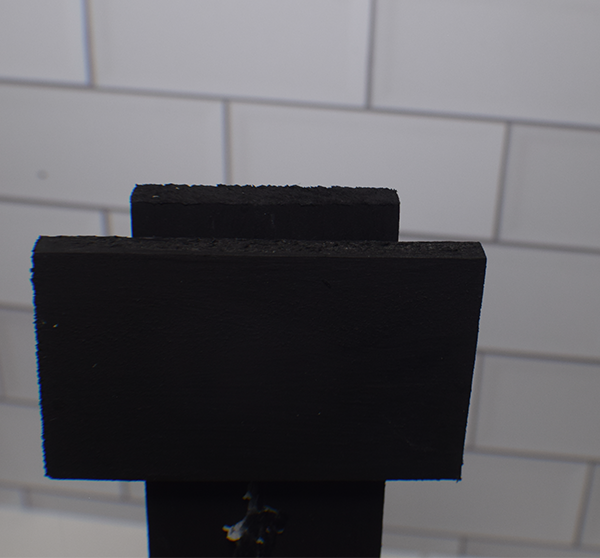
Step 5: Add the Handle
Cut the center piece of wood 12″ and the cross bar 3″. I used a mini electric table saw for this purpose. Place the center piece on one end of the planter in the middle. Use hot glue and e6000 to secure. Once that is completely secure add the cross bar using wood glue and hot glue to secure. You have finished the cart.
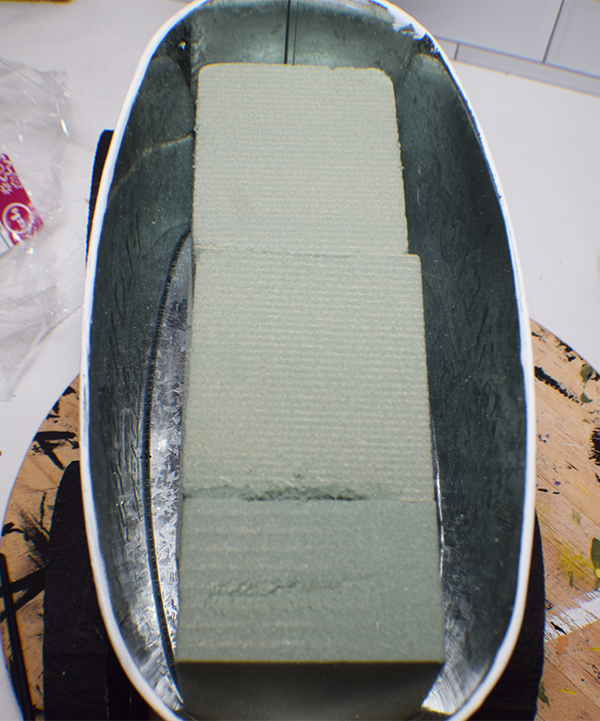
Step 6: Add the Floral Foam
Using hot glue place the floral foam on the bottom of the planter. I used 4 blocks of Dollar Tree floral foam.
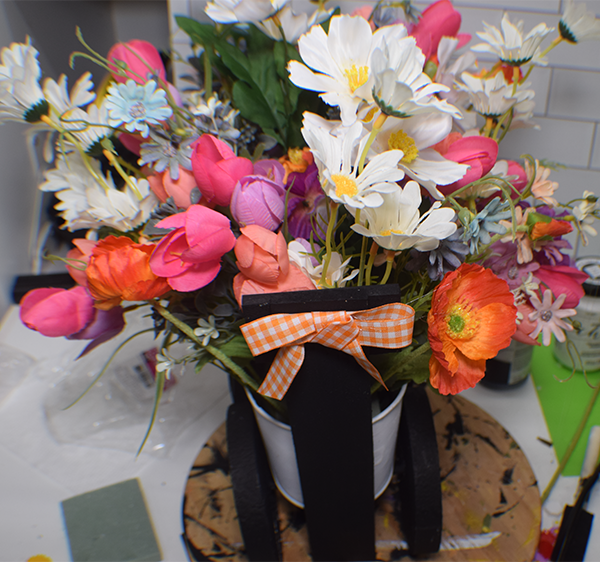
Step 7: Add the Flowers
You can get creative with this part of the project. I added many colors and types of flowers and greenery to this cart. I also added some strawberry picks that I got from Joann's during their going out of business sale. Fill the cart with flowers. You can use one color or many. It is completely up to you. Once all of your flowers are placed you have finished your Dollar Tree flower cart.
I hope you enjoyed this project. If you would like more sewing and crafting projects subscribe to our free newsletter and receive your free Holiday Dollar Tree eBook.
If you would like video tutorials of some of Sew Very Crafty's most popular posts subscribe to our free YouTube channel here.