Learn to Sew: How to Sew an Invisible Zipper
Learn to Sew: How to Sew an Invisible Zipper. Want to learn how to sew an invisible zipper? Invisible zippers can be a great addition to garment making. They are subtle and yes invisible and are inserted in either a center back seam or side seam. They really take garments to the next level and can seem a bit intimidating but they don't have to be. This tutorial will show you step-by-step just how to do it.
Believe it or not there is a special invisible zipper foot made just for your machine to help with this process. I have one for my Husqvarna Viking Machine but you can purchase a generic invisible zipper foot for your machine through my affiliate Amazon by clicking on the link. Many sewing machines come with an invisible zipper foot when you purchase them but if yours does not head over to Amazon or Sewing Machines Plus for one specially made for your machine or a generic foot that will work just as well. This post contains affiliate links that if you click on them and make a purchase I may receive a small commission at no extra cost to you
An invisible zipper is always inserted before stitching the garment's seam. The Invisible Zipper Foot has two grooves underneath the foot to accommodate the zipper coils and hold them in place as you stitch. Buy a zipper that is at least 1 1/4″ longer than the zipper opening.
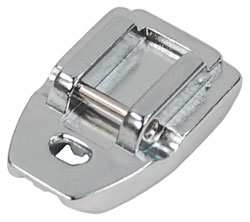
Step 1: Press Your Zipper and snp on your foot
The first thing that you should do is to press your zipper so that it is straight and smooth. Snap on your invisible zipper foot and make sure that your needle is in the center position. Your stitch length should be 2.5-3.0 for this application. Unzip the zipper.
Step 2: Start with the right side
Place the right part of the zipper on the fabric right sides together. The coil should be on the seamline and the top stop of the zipper should be 3/4″ (2 cm) below the cut edge of the fabric. I pinned my zipper to make sure that it was lined up with the seamline.
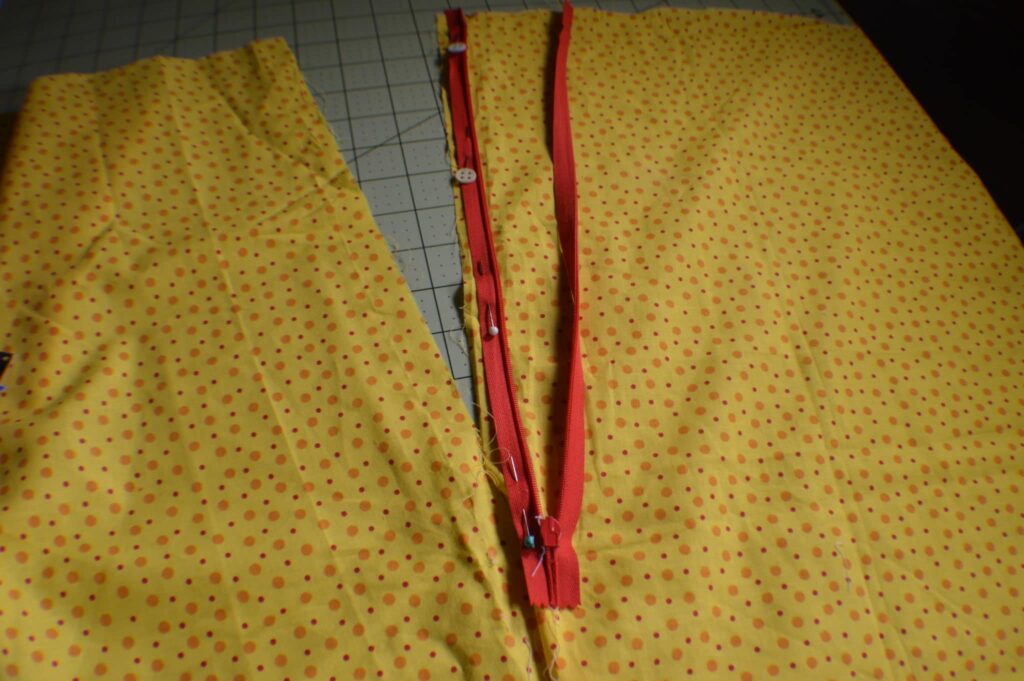
Step 3: Stitch the right side
Line up the right groove of the invisible zipper foot with the coil and sew a straight seam until you reach the zipper pull. Back stitch to secure. Remember that the needle position will be set at the center needle position. This will allow you to stitch right along the coils of the zipper.

Step 4: Stitch the left side
Place the left part of the zipper right sides together with the left side of the garment. Make sure that the zipper coil is lined up with the seamline. Lower the presser foot using the left groove of the invisible zipper foot and sew a straight seam until you reach the zipper pull and then backstitch to secure. Set your needle at the center position.
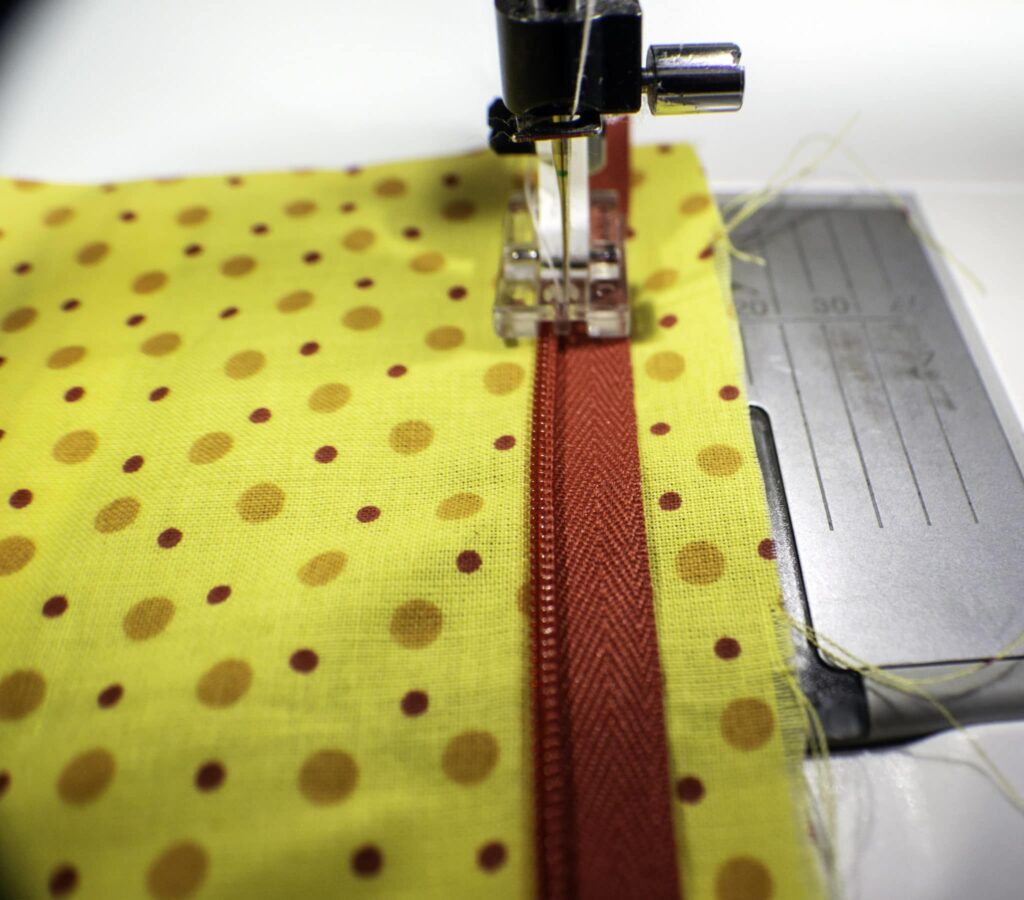
Step 5: Finish off the Seam
Pull up the zipper pull. Now it is time to sew the rest of the fabric on the zipper seam. Add a standard zipper foot to your machine and adjust the needle position to the right so it lines up with the seam where you backstitched your zipper. Starting at the backstitching finish sewing the seam to the bottom of the garment.
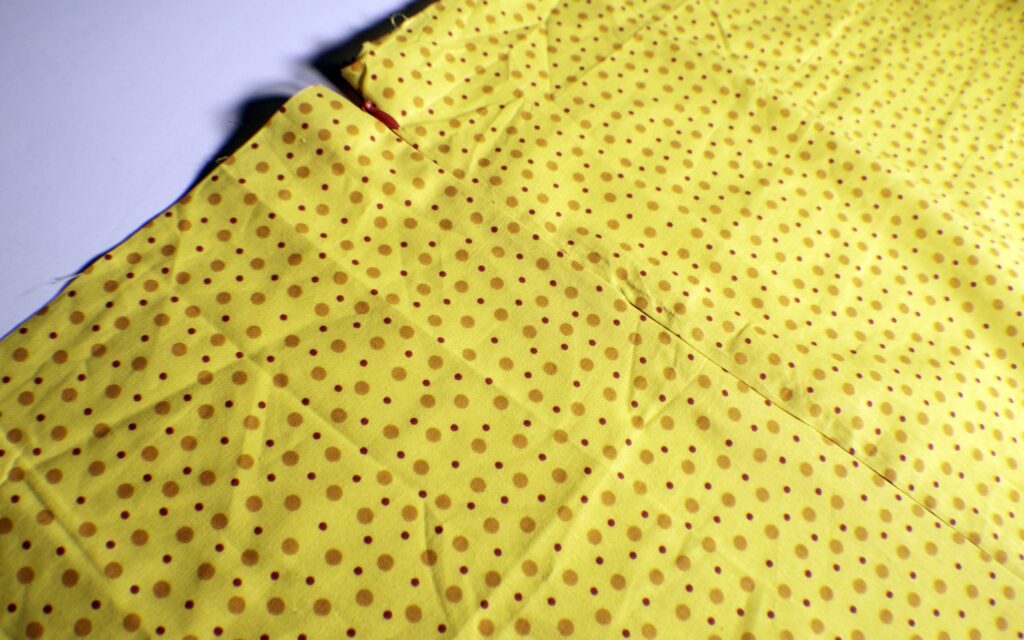
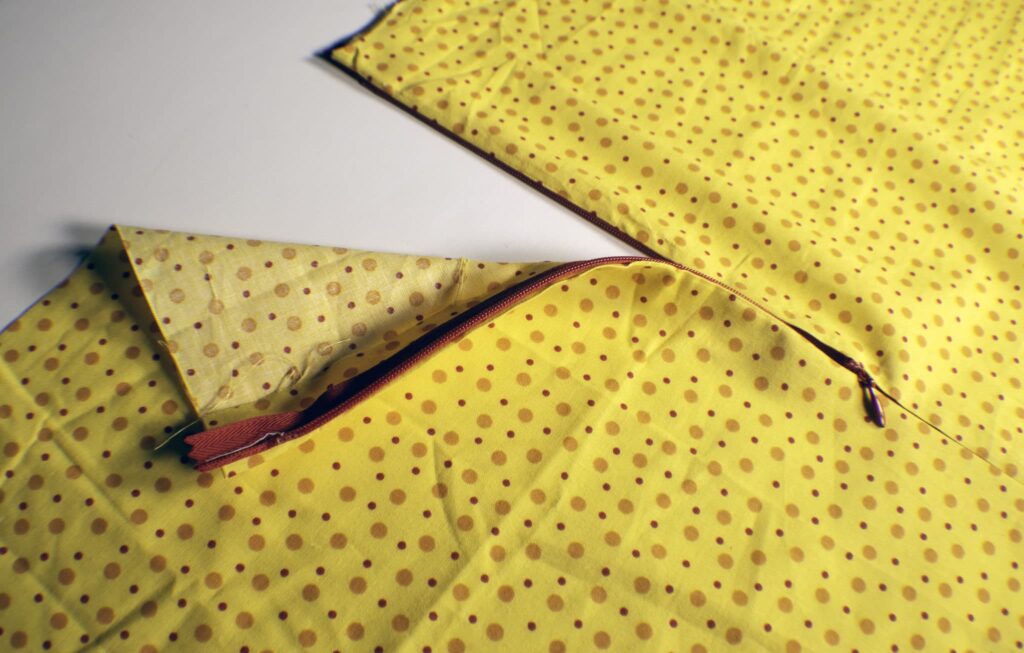
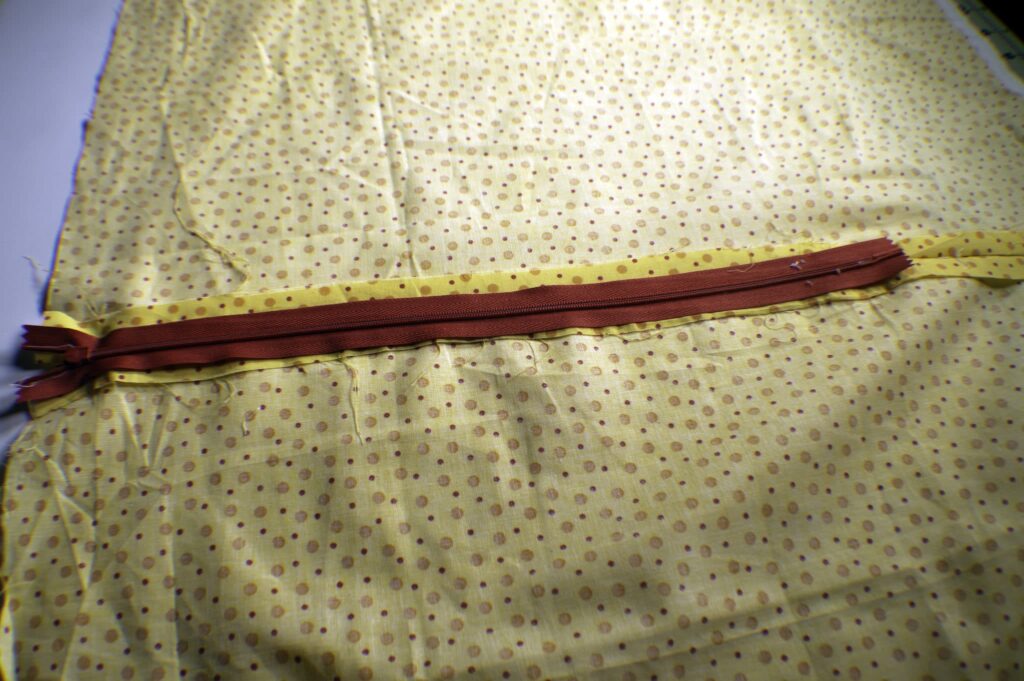
I hope you enjoyed this tutorial on how to add an invisible zipper. As you can see with the proper sewing machine foot this is a very simple process that anyone with basic sewing skills can accomplish. I hope that you all give this project a try and bring your next garment to the next level.
If you enjoyed this tutorial and would like more sign up for our newsletter to receive more sewing and crafting tips, tricks and ideas and your free list of sewing room must haves.


