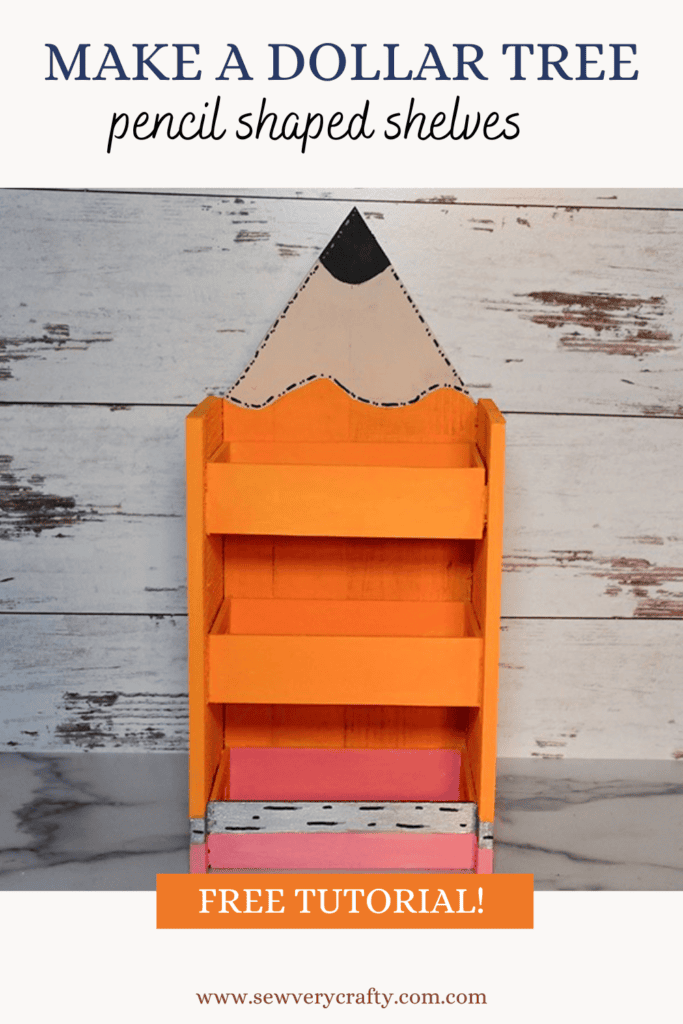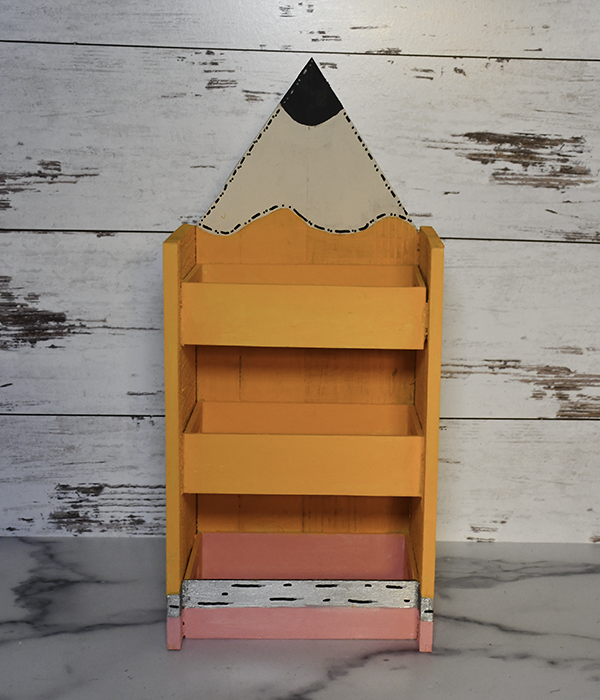
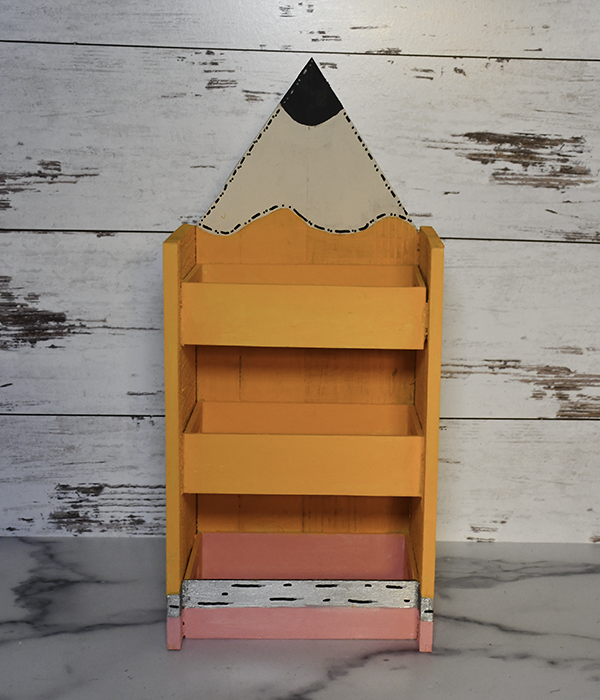
I saw a book shelf that looked like a pencil so I decided to see if I could make a smaller version of it from Dollar Tree supplies. I was really surprised at how it came out. Honestly, it is just too cute. It was very easy to make. The hardest part of this project was waiting for the glue to dry. I used wood glue and hot glue but I really needed to wait until the wood glue dried to move on. I hope you enjoy this project. if you do and would like more Dollar Tree crafts head over to my Dollar Tree page for many more.

Note: This post contains affiliate links that if you click on them and make a purchase I will receive a small commission at no extra cost to you. As an Amazon Associate I earn from qualifying purchases.
What you will Need: How to Make Dollar Tree Pencil Shaped Back to School Shelves
- 4 Dollar Tree Wood Strips
- 3 Dollar Tree wood trays
- 2 Dollar Tree wood pieces
- 4 Wood craft sticks
- Wood Glue
- Hot glue
- Light orange paint
- Silver paint
- Pink paint
- Charcoal paint
- Painters tape
- Saw
Step 1: Glue the wood strips
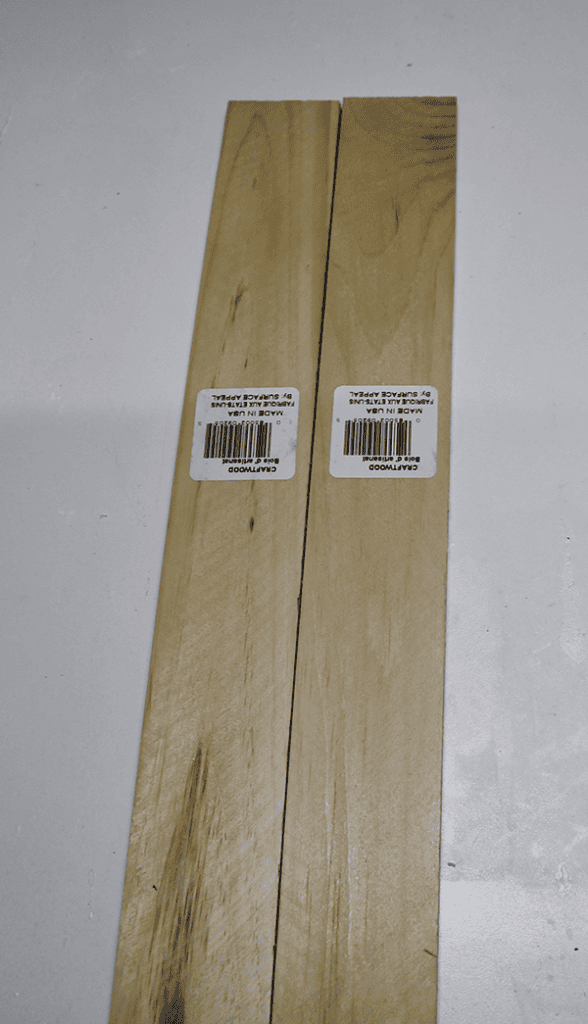
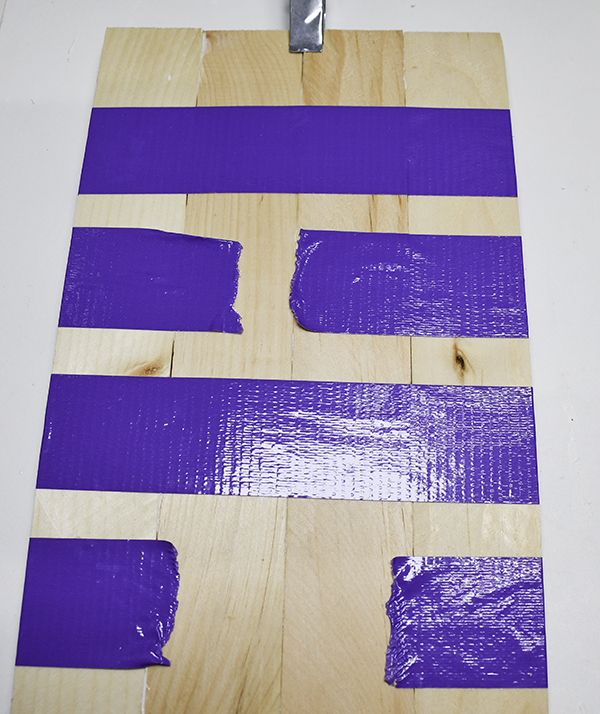
For the back of my small shelves I used the four wood strips. I glued them together using wood glue. I could not find my large clamp anywhere so I used some duct tape to hold the pieces together while they dried.
Step 2: Add the craft sticks
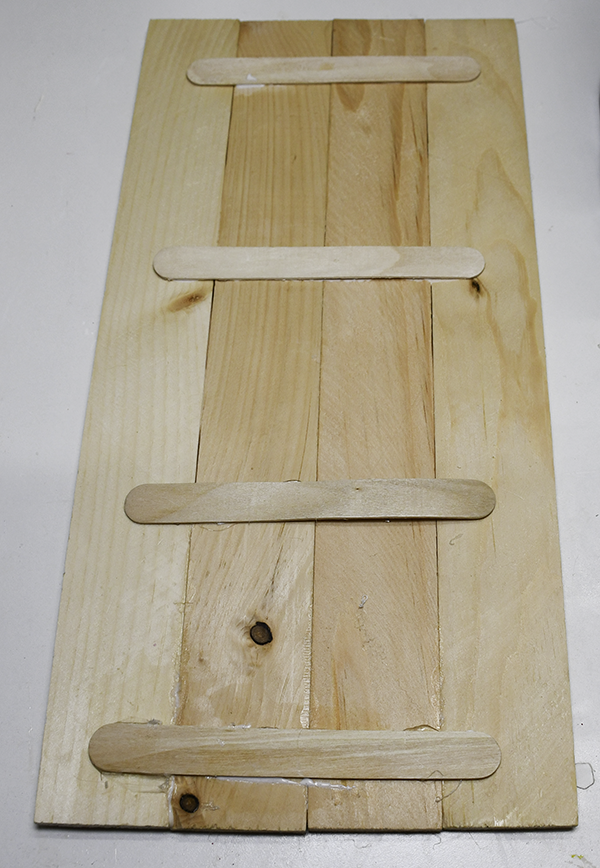
Using both the wood glue and the hot glue attach the craft sticks to the back of the wood you just glued to really hold it together. I placed my craft sticks horizontally to cover the the joins.
Step 3: Draw the shape
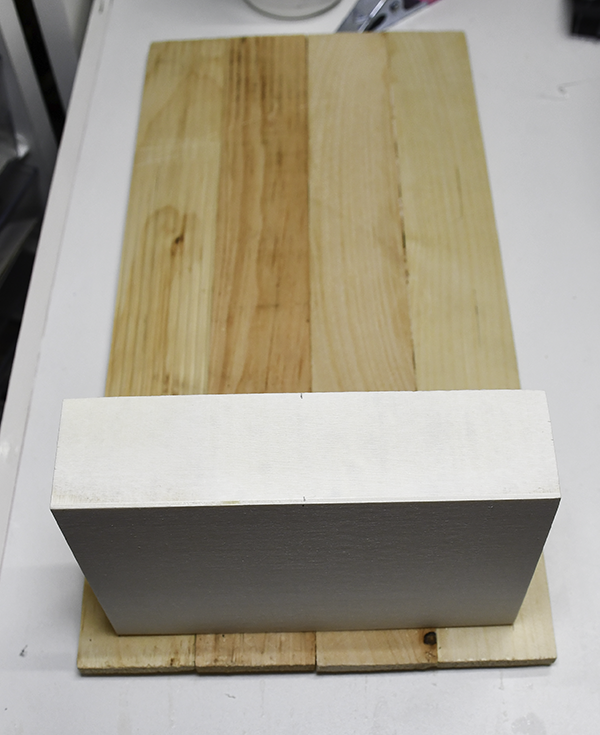
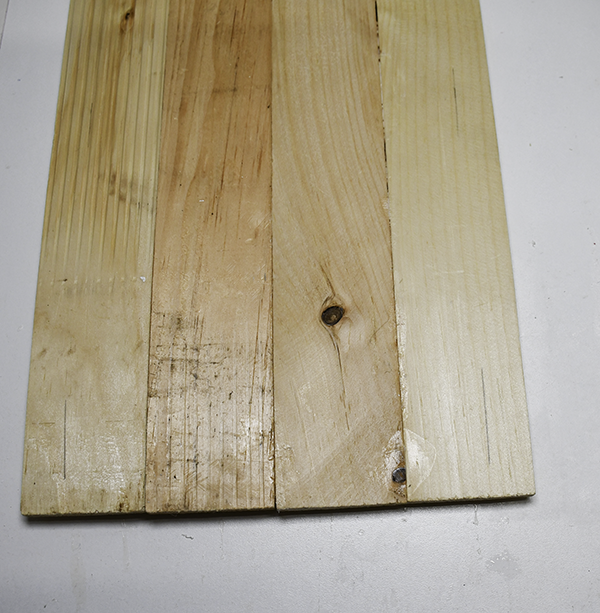
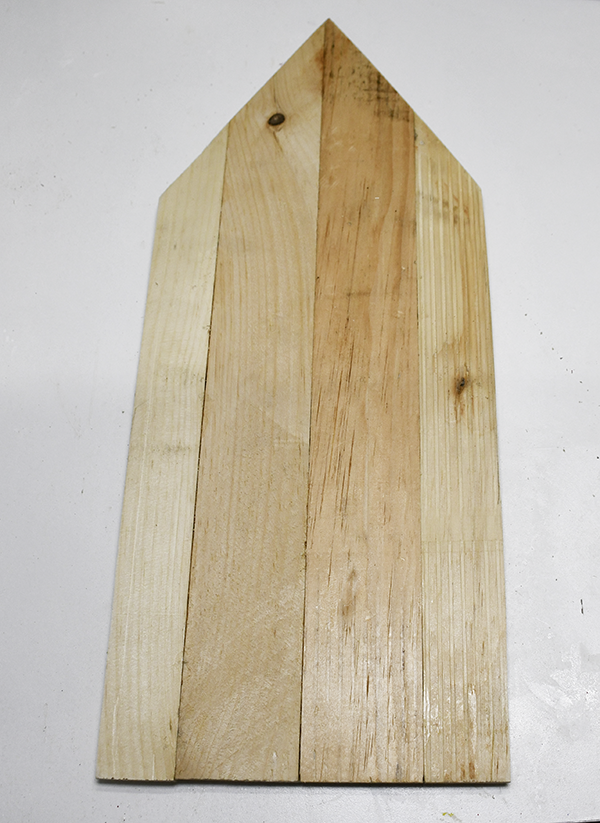
Find the center of the back you just glued and make a mark. Then, find the center of one of the wood trays and make a mark. Place the wood tray onto the back so that the marks meet. Draw a line along the tray onto the back on both sides. Draw a straight line vertically on both sides. These will be cut. Next draw two lines diagonally to meet the top center of the back.
Step 4: Cut the Pieces
Cut the lines that you just drew. This will make the back the correct size and give it that pencil look.
Step 5: Add the Wood Trays
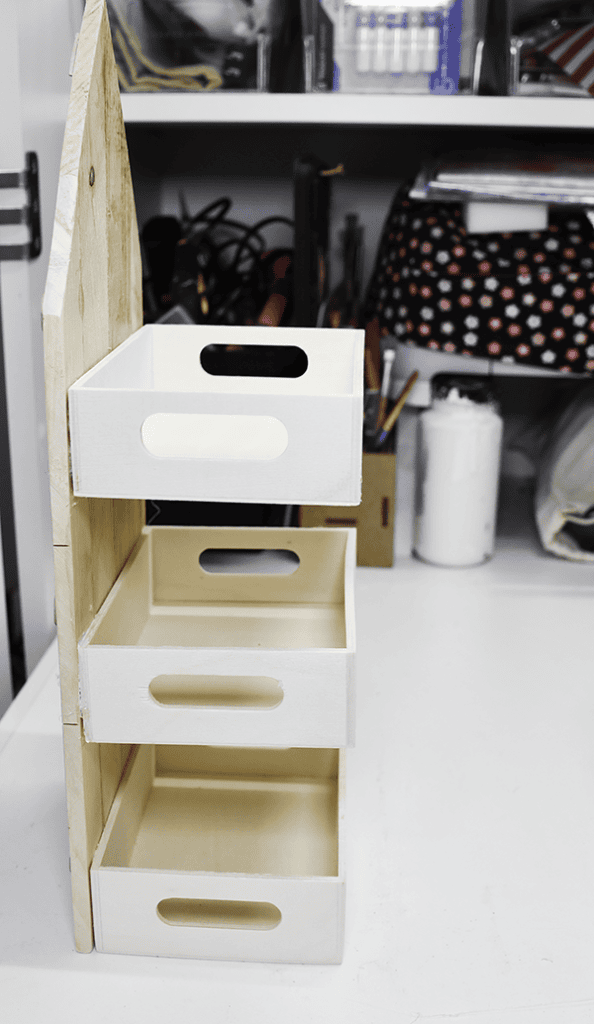
Mark where you would like the wood trays to go. I place the first one at the very bottom to keep the project stable. I measured up 2 1/2″ and placed the second one. The third one was attached 2 1/2″ from the second. The wood trays should be the exact width of the back. Use hot glue and wood glue to attach them.
Step 6: Add the Sides
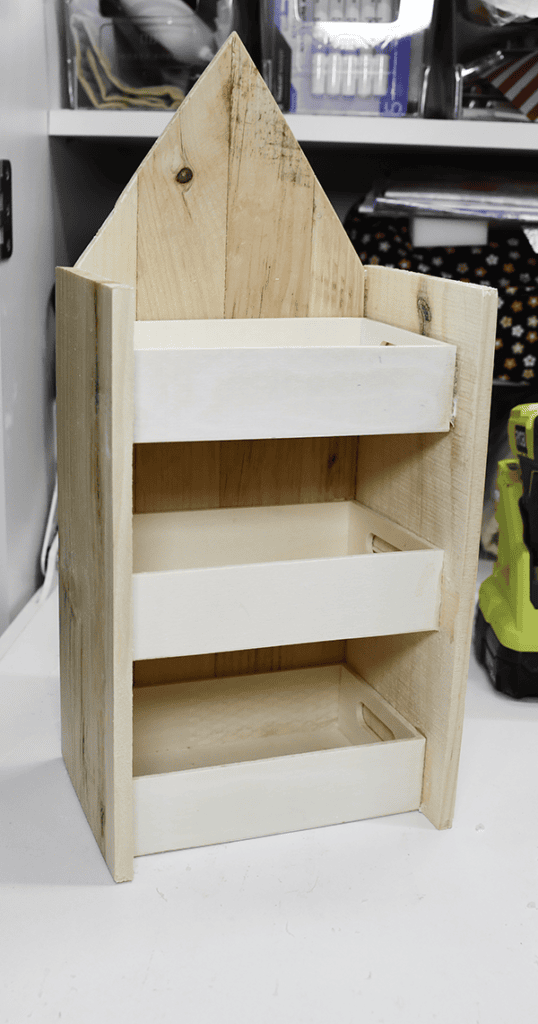
Again, use hot glue and wood glue to attach the wood boards to the trays to create the sides. The body of the small shelves are complete. Now it is all about the paint.
Step 7: Mark your paint lines
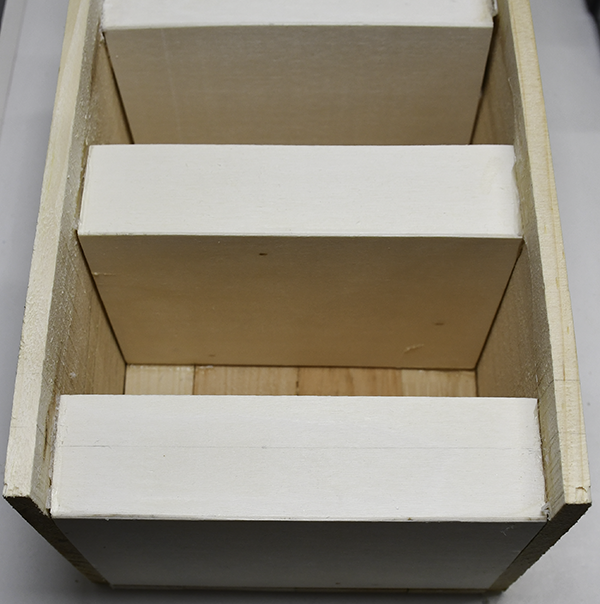
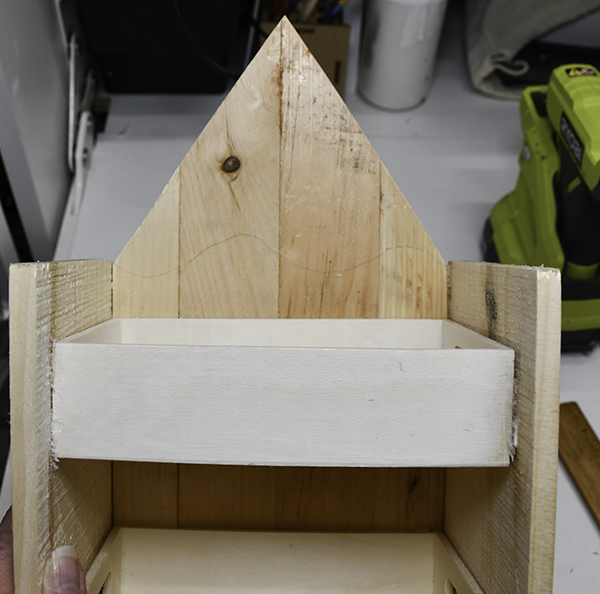
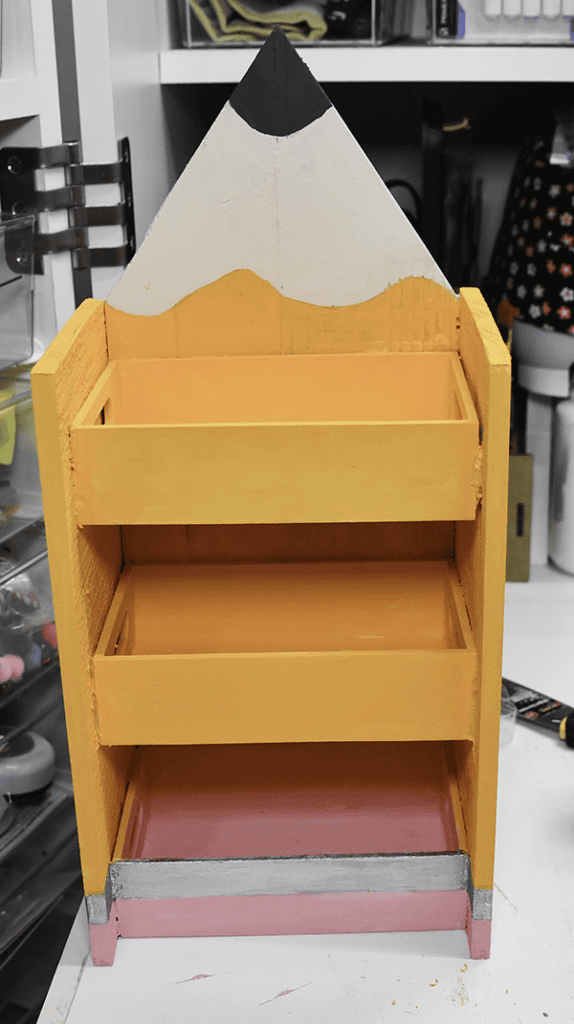
Start by drawing a line 3/4″ down from the top of the bottom tray all the way around to represent the metal. Draw an oval at the very tip of the back to represent the lead in the pencil. Finally, draw a wavy line to represent the wood.
Step 8: Paint the Entire Piece
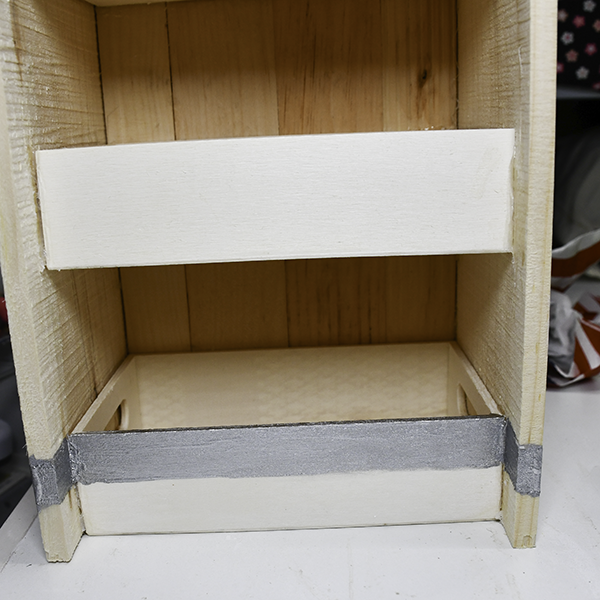
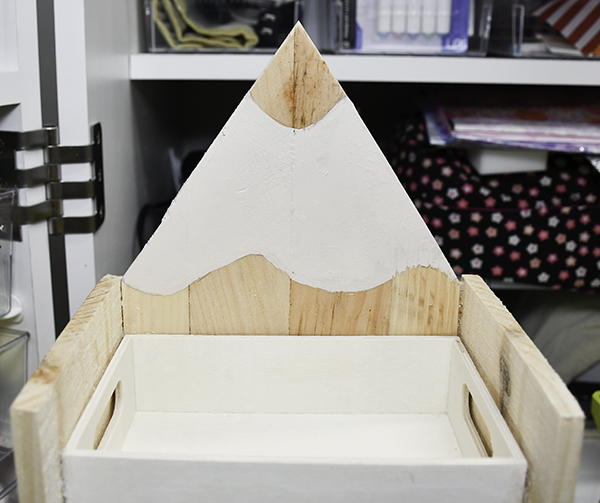
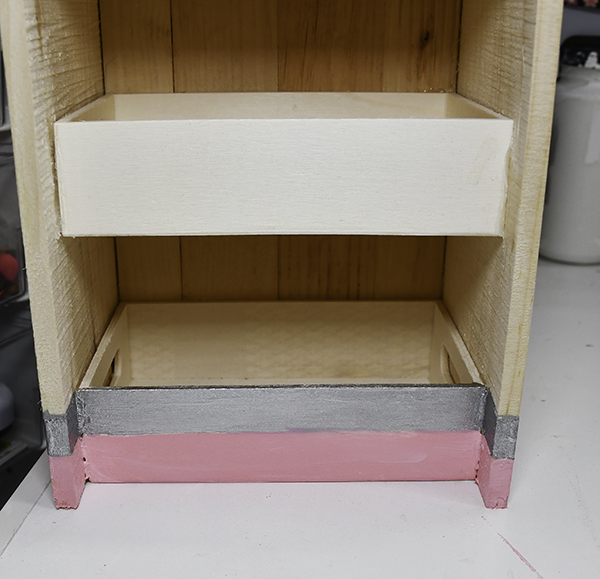
Start by waiting the metal band. I used silver colored paint. Let the paint dry. Next paint the wood part. I used a parchment color. Let it dry. Paint the eraser. I used pink paint to paint the eraser part of the piece. Again let it dry. Paint the lead. I used a charcoal color paint for this. Once that is dry paint the rest of the piece in yellow. I actually used a light orange for my piece.
Step 9: Highlight the Paint
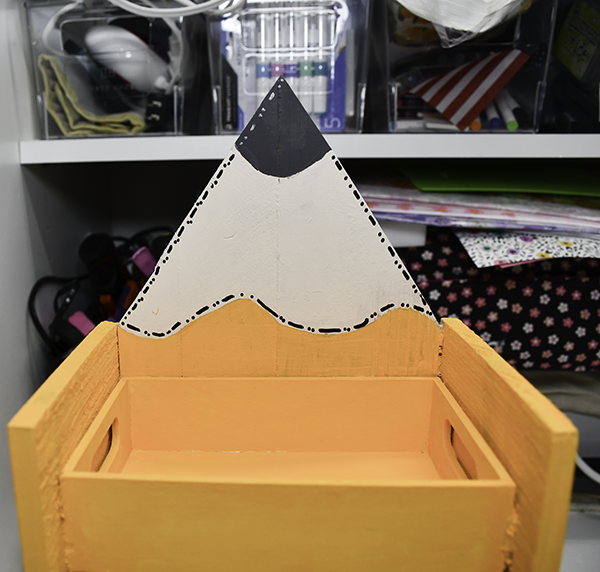
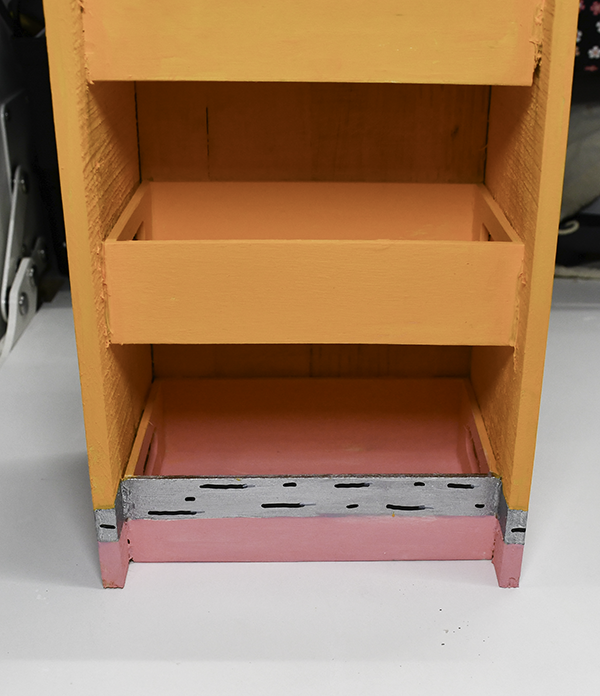
Using a black paint pen place some staggered black lines on the silver paint. Around the wood part place some dashed lines to highlight that area. continue the highlights using a white paint pen on the lead part.
I hope you enjoyed this simple Dollar Tree project. If you would like more sewing and crafting projects subscribe to our free newsletter and receive your free Dollar Tree Holiday eBook.
Subscribe to our Free YouTube Channel!
Join our Sew Very Crafty Fans Facebook group
If you want to ask questions and share your projects join our Facebook group here. The community will help to achieve your sewing and crafting dreams.