How to Make Fabric Storage Cubes
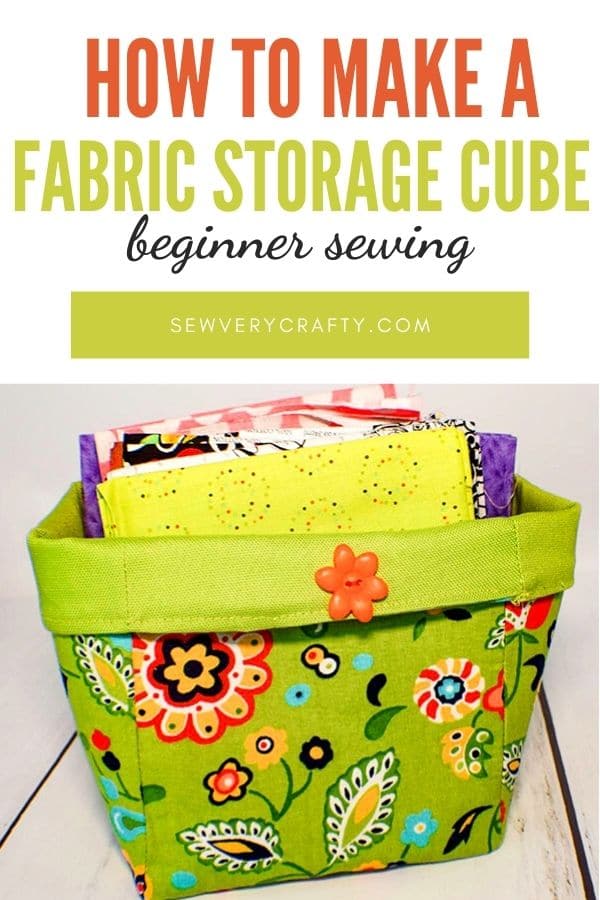
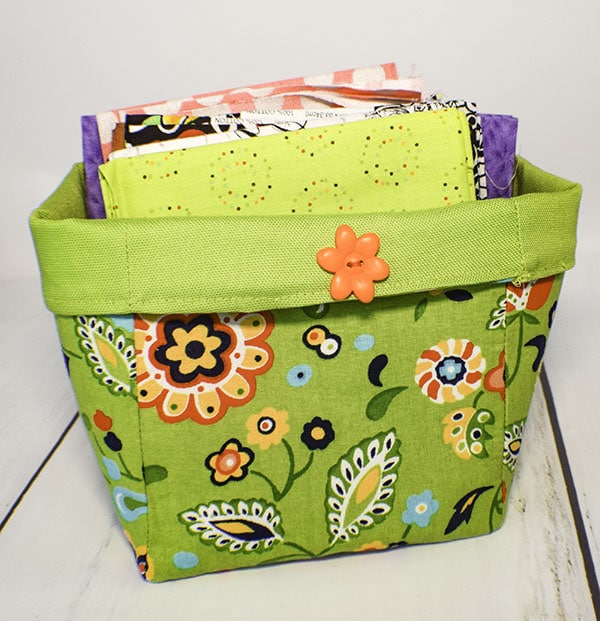
I really needed some cubes to store my fat quarters and other things so I decided to stitch up some of these fabric storage cubes. They are a simple beginner sewing project. Anyone with basic sewing skills can create these terrific little fabric storage cubes. They are a fun and functional sewing project that is perfect for storing fat quarters or just about anything. I love this pattern. You can find these patterns most anywhere but I thought I would share this simple one with you.
I used basic cotton fabric for my storage cubes and Pellon 808 interfacing for structure. There is a little bit of cardboard added to the bottom for even more structure. My fabrics for this project came from JOANN Fabric & Craft Stores![]() but you could head to Hobby Lobby, Fabric.com or onlinefabricstore.net to get the perfect cotton fabrics for your fabric storage cubes. This post contains affiliate links that if you click on them and make a purchase I may receive a small commission at no extra cost to you. As an Amazon Associate I earn from qualifying purchases.
but you could head to Hobby Lobby, Fabric.com or onlinefabricstore.net to get the perfect cotton fabrics for your fabric storage cubes. This post contains affiliate links that if you click on them and make a purchase I may receive a small commission at no extra cost to you. As an Amazon Associate I earn from qualifying purchases.
What you will Need: How to Make a Fabric Storage Cubes
- 1/4 yd outer and lining fabric
- 1/4 yd Pellon 808 fusible interfacing or equivalent
- 5″ square piece of cardboard

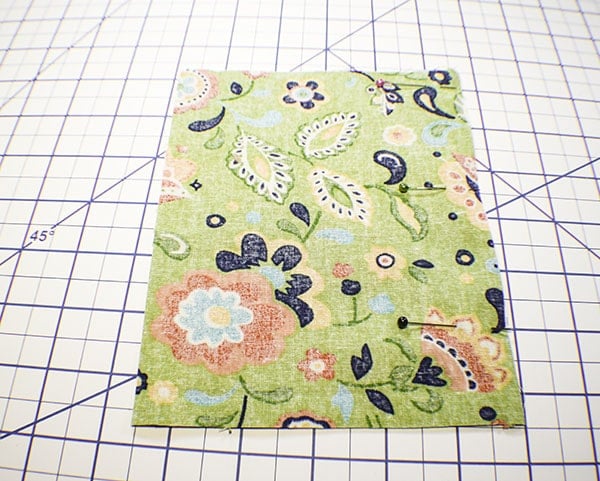
Step 1: Cut your Fabrics
Cut your outer, lining and interfacing pieces as follows:
- 4 each that measure 5 1/2″ x 7″
- 1 each that measures 5 1/2″ square

Step 2: Stitch sides of cube
Fuse the interfacing to the wrong sides of the outer fabric following the manufacturer's instructions. Take two of the the 5 1/2″ x 7″ pieces of outer fabric and sew them right sides together along the long edge stopping 1/4″ from the bottom. Stitch another 5 1/2″ x 7″ to the two you just sewed right sides together again stopping 1/4″ from the bottom. Repeat for the fourth piece. Join the fourth piece with the first piece creating a box with no top or bottom.


Step 3: add the bottom
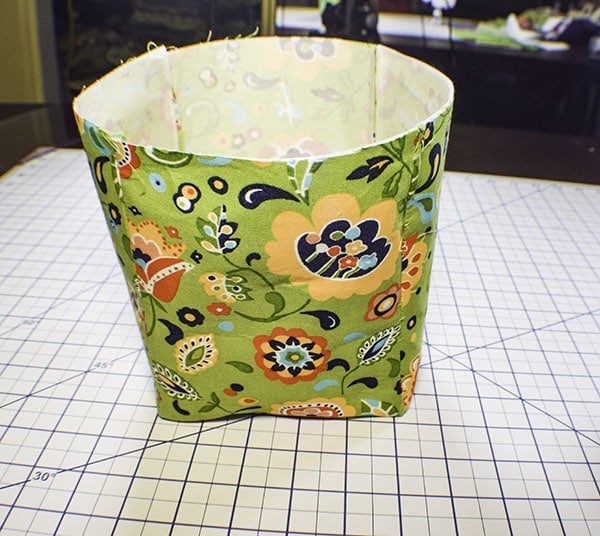
Take the 5 1/2″ square and pin it to the bottom using the 1/4″ you left on the bottom as the seam allowance. Stitch all the way around to create a cube with no top. Turn right sides out.

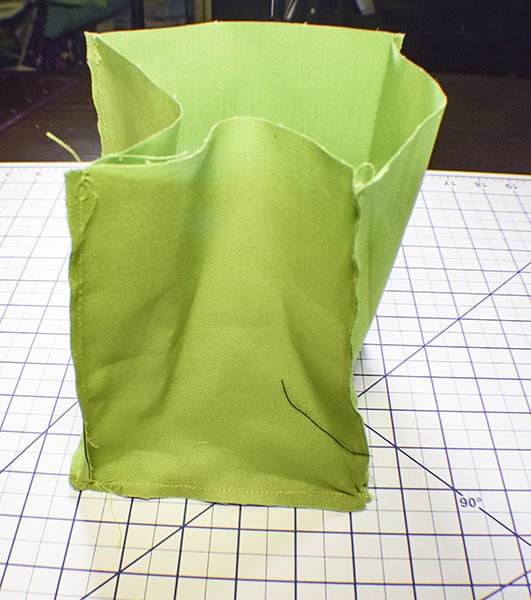
Step 4: Create the lining
Create the lining in the same way that you created the outer cube.
Step 5: Join the two pieces
Place the outer piece into the lining piece so that they are right sides together. Pin the raw edges along the top. Stitch the top using a 1/4″ seam allowance but leaving an opening along one side for turning and inserting the cardboard.

Step 6: Turn the fabric storage cube
Turn the storage cube right sides out through the opening you left in the top.

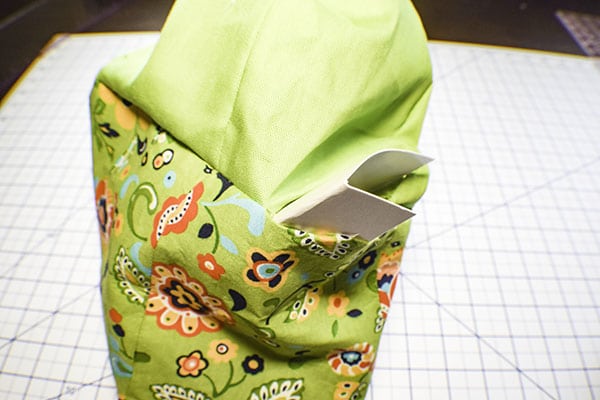
Step 7: Add the Cardboard and finish the cube
Fold the cardboard slightly and slip it into the opening you left in the top and place it onto the bottom. Stuff the lining into the outer cube and press the top seam. Pin or clip the seam and the opening closed. Topstitch all the way around. Fold down the top of the cube 1″ – 1 1/2″. Embellish if you like. You have now finished your fabric storage cube.
I hope you enjoyed these fabric storage cubes. If you would like more sewing and crafting projects sign up for our newsletter and receive access to our free printables library.
If you would like video tutorials of some of Sew Very Crafty's most popular projects subscribe to our free YouTube channel here.