
How to Make a Cat Zipper Pouch
I had this adorable cat print fabric that I previously used in sun glass case pattern that I really liked. I thought that I would like to accentuate the cats in the print so I decided to do this tutorial on how to make a cat zipper pouch. Zipper pouch's are a super simple sewing project. This particular pouch is the perfect size for a little bit if cash or other small bits and bobs. You can attach it to your purse, backpack or keys. Regardless, it is an adorable little cat project to make and to carry. This project is a beginner sewing project so long as you are comfortable with zippers but even the zipper is easy on this one.
I was inspired to create this project by Bernina and their website Weallsew.com and Art Gallery Fabrics. I made just the basic pouch but if you want something a little more complex with embroidery check out their website. This fabric was too cute not to use and the embroidery just wouldn't work.
I really love this fabric which I purchased as a remnant at Joann's but you could choose any fabric you like either at JOANN's or at Hobby Lobby or Fabric.com. There are tons of terrific fabrics on these websites to choose from. This post contains affiliate links that if you click on them and make a purchase I may receive a small commission at no extra cost to you. As an Amazon associate I earn from qualifying purchases.
If you would like a video tutorial of this project head over to my YouTube channel and check out my step-by-step video of how to make this project. In the mean time subscribe to my free YouTube channel here.

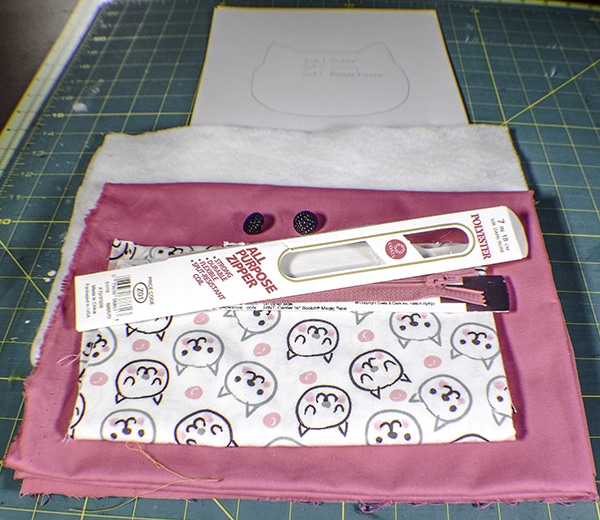
What you will Need: How to Make a Cat Zipper Pouch
- Pattern you can get here!
- 1/4 yd outer fabric
- 1/4 yd lining fabric
- 7″ zipper
- 1/4 yd fusible fleece
- 1/2″ Swivel clip
- Standard Sewing Supplies
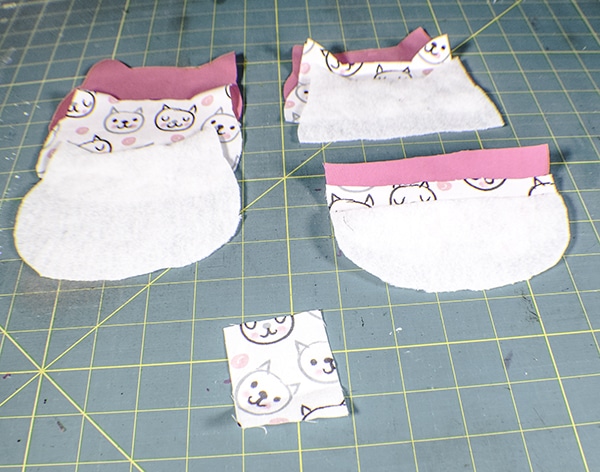
Step 1: Cut your fabrics
You have three pieces to this pattern. There are two front pieces and one back piece. Cut each of the pieces from the outer fabric, lining fabric and the fleece. Cut a 2″ x 2 1/2″ rectangle for the tab. You should have three outer pieces, three lining pieces and three fleece pieces.
Step 2: Fuse the fleece
Fuse the fleece to the outer pieces of fabric following the manufacturers instructions. Once the fleece is fused to the fabric the fleece and fabric will act as one piece.
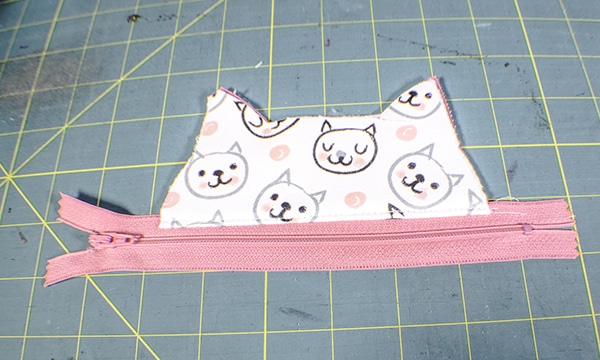
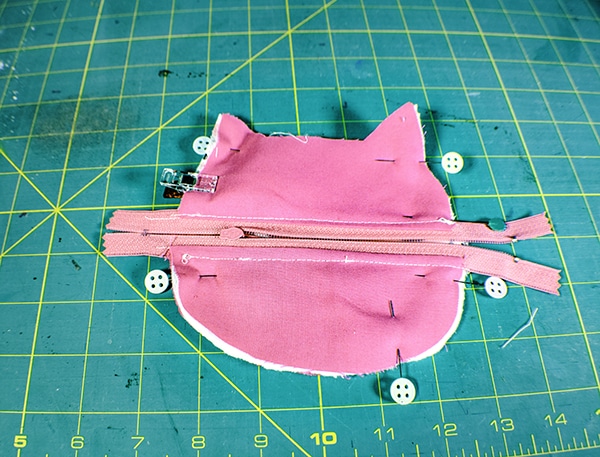
Step 3: Attach the zipper
You will attach the zipper to the front of the pouch. The zipper will act as the mouth of the cat. In order to attach the zipper lay the top of the outer piece right sides up on your work space. Lay the zipper right sides down on the outer piece. Sandwich the zipper with the matching lining piece. Using a zipper foot sew the three pieces together. Turn them right sides out and press. Top stitch along the right side of the zipper for a more professional look. Repeat this process for the bottom of the piece. You will now have one cat face with a zipper in the center.
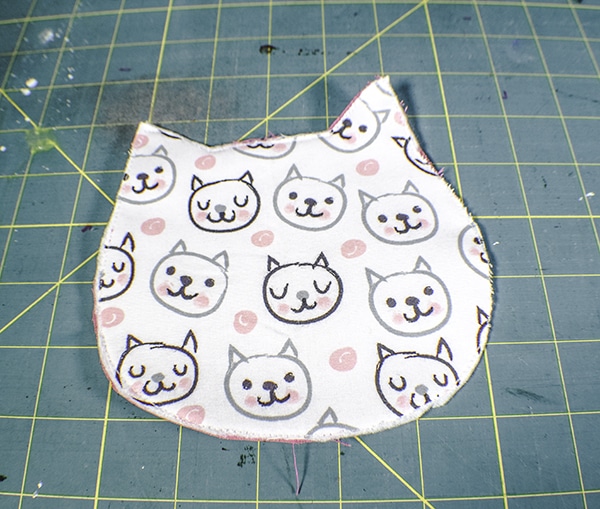
Step 4: Baste the back pieces together
Take the two back pieces and baste them wrong sides together using a 1/8″ seam allowance.
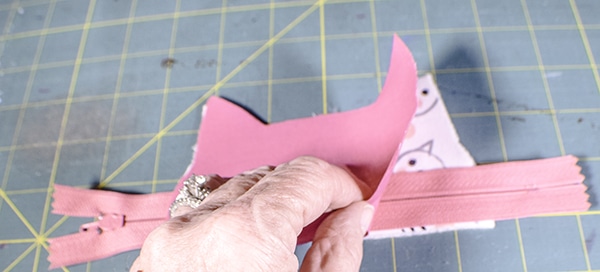
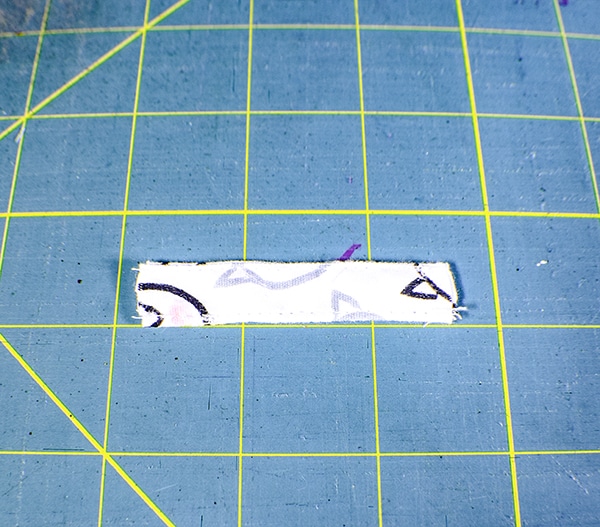
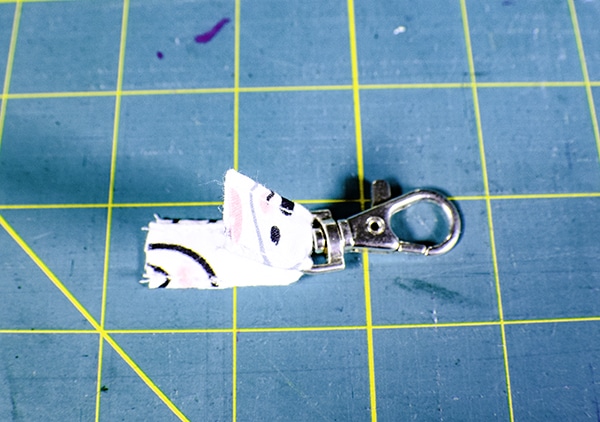
Step 5: Create the tab
Fold the 2″ x 2 1/2″ square in half and press. Open the fold and press the raw edges to the fold line. Fold in half again so that the raw edges are enclosed. Top stitch along both sides of the tab piece for a more professional look. Push the tab piece through the loop in the 1/2″ swivel clip. Clip the tab to the front of the pouch so that the swivel clip is facing toward the face of the cat.

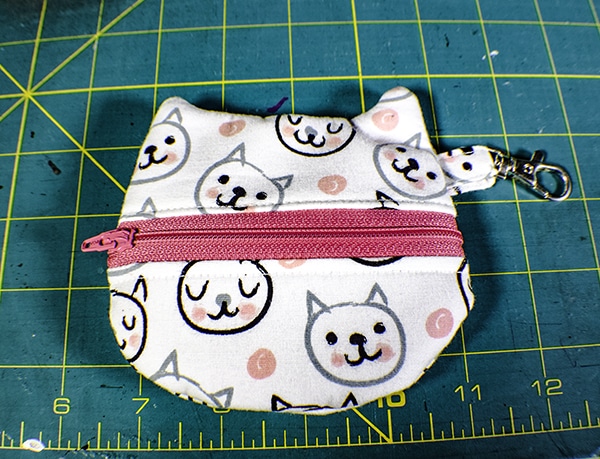
Step 6: Finish the pouch
Open the zipper. Lay the back piece on top of the front piece right sides together. Stitch all the way around the piece using a 3/8″ seam allowance. Turn the pouch right sides out through the open zipper. You will want to poke out the ears using a poking tool like That Purple Thang. You have now finished your cat zipper pouch.
I hope you enjoyed this project. If you would like more sewing and crafting projects sign up for our newsletter and receive your free eBook of 15 handbag patterns and tutorials.
If you would like more zipper pouches check out my half moon zippered pouch tutorial or my double zipper box pouch.
[mv_create title=”How to Make a Cat Zipper Pouch” key=”13″ type=”diy”]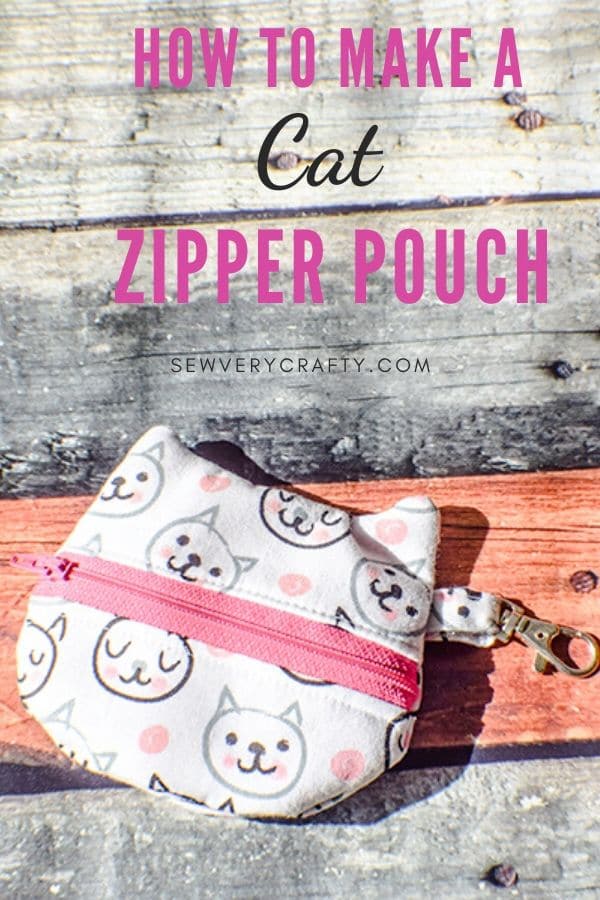

What a great tutorial very easy to follow!!
Thank you.
Very fun project! I used fabric inside mine with a mouse, so when you open the zipper, there he is looking out at you!
That is awesome!!!
Very fun pattern! I put a mouse fabric inside, so when you undue the zipper, there’s a mouse looking at you!
These are so cute! My daughter’s teacher holds class auctions a few times a year (he has a classroom money system set up where the kiddos earn a salary, pay bills, earn bonuses for special activities, etc. – it’s a GREAT learning tool!) I donated a few of these for the year-end auction and the girls loved them. I love that they’re fast and easy and can be made with scraps (great way to add a fun matching accessory to an outfit). I added a little kitty face out of heat transfer vinyl on the non-zipper side.
I am glad you liked them. Perfect ideas to add the face.