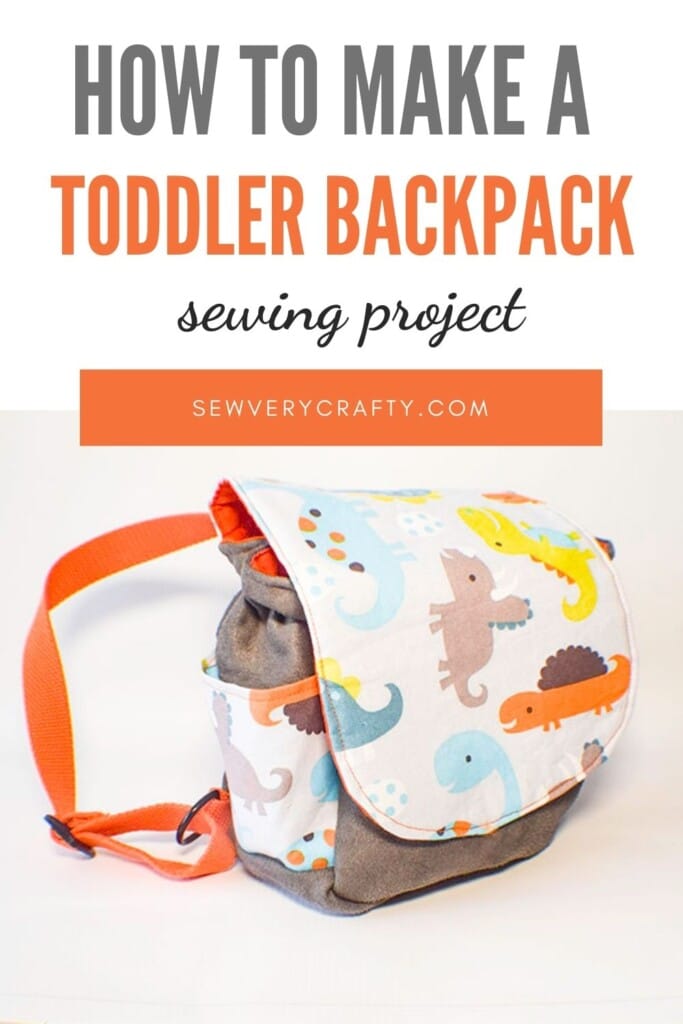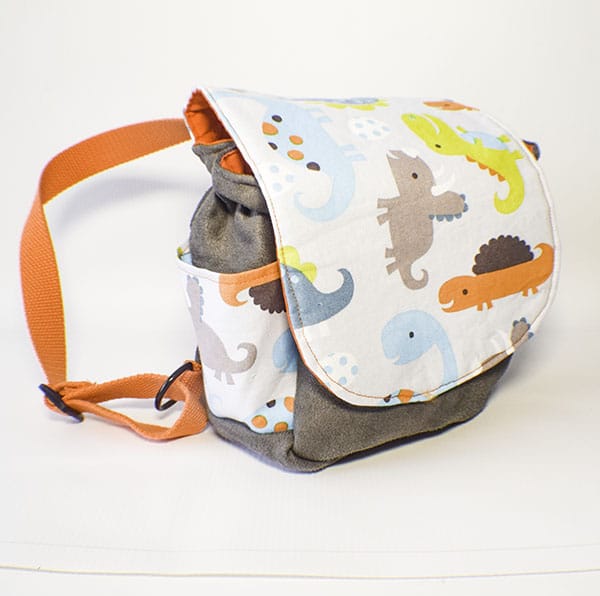
I love making children's things and handbags so this project was perfect for me. I came across this project on sewing times and wanted to make it and share it with you. This is a fun and functional toddler backpack that can be sewn by anyone with basic sewing skills. This tutorial will walk you step by step how to create this fun little bag. Believe me when I say that you do not need to be inexpert to stitch this project. There are a few steps but each one is simple. These steps pull this project together in no time.
I chose a cute little dinosaur print that I had in my stash as the accent fabric for this project. This fabric came from JOANN Fabric & Craft Stores![]() and was a remnant at 50% off. I also used some faux suede and Kona cotton for the lining. You can get these fabrics at JOANN Fabric & Craft Stores
and was a remnant at 50% off. I also used some faux suede and Kona cotton for the lining. You can get these fabrics at JOANN Fabric & Craft Stores![]() , fabric.com, Hobby Lobby or onlinefabricstore.net. I love using cotton fabrics but I thought the faugh side would be cute for this project. This post contains affiliate links that if you click on them and make a purchase I may receive a small commission at no extra cost to you. As an Amazon Associate I earn from qualifying purchases.
, fabric.com, Hobby Lobby or onlinefabricstore.net. I love using cotton fabrics but I thought the faugh side would be cute for this project. This post contains affiliate links that if you click on them and make a purchase I may receive a small commission at no extra cost to you. As an Amazon Associate I earn from qualifying purchases.
What you will Need: How to Make a Toddler Back Pack
- Pattern you can get from clicking on this link
- 1/2 yd accent fabric
- 1/2 yd faux suede
- 1 yd Kona cotton
- 1/2 yd Fusible Fleece like Pellon 987F
- 1/4 yd Pellon SF 101 Interfacing
- 50″ of 1″ cotton webbing
- 2 1″ tri glides
- 2 1″ D Rings
- 1 magnetic snap
- 20″ of 3/8″ elastic

Step 1: Cut the Fabrics for you Toddler Backpack
Faux Suede
- 2 pieces that measure 7⅞″ × 8¾″
- 2 Piece that measure 4¾″ × 7″
- 1 Piece that measures 9¾″ × 4¾″
Accent Fabric
- 1 Piece that measure 7⅞″ × 10¾″
- 2 Pieces that measure 5¾″ × 7⅞″
- 1 Piece that measures 5″ × 2½″
Lining Fabric
- 1 Piece that measures 4¾″ × 22¼″
- 2 Pieces that measure 7⅞″ × 8¾″
- 1 Piece that measured 7⅞″ × 10¾″
Fusible Fleece
- 2 pieces that measure 7⅞″ × 8¾″
- 2 Pieces that measure 4¾″ × 7″
- 1 Piece that measure 9¾″ × 4¾″
- 1 Pieces that measure 7⅞″ × 10¾″
Pellon SF101
- 1 Pieces that measure 7⅞″ × 10¾″
- 2 Pieces that measure 5¾″ × 7⅞″
Step 2: Cut out the lining and the Faux Suede
Using the pattern piece cut two pieces of fusible fleece from the 7⅞″ × 8¾″ pieces that you previously cut. Fuse the fleece to the wrong side of the faux suede following the manufacturer's instructions. layer one piece of suede on top of one piece of lining and trim the excess fabric to match the pattern piece. Repeat for the other pieces.
Step 3: Fuse the Fleece
Fuse the fleece to the corresponding remaining suede pieces.
Step 4: Fuse the SF 101
Fuse the 5¾″ × 7⅞″ pieces of SF 101 to the corresponding accent fabrics.
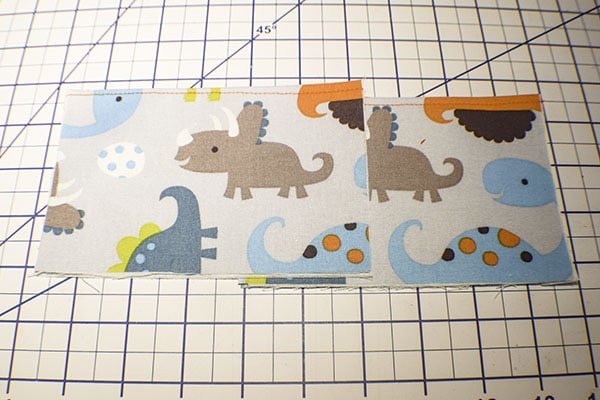
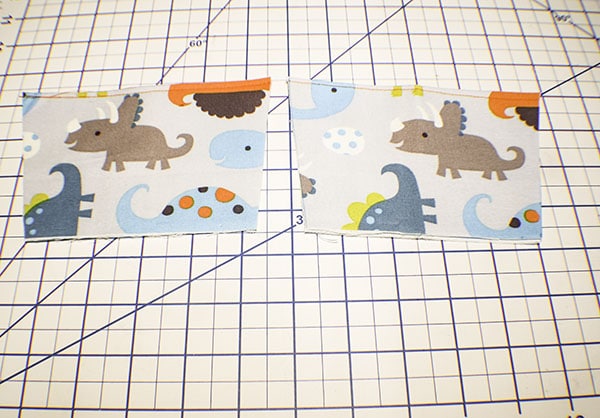
Step 5: Create the Side Pockets
Fold the 5¾″ × 7⅞″ accent fabrics in half widthwise and press. Topstitch along the fold. Find the center and measure 2 5/8″ on either side and make a mark on the bottom. Draw a line from the corner fold to the mark on the bottom on each side. Cut along the lines. Do this for both pieces. Add the accent piece to the 4 3/4″ × 7″ suede pieces. You will notice that the top of the accent piece is larger than the suede. This is correct. Clip the raw edges together and stitch along the sides and bottom using a 1/4″ seam allowance, You will notice that you have created a pocket on each piece.
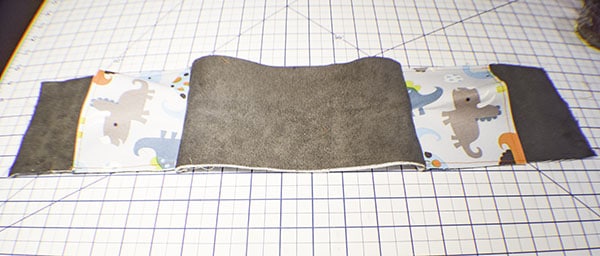
Step 6: Add the Pockets to the Gusset
Take the suede piece that measures 9¾″ × 4¾″ and place it on your work space. This is the gusset piece. Attach the pocket pieces right sides together with the ends of the gusset piece. Stitch along the short ends using a 1/4″ seam allowance.
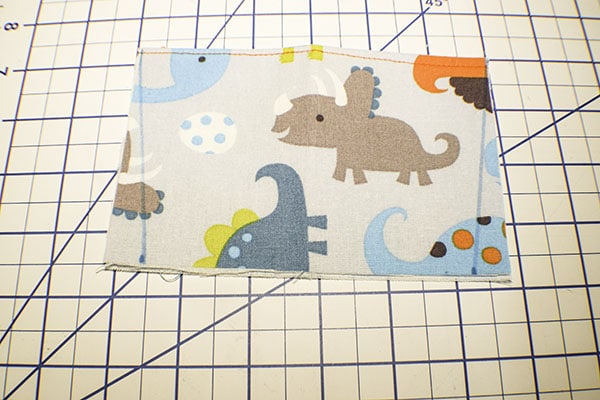
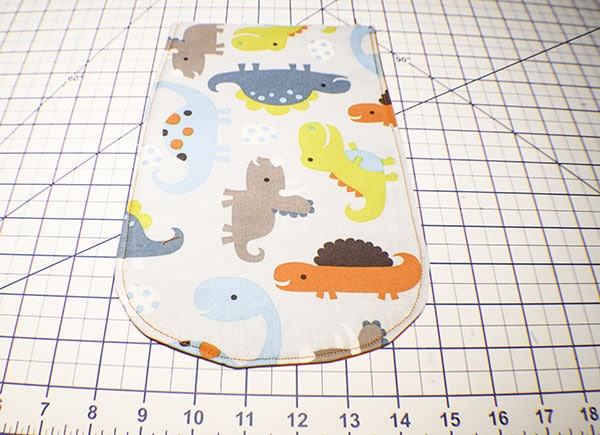
Step 7: Create the Flap
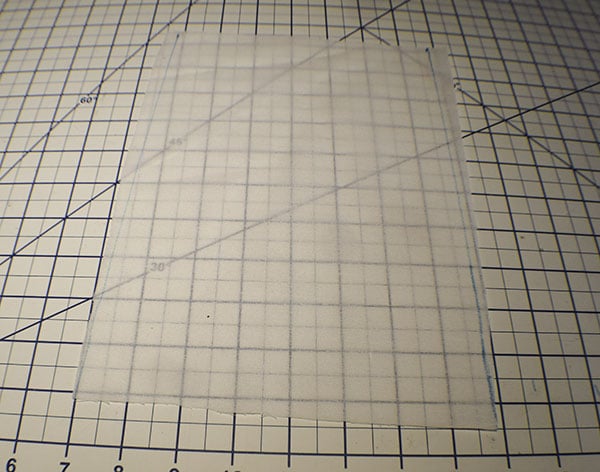
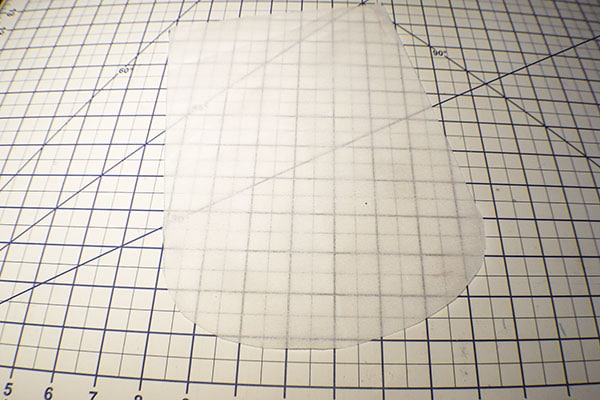
Place the 7⅞″ × 10¾” piece of SF 101 on your workspace. Measure in 5/8″ from each short side and make a mark. Draw a straight line to the bottom corner on each side. Cut the line. Fold the piece in half lengthwise and round the bottom right corners. Fuse the SF 101 to the 7⅞″ × 10¾” lining fabric and the fleece to the accent fabric of the same size. Place the piece together and trim around the SF 101 so that both pieces have the same shape.
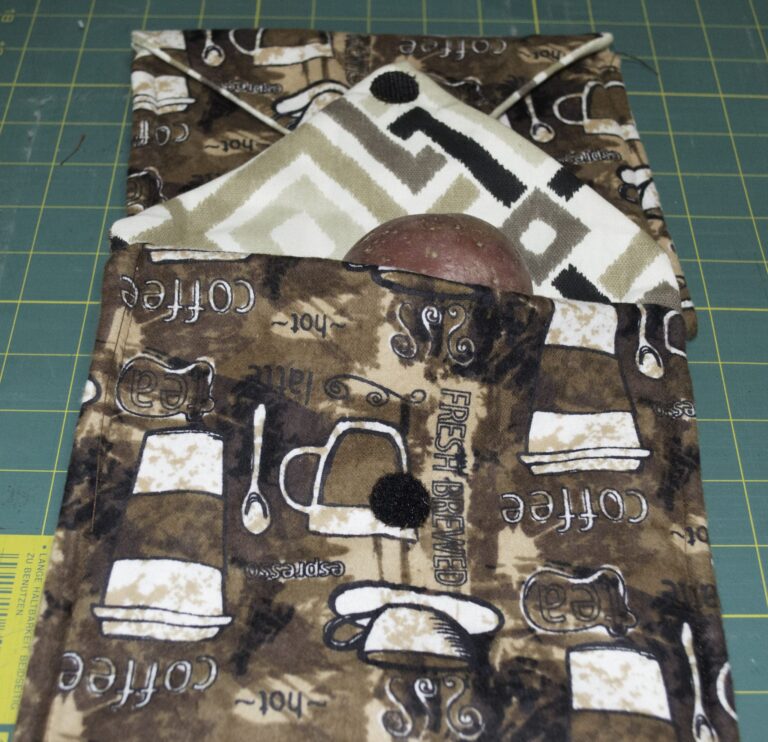
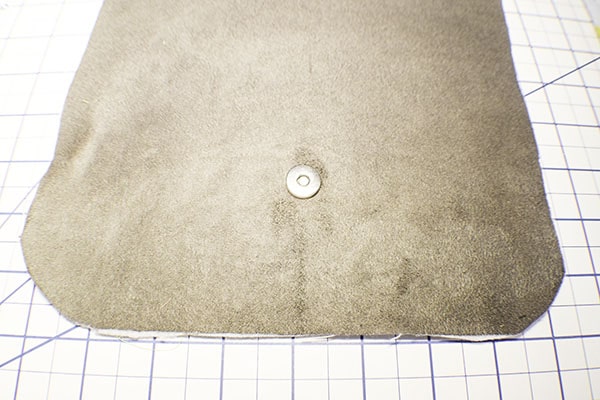
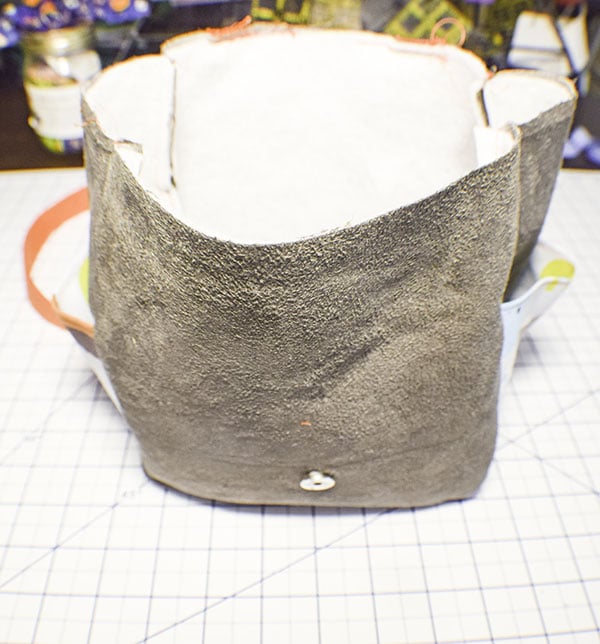
Step 8: Add the Magnetic Snap
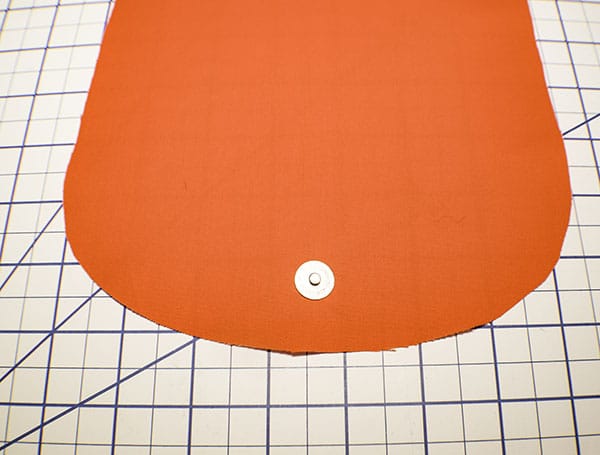
Take the lining piece from the previous step and measure up 1″ from the bottom and centered and make a mark. Add one half of the magnetic snap to this mark. Take the suede piece from step 2 and measure up from the bottom 2 3/8″ and centered and make a mark. Attach the other half of the magnetic snap to this mark.
Step 9: Stitch the Flap
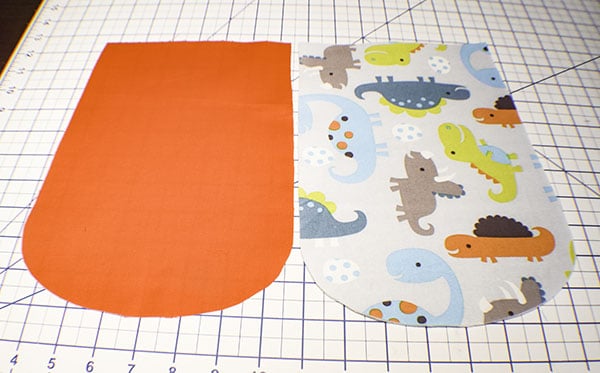
Place the accent flap piece and the lining flap piece right sides together and stitch along the sides and bottom using a 3/8″ seam allowance. Notch the curves and turn right sides out. Press. Topstitch around the sides and bottom.
Step 10: Add the Flap
Take the lining piece from step 2 and place the flap lining sides together and stitch along the raw edge using a 3/8″ seam allowance.
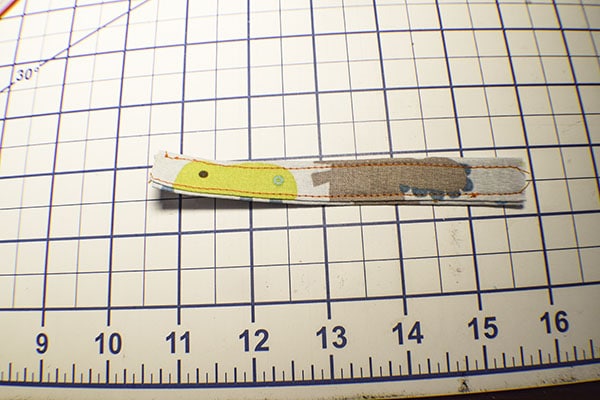
Step 11: Create the Handle
Take the Accent piece that measures 5″ × 2½″ and fold the long edges to the center and press. Fold in half to enclose the raw edges. Topstitch along both folded edges.
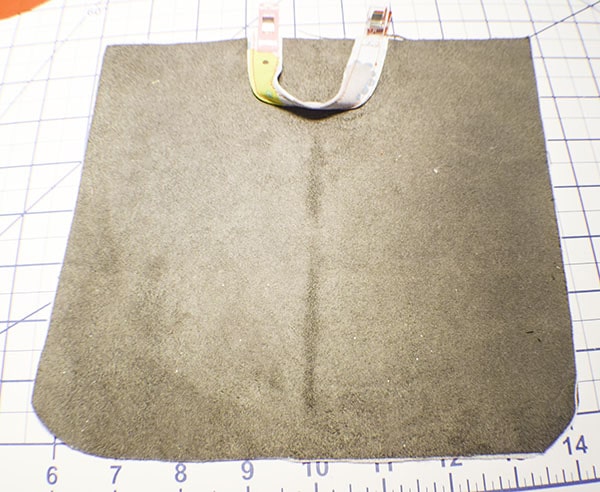
Step 11: Add the Handle
Take the outer faux suede piece from step two and find the center. Add the handle to the piece so that the raw edges match and the distance between both ends is 2 3/4″. Stitch the handle to the side piece.
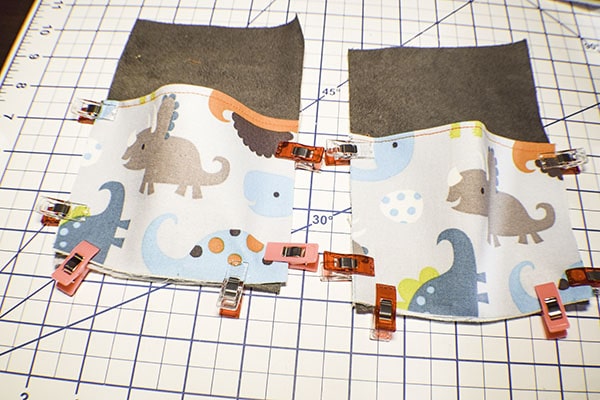
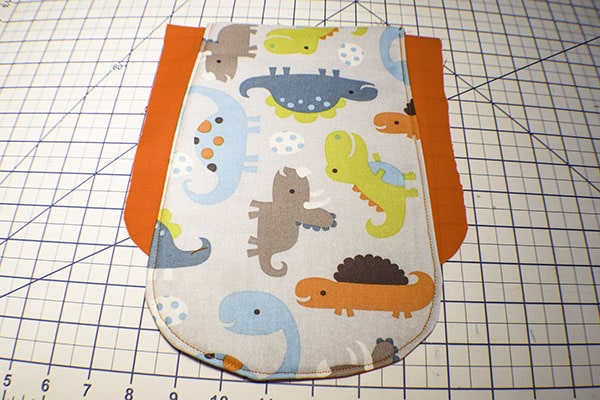
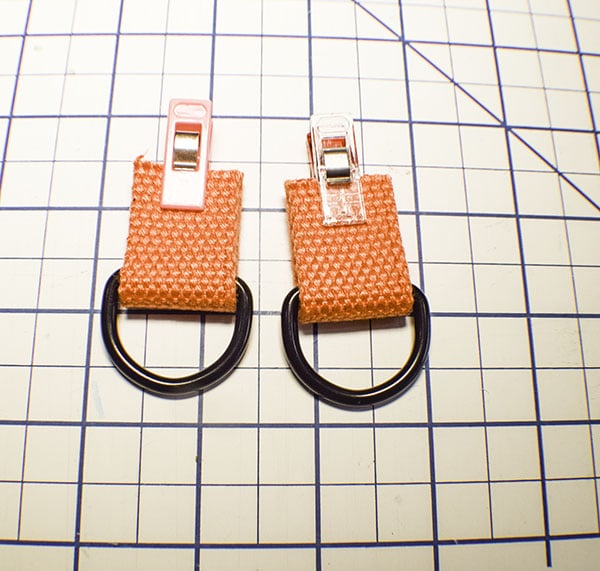
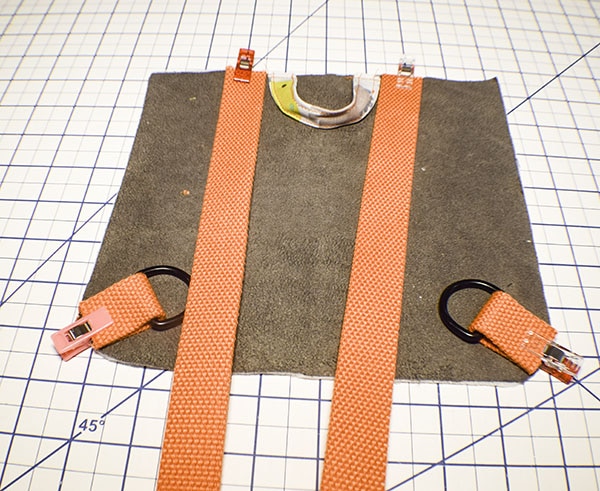
Step 12: Add the Strapping
Cut the strapping in half. Then cut 2 3/4″ pieces from the ends of each piece and wrap them around the D. Rings and clip. Place the long straps on either side of the handle and clip. Place the D-Ring pieces at the curved corners of the handle piece and clip. Stitch all four strapping pieces to the suede piece.
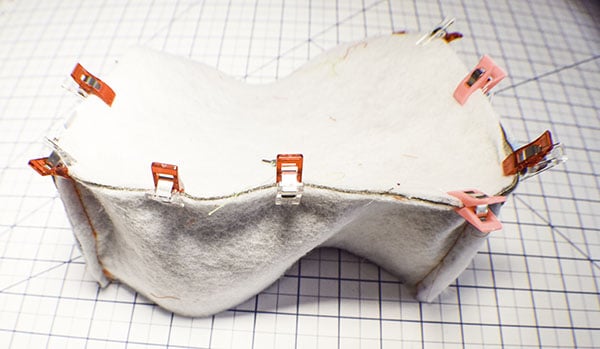
Step 13: Create the toddler backpack
Take the Body piece with the snap and find the center on the bottom and mark. Find the center of the gusset and mark as well. Place the gusset around the bottom of the body piece. You will have to clip the bottom of the gusset to get it to fit snuggly. Stitch the gusset to the body piece using a 3/8″ seam allowance. Place the body piece with the straps right sides together with the other side of the gusset piece and stitch suing a 3/8″ seam allowance. Turn right sides out. You have finished the outer body of your toddler backpack

Step 14: Create the Lining
Create the lining in the same way you created the bag by stitching the gusset to the two body pieces right sides together. Start by measuring down 5/8″ from the top right and making a mark. From that mark measure another 5/8″ and make another mark. Stitch to the first 5/8″ mark then skip to the next mark and stitch the the other side and leave an opening for turning and finish stitching. Use a 3/8″ seam allowance. Place the final lining piece with the flap right sides together and stitch using a 3/8″ seam allowance.

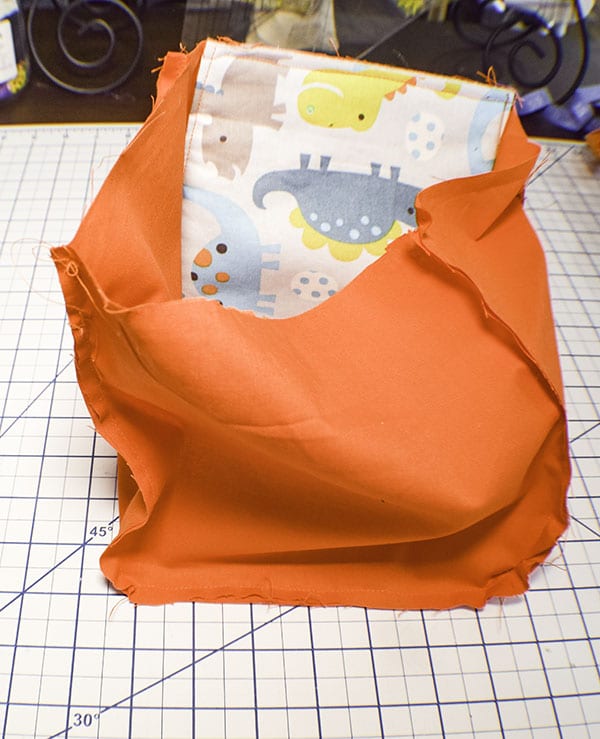
Step 15: Combine the Two Backpacks
Place the outer bag into the lining bag right sides together making sure that the straps and flap are stuffed in between the two bags. Stitch all the way around the top of the bag using a 3/8″ seam allowance. Turn right sides out through the opening you left in the lining. Close the opening using your machine or ladder stitch. Push the lining into the backpack. Stitch all the way around the top to secure the lining.
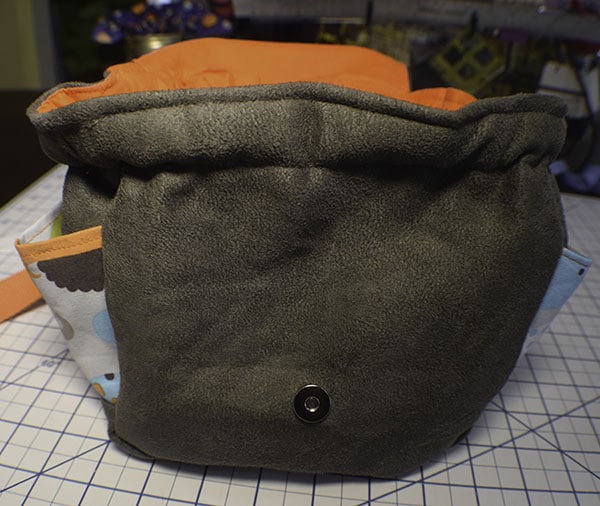
Step 16: Create the Casing of the toddler backpack
Measure down 1″ from the top and mark all the way around. Stitch along that 1″ line allowance the way around.
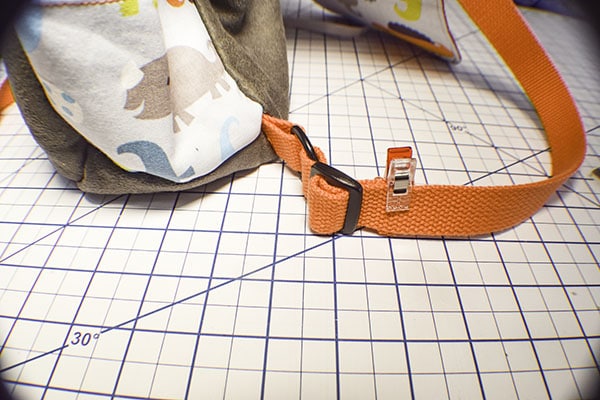
Step 17: Finish the Straps of the Toddler Backpack
Feed the straps through the triglides then through the D. Rings, Once through the D-Rings feed it back through the triglide on the backside from the top. Fold under the raw edges and stitch.
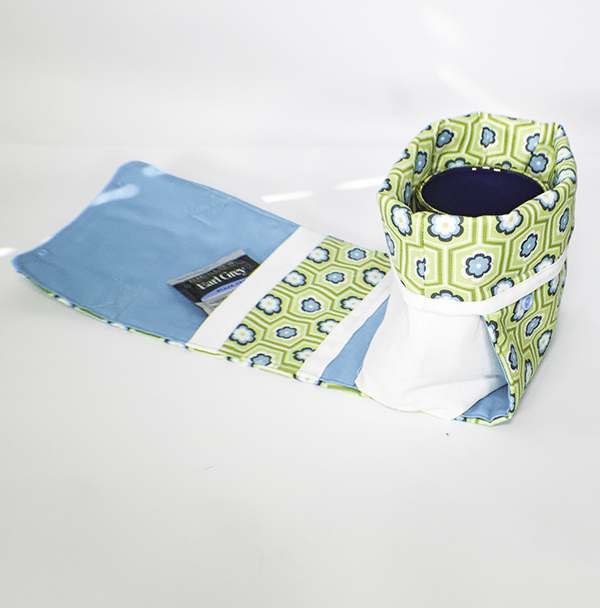
Step 18: Feed the Elastic through your Toddler Backpack
Using a safety pin or a bodkin feed the elastic through casing using the 5/8″ opening you left in the lining. Pull the elastic as taut as you like and cut off the remainder. Over lap the ends of the elastic and stitch the ends together. Fold the flap over and snap and you have now finished your toddler backpack.
I hope you enjoyed this toddler backpack project. If you would like more sewing and crafting projects sign up for our newsletter and receive your free eBook of 15 handbag patterns and tutorials taken from the blog
If you would like video tutorials of some of Sew Very Crafty's most popular posts subscribe to our free YouTube channel here.