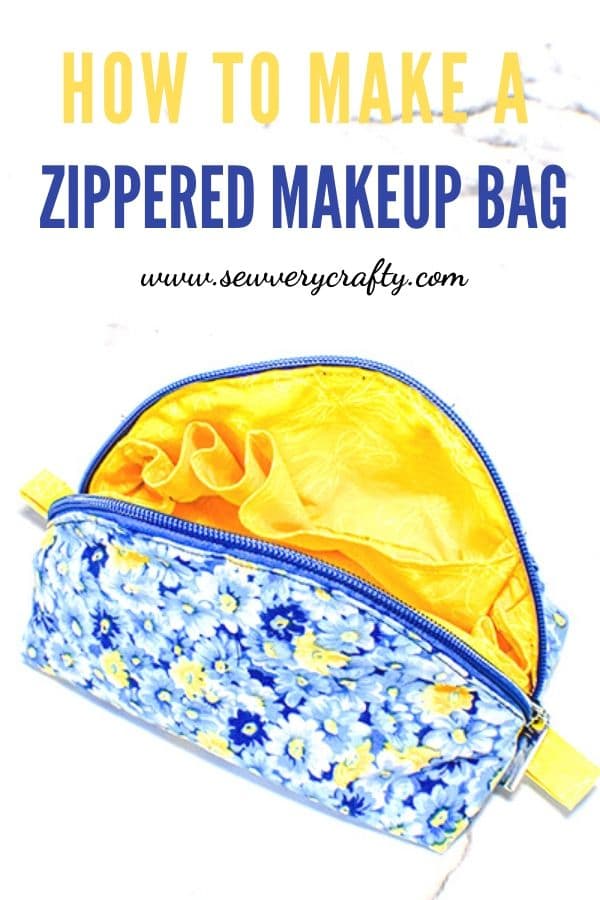
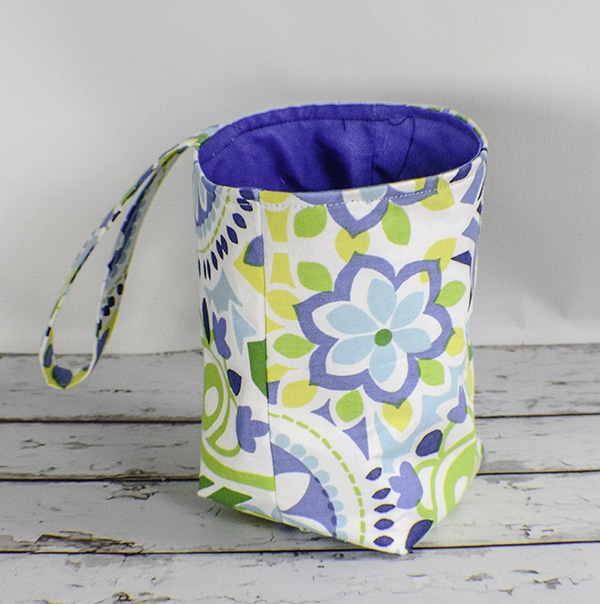
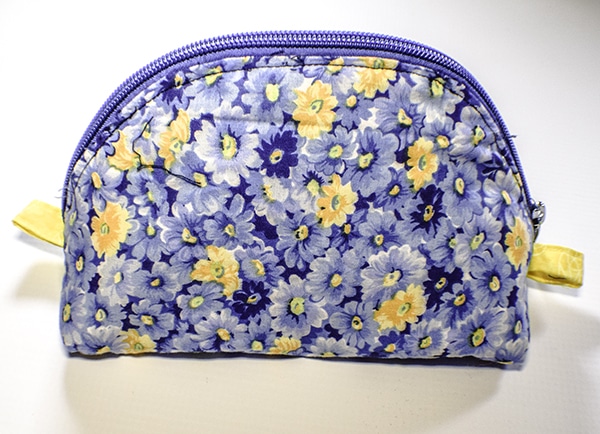
How to Sew a Makeup Bag

I saw this makeup bag with compartments on Sewing Times and thought to share it with you. It is a little more difficult than the projects I usually share here at Sew Very Crafty but I really liked it. This is not my own pattern but it is worth giving a try. I will attach the video at the end of the post so you can see how it is made. I particularly like this makeup bag because of the compartments. So many makeup bags are just zipper pouches that you toss your makeup in. This one actually keeps you organized. It is an intermediate sewing project that takes a little bit of time to make but I think you will find it well worth the effort.
I used cotton fabrics that I had on hand for this project. I obtained one of them as a remnant and the other I purchased online by the yard both at JOANN Fabric & Craft Stores. Of course you could head to Hobby Lobby or Fabric.com to get the fabrics that would be perfect for your project. I also used a zipper by the yard for this project that I purchased from Etsy. This post contains affiliate links that if you click on them I may receive a small commission at no extra cost to you.
What you will Need: How to Sew a Makeup Bag
- Pattern you can get by clicking on this link
- 1/2 yd exterior and lining fabric
- 1/2 yd high loft fusible fleece like Pellon TP970F
- 1 #5 zipper by the yard that measures 17″
- 7 7/8″ 1/4″ elastic
- Standard sewing supplies
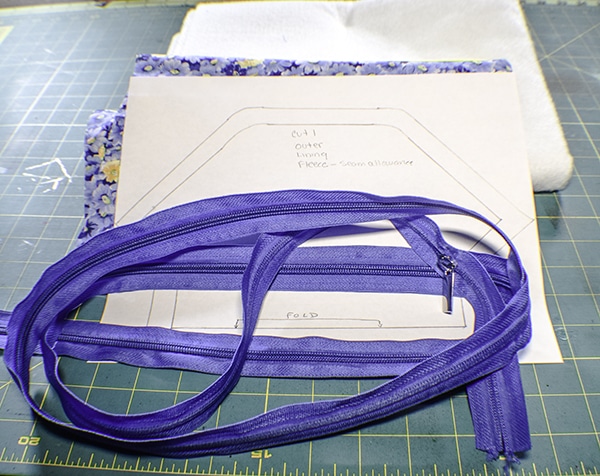
Step 1: Cut your makeup bag Fabrics
Cut a piece of outer fabric and lining fabric that measures 11″ x 12 1/2″. You should cut one lining piece that measure 10 1/4″ x 5 1/2″ and one that measures 12 5/8″ x 6 1/4″. There should be two more lining pieces that are cut to measure 4 1/2″ x 7 1/8″ and two that measure 2 3/8″ x 3 1/8″. Cut a piece of fusible fleece using the pattern piece that you have printed out.
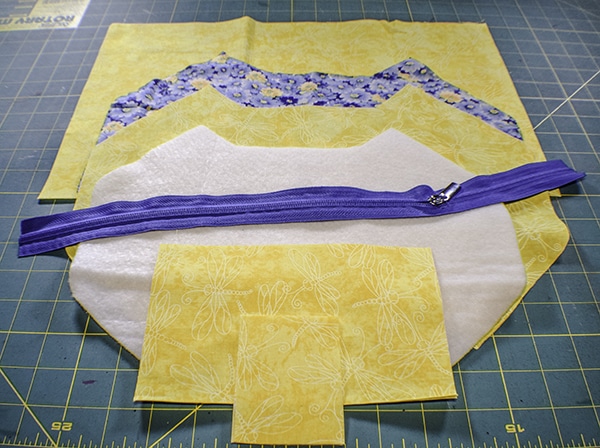
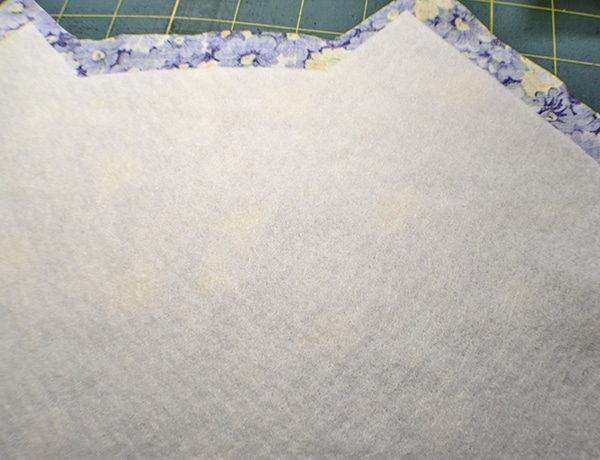
Step 2: Fuse the Fleece
Following the manufacturers instructions fuse the fleece to the wrong side of the outer fabric rectangle. Place the lining rectangle underneath the outer rectangle so the raw edges match. Cut around the fleece piece 1/2″ away from the edge. This will be the seam allowance throughout the construction of this bag.
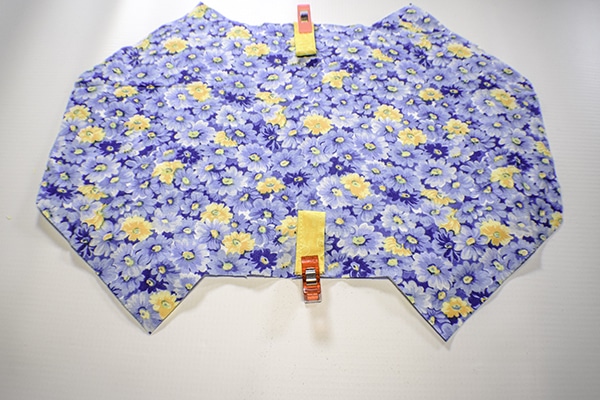
Step 4: Create the Tabs
Take the 2 3/8″ x 3 1/8″ pieces of lining fabric and create two tabs. Do this by folding the short raw edges to the center and pressing. Fold in half again and press. Top stitch along both long edges. Fold the tabs in half. Add them to each side of the center of the long sides of the main outer piece matching the raw edges. Stitch them in place using zig zag stitch.
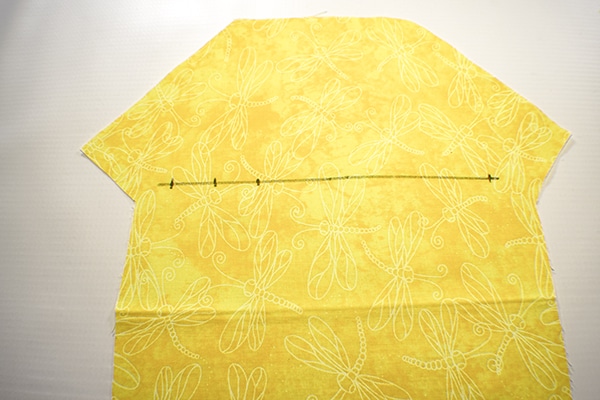
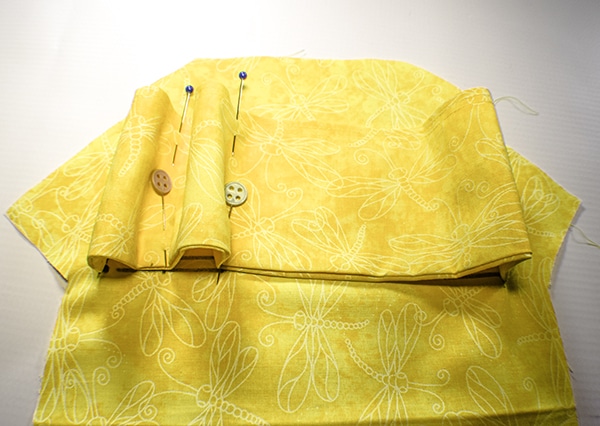
Step 5: Mark the first set of compartments
Take the 12 5/8″ x 6 1/4″ lining pieces and fold it in half lengthwise. Press. Stitch the sides and raw edges leaving an opening for turning. Turn right sides out and press. Top stitch two lines along the folded edge. Measure 2 1/2″ from the left edge and pin. From there measure 2 3/8″ and pin again.


Take the lining piece and place it on your work surface. Find the center by folding it in half. Draw a line using an erasable pen that measures 7 1/8″ long and centered. The line should be 4 5/8″ down from the top. From there, draw vertical marks that cross the horizontal line you just drew as follows. The first mark should be `1/4″ from the left. The second mark should be 7/8″ from the first and the third mark should be 7/8″ from the second. Finally there should be a mark 1/4″ from the left.
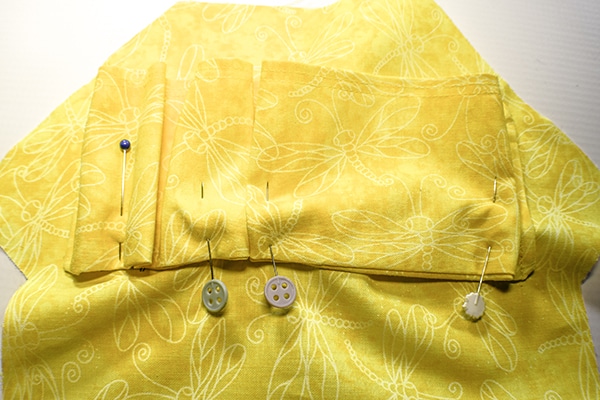
Step 6: Create the first set of compartments
Place the lining piece you previously marked with pins onto the lining piece you drew on. The end of the lining piece you marked with pins should line up with the end of the line you drew on each end. Stitch the ends of the pinned lining piece to the main lining piece on the 1/4″ mark on each end. You will notice that there is excess fabric in the middle. This is correct.
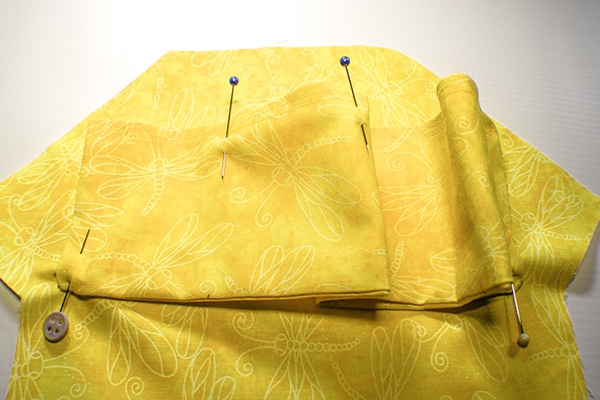
Move the pinned lining piece over so that the first pin is in line with the second line. Pin. Move the second pin to be in line with the third line and pin. Stitch a line between the two pins and after the second pin to create the compartments. Flatten the bottoms of the compartments as shown and pin. Stitch along the bottom.
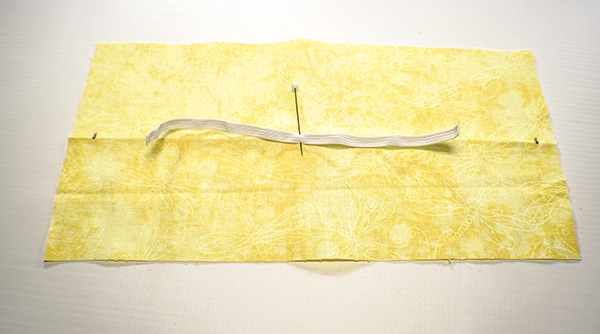
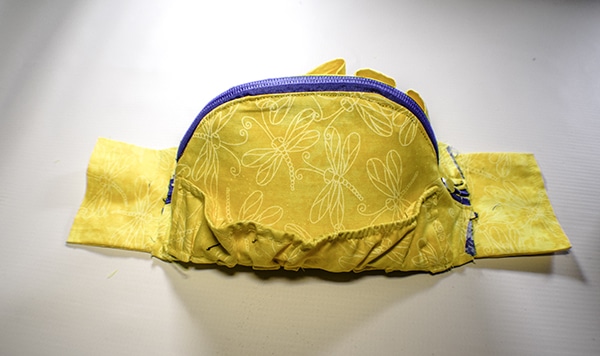
Step 7: Create the elasticized pocket
Find the lengthwise center of the remaining lining piece by folding it in half. Place the elastic in the center of the wrong side of the lining rectangle and pin. Make a mark 1/2″ from each end. Stitch the elastic to the lining piece using zig zag stitch by stretching it as you go from one mark to the other. Fold the piece right sides together and stitch the sides and the bottom leaving an opening for turning. Turn right sides out and press. Top stitch along the elastic edge stretching the elastic as you go.
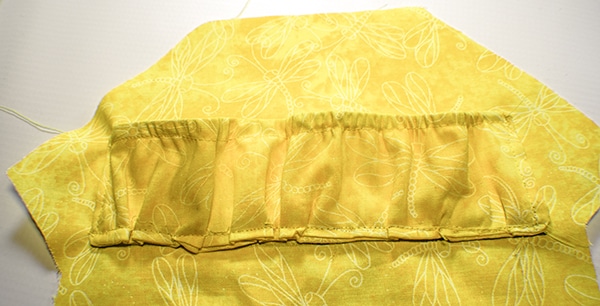
Step 8: Add the elasticized pocket to your makeup bag
Draw a line using an erasable pen that measures 7 1/8″ long and centered. The line should be 4 5/8″ down from the top. Place the ends of the elasticized compartment at the ends of the line. Stitch along the sides and the bottom.
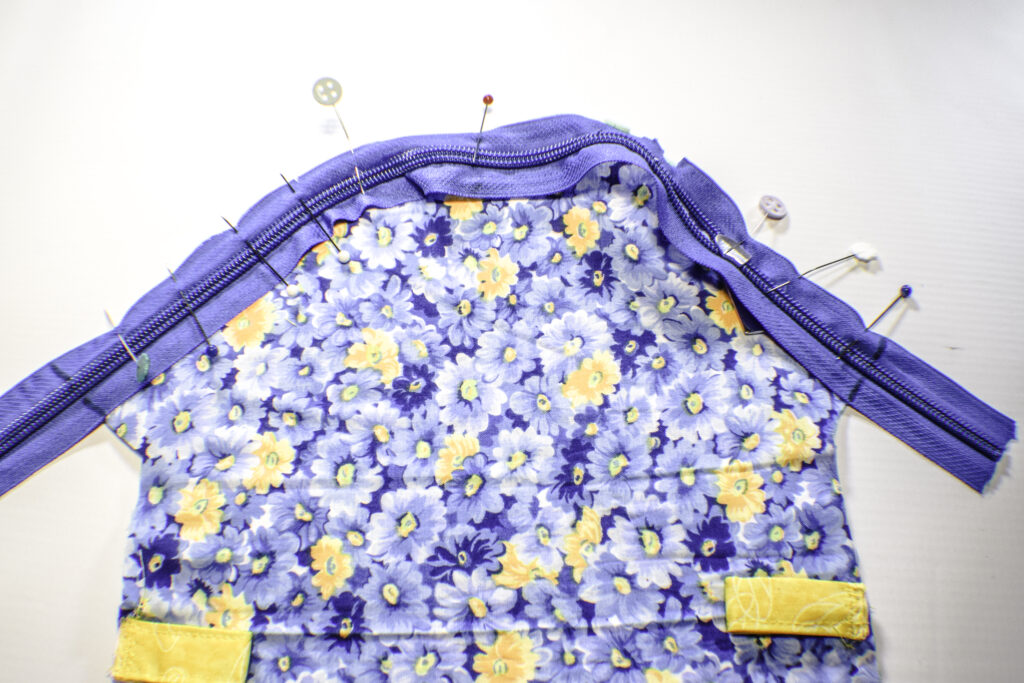
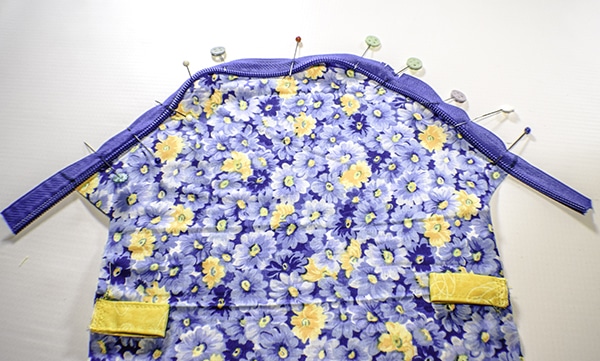
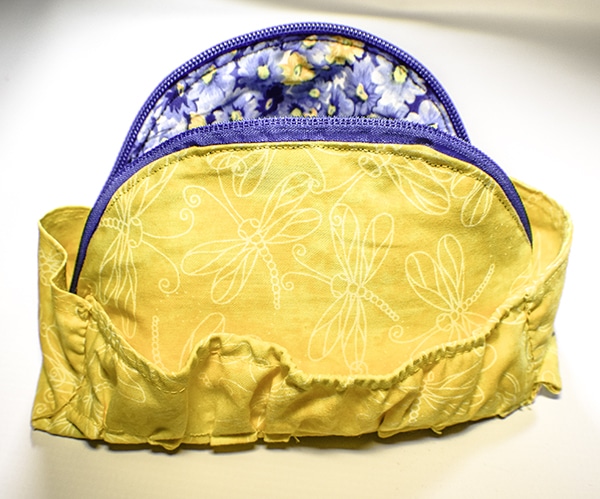
Step 9: Add the zipper
Find the center of the zipper and the outer piece and mark with an erasable pen. Pin one side of the zipper to the edge of the bag matching the center markings. The wrong side of the zipper should be face down on the right side of the outer bag. Pin. When you have reached the end mark the zipper on both sides. Take the zipper apart leaving one side still pinned. Add the other side of the zipper to the other end of the piece matching the markings. Stitch the zipper tape in place.
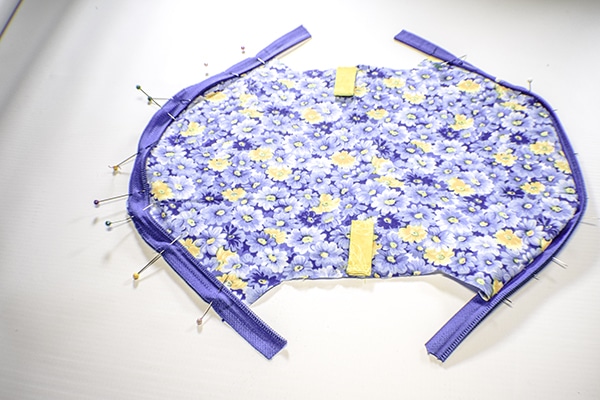
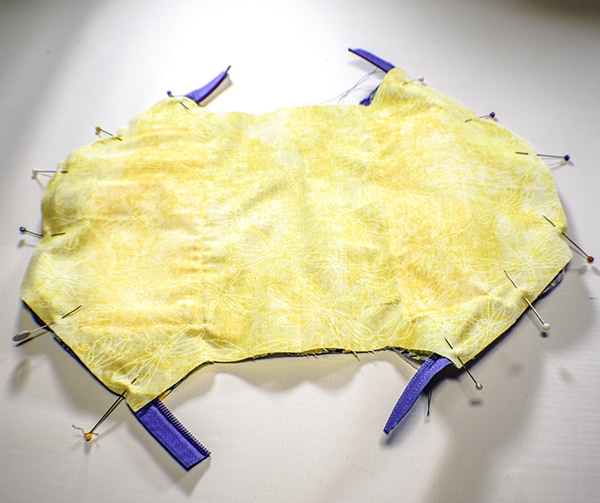
Place the lining piece with the compartments facing toward the right side of the bag onto the zipper. Pin the lining to the zipper. Stitch the lining to the zipper. Turn the bag right sides out and top stitch along the zipper.
Step 10: create the sides
Take the 4 1/2″ x 7 1/8″ pieces and fold them in half. Stitch along the sides and bottom leaving an opening for turning using a 1/4″ seam allowance. Turn right sides out and press. Top stitch two lines along the folded edge.
Step 11: Add the sides to your makeup bag
Keeping the outside in, reach in and replace the zipper slider. The lining will be facing you. Pinch the ends together with the zipper ends sticking out and pin on both sides. Lay the sides on your work space with the opening facing in toward the bag. Lay the pinched end on top of the side so that it is centered and overlaps by about 1/2″. Stitch the pinched end to the side using a 1/4″ seam allowance. Repeat for the other side. clip off the excess zipper. Fold up the sides over the raw edges. Stitch along the pinched edge using a 1/2″ seam allowance.


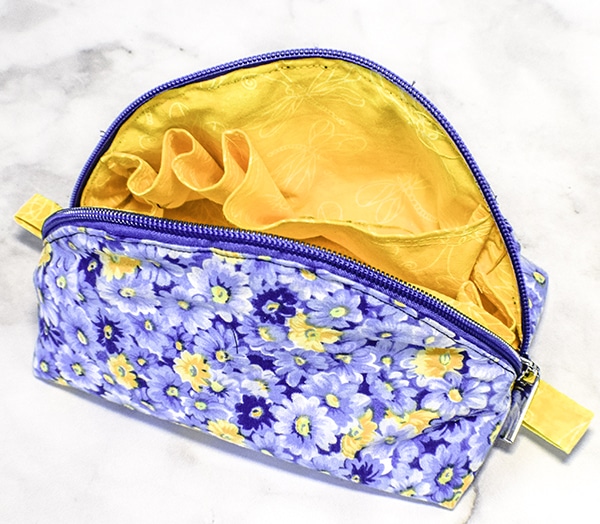
Open the zipper by reaching in the best you can. Hand stitch the sides to the sides of the compartment pieces. Turn the bag right sides out and fill it. You have now finished your makeup bag.
I hope you enjoyed this project. If you would like more sewing and crafting projects sign yup for our newsletter and receive your free eBook of 15 handbag patterns and tutorials.
If you would like video tutorials of some of Sew Very Crafty's most popular posts subscribe to our free YouTube Channel here.