Pleated Clutch Handbag Tutorial
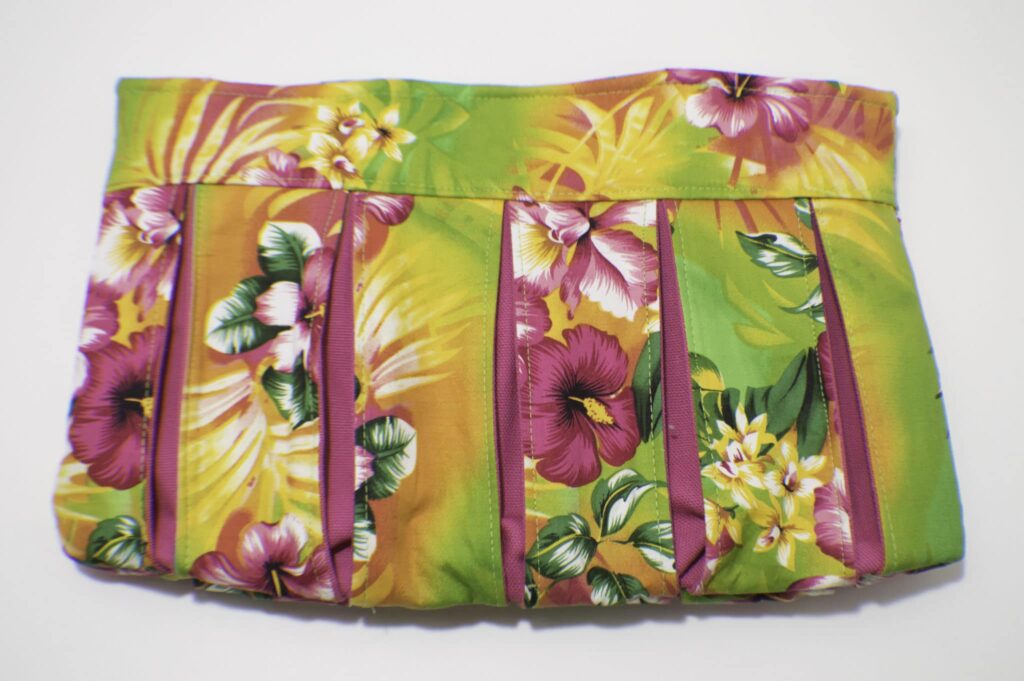
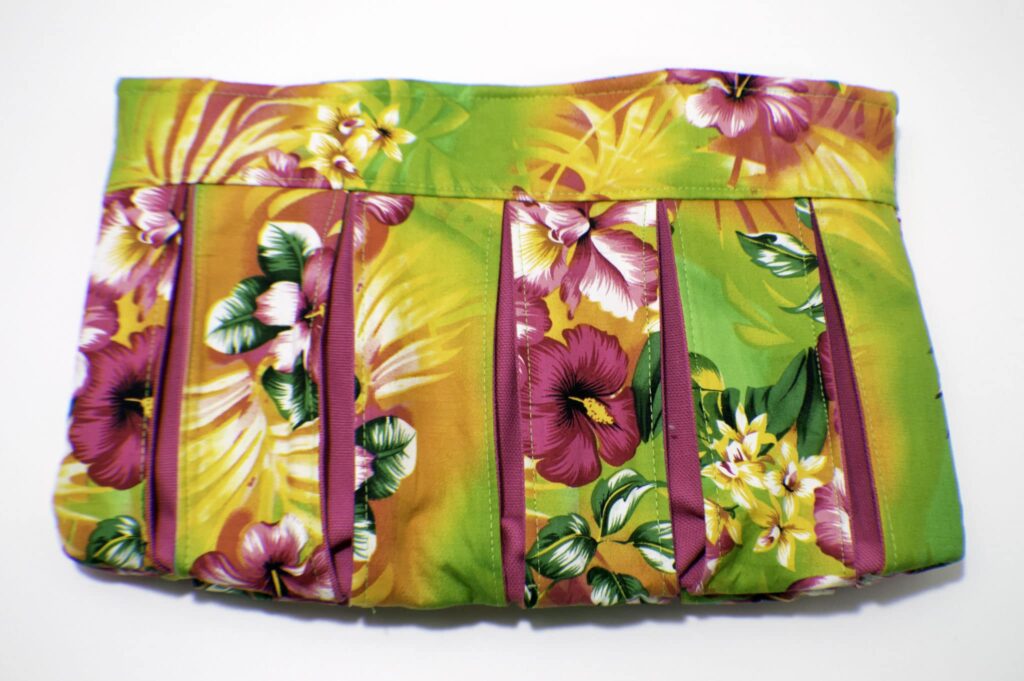
I once again delved into my stash and created a colorful and fun pleated clutch handbag. This stash busting project is simple to make and only takes a few hours. It is the perfect clutch for any time day or night. I love the bright colors but you can use more subdued shades if that suits you. The key to this simple clutch pattern is the alternating pleat colors.
I was fortunate enough to have remnants that I used for this project. If you are not familiar with remnants they can usually be found in the remnant bin at your local fabric store. A remnant is typically a yard or less of fabric that comes at the end of a bolt. The fabric store rolls them up and marks them down just for you. The beauty of remnants is that they are always at least 50% off the regular price. I have a large stash full of remnants and am always trying to find projects that I can make from a yard or less of fabric. Truth be told, I have too many remnants and really need to start getting through my stash of them so I will be creating more remnant friendly projects in the future.
If you don't have a big stash like I do or want specific fabrics for this project head over to Fabric.com or Hobby Lobby to find the perfect fabric for you. This post contains affiliate links that if you click on them and make a purchase I may receive a small commission at no extra cost to you. If you need to purchase any of the other items simply click on the links to head over to Amazon and make the purchase.
This is a beginner sewing project for sewers at all levels.
What you will Need:
- 1/2 yd or remnant of exterior fabric
- 1/4 yd or remnant of coordinating or contrasting fabric
- 1/2 yd of lining fabric
- 1/2 yd of fusible fleece
- 1/4 yd of pellon 808
- 1 magnetic snap
Step 1: Pleated Clutch Handbag Tutorial
Cut the fabrics as follows:
- Outer Fabric
- 12 strips measuring 2 1/2″ x 6 1/2″ (Pleats)
- 4 Strips measuring 2 1/2″ x 13″ (Top Panel)
- Contrasting Fabric
- 10 strips measuring 2 1/2″ x 6 1/2″ (Pleats)
- Lining Fabric
- 2 pieces 6 1/2″ x 13″ (Body)
- 4 pieces 4 3/4″ x 5 1/2″ (Pockets)
- Fusible Fleece
- 2 pieces 6 1/2″ x 23″ (Body)
- 2 Pieces 2 1/2″ x 13″ (Top Panel)
- Pellon 808
- 2 pieces 2 1/2″ x 13″ (Top Panel)
- 2 pieces 4 3/4″ x 5 1/2″ (Pockets)
Step 2: Pleated Clutch Handbag Tutorial
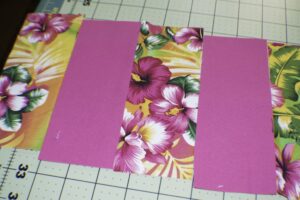
Alternate 6 strips of the outer fabric with 5 pieces of the contrasting fabric and sew the strips right sides together along the long sides of the strips. You should have one long piece of alternating colors. Do the same thing with the remaining strips so that you have two identical pieces. Use 1/4″ seam allowance throughout the pattern.
Step 3: Pleated Clutch Handbag Tutorial
Fuse the fusible fleece to the pieces you just created. If you are not familiar with fusible fleece it is a soft interfacing that adds structure to your bag. There is glue on one side of the fleece that will fuse to your fabric when heated. Instructions on how to fuse it to your fabric will come with the fleece but it is a simple process. Simply lay the glue side face up on your ironing board. Lay the wrong side of the fabric onto the glue side of the fleece and press with a hot iron until the two pieces become one. You can then treat the fabric and fleece as one piece while sewing.
Step 4: Pleated Clutch Handbag Tutorial
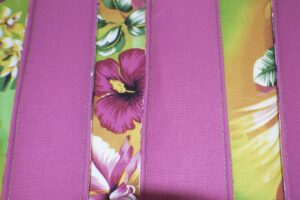
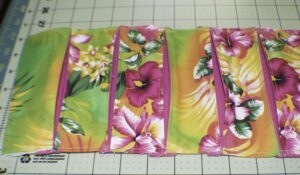
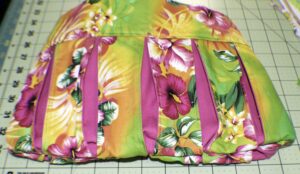
Create the pleats by first pressing two adjacent pieces wrong sides together so that the seam is right on the edge. Top stitch close to the seam. Repeat this step with each adjacent piece of fabric as shown for both pieces.
Step 5: Pleated Clutch Handbag Tutorial
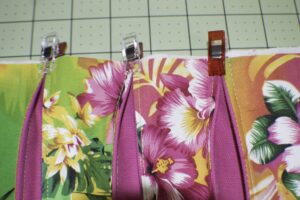
Continue to create the pleats by clipping the top stitched edges together at the top and bottom of the pieces as shown. If you do not have these clips they are called wonder clips you can purchase them through Amazon by clicking on the link. They are a great addition to your sewing room. I use mine all the time.
Sew along the entire top and bottom within the seam allowance so the pleats are sewn in place. Repeat for the other piece.
Round off the bottom corners of both pieces. You can do this by using a small plate or water glass as a template. Set aside.

Step 6: Pleated Clutch Handbag Tutorial
Create the top panel by fusing the fleece to two of the pieces. Fuse the Pellon 808 to the other two pieces. The Pellon 808 fuses the same way as the fleece. You should have four top panel pieces, two with fleece and two with Pellon 808.
Step 7: Pleated Clutch Handbag Tutorial
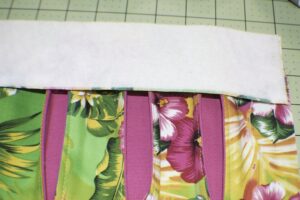
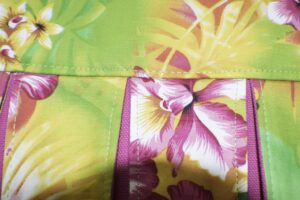
Sew the fleece fused panel right side together with the pleated body. Repeat with the other piece. You should have two Identical sides of your bag at this point. Press and top stitch along the seam. Top stitching gives your project a more finished look. If you are not used ot top stitching take your time and make sure that your lines are straight because they will be seen.
Step 8: Pleated Clutch Handbag Tutorial
Create the pockets by fusing the Pellon 808 to two of the pocket lining pieces. Take one fused piece and one non-fused piece and sew them right sides together leaving and opening for turning. Repeat for the second pocket. Turn the pocket right side out and press. Top stitch the top of the pocket piece for a nice finished edge.
Step 9: Pleated Clutch Handbag Tutorial
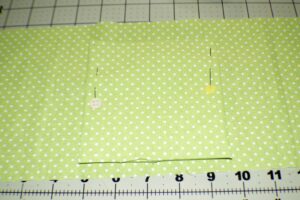
Center the pockets onto the body lining pieces and sew around three sides enclosing the opening you used to turn the pocket pieces. Round the bottom corners of the lining pieces in the same way you did the main body pieces.
Step 10: Pleated Clutch Handbag Tutorial
Center the magnetic snap on the Pellon fused top panel and insert according to manufacturers instructions. Adding magnetic snaps is an easy process. Simply mark where you want your snap to be and cut two slits for the prongs of the snap to slide into. Place the backing onto the prongs on the wrong side and fold down the prongs to secure. Sew the Pellon fused top panels with the magnetic snaps to the lining body pieces. Press.
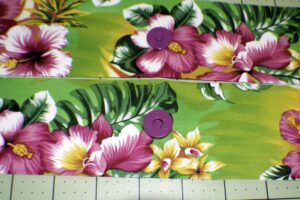
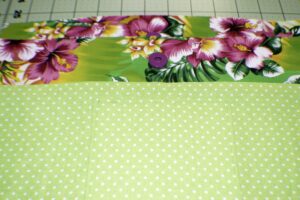
Step 11: Pleated Clutch Handbag Tutorial
Using a 1/4″ seam allowance sew the two body pieces right sides together leaving the top open. Turn right sides out.
Step 12: Pleated Clutch Handbag Tutorial
Sew the lining pieces in the same way but leaving an opening at the bottom for turning.
Step 13: Pleated Clutch Handbag Tutorial
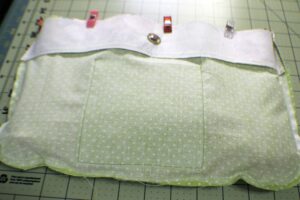
Insert the outer body piece into the lining piece so that the pieces are right sides together. Sew around the top using a 1/4″ seam allowance. Turn the bag by pulling it through the opening you left in the lining.
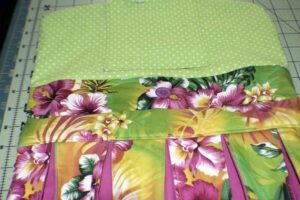
Step 14: Pleated Clutch Handbag Tutorial
Sew the opening closed and insert the lining into the outer bag. Top stitch around the top of the bag and you have finished this beautiful pleated clutch. I hope you have enjoyed this beautiful beginner sewing project and that you will give it a try. It is a fun one.
If you want 15 more free handbag patterns and tutorials sign up for our news letter and get your free Ebook.




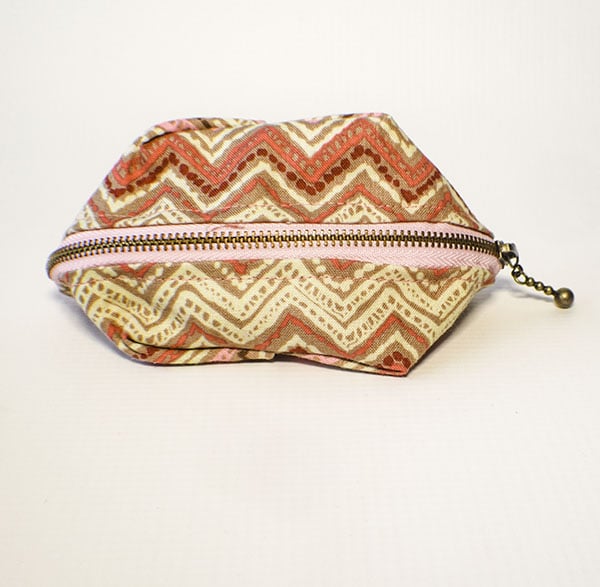
I made this clutch bag and it came out really cute! The instructions were pretty clear and not too hard to follow. A couple of things I’d like to point out though…
1. The lining came out way too big once it’s turned inside the bag. I removed it and cut off 1’from the top of each side of the lining. It fit better.
2. I’m not sure why the cutting list shows to cut 6 1/2″ wide fusible fleece and Pellon 808 for the top panel. You only need 2 1/2 wide, the width of the top panel material.
Thank you for this tutorial! I wish I could add a picture of my finished bag
Thank you for your comments. I am not sure why I put 6 1/2 but you are correct it should have been 2 1/2″ for the fleece and the P{Ellon for the top ponel. I have changed the pattern to reflect that. It has been sometime since I made this bag and I do not remember the lining coming out that large. Nevertheless, thanks for this tip. I am glad that your bag came out cute. You can post it on my Facebook page at https://www.facebook.com/sewverycrafty1. I would love to see it.