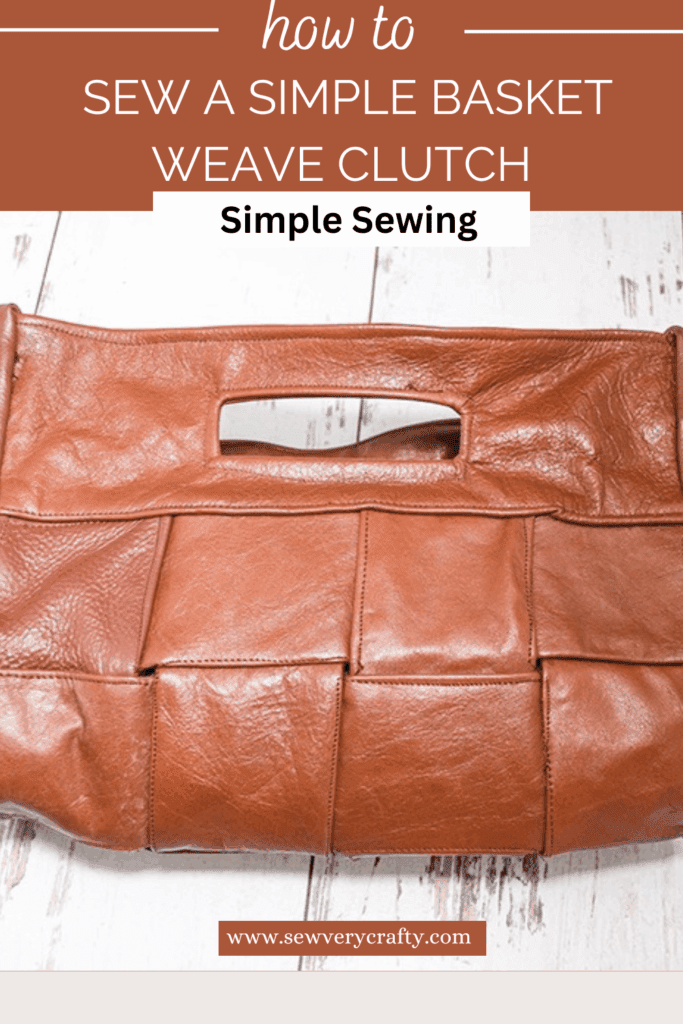
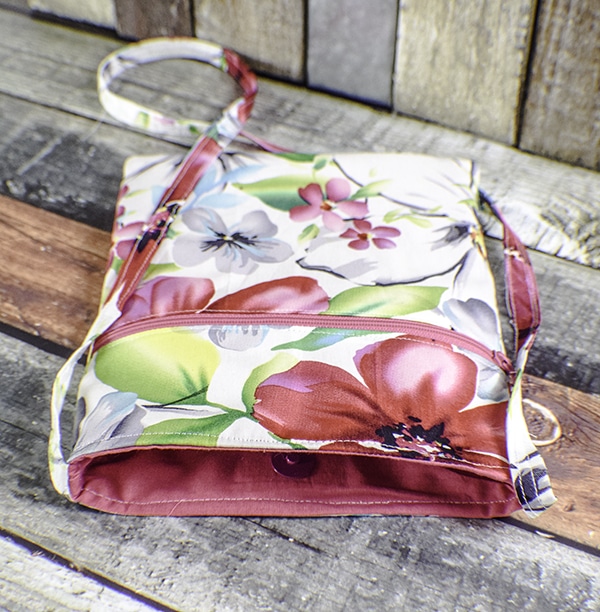
I had a Bunch of scrap pieces of leather that I really wanted to get out of my stash. I had no idea what to do with them because they were only pieces. Then I found this video on Youtube that was perfect for these leather pieces. I put together my own version of this basket weave clutch. If you would like to watch the video you can see it here. If you would like more bag making patterns and tutorials head over to our handbag page.
Note: This post contains affiliate links that if you click on them and make a purchase I will receive a small commission at no extra cost to you. As an Amazon Associate I earn from qualifying purchases.
What you will Need: How to Make a Leather Basket Weave Clutch
- Pattern you can get by clicking on this link
- 8 3 1/4″ x 11 1/4″ strips of leather or fabric
- 4 3 3/4″ x 11 1/4 strips for the handle
- 4 7 7/8″ x 3 1/4″ pieces for the sides
- 10″ x 10 1/2″ for the lining
- 6″ x 12″ Piece of lining for the pocket
- 4″ x 11″ piece of fusible interfacing
- 1 1/2″ x 20″ for the binding
- 8″ zipper
- 2 magnetic snaps
- Leather sewing machine needle
- Leather glue
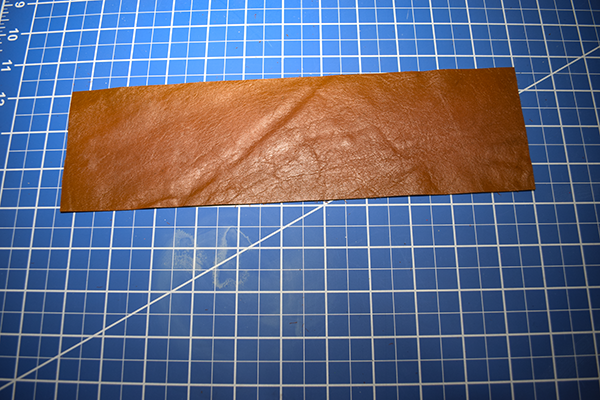
Step 1: Cut the Fabrics
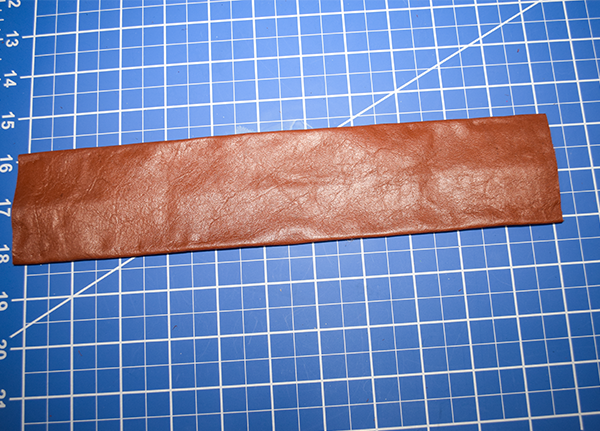
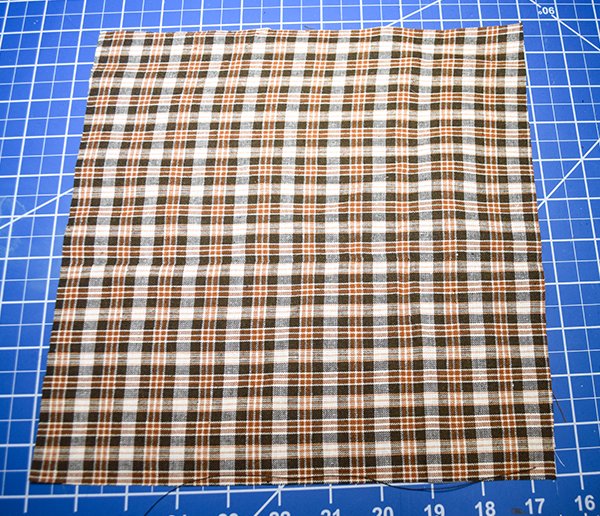
I made my basket weave clutch from leather. I would not recommend that. My machine just was not sufficient. I ended up gluing the las parts of the project. Definitely use fabric for this project. From the leather cut eight pieces that measure 3 1/4″ x 11 1/4″ for the main outer body of the bag. Four pieces that measure 3 3/4″ x 10 1/2″ for the handle. Using the sides pattern cut 4 pieces. Finally cut two binding pieces that measure 1″ x 17 1/2″. From the lining fabric cut a large piece that measure 10 1/2″ x 10 1/2″. Next cut a pocket piece that measures 6″ x 9″. Now, cut an interfacing piece that measures 3″ x 8″. If you are using fabric rather than leather you should add fusible interfacing to all of the pieces except the binding.
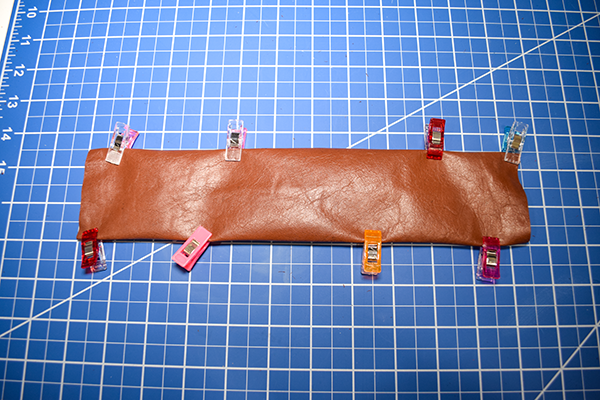
Step 2: Prepare the strips
Fold over the long raw edges of each strip by 1/4″. Secure the folded over part using leather glue. The glue is like super glue so you will need to work quickly but carefully to avoid wrinkles.
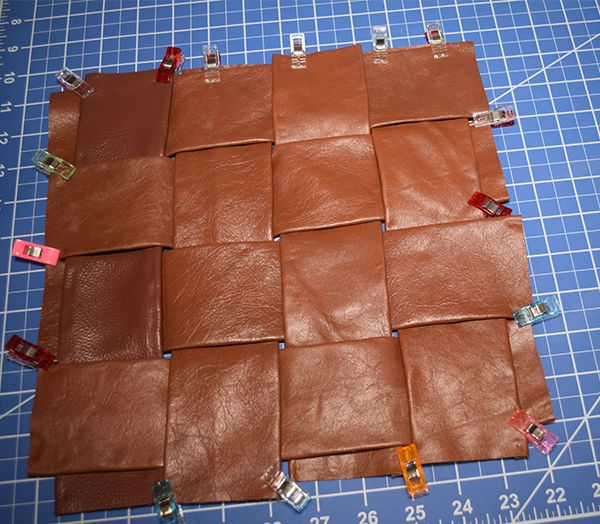
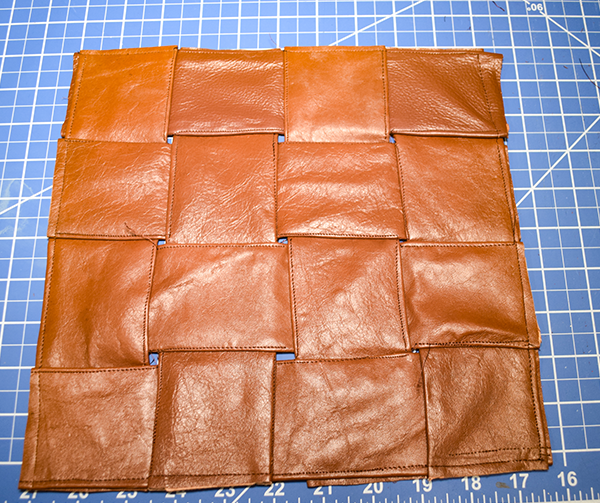
Step 3: Create the outer bag
Place four of the leather strips right sides up on your work station. Weave the other four strips over and under the first set of strips to create the basket weave pattern. Stitch all the way around using a 1/8″ seam allowance. Once the perimeter has been stitched topstitch all of the woven pieces.

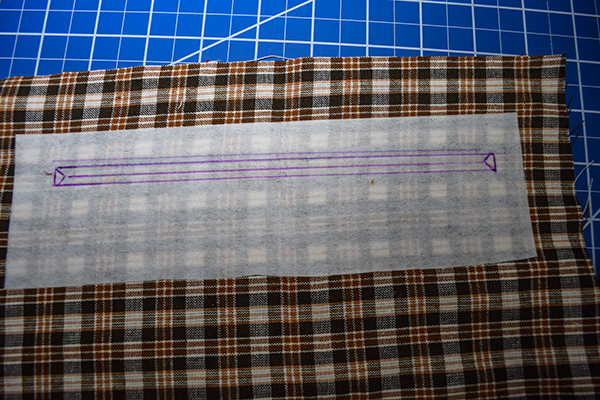
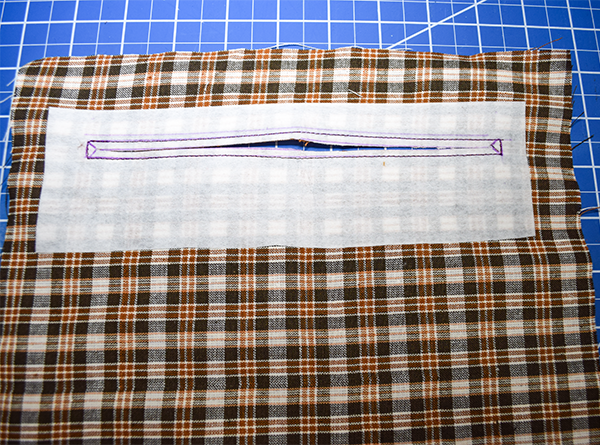
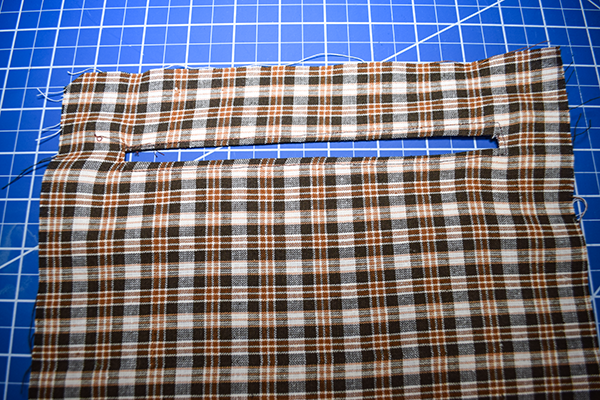
Step 4: Create the Zipper pocket
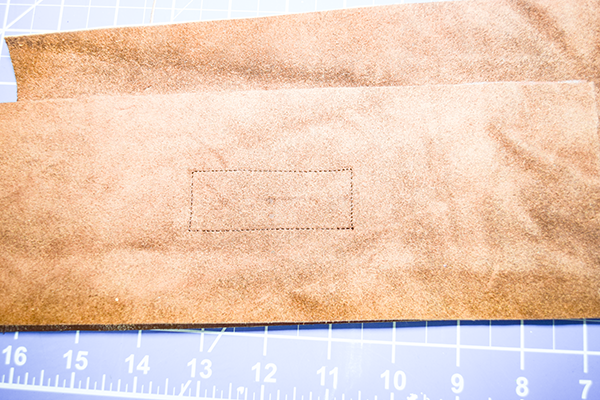
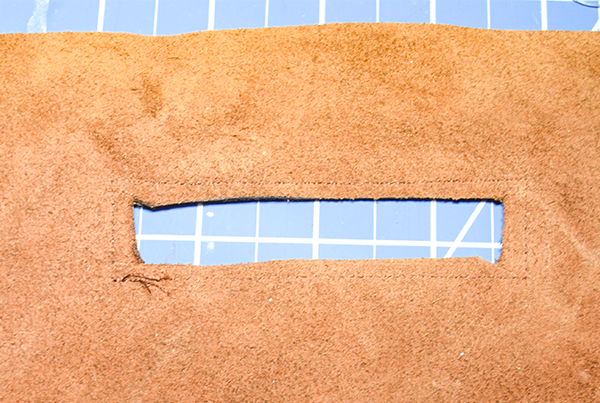
Place the interfacing strip 2″ down from the top of the lining. Draw a rectangle in the center of the interfacing piece that measures 3/8″ x 7″. Stitch all the way around the rectangle. Cut a straight line down the center of the rectangle until you reach each end then cut toward each corners creating a triangle at each end. Fold the raw edges back toward the wrong side of the lining and press.


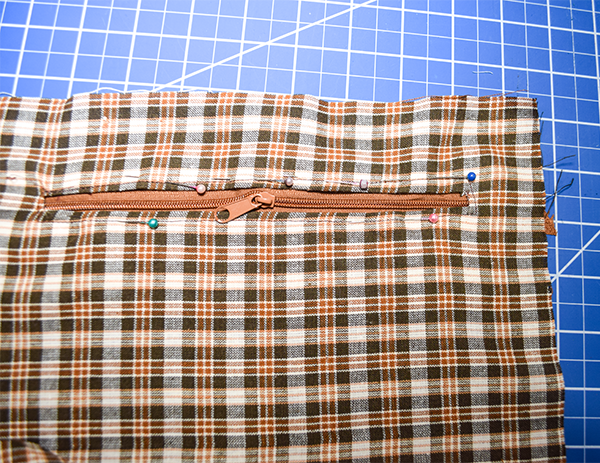
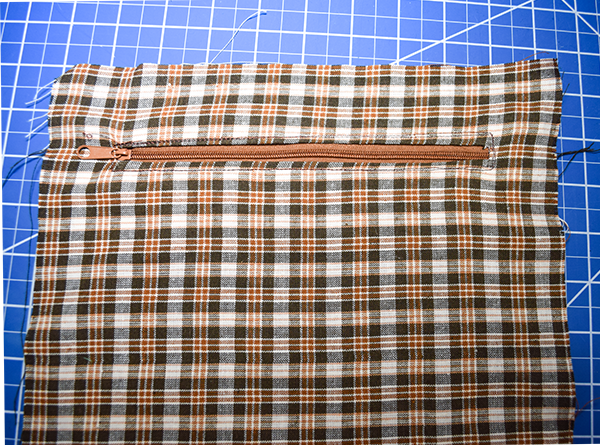
Step 5: Add the Zipper
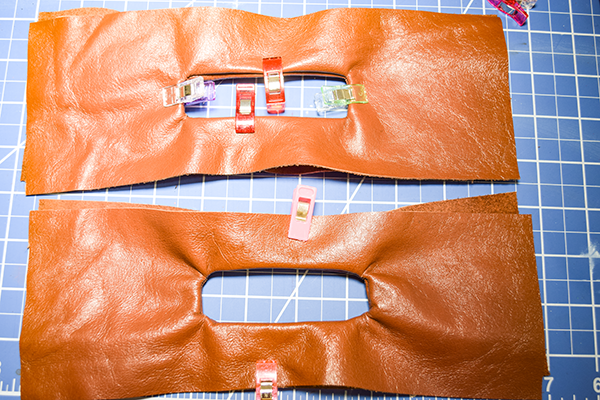
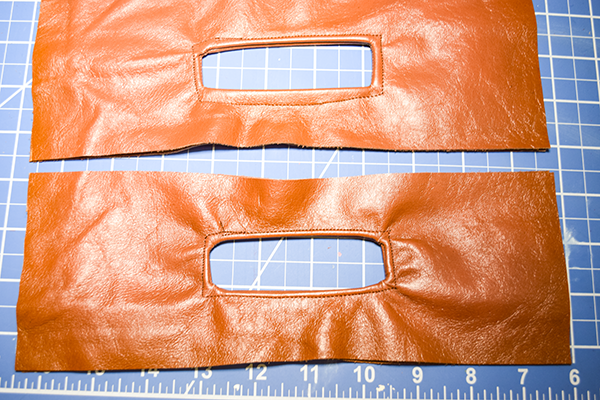
Place the zipper on the wrong side of the lining so that the teeth appear in the opening you just created. Our to the right side and stitch all the way around the zipper to secure.
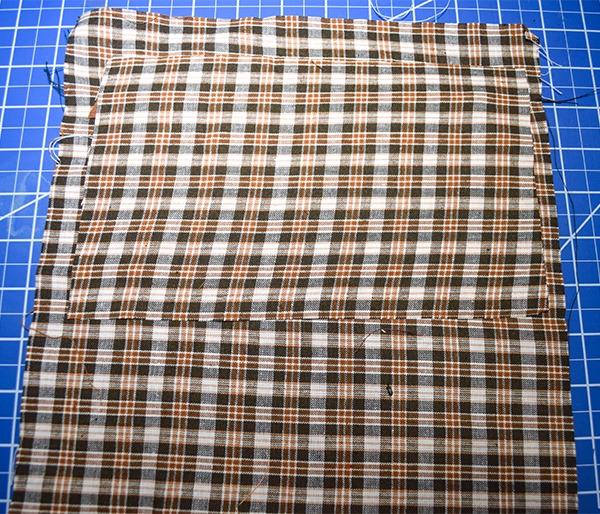
Step 6: Add the pocket
Take the 6″ x 12″ piece of lining and place it on the wrong side of the lining piece about 1″ down in the center. Stitch all the way around to secure.
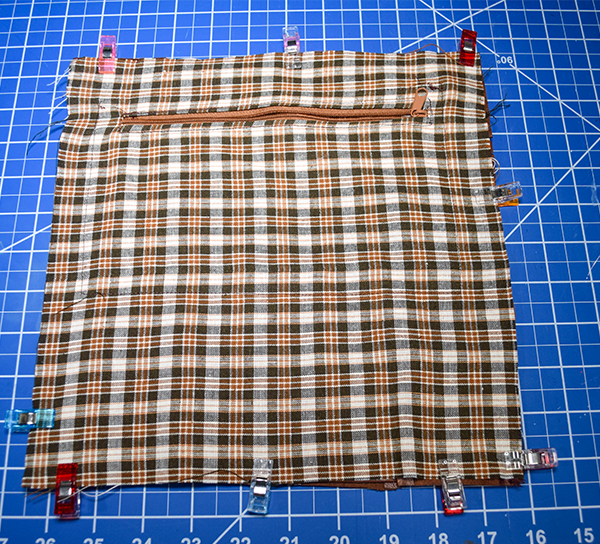
Step 7: Add the Lining to the outer bag
Place the lining wrong sides together with the outer bag and stitch all the way around using a 1/8″ seam allowance.
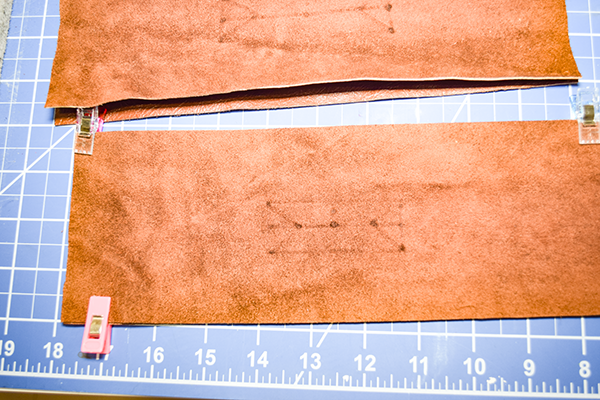
Step 8: Create the handles
If you are using fabric make sure to add interfacing to the handle pieces. Place two pieces right sides together. Find the center and draw a rectangle that measures 1″ x 2 1/2″. Stitch around the rectangle. Cut out the center of the rectangle without cutting the stitching. Fold down the top long edge under 1/4″ and clip. Turn the pieces right sides out through the opening. Topstitch all the way around the opening you created. Repeat for the second handle.
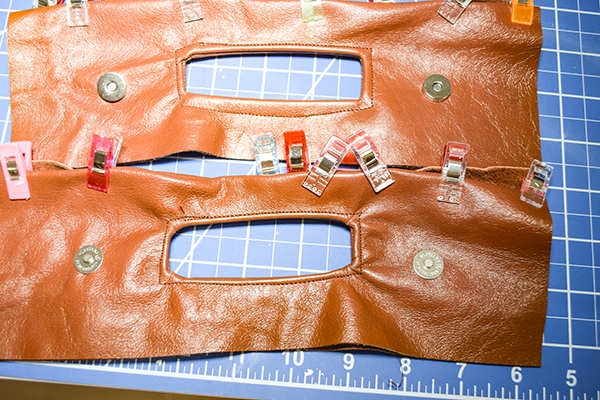
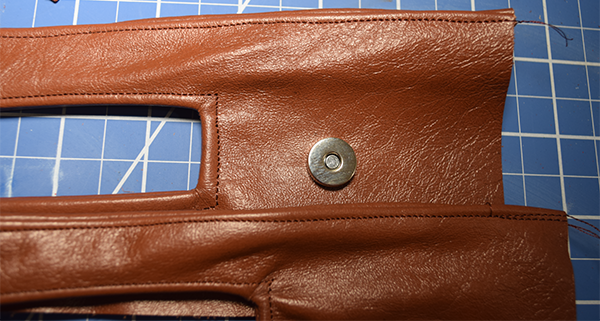
Step 9: Add the Magnetic snaps
Fold over the top layer of the handle to get it out of the way. Measure in 2 3/8″ from each short raw edge and make a mark. Measure 1 3/4″ up from the bottom long side raw edge and make a mark. Use the place where the marks cross for the snaps. Place the snap's grommet where the marks cross and draw the lines on either side where the prongs for the snap goes. Do this for each side on both handle pieces. Using a seam ripper cut the prong lines. Insert the snaps through the prong lines. Add the grommet and fold over the prongs. Do this for both snaps on both handle pieces.

Step 10: Topstitch the Handle
Topstitch the handle on the top folded edges together.
Step 11: Add the Handles
Place the handles right sides together with the lining. Stitch the layer closest to the lining along the top raw edge on both handles. Press. Turn the bag right sides up. Fold under the handle raw edge by 1/4″. Topstitch.
Step 12: Add the Binding
Place the binding right sides together matching the long raw edges. Fold the excess over the top and bottom. Clip. Stitch using 1/4″ seam allowance.

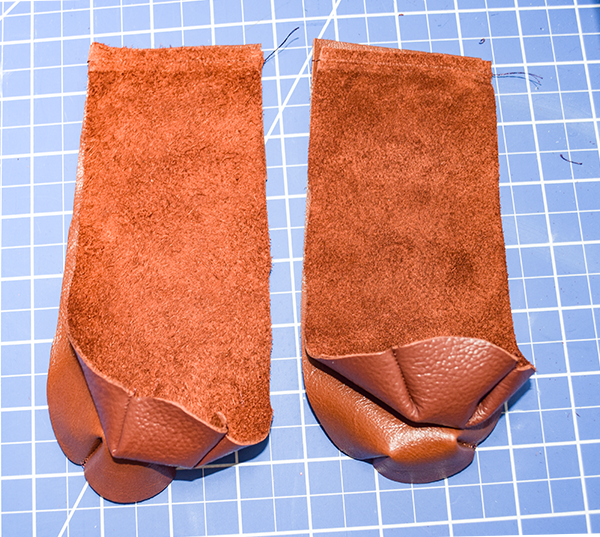
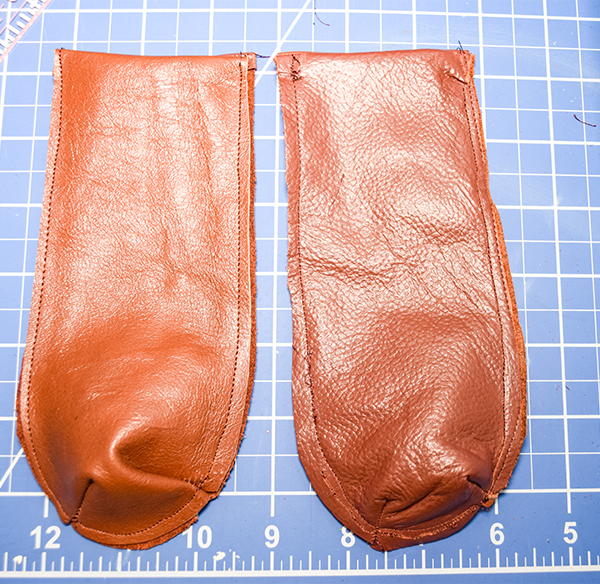
Step 13: Stitch the Sides
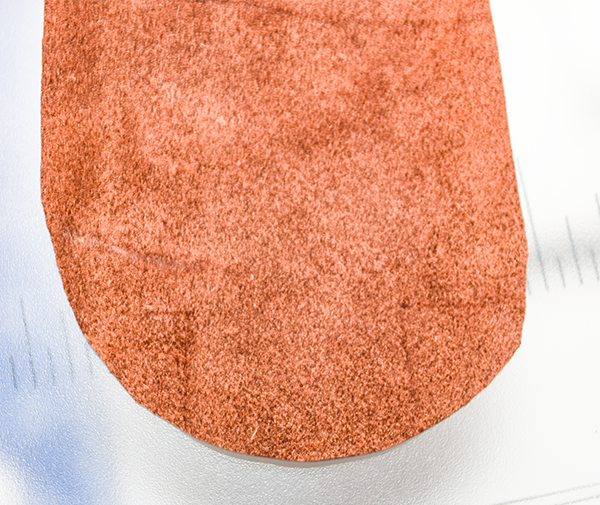
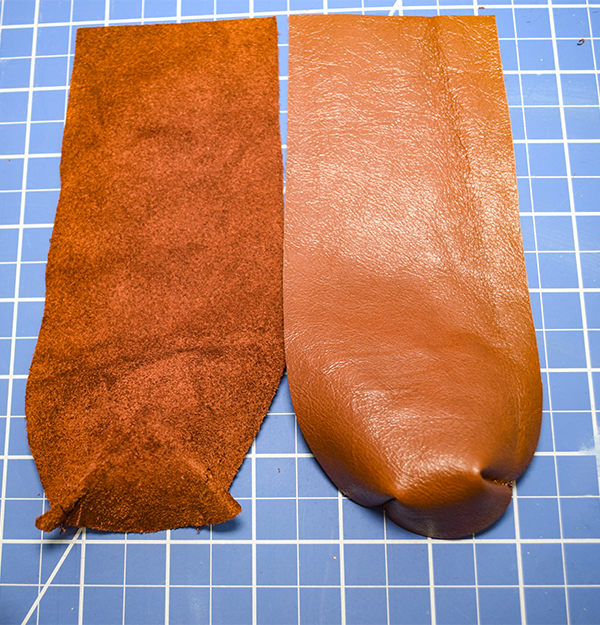
Stitch the darts on the bottom of the side pieces. To do this, fold the sides of the dart right sides right sides together. Stitch along the dart lines. Trim off the excess. Place the side pieces right sides together. Stitch along the short straight ends. Fold the pieces so they are right sides out. Stitch all the way around using a 1/8″ seam allowance.
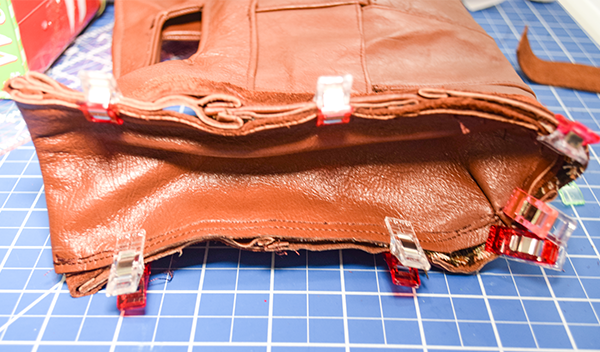
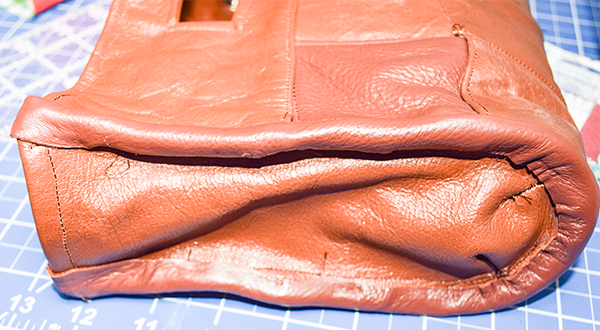
Step 14: Add the Sides
Place sides so that the straight edge meets the top of the handle piece on the wrong side. Fold up the other side of the bag to meet the opposite side of the side piece. Repeat for the other side of the bag. Clip. Stitch all the way around using a 1/8″ seam allowance to secure.
Step 15: Finish the binding
Fold over the binding so that there are no raw edges. Clip. Hand stitch the binding using ladder stitch. You have now finished your leather basket weave clutch.

I hope you enjoyed this basket weave bag project for more sewing and crafting projects subscribe to our free newsletter and receive your free handbag eBook.
If you would like video tutorials of some of Sew Very Crafty's most popular posts subscribe to our free YouTube channel here.
Join our Sew Very Crafty Fans Facebook group
If you want to ask questions and share your projects join our Facebook group here. The community will help to achieve your sewing and crafting dreams.