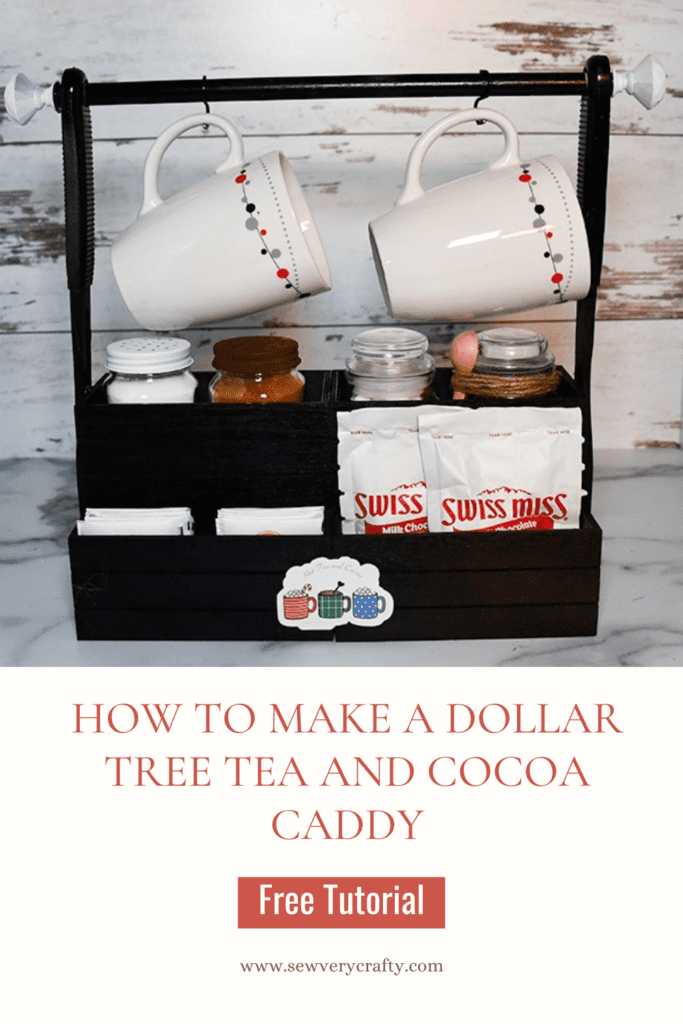
I really like this project. My husband is from England and drinks hot tea all day long regardless of the temperature outside. I am an Iced Tea person myself but I do like hot cocoa in the winter. this Dollar Tree tea and hot cocoa caddy is perfect for the two of us. One of the things I like about this project is that it can be made in any color to match your home's decor. My kitchen is white and black so I decided to make my caddy to match. I hope you like this project. For more Dollar Tree projects head over to my Dollar tree page.
Note: This post contains affiliate links that if you click on them and make a purchase I will receive a small commission at no extra cost to you. As an Amazon Associate I earn from qualifying purchases.

What you will Need: How to Make a Dollar Tree Tea and Hot Cocoa Caddy
- Stickers you can make by clicking on this link
- 6 Dollar Tree mini crates
- 2 Dollar Tree Spatulas
- 1 Dollar Tree Dowel
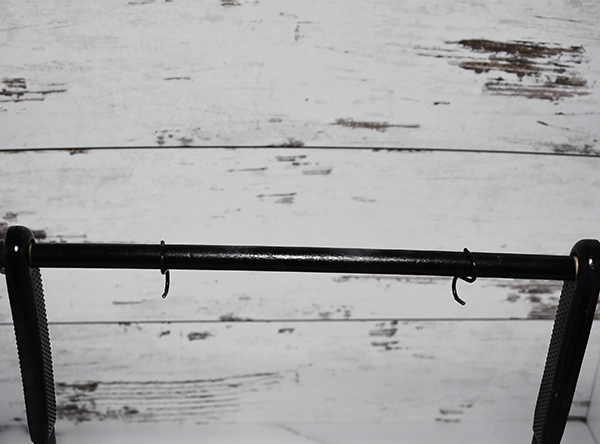
- 2 S Hooks
- Hot Glue
- Wood Glue
- 2 cabinet knobs
- Spray Paint in the Color of your choice
- 2 Dollar Tree mason jar shakers
- 2 small Dollar Tree Candles
- Twine
- Mod Podge
- Several Dollar Tree Clamps
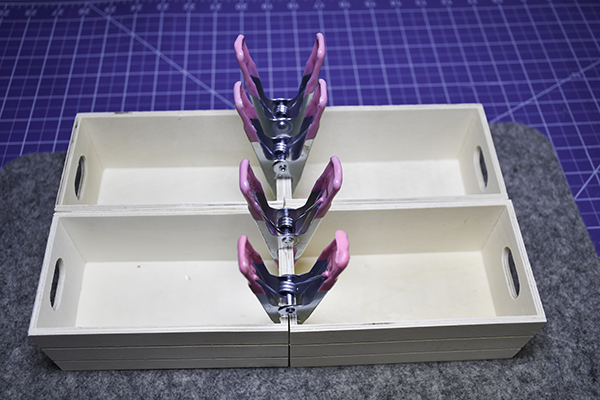
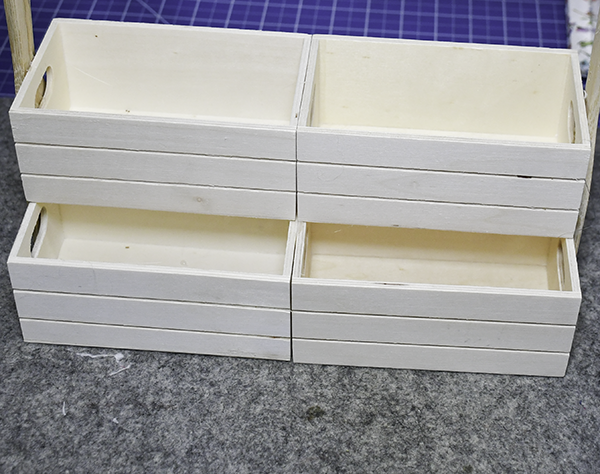
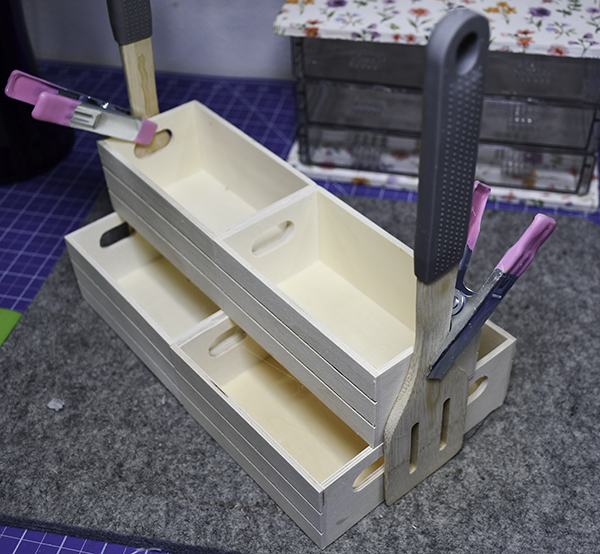
Step 1: Glue the Crates
I used 6 Dollar Tree Crates. Using the hot glue and wood glue attache the crates two at a time. Start by gluing two crated together on the long side. Repeat for two more crates. Glue the remaining two crates end to end on the short side. Use clamps to make sure that the crates are glued tightly. Once the glue has cured put the first two crates together to make a box of four. Then place the other two crated on top.

Step 2: Add the Spatulas
Hot glue the spatulas to each one of the wood boxes. Again, use the clamps to keep the spatulas tightly glued.
Step 3: Add the Dowel
Insert the dowel through the holes at the top of the spatulas.
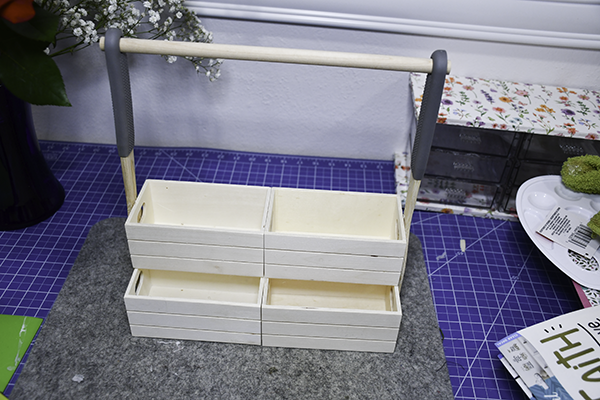
Step 4: Spray Paint the Caddy
Spray paint the entire caddy in the color that matches your home decor. I painted mine black. In addition, I painted the cabinet knobs white.
Step 5: Add the knob to the dowel
Hot glue the cabinet knobs to each end of the dowel to finish it off.

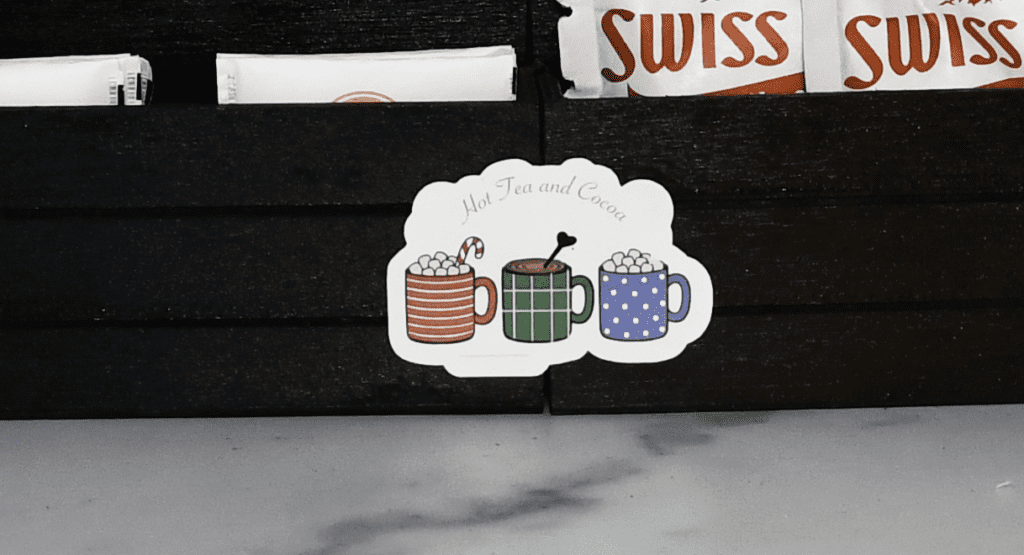
Step 6: Add the Stickers (Optional)
I created stickers using my Cricut. I have added the SVG to this post so that you can create the same stickers or cut out a permanent vinyl version. This is an optional step. Once you have created the cutouts add them to the front of your caddy and to the jars. You can create your own if you like. It is up to you.
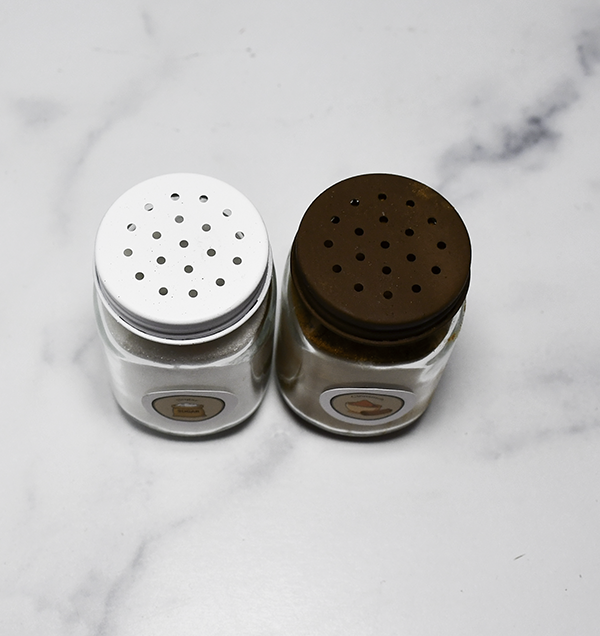
Step 7: Paint the lids of the Shakers
This is also an optional step. I painted the tops of my shakers brown for the cinnamon and white for the sugar.
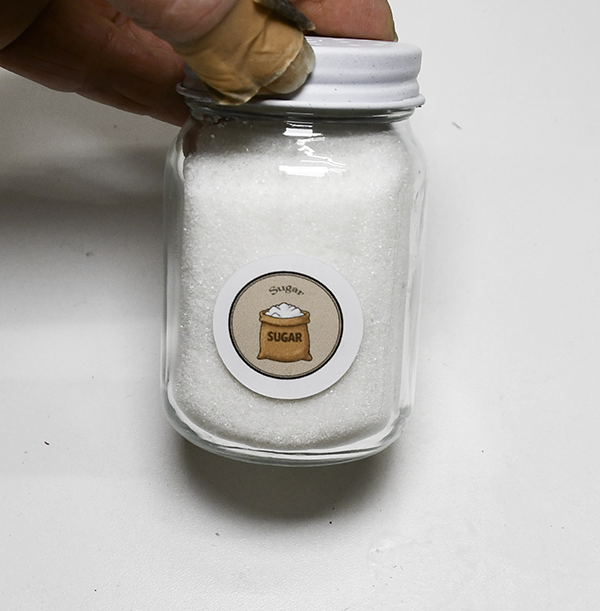
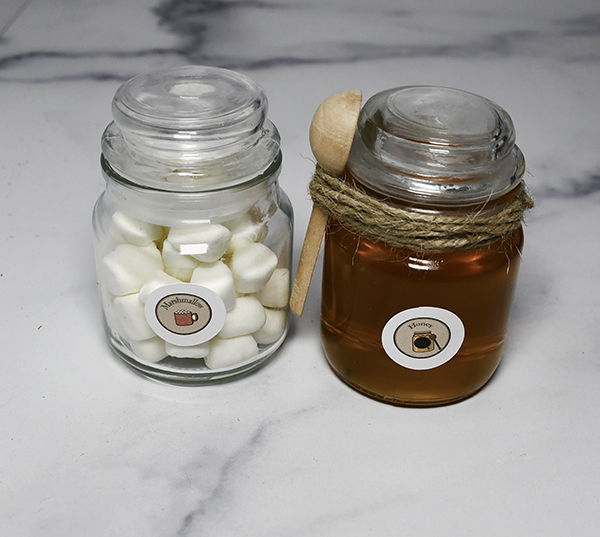
Step 8: Fill and add the Spoon
Fill the jars and add the spoon.
I hope you enjoyed this simple Dollar tree craft. If you would like more sewing and crafting projects subscribe to our newsletter and receive your free Dollar Tree Holiday eBook.
Subscribe to our Free YouTube Channel!
Join our Sew Very Crafty Fans Facebook group
If you want to ask questions and share your projects join our Facebook group here. The community will help to achieve your sewing and crafting dreams.