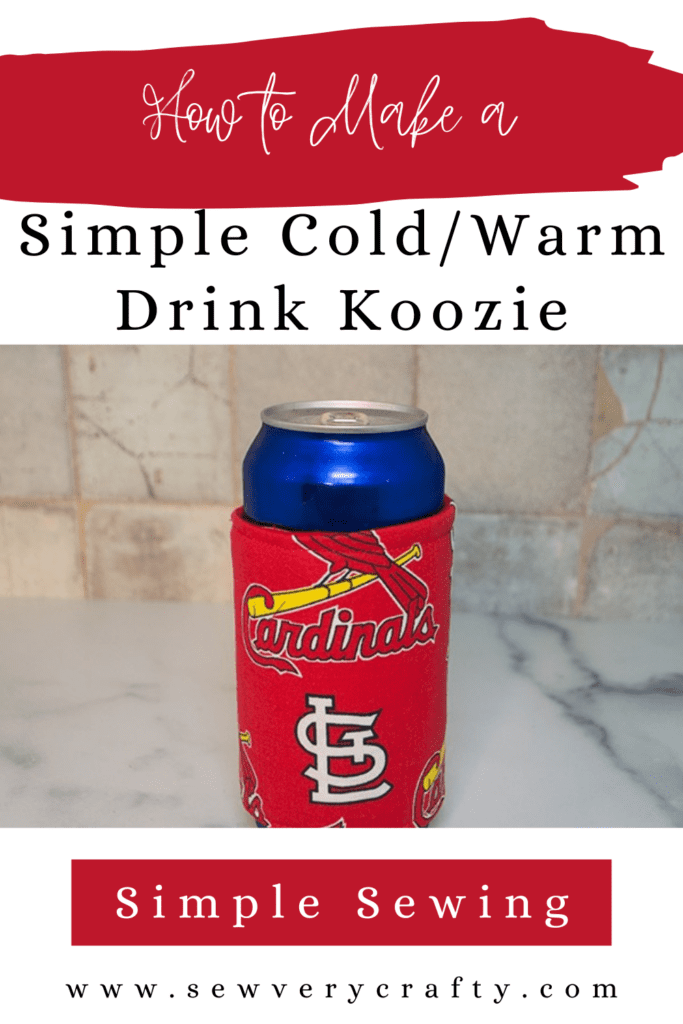

I had some Insul-Brite in my stash and wanted to make something with it so I thought to create this super simple cool/warm drink koozie. This is an ultra beginner sewing project that anyone can make in minutes. These koozies make great gifts or to sell because you can make a lot of them in a short period of time. There really isn't much to this project so let's get started.
Note: This post contains affiliate links that if you click on them and make a purchase I will receive a small commission at no extra cost to you. As an Amazon Associate I earn from qualifying purchases.
What you will Need: How to Make cold/hot drink koozie
Step 1: Cut your Fabrics
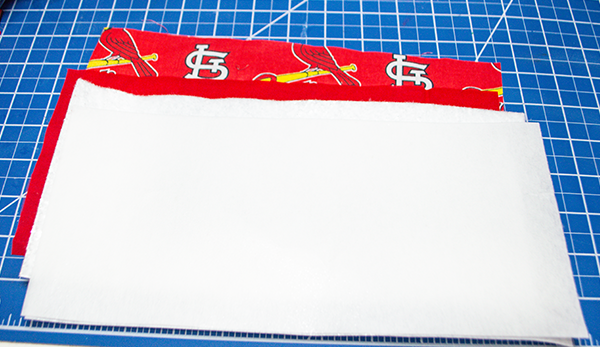
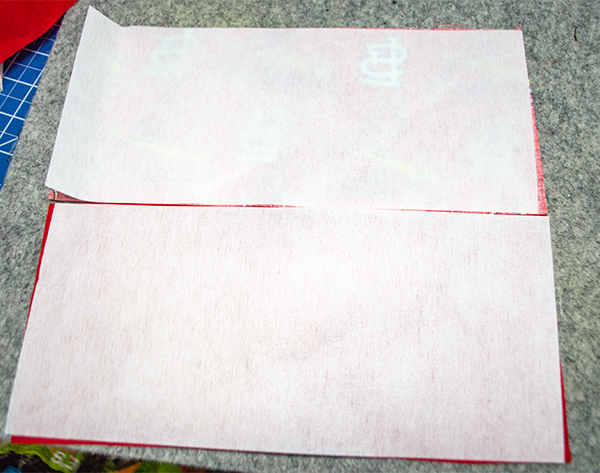
Cut one outer, lining, Insul-Brite and two Pellon 808 to measure 11″ x 5″.
Step 2: Fuse the Interfacing
Place the glue side of the Pellon 808 to the wrong side of the outer and lining fabrics. Using a hot iron and following the manufacturer's instructions heat the fabrics to fuse the Pellon to the fabric.
Step 3: Layer the Fabrics
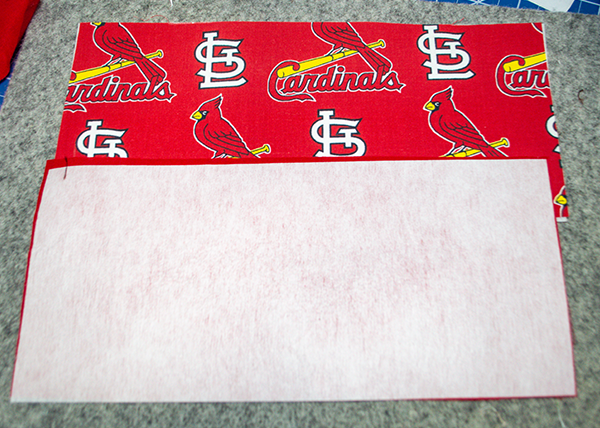
Place the outer fabric right side up on your work surface. Lay the lining fabric right sides down so that they outer and lining fabric are right sides together. Place the Insul-Brite on top of the lining fabric and clip or pin.
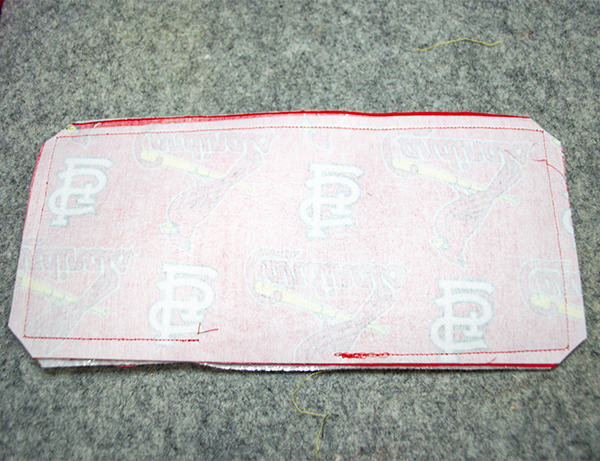
Step 4: Stitch the Fabrics
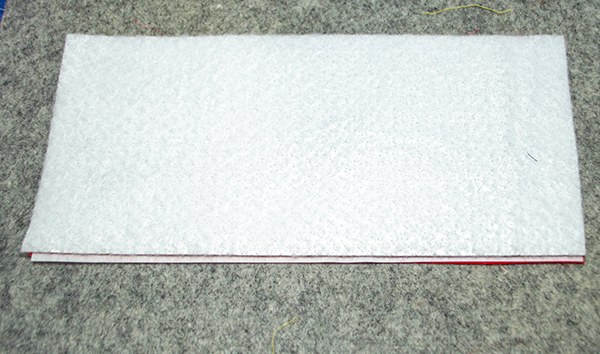
Stitch all the way around the pieces through all layers using a 1/3″ seam allowance but leave an opening for turning. Clip the corners. Turn the piece right sides out using the opening you left. Press.
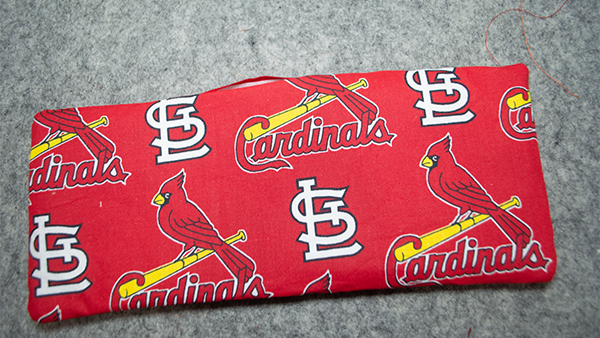
Step 5: Topstitch
Turn under the raw edges and press. Topstitch all the way around the piece making sure to enclose the raw edges as you go.
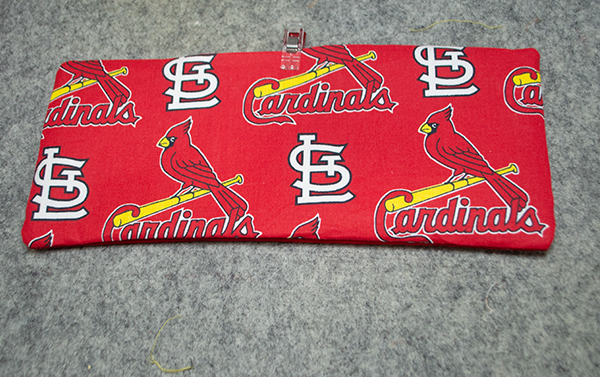
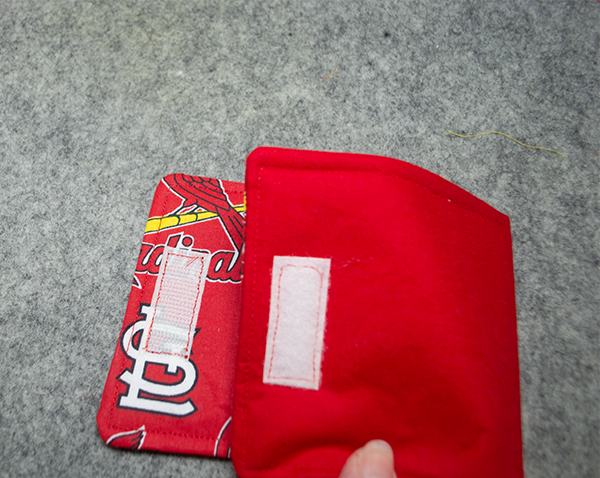
Step 6: Attach the Velcro
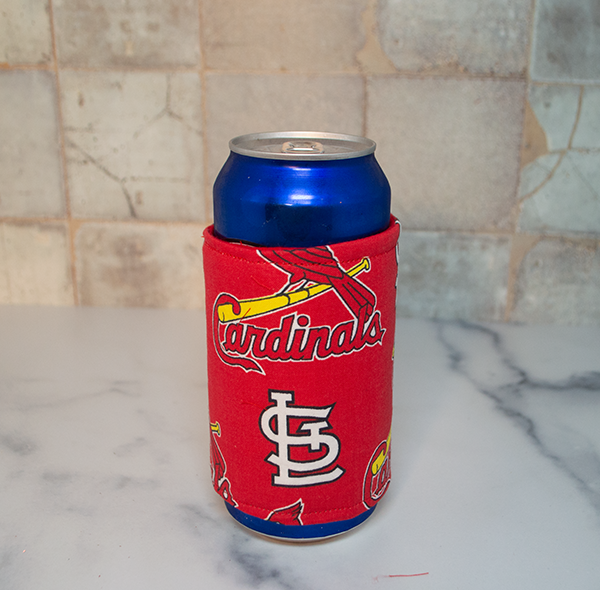
Place the outer fabric right sides up. Measure 1″ from the left short edge. Stitch the hook part of the Velcro through all layers all the way around. Turn the piece over so that the lining side is facing up. Measure in 1″ from the right edge and add the loop side of the Velcro. Stitch through all layers all the way around. Wrap around your drink and enjoy.
I hope you enjoyed this beginner sewing project. For more sewing and crafting projects subscribe to our free newsletter and receive access to our free printable library.
If you would like video tutorials of some of Sew Very Crafty's most popular posts subscribe to our free YouTube channel here.
Join our Sew Very Crafty Fans Facebook group
If you want to ask questions and share your projects join our Facebook group here. The community will help to achieve your sewing and crafting dreams.