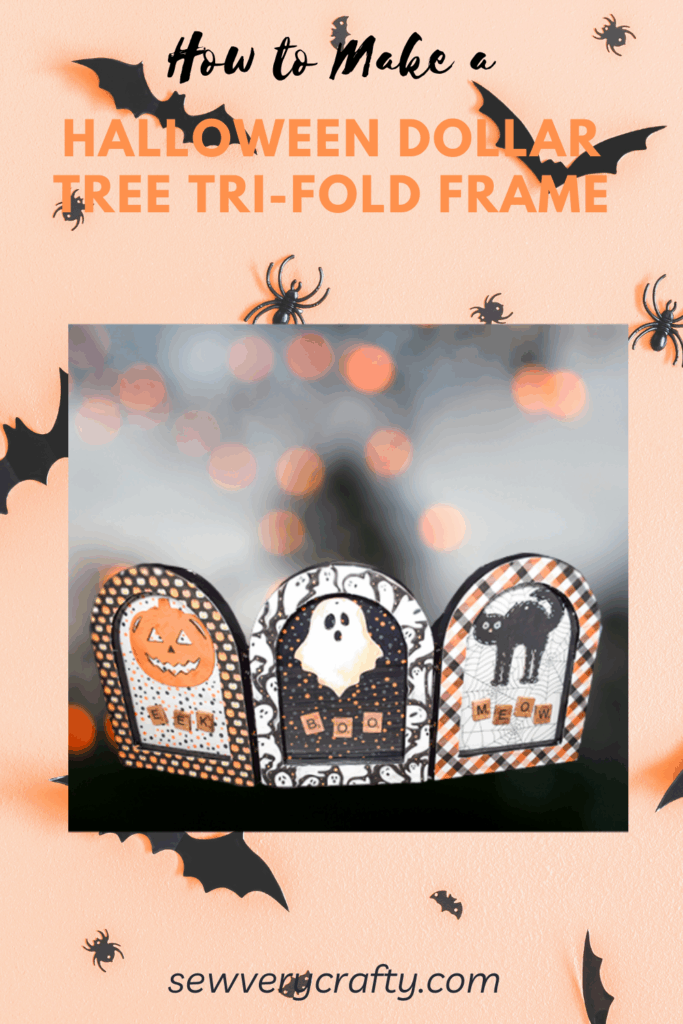
I saw these picture frames in Dollar Tree and immediately thought of Halloween. They seemed perfect for Halloween home decor. I decided to make them into a tri-fold picture frame with Halloween figures. This is a super simple Halloween decor project that anyone can make using items from Dollar Tree. If you would like more Dollar Tree crafts head over to my Dollar Tree page. For more holiday sewing and crafting projects check out my holiday project vault for many more.
Note: This post contains affiliate links that if you click on them and make a purchase I will receive a small commission at no extra cost to you. As an Amazon Associate I earn from qualifying purchases.
What you will Need: How to Make a Dollar Tree Tri-Fold Halloween Decor
- Three Dollar Tree Arched picture frames
- Halloween paper
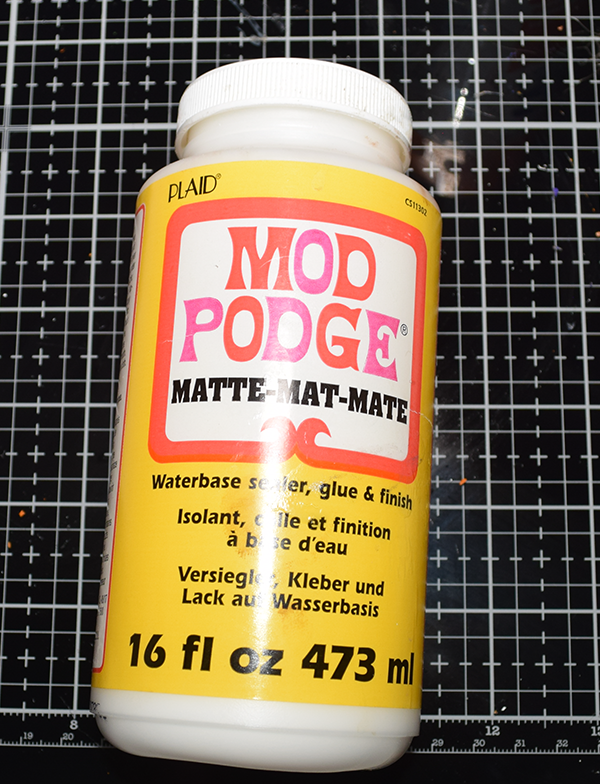
- Decoupage medium
- Black, white and orange chalk paint
- Paint pens
- Halloween wood cutouts
- Letter Tiles
- Halloween Fabrics
- Folding hinges
- Hot Glue
- Dark wax
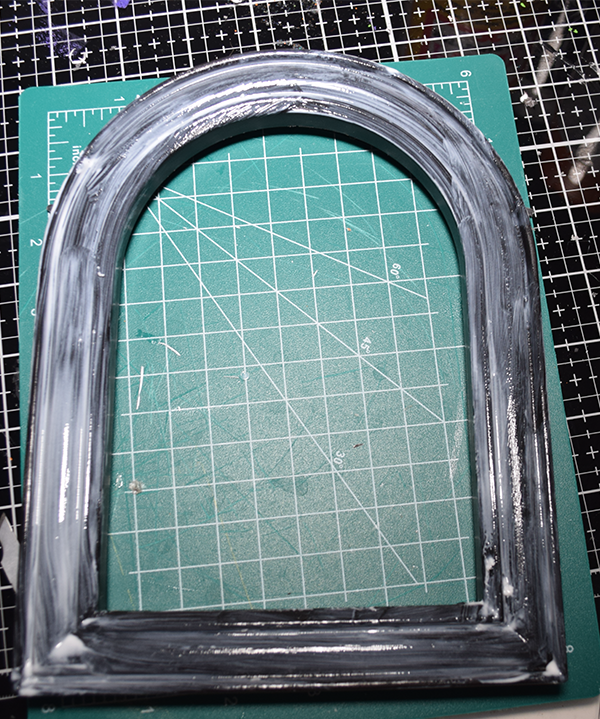
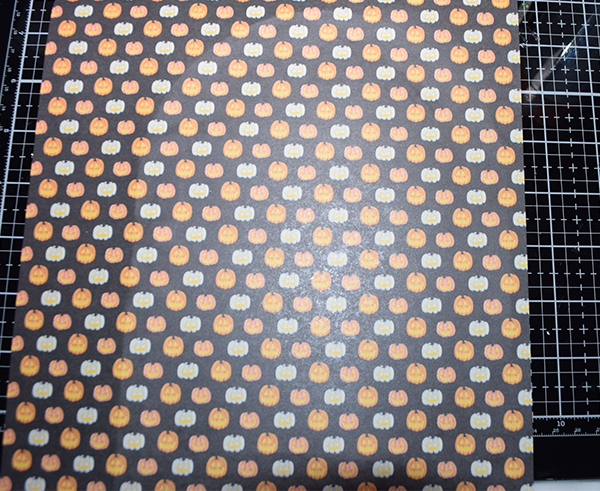
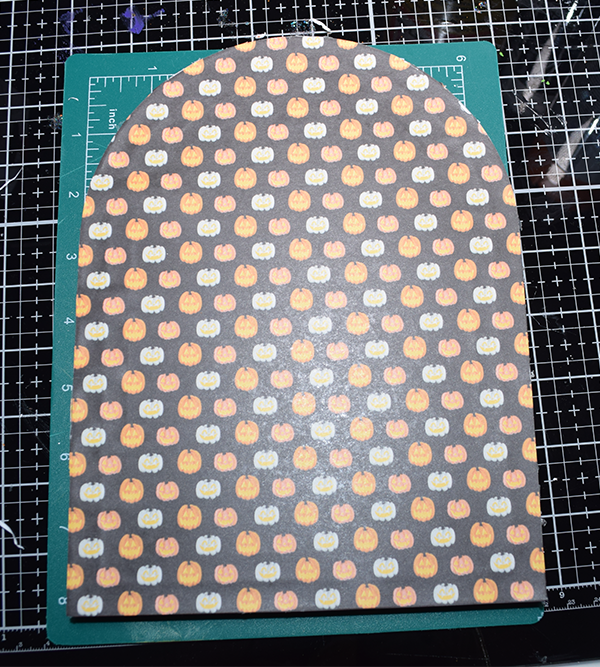
Step 1: Decoupage the Frames
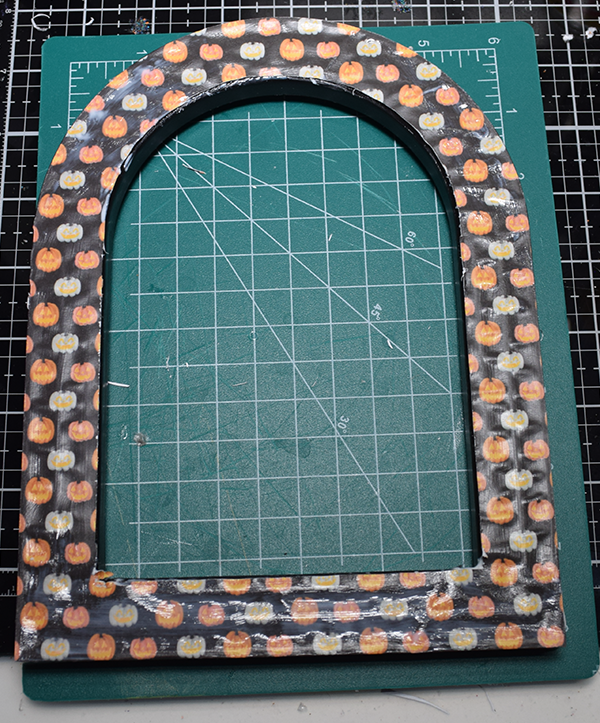
Remove the back of the frame and glass. Paint decoupage medium onto each of the frames and allow it to dry. Lay the paper over each frame. Add a piece of parchment paper on top of the paper and press using a hot iron to adhere the paper to the frame. Using a craft knife cut off the excess on both the outside and inside of the frame. Cover the paper with more decoupage medium and let dry.
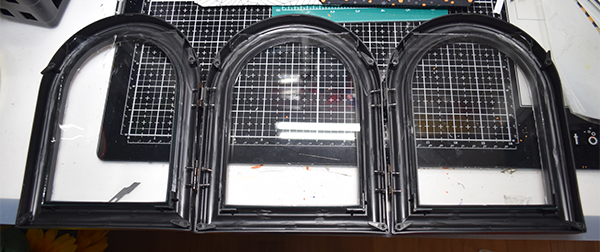
Step 2: Attach the Hinges
Take six of the folding hinges and paint them black. Attach the hinges to the empty arched frames. Start by attaching one hinge to the top of the right side of the frame and a second to the bottom right of the same frame. Once those are attached screw in the top right hinge to the top left of the second frame and the bottom right one to the bottom right of the second frame. Repeat this process for the final frame.

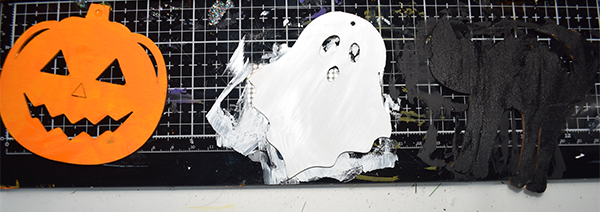
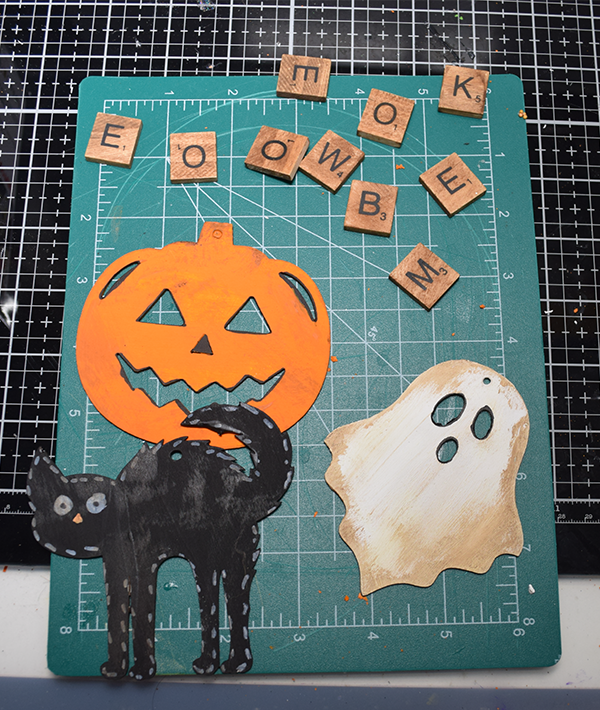
Step 3: Paint the wood Figures
I used a Jack-O-Lantern, ghost and a cat. I started by painting the Jack-O-Lantern orange, the ghost white and the cat black. Starting with the Jack-O-Lantern embellish it with a black paint pen to color in the nose and outline the eyes and mouth. Outline the eyes, mouth and the outer part of the ghost using black paint pen. Finally, embellish the cat with a white paint pen. I added eyes and a dashed line around the outline of the cat. Place dots inside the eyes and finally using a touch of orange for the nose.
Step 4: Add the Wax
To give the wood cutouts some age, I added some wax around the edges.
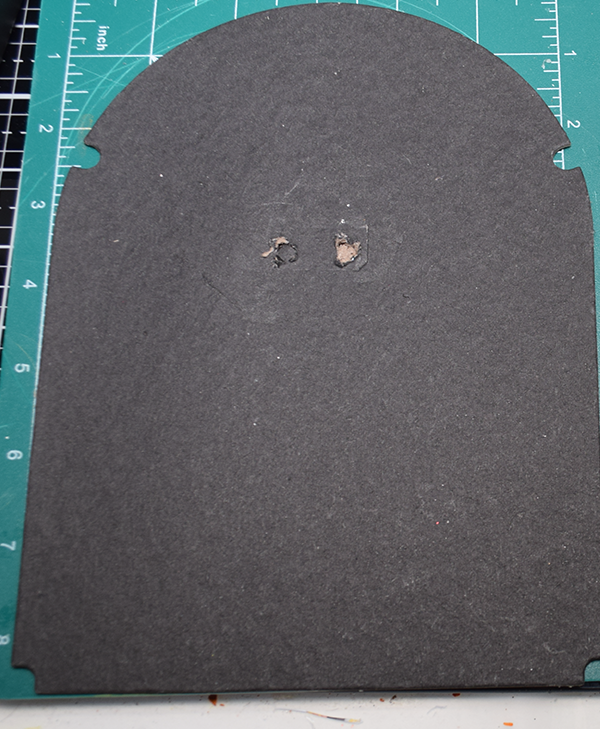
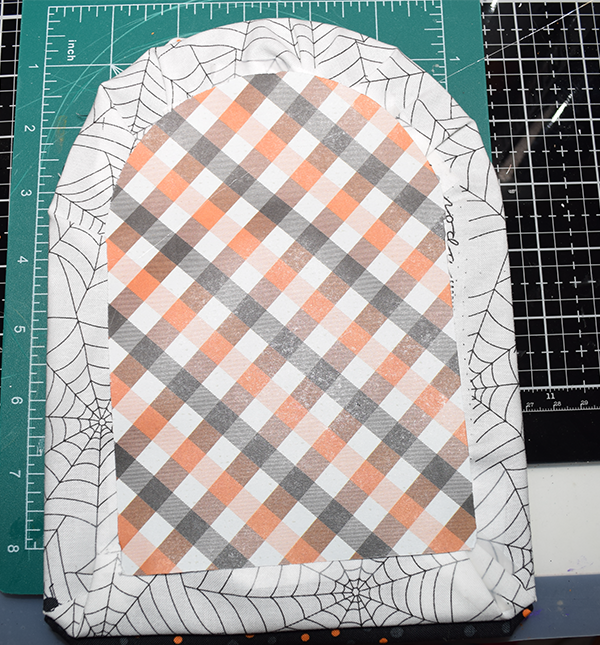
Step 5: Cover the Frame inserts
Remove the stand on the back of the insert. Cover the inserts with either Halloween themed paper or fabric. I used some Halloween fat quarters that I had on hand. Cut the fabric a bit larger than the insert. Cover the inserts by pulling the fabric tight and hot taping it to the back. I used three different fabrics. Glue the paper you cut out of the center of the frame onto the back of the insert to cover the fabric raw edges.
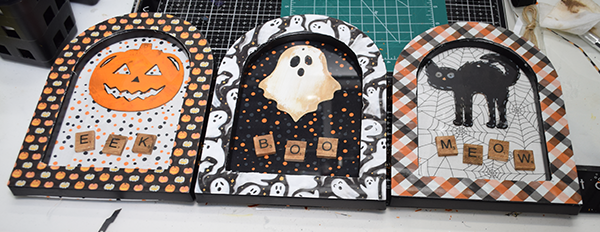
Step 6: Add the Cutouts
Using hot glue, attach the cutouts to the front of the inserts just slightly above center. Add one cutout to each insert. Create a short word relevant to each cut out and glue the tiles to the bottom of the cutout on the covered insert. I used eek, boo and meow.
Step 7: Add the Glass
This step is optional. I re-added the glass on top of the inserts.
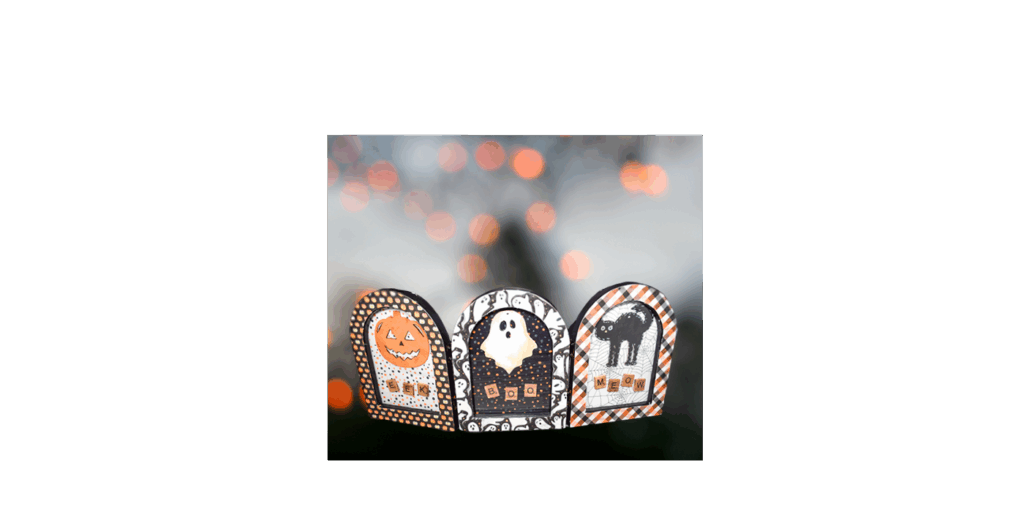
Step 8: Add the Inserts
Place the inserts on the back of each frame. You have now finished your Dollar Tree trip-fold Halloween decor.
I hope you enjoyed this simple Halloween project. If you would like more sewing and crafting projects subscribe to our free newsletter and receive your free Holiday Dollar Tree eBook.
If you would like video tutorials of some of Sew Very Crafty's most popular posts subscribe to our free YouTube channel here.
Join our Sew Very Crafty Fans Facebook group
If you want to ask questions and share your projects join our Facebook group here. The community will help to achieve your sewing and crafting dreams.