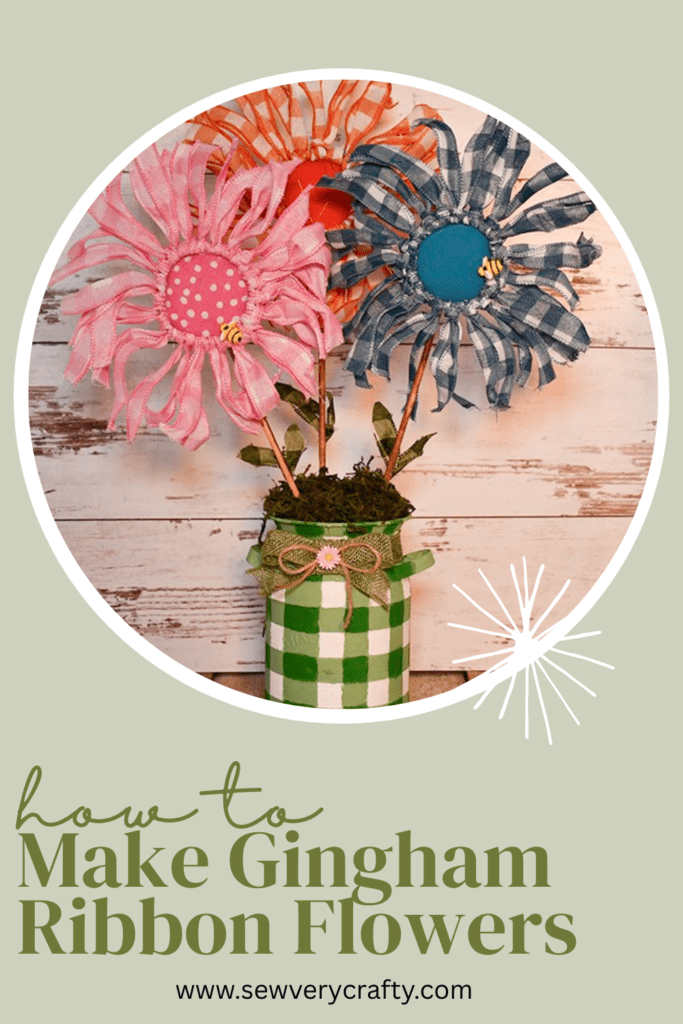
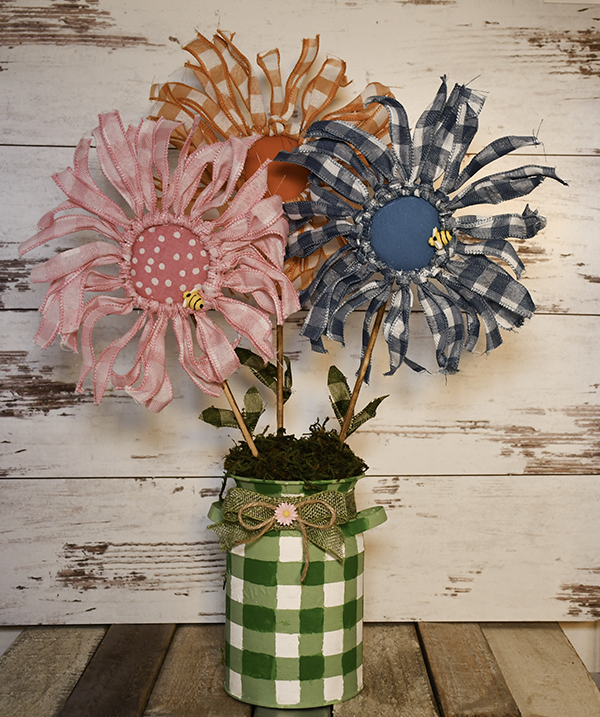
I decided to create this project to inspire a young daughter of someone I know. She loves crafting and I thought this be a great project for her to create. I love gingham and these gingham ribbon flowers really shows it off. I used Gingham wired Ribbon, burlap, canning lids, wired jute, dowels, a Dollar Tree milk jug, and standard crafting supplies. These were so quick and easy to make that anyone with basic crafting skills can make this. You don't even need to make it a patriotic theme if you don't want. If you would like more Dollar Tree projects head over to our Dollar Tree page for many more.
What you will Need: How to Make Dollar Tree Patriotic Ribbon Flowers
- 3 types of 1″ gingham Wired Ribbon
- Burlap
- Wired Jute or Mason Jar rings
- 3 Canning lids
- Large skewers
- Floral Foam
- 1 Dollar Tree milk jug — I couldn't find a link. Here is an alternative.
- White and two colors of green chalk paint
- Painter's tape
- Spanish Moss
- Bee findings
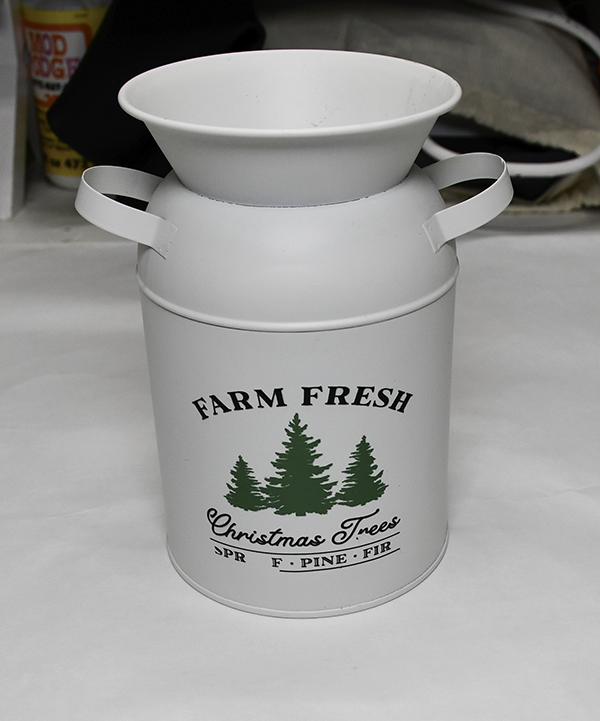
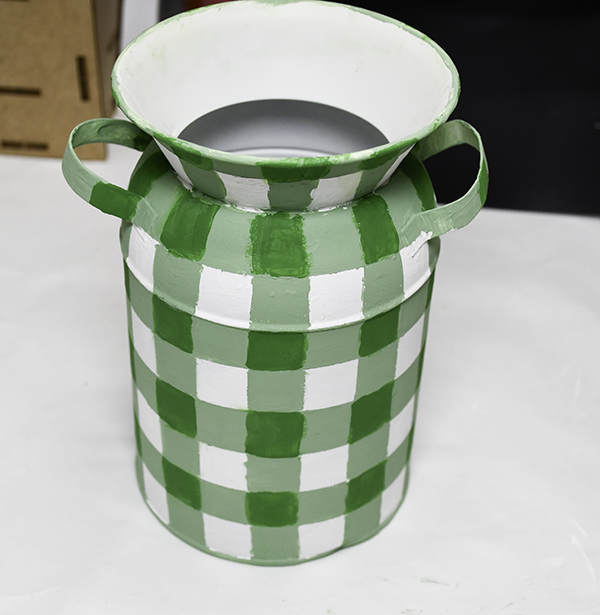
Step 1: Paint the Milk Jug
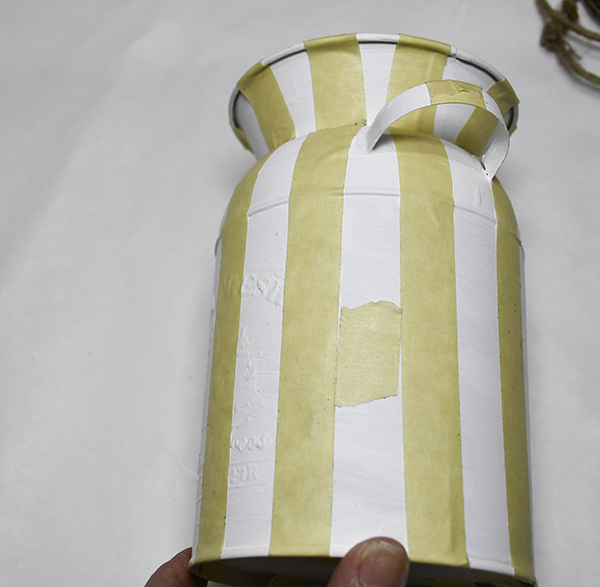
I purchased several of these small milk jugs at Dollar Tree at Christmas. I wasn't sure what I would do with them but then thought of my friend's daughter and decided to paint one of them with a Gingham pattern. There is a raised design on the jug but I just painted over it. It took several coats of chalk paint but I managed to obscure it well enough for this pattern.
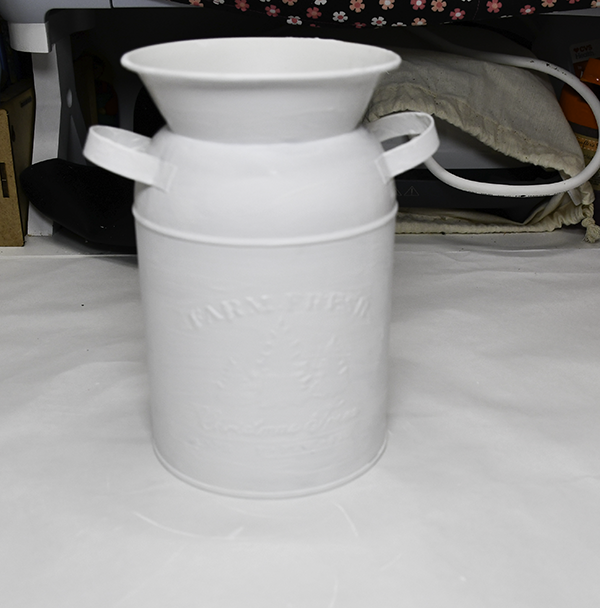
Paint your the jug with the lightest color. I used white to make this project nice and bright for a young girl. Let it dry completely. Take some painters tape as wide as you want and tape off alternating columns. I used 3/4″ tape. Paint the exposed stripes using a mid-tone color. I chose green. I mixed my darkest color with a bit of white to create the color I wanted. Let dry completely.

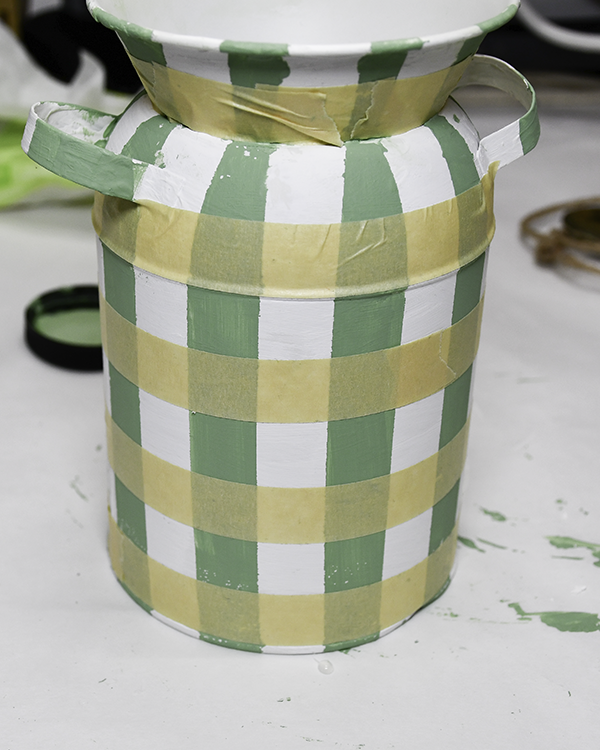
Once the vertical stripes are dry, apply painter's tape horizontally in the same way you painted the vertical stripes. Paint the horizontal stripes in the same mid-tone color. Remove the tape when it is still slightly damp. Let dry completely.
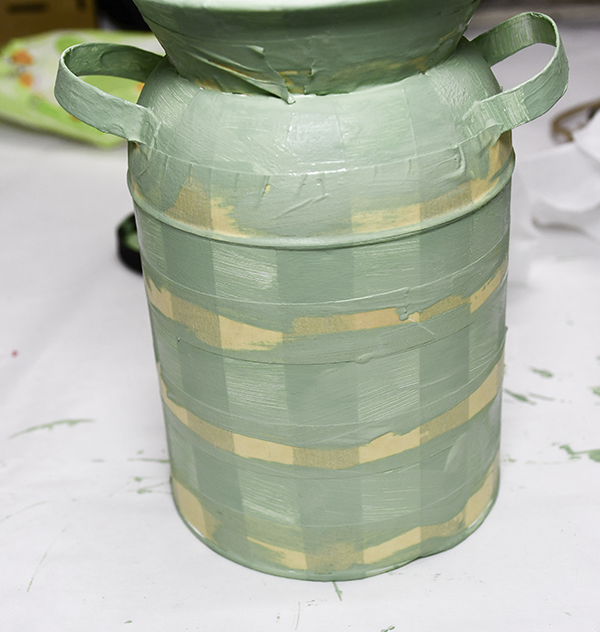
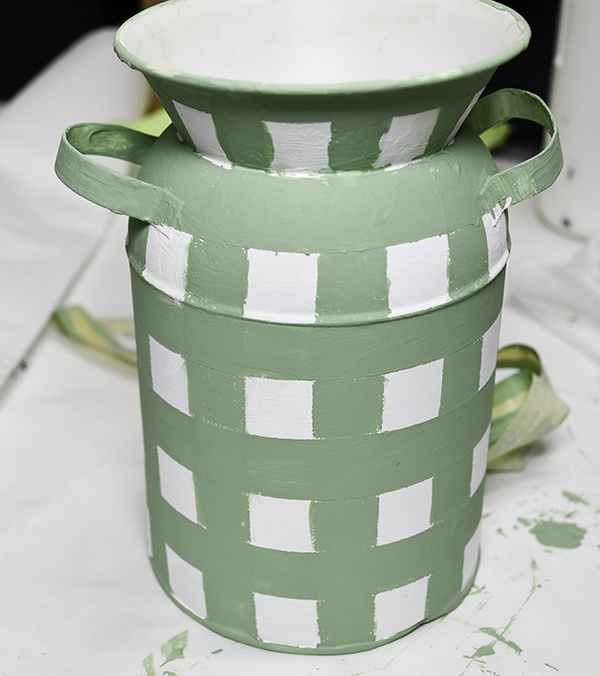
Paint the overlapped squares with your darkest color. Let it dry completely. I sprayed the entire project with spray varnish.
Step 2: Cut the Ribbon
Cut 9″ strips of three different colors of gingham wired ribbon that measure 1″ wide.
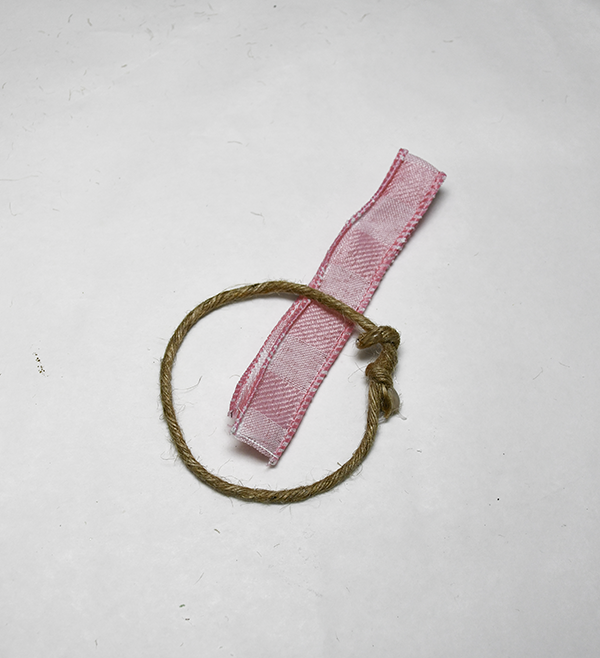
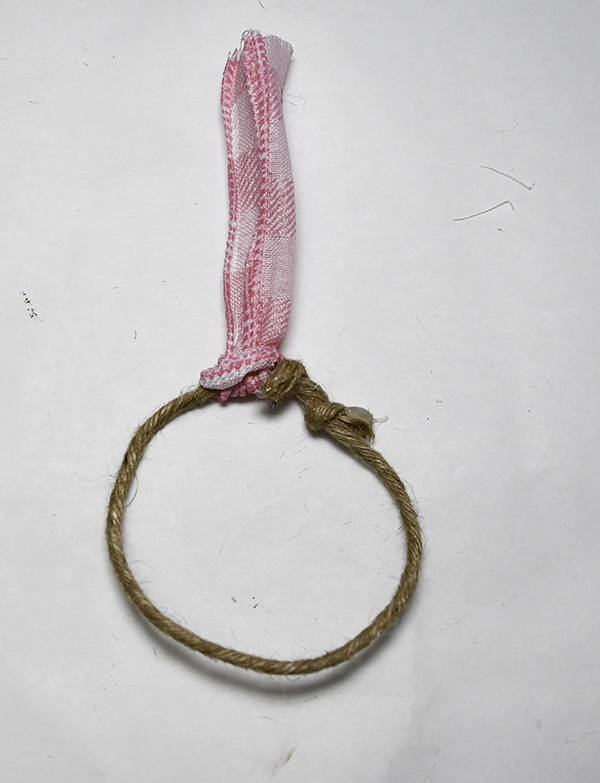
Step 3: Create the Wired Jute Circles
Take three pieces of wired jute. Make them into a circle that measures the same size as the canning lids. You can twist the ends to secure. If you are using mason jar rings you can skip this step.

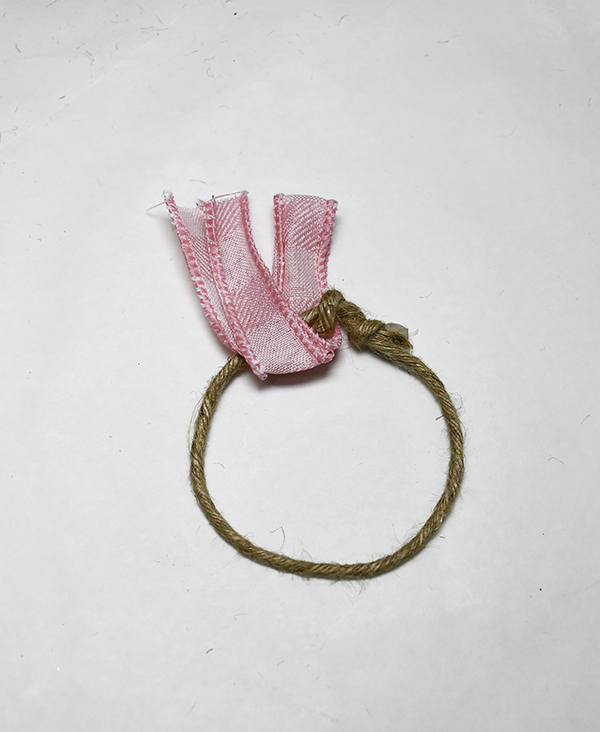
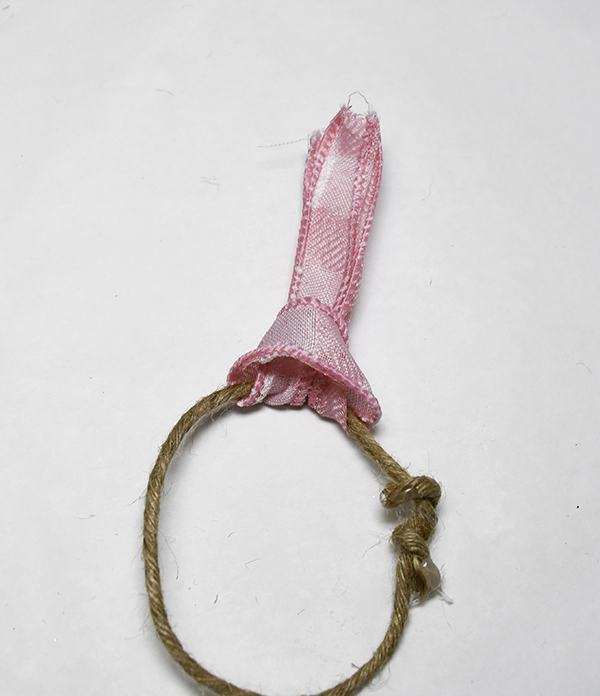
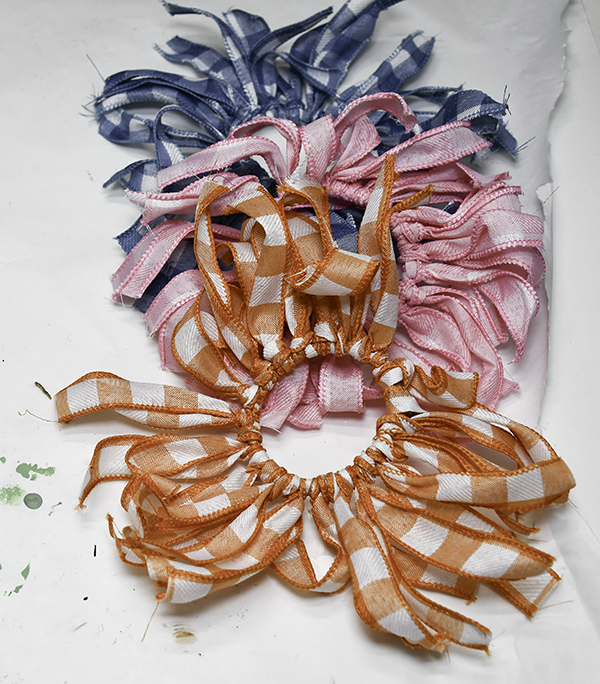
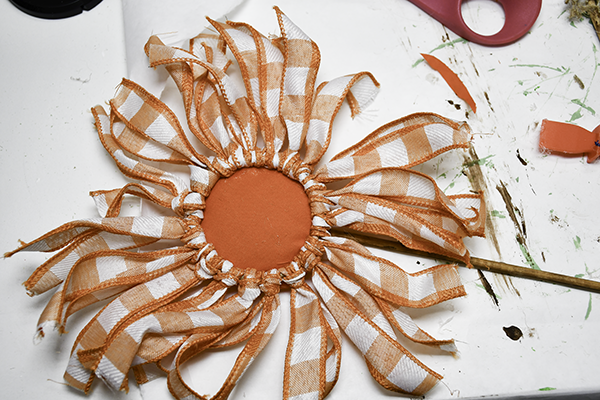
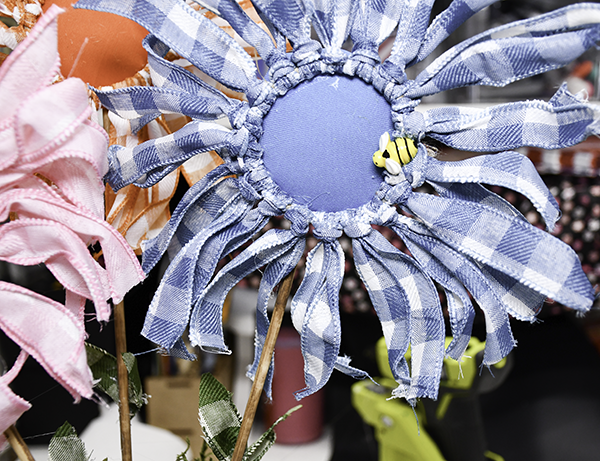
Step 4: Wrap the Ribbon
Fold the ribbon in half wrong sides together. Wrap the ribbon strips around the wired jute and pull the raw ends through the loop you created. Cover the entire jute circle.
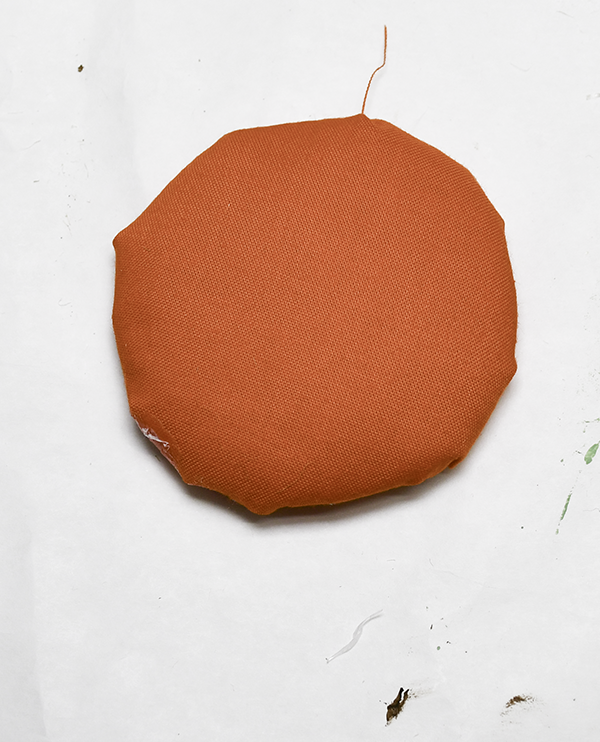
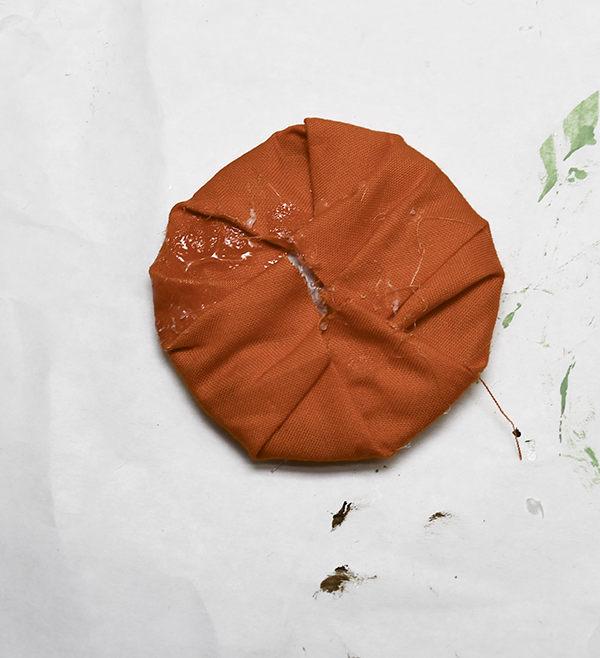
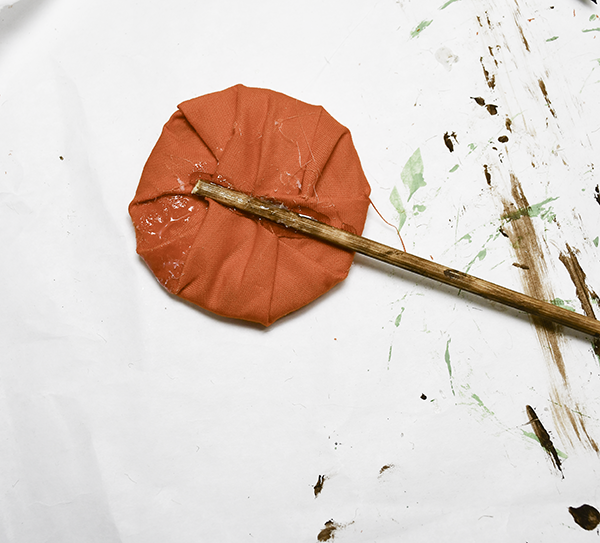
Step 5: Cover the canning lids
Place fiberfill onto the lids using hot glue. Take three pieces of fabric and cover the canning lids. Secure using hot glue.

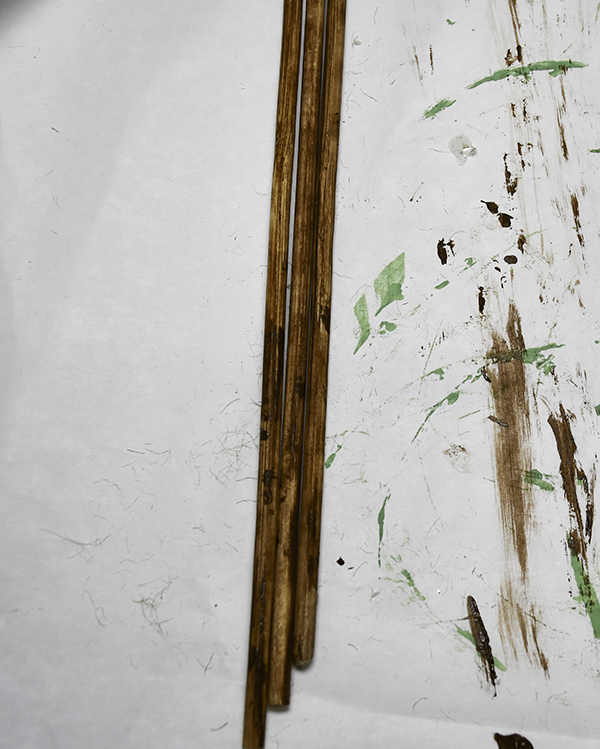
Step 6: Paint or stain the Dowels
Using brown paint or stain cover the dowels. Let dry. You can also use antiquing wax by Waverly.
Step 7: Cut the Dowels
Cut the dowels so that they are three different lengths. The lengths will be determined by the size of the container you use. I used the milk jug so my dowels measured __”, __” and __”.
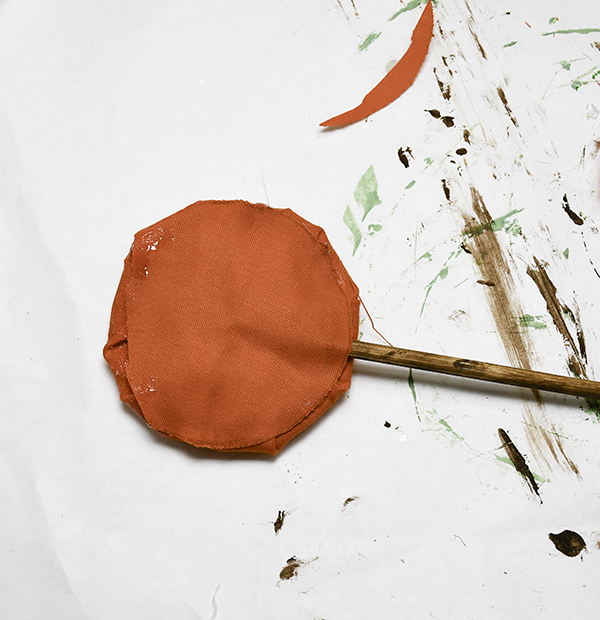
Step 7: Glue the Dowels
Glue the dowels to the back of the canning lids.
Step 8: Add the Covered Canning Lids
Using hot glue attach the canning lids to the back side of the wired jute.
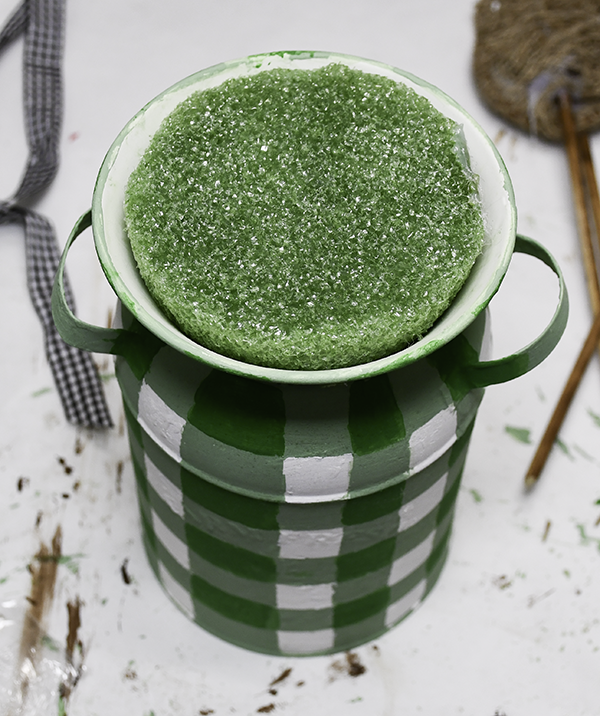
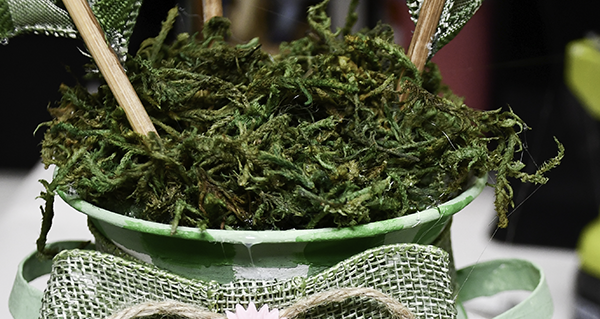
Step 9: Add the Floral Foam
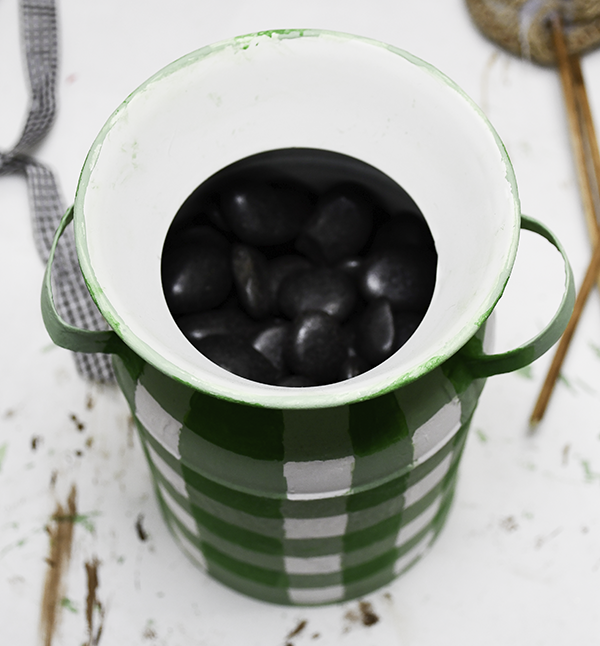
Fill the bottom of the milk jug with Dollar Tree rocks to weigh it down a bit. Glue floral foam to the on top of the rocks.
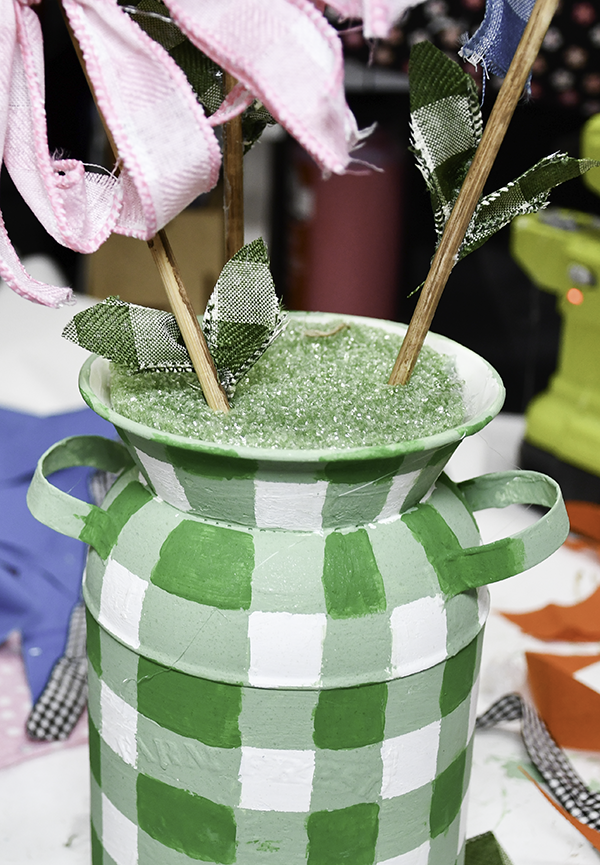
Step 10: Insert the Flowers
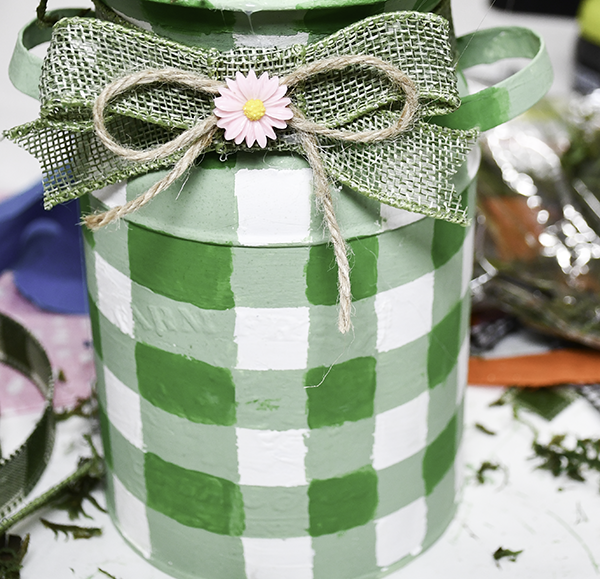
Insert the flowers into the floral foam staggering the lengths for interest. Add ribbon around the neck of the jug. Place some moss on top of the floral foam. Glue the bees to the flowers. Once you have inserted the flowers you have finished your gingham ribbon flowers.
I hope you enjoyed this simple crafting project. If you would like more sewing and crafting projects subscribe to our newsletter and receive your free Dollar Tree holiday craft eBook.
Subscribe to our Free YouTube Channel!
Join our Sew Very Crafty Fans Facebook group
If you want to ask questions and share your projects join our Facebook group here. The community will help to achieve your sewing and crafting dreams.