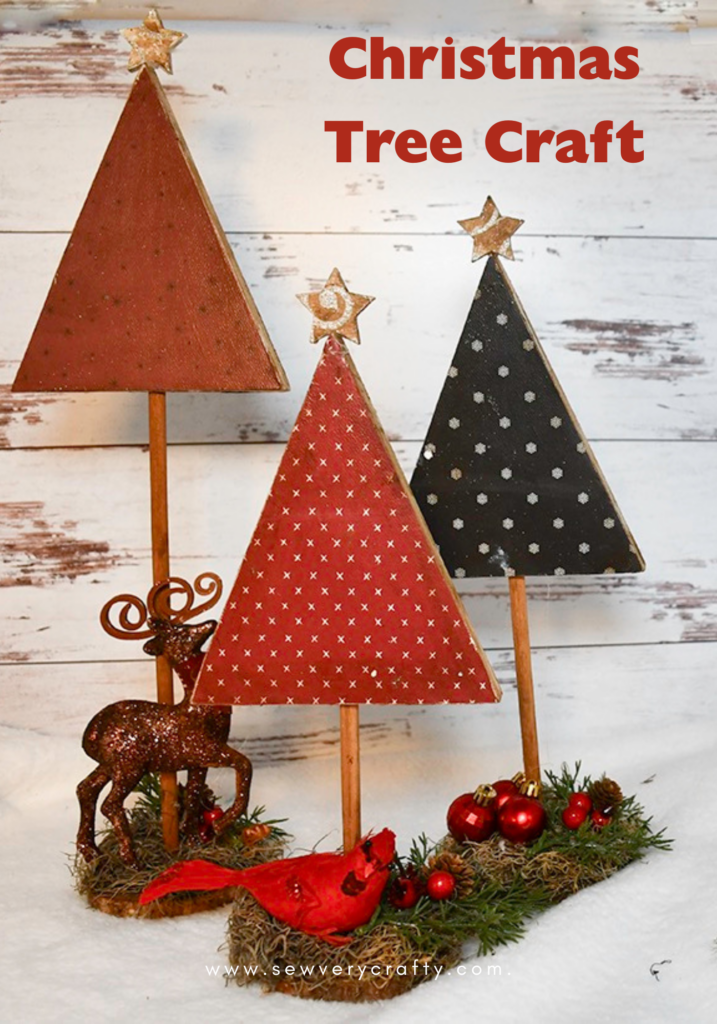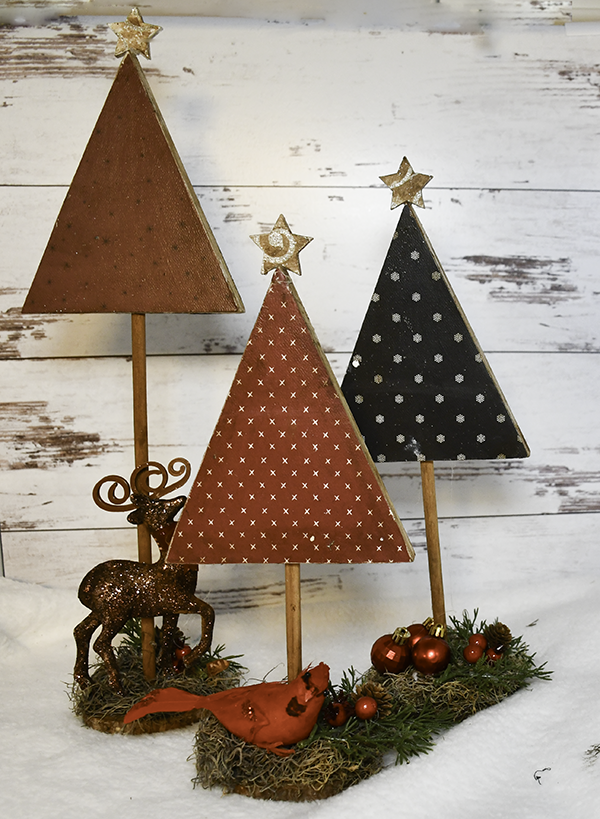
I have been wanting to make this project for a while. I purchased these wood triangles a while ago and I was finally able to make some wood triangle Christmas trees. This was a very easy project to make and came out exactly the way I envisioned. Decoupage and Dollar Tree are the name of the game for this Christmas decor project. If you would like more craft projects check out my Dollar Tree page. For more holiday sewing and crafting projects head over to my Holiday Project Vault.

Note: This post contains affiliate links that if you click on them and make a purchase I will receive a small commission at no extra cost to you. As an Amazon Associate I earn from qualifying purchases.
What you will Need: How to Make Wood Triangle Christmas Trees
- 3 Wood Triangles
- 3 Round wood bases
- 3 dowels
- Christmas paper
- Spanish Moss
- Antiquing wax
- Mod Podge
- Dollar Tree Christmas ornaments
- Stars
- Hot glue
- Wood Glue
- Sand Paper
Step 1: Add the Holes
Add a hole the size of your dowels on the bottom center of the triangles and the center of the wood rounds.
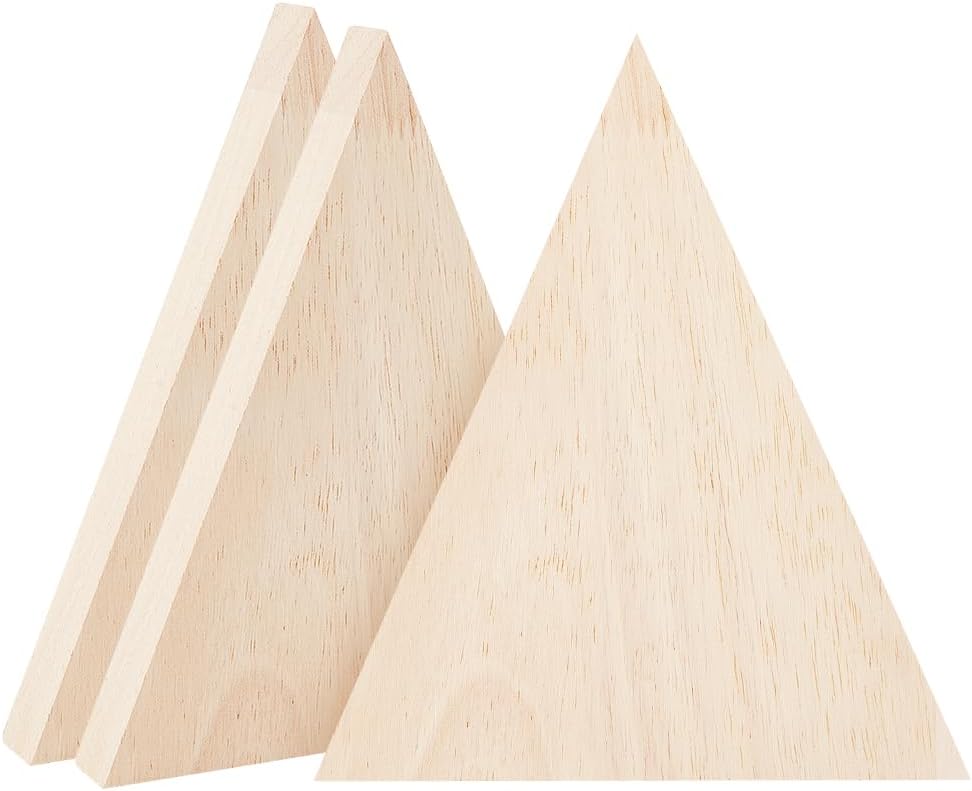
Step 2: Trace the triangles onto the paper
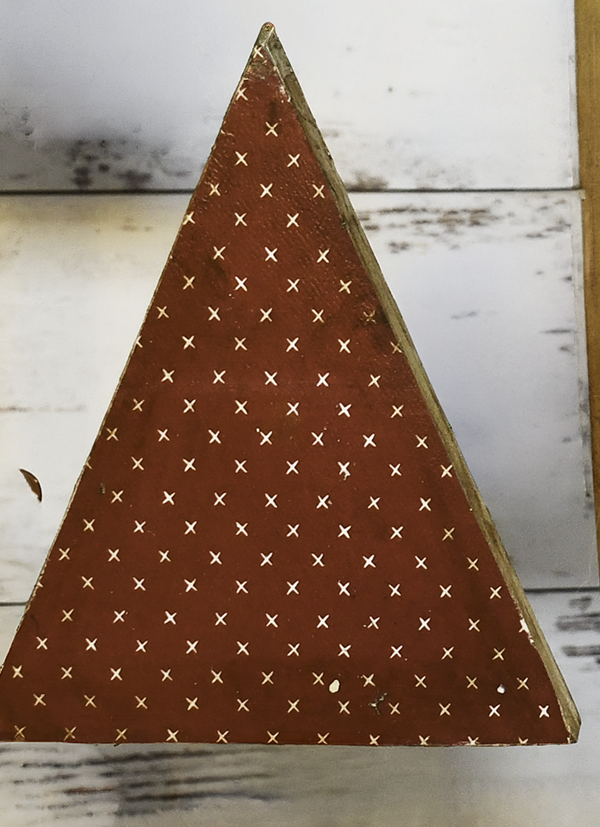
Trace the triangle shapes onto the paper. Cut out the paper triangles. I used double sided card stock that I had on hand. I cut two triangles from each 12″ x 12″ piece of card stock so that I could have different patterns on each side.
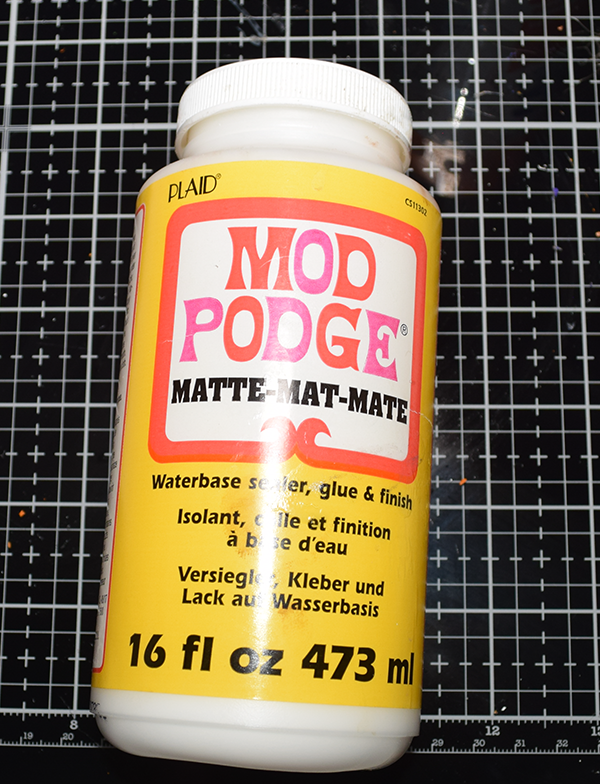
Step 3: Add the Mod Podge
I used cardstock that I had on hand so I used a generous amount of Mod Podge.
Step 4: Place the paper on top of the triangles
Because I used cardstock I placed the paper on while the mod lodge was still wet. Let the Mod Podge dry completely and sand off any excess using sand paper.
Step 5: Age the triangles
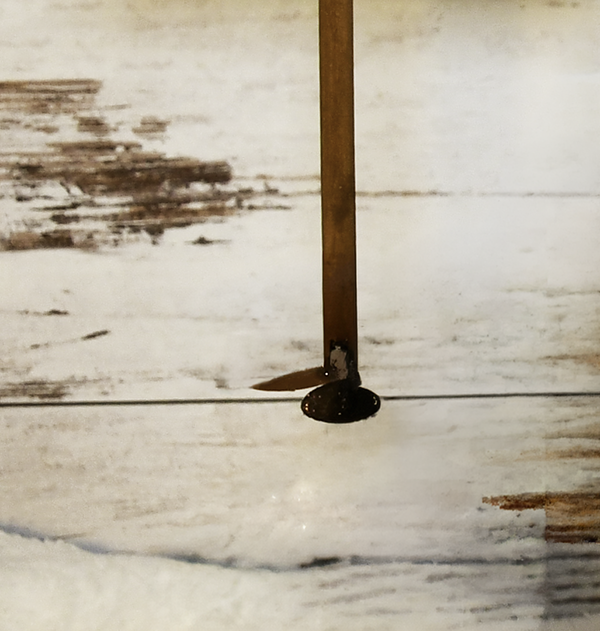
I used antiquing wax to age the sides of the triangles and the edges. I really wanted a rustic look to this project. Use the antiquing wage to age the dowels as well.
Step 6: Prepare the stars
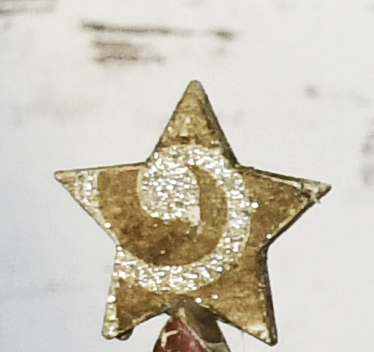
Cut a square piece of paper a little bigger than the star. Add Mod Podge to the stars and place the paper on top. Repeat for the other side. Once again I used cardstock I had on hand. The cardstock was too bright for my purpose so I added antiquing wax to age the stars. I covered both sides of the stars with the same paper.
Step 7: Insert the dowel and add the Moss
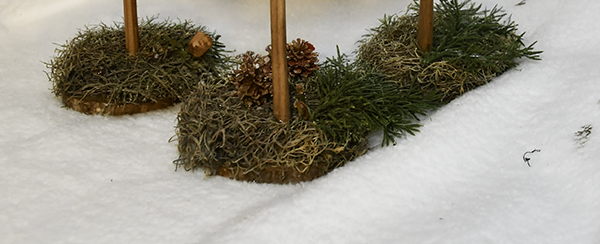
Add wood glue and hot glue to the hole in the wood round and insert the dowel. Once the dowel has set place hot glue on the wood round and add the Spanish moss.
Step 8: Add the Triangles to the Dowels
Add some wood glue in the hole inside the triangle, Add the triangles to the dowels and let set.
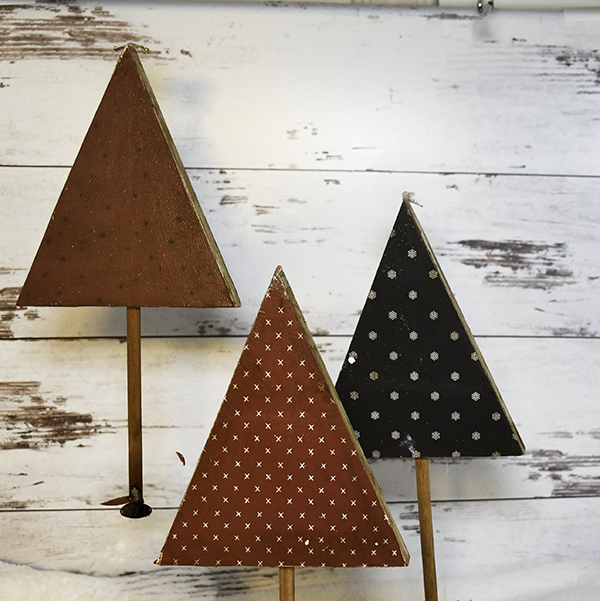
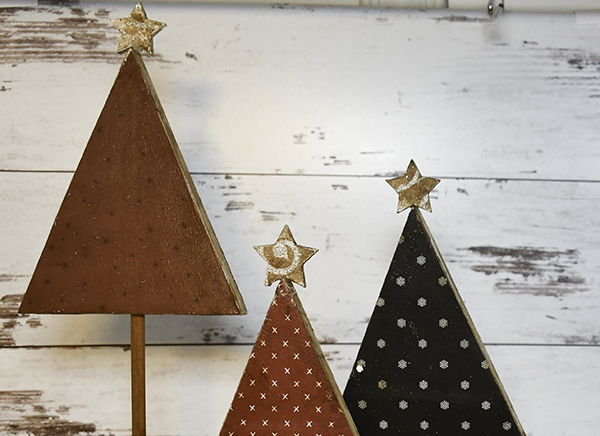
Step 9: Add the stars
Using wood glue and hot glue and add the stars to the top of the triangles. The stars aren’t as sturdy as I would like but they were fine in the end.
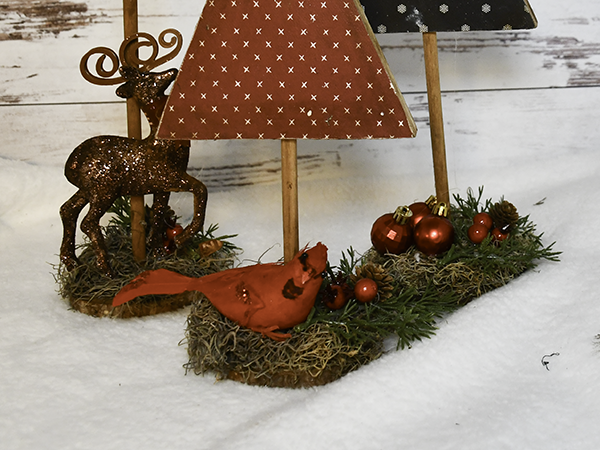
Step 10: Embellish the Wood Round
I added a variety of embellishments to the base of the trees. For this, I used a variety of Dollar Tree Christmas ornaments. You can use anything you like. Once that is done so are you. Enjoy!!!
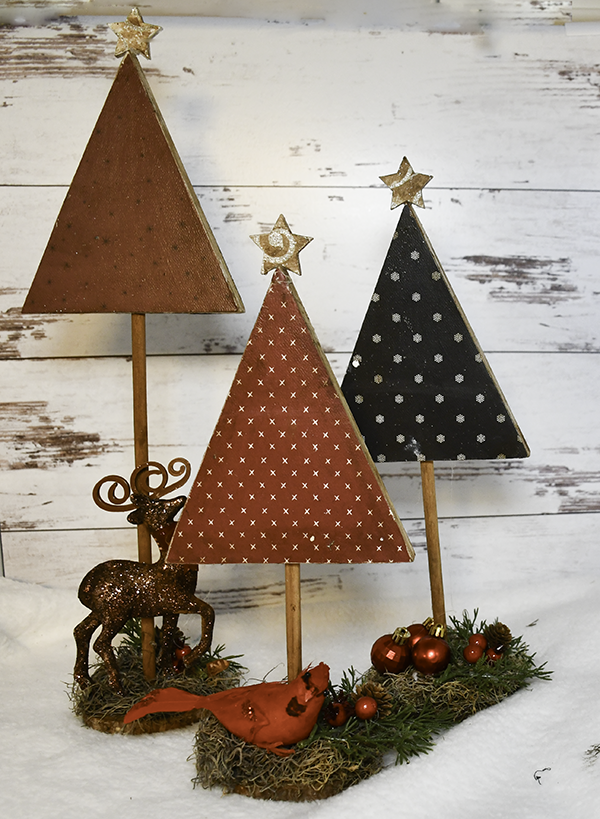
I hope you enjoyed this simple Christmas craft. For more sewing and crafting projects subscribe to our free newsletter and receive your free Dollar Tree Holiday eBook.
Join our Sew Very Crafty Fans Facebook group
If you want to ask questions and share your projects join our Facebook group here. The community will help to achieve your sewing and crafting dreams.

Subscribe to our Free YouTube Channel!