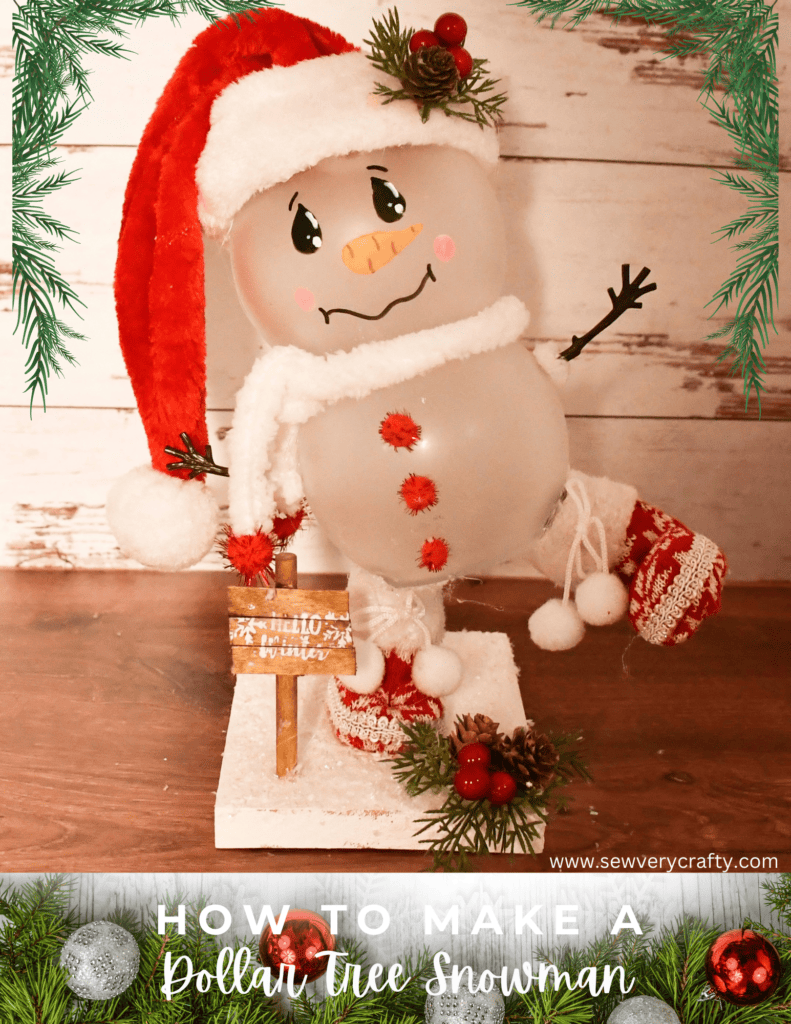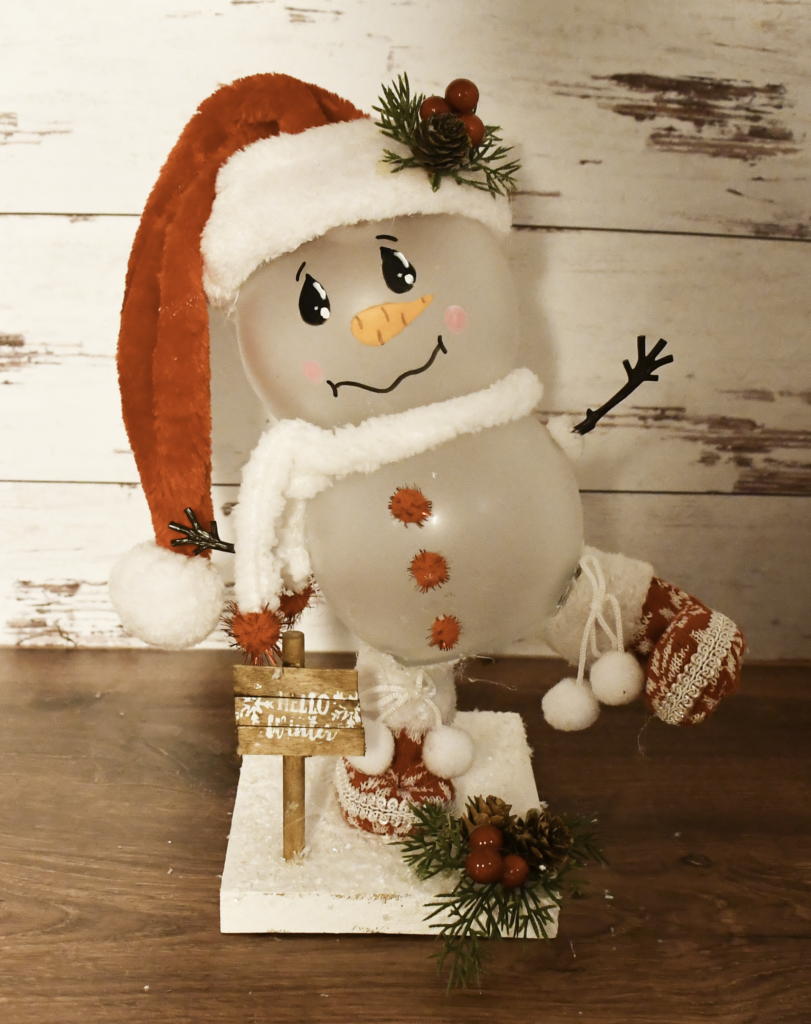
Snow men are always fun to make. This is a standard Dollar tree craft that any beginner crafter can make. I just love how it came out. Although I must say it is hard making Christmas crafts when it is 90 degrees outside. Regardless, this is a fun snowman craft to make from Dollar Tree craft supplies. I hope you enjoy this simple project. If you would like more Dollar Tree Crafts head over to our Dollar Tree page. For more holiday sewing and crafting projects check out my Holiday Project Vault.

Note: This post contains affiliate links that if you click on them and make a purchase I will receive a small commission at no extra cost to you. As an Amazon Associate I earn from qualifying purchases.
What you will Need: How to Make a Dollar Tree Standing Snowman
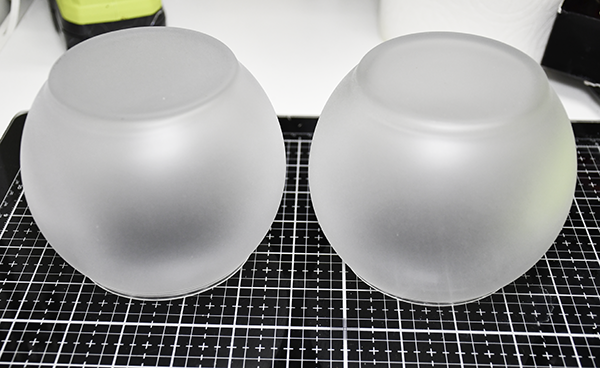
Step 1: Paint the Fish bowls
Using the frosted glass paint cover the two fish bowls. Let dry completely.
Step 2: Paint the face
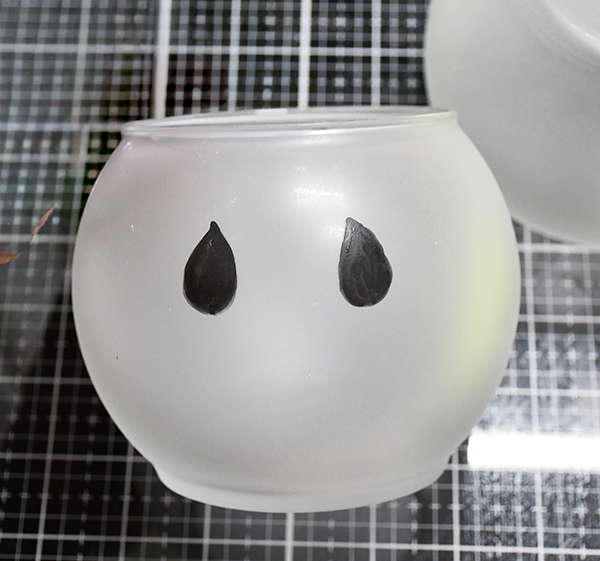
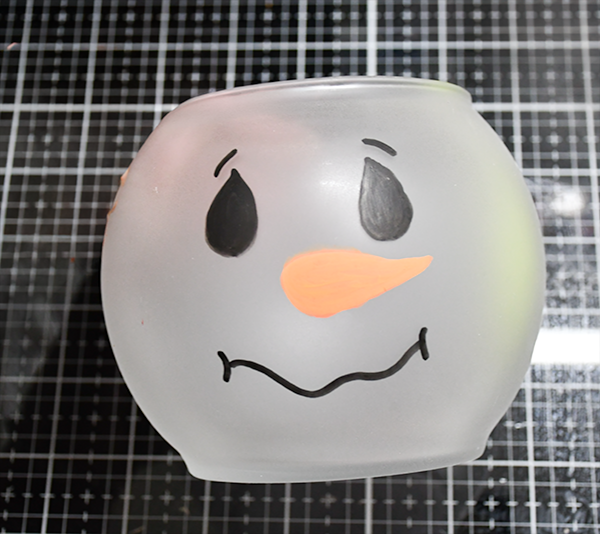
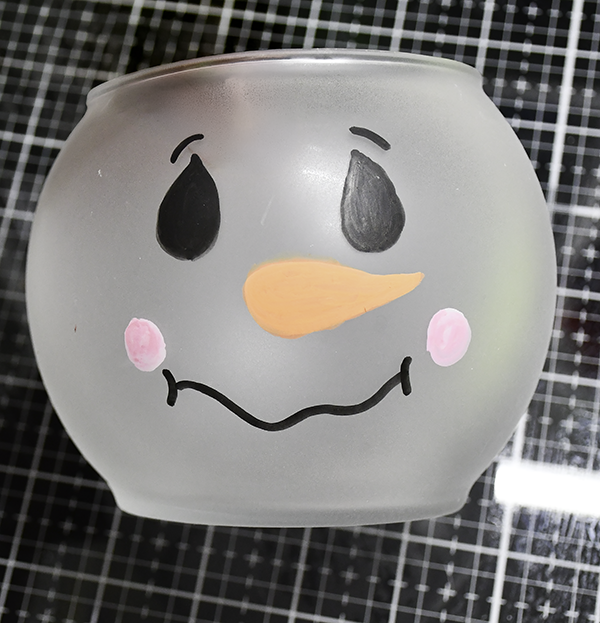
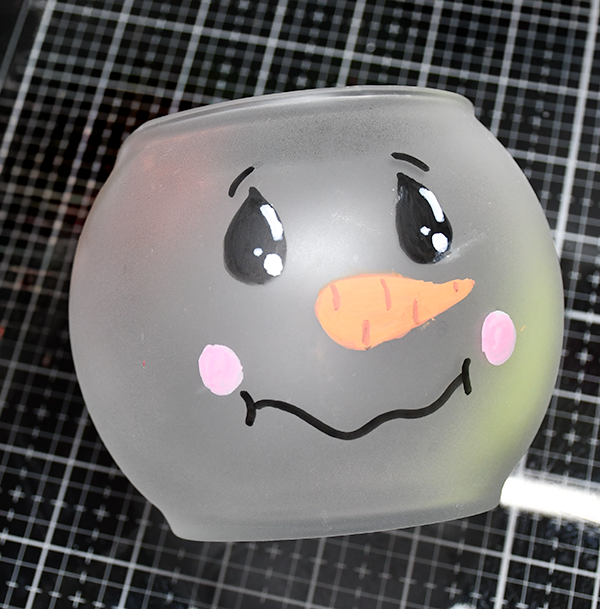
Using black, orange, pink and white paint pens paint the face. I used black for the eyes mouth and eyebrows. Orange for the nose and pink for the cheeks. If you are not good at painting you can purchase snowman face stickers or stencils. Make sure that the top of the bowel is facing up.
Step 3: Make the Hat
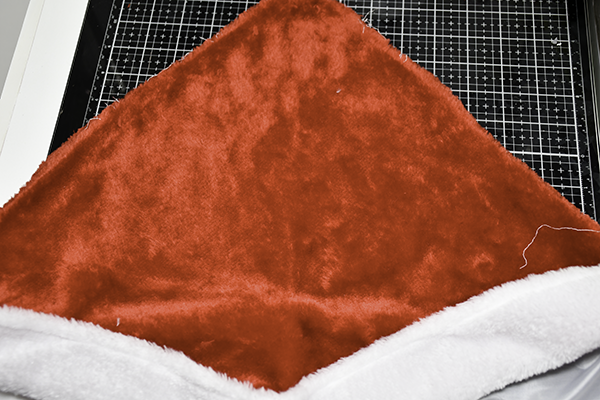
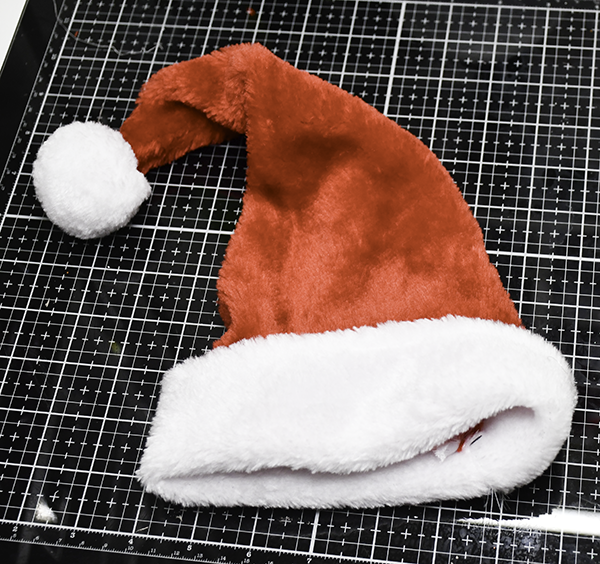
Take the red velvet fabric and either stitch it or hot glue the long raw edges right sides together. Turn the hat right sides out. Either stitch or glue the faux fur around the bottom raw edges. Stitch or glue a white pompon to the top painted end. You can also modify a child’s Santa hat like I did. Stuff the hat with fiberfill. Add a piece of Christmas greenery to their.
Step 4: Attach the hat
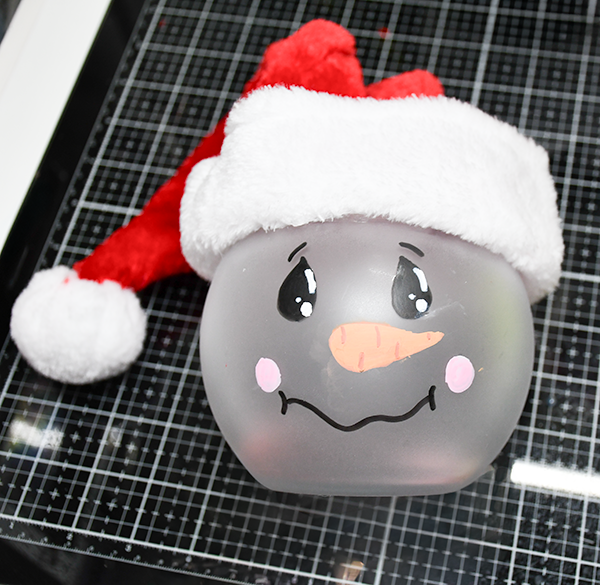
Again using hot glue and e6000 attach the hat to the bowel with the head to cover the opening in the bowel. I really should have added this last but either way it works.
Step 5: Create the scarf
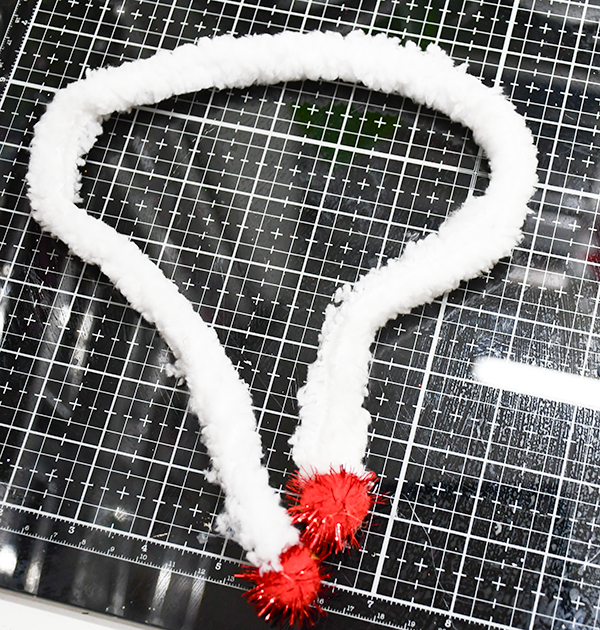
Cut a strip of the faux fur. Stitch or hot glue a red pompon to each end of fur strip.
Step 6: Glue the shoes
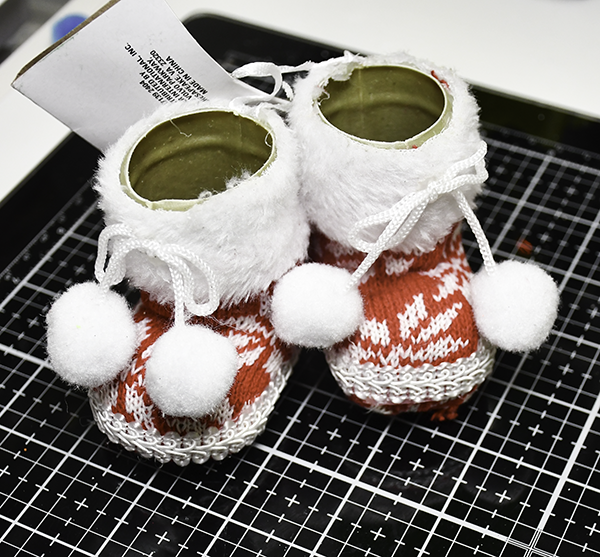
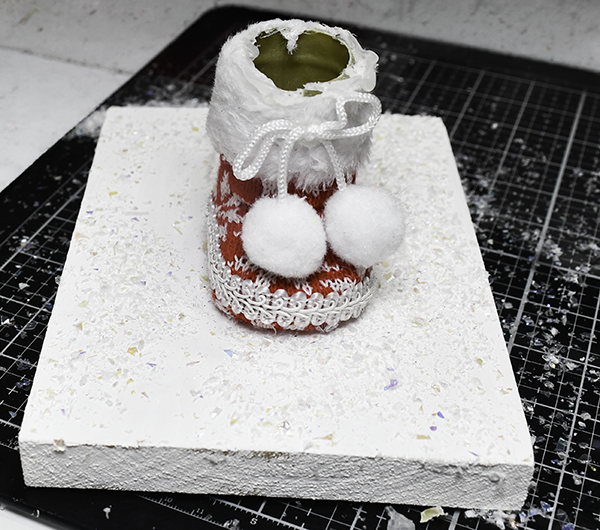
Using e6000 and a bit of hot glue place one shoe slightly on the right bottom and side of one of the bowel without the face. The other shoe will be attached to the board with screws. Ignore the photos that show otherwise, I figured out later that I really needed to screw the shoe to the board.
Step 7: Glue the Bowels together
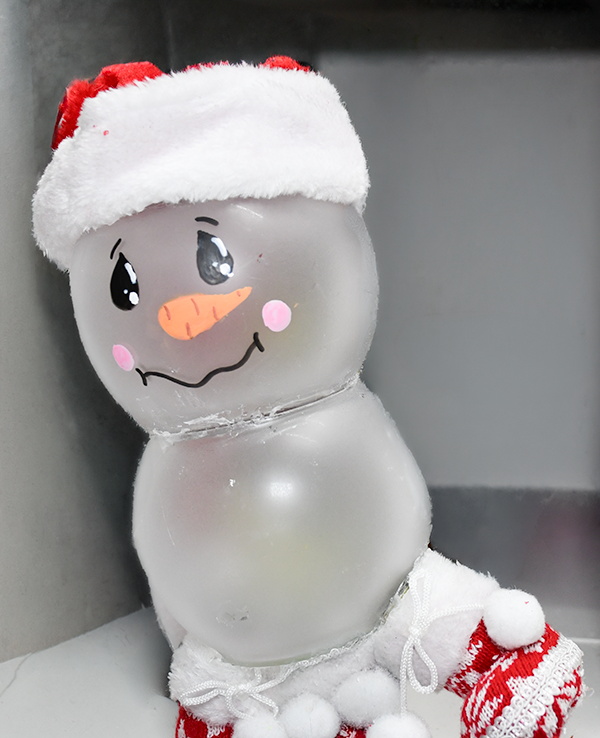
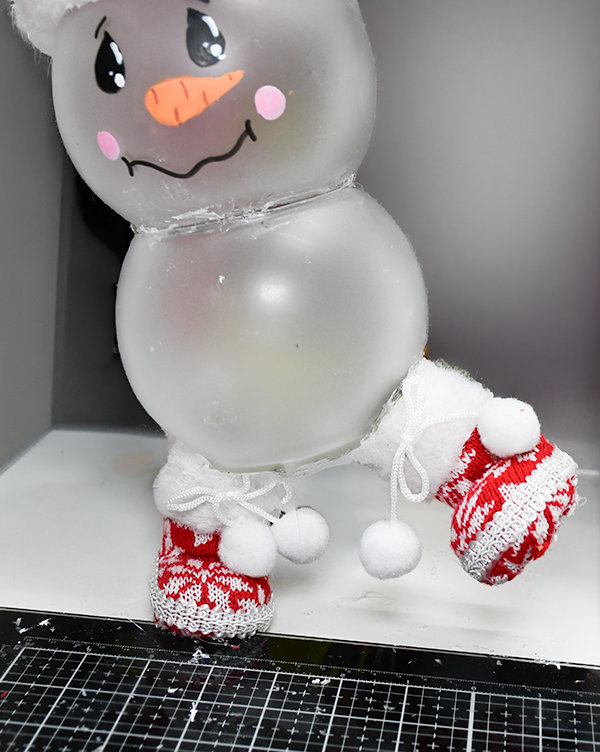
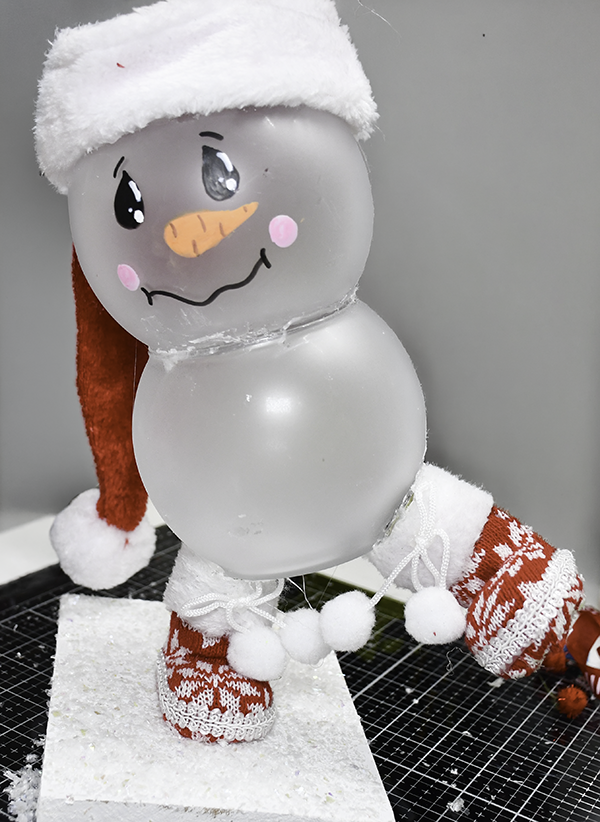
Using e6000 and hot glue attach the bowel with the face to the bowel with the shoes so that the bottom of the face bowl attaches to the top of the bowel with shoes. In this photo I added both shoes. This was a mistake. I really needed to screw the base shoe to the board first. Which I did
Step 8: Create the Base
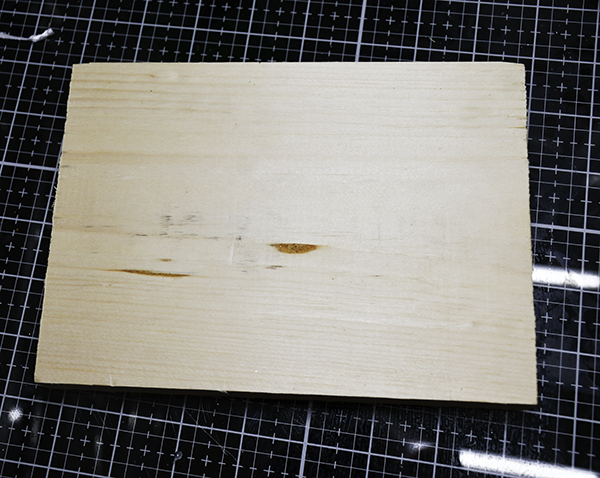
Grab a piece of Dollar Tree wood. Paint it white. While the paint is still wet, sprinkle the faux snow
Step 9: Add the Bowels to the Piece of wood
First, screw one shoe to the board making sure you have a long enough screw. Then, using hot glue and e6000, glue the bowels to the shoe on the board while the other shoe is in the air as if the snowman is falling.
Step 10: Embellish the Snowman
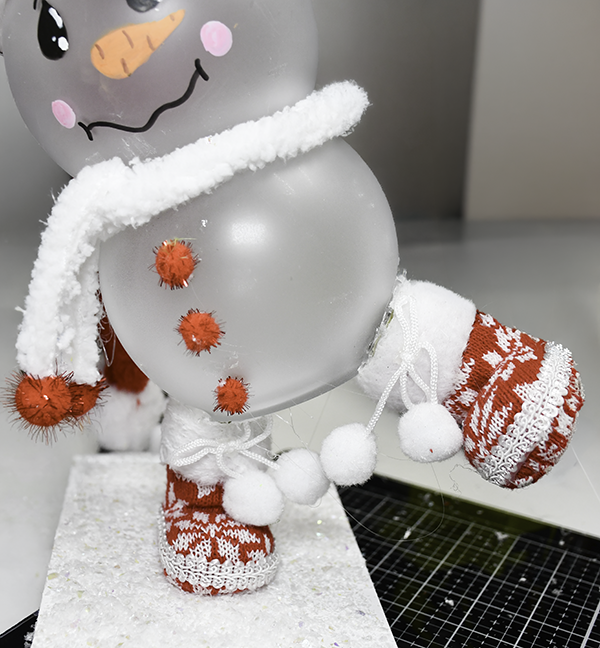
Attach some greenery to the board. Add three of the red pompons to the front of the bottom bowel using hot glue. Cut a small strip of faux fur. Glue the arms to the snowman then wrap the part touching the glass with a bit of fur. Do this for both arms.
Step 10: Create the Sign
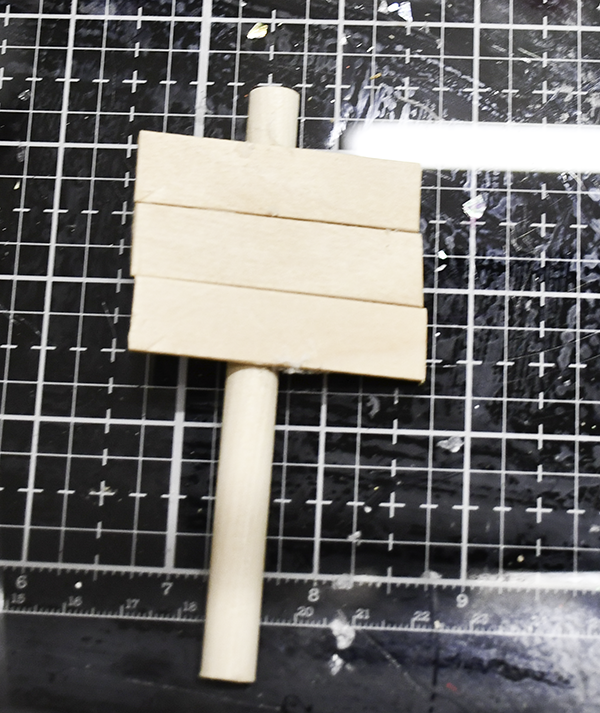
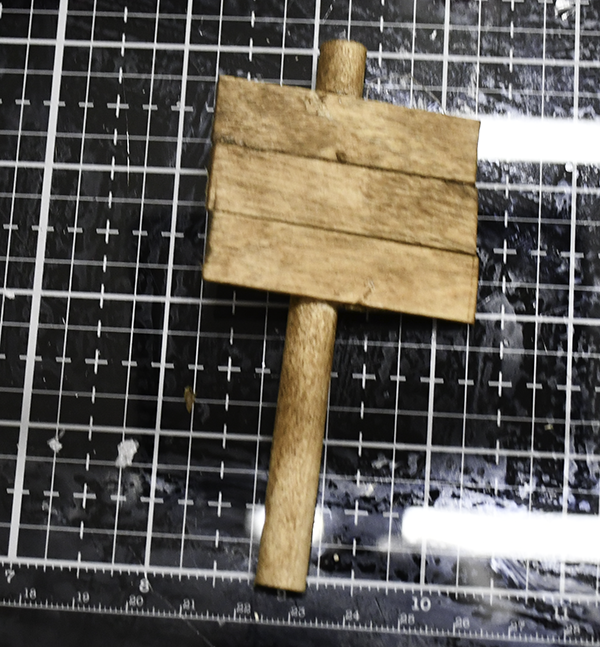
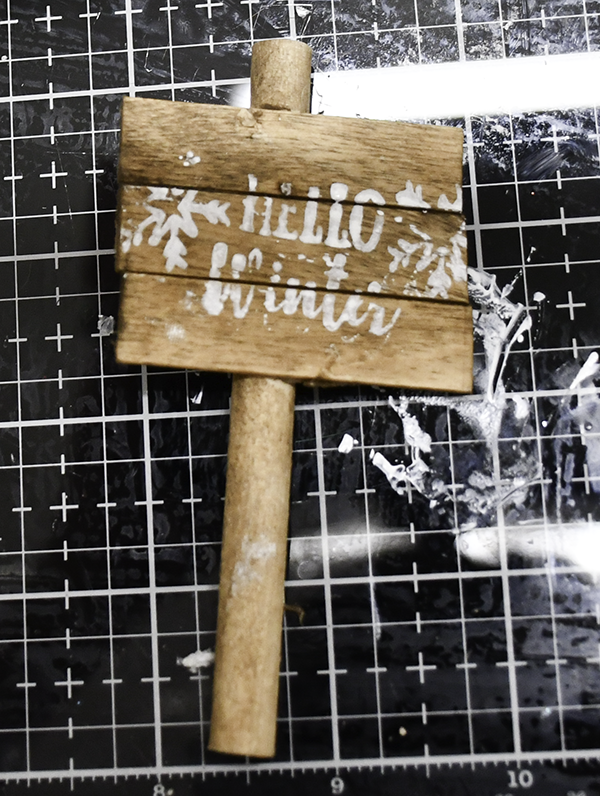
Take a dowel and some craft sticks to create the sign. Cut the craft sticks so that they measure 2″ long. Attach them together using craft sticks on either side and the dowel down the center. Age the sign using antiquing wax and a baby wipe.
Step 12: Add the Sign to the Board
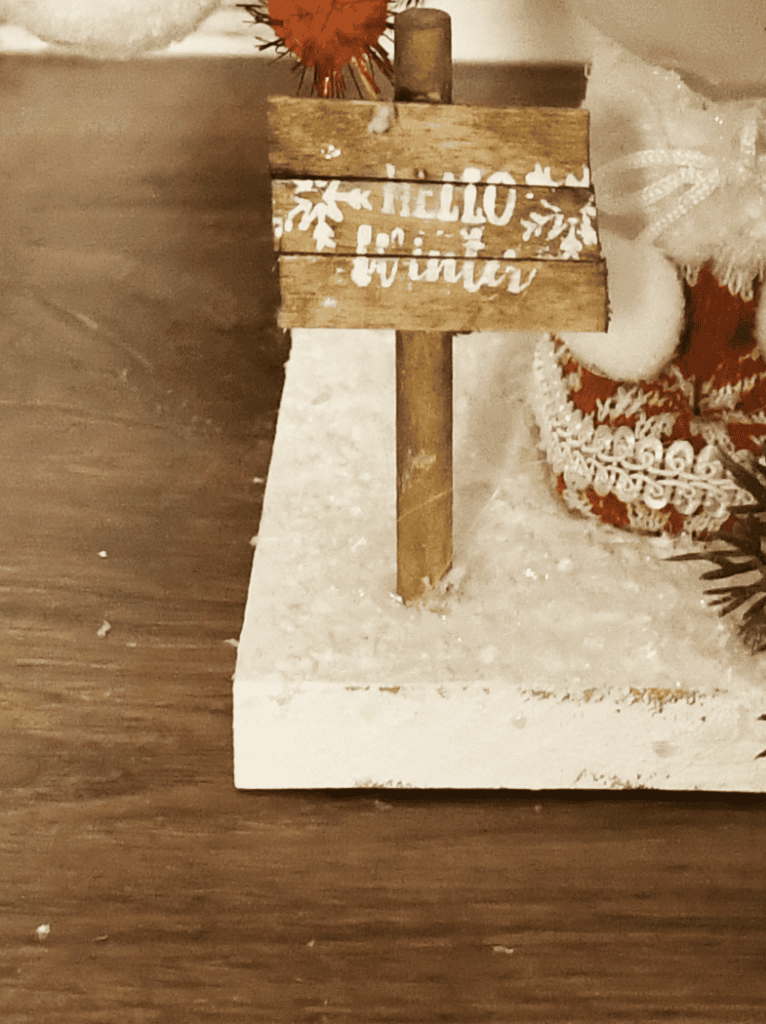
Using hot glue attach the sign to the board. Once the sign is added your Dollar Tree snowman.
Step 13: Add the Greenery
Hot glue the greenery to the board and the hat. Once the greenery has been added you have finished your Dollar Tree Snowman.
I hope you enjoyed this simple Dollar Tree Christmas craft. If you would like more sewing and crafting projects subscribe to our free newsletter and receive your free Dollar Tree Holiday eBook.
Join our Sew Very Crafty Fans Facebook group
If you want to ask questions and share your projects join our Facebook group here. The community will help to achieve your sewing and crafting dreams.

Subscribe to our Free YouTube Channel!