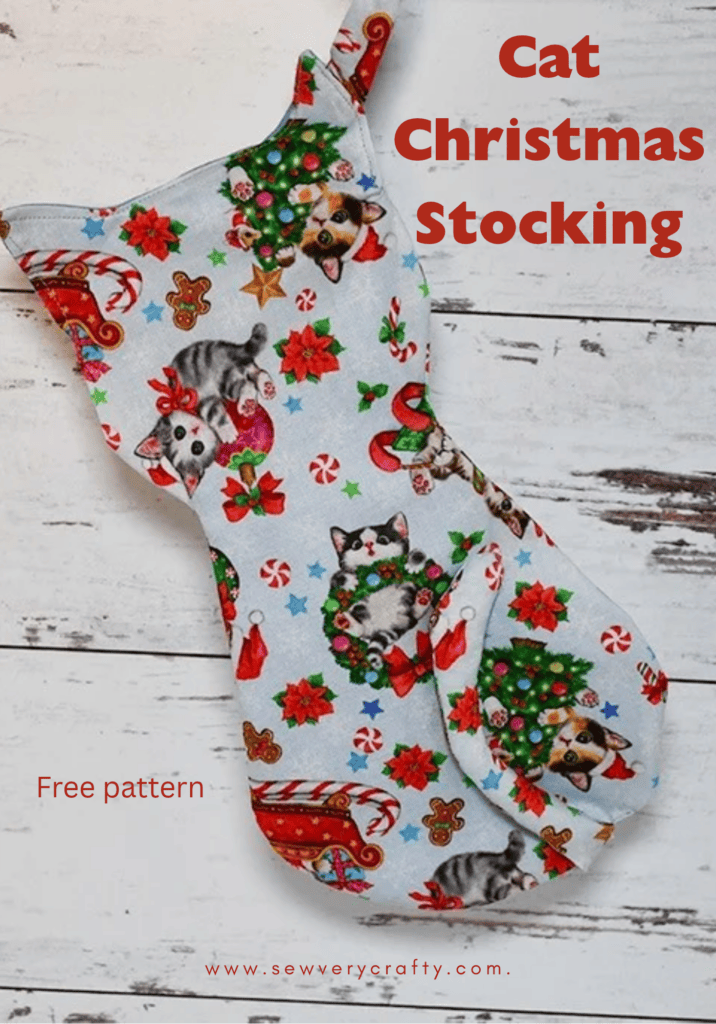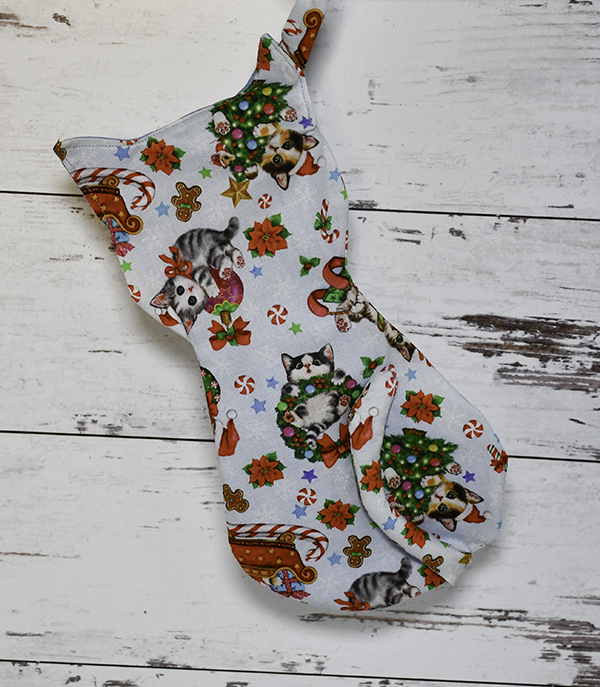
One of my readers asked me if I had a cat Christmas stocking. I didn’t have one so I thought I would create this fun cat Christmas stocking for the beginner sewist. The pattern is free as usual. This is a simple Christmas stocking to honor your best cat friend. I used some Christmas cat fabric to really make this a cat friendly piece. I hope my reader enjoys this very simple sewing project and I hope you do too. If you would like more holiday sewing and crafting projects head over to my free Holiday Project Vault for many more.

Note: This post contains affiliate links that if you click on them and make a purchase I will receive a small commission at no extra cost to you. As an Amazon Associate I earn from qualifying purchases.
What you will Need: How to Make a Cat Christas Stocking
- Pattern you can get by clicking on this link
- 1/2 yd of outer fabric
- 1/2 yd of lining fabric
- Coordinating/Contrasting fabric for tail (Optional)
- Cluster Stuff
- Sewing machine
- Standard Sewing supplies
Step 1: Print, tape and cut the pattern
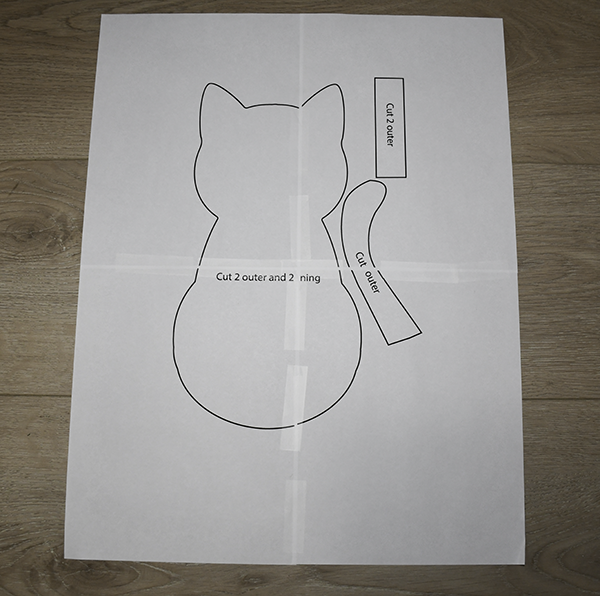
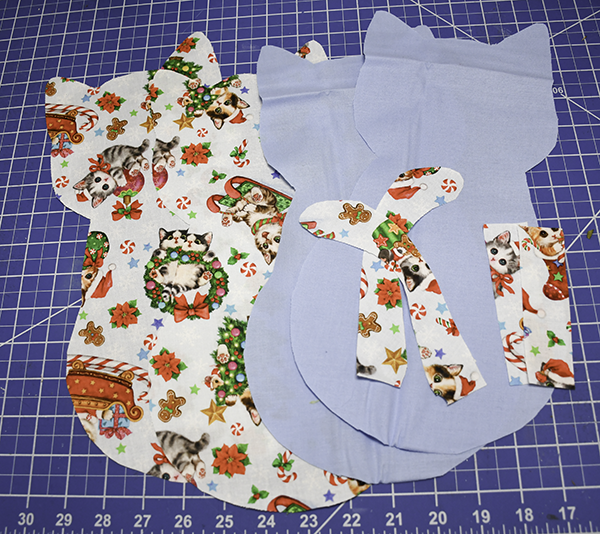
The pattern consists of four pieces. Tape it together. Once it is taped together cut out each of the pattern pieces as described. Cut two outer and two lining pieces of the cat , two outer pieces for the tail and hanger.
Step 2: Create the Tail
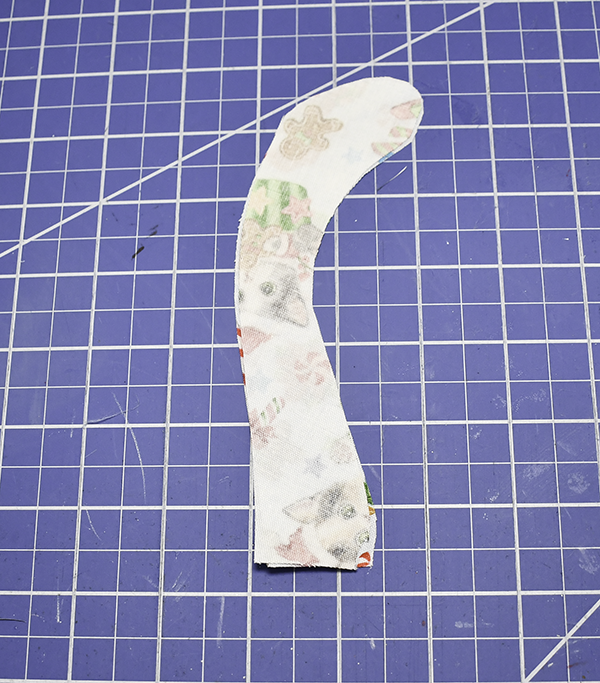
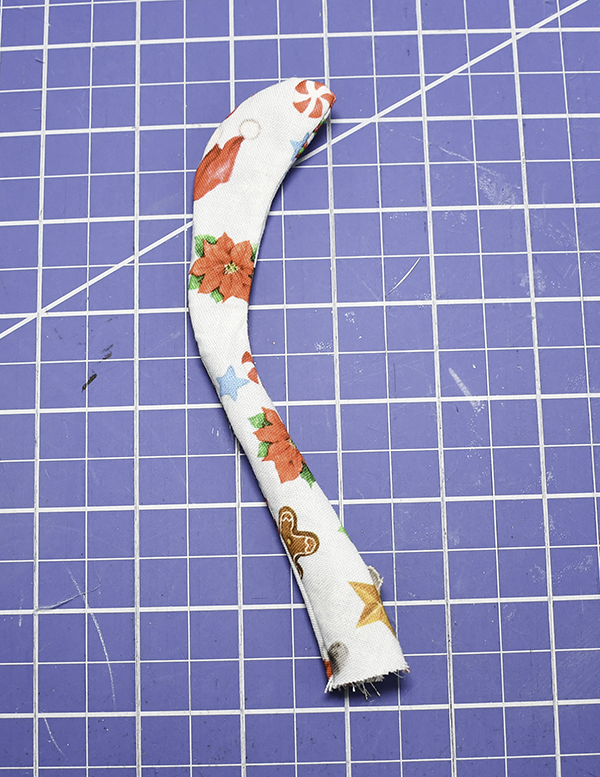
Stitch the two tail pieces right sides together. Stitch all the way around using a 1/4″ seam allowance but leave the bottom open. You can use either coordinating or contrasting fabric for this if you like. Turn the tail right sides out. Stuff the tail as much or as little as you like.
Step 3: Attach the Tail
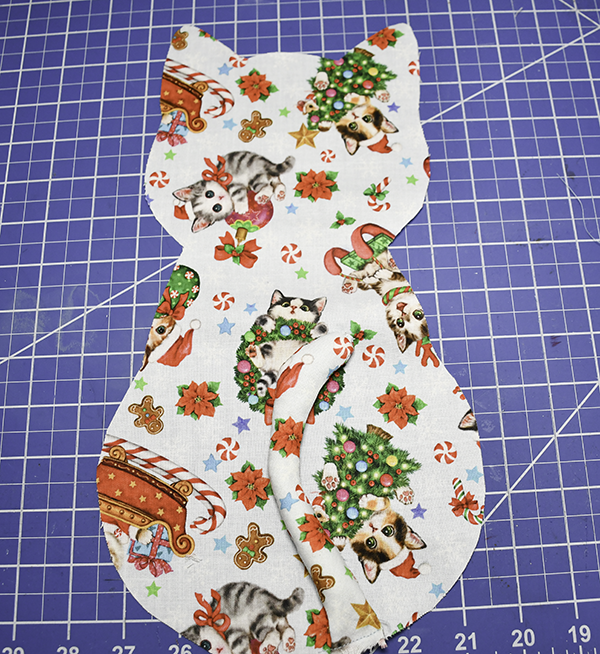
You will notice that the tail is drawn at a bit if an angle. Place the bottom of the tail in the bottom right of one of the outer cat body pieces. Stitch the bottom using a 1/8″ seam allowance just to hold it in place. Hand tack the rest of the tail to the body to keep it in position.
Step 4: Create the hanger
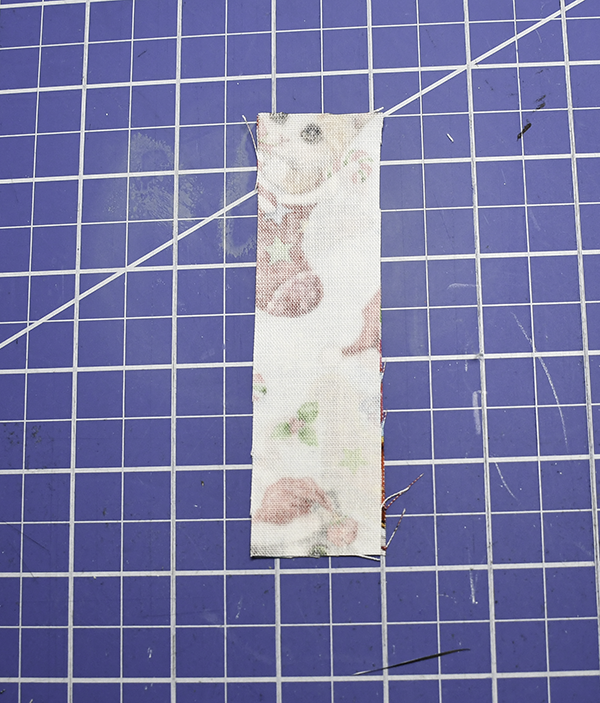
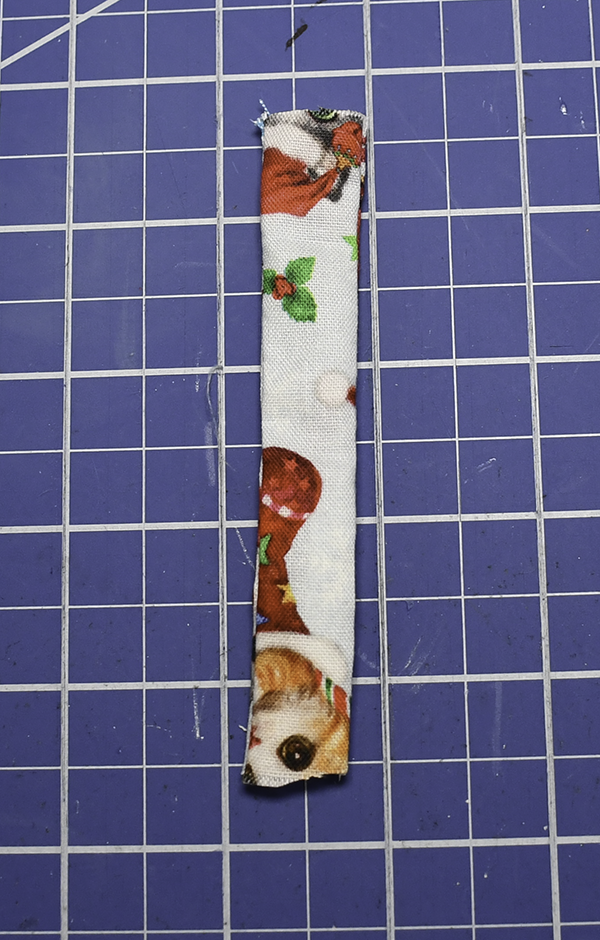
Take the two rectangle pieces and stitch them right sides together just along the long raw edges. Turn the hanger right sides out and press. Topstitch all the way around making sure to close the opening as you go.
Step 5: Add the Hanger
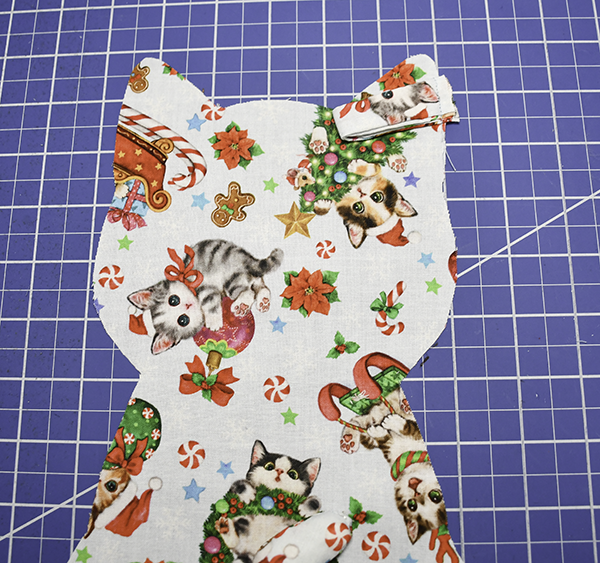
Fold the hanger piece in half widthwise. Place the hanger piece right sides together matching the raw edges on one of the ears. Stitch it to the ear using a 1/8″ seam allowance to hold it in place.
Step 6: Stitch the Cat Body
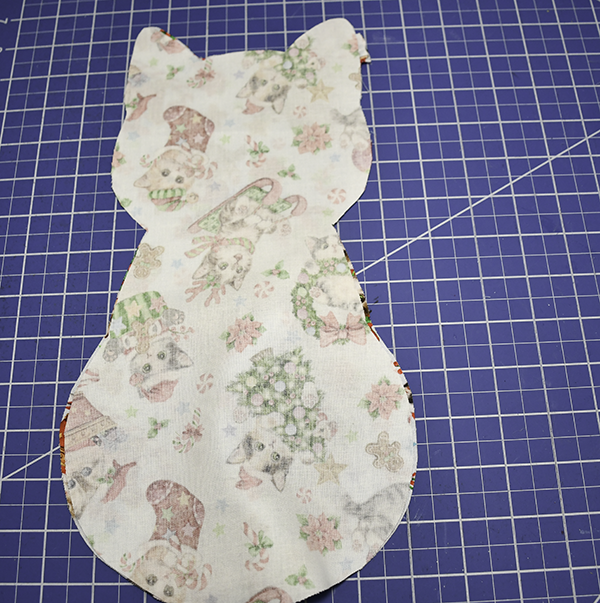
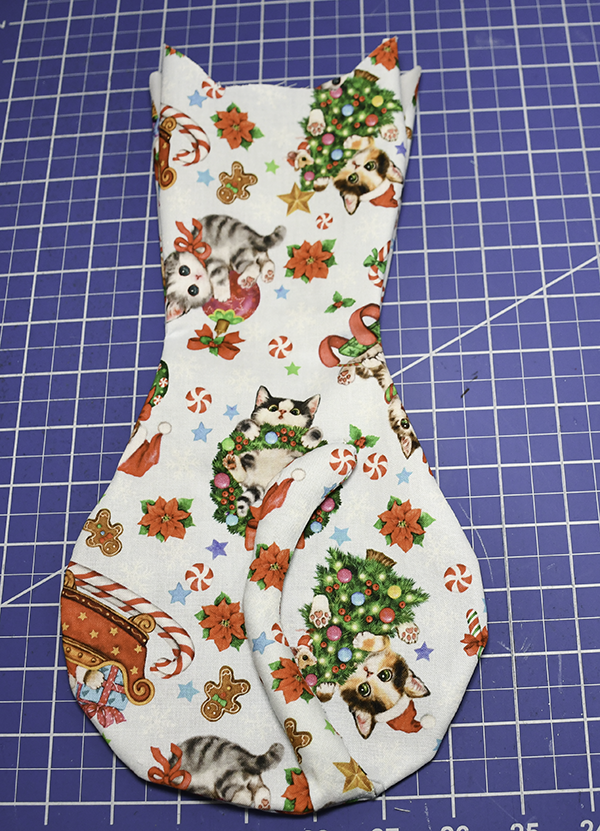
Place the cat body pieces right sides together. Stitch the body pieces all the way around starting at the base of one ear and finishing at the base of the other ear using a 1/4″ seam allowance. Leave the top open. Repeat for the lining pieces but this time leave an opening at the bottom. Turn the outer piece right sides out while leaving the lining piece wrong sides out.
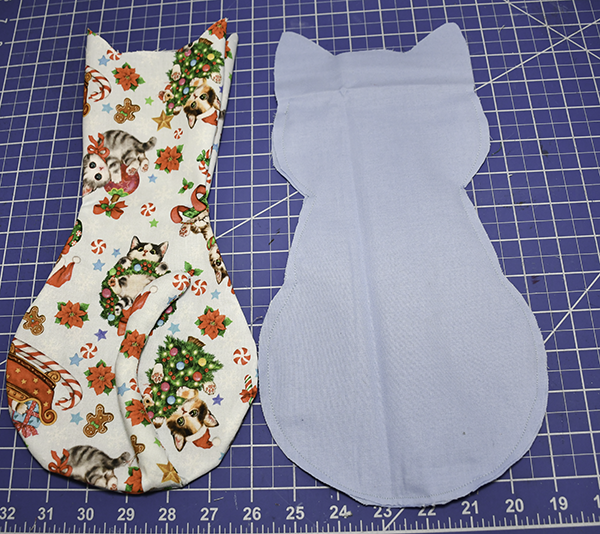
Step 7: Join the outer and lining pieces
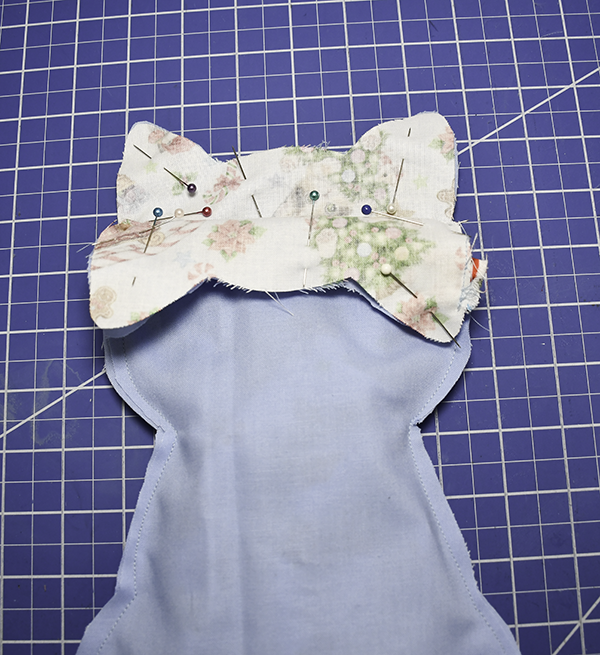
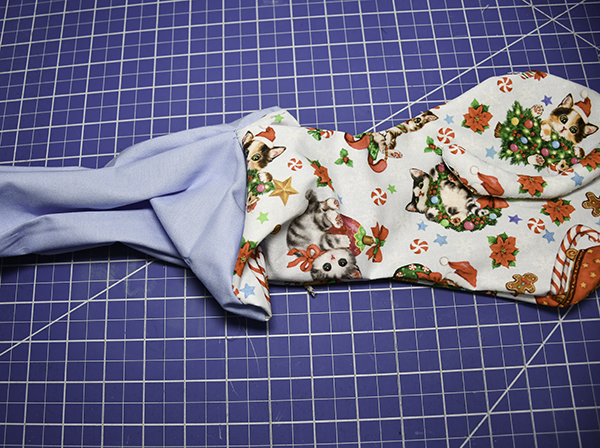
Place the outer piece inside the lining piece so that the cat pieces are right sides together. Stitch all the way around the top. Turn the pieces right sides out through the opening you left in the bottom of the lining. Push the lining inside outer piece and press. Topstitch from the bottom of one ear around the top of the stocking to the bottom of the other ear. Close the opening using ladder stitch or your machine. Press. You have now finished your cat Christmas stocking.
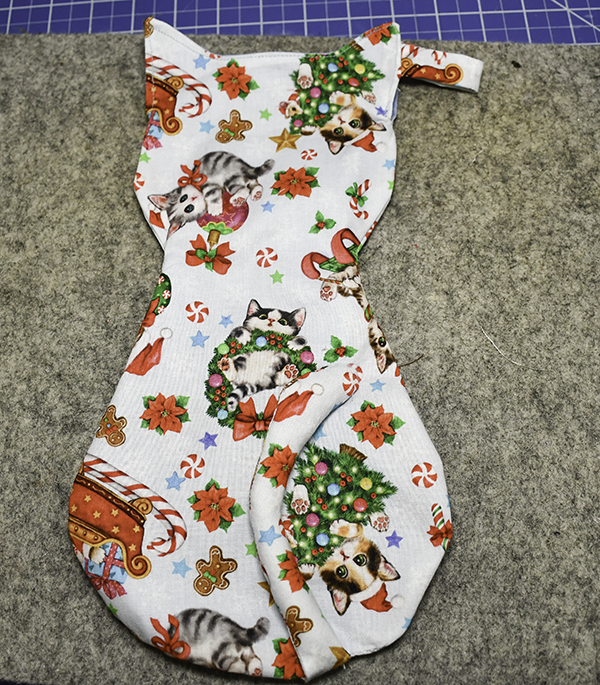
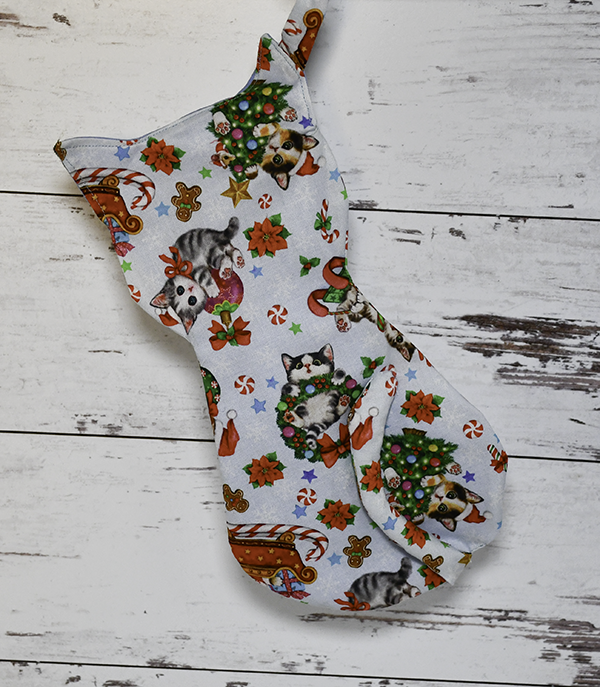
I hope you enjoyed this simple cat Christmas stocking. I you would like more sewing and crafting projects subscribe to our free newsletter and receive access to our free printable’s library.
Join our Sew Very Crafty Fans Facebook group
If you want to ask questions and share your projects join our Facebook group here. The community will help to achieve your sewing and crafting dreams.

Subscribe to our Free YouTube Channel!