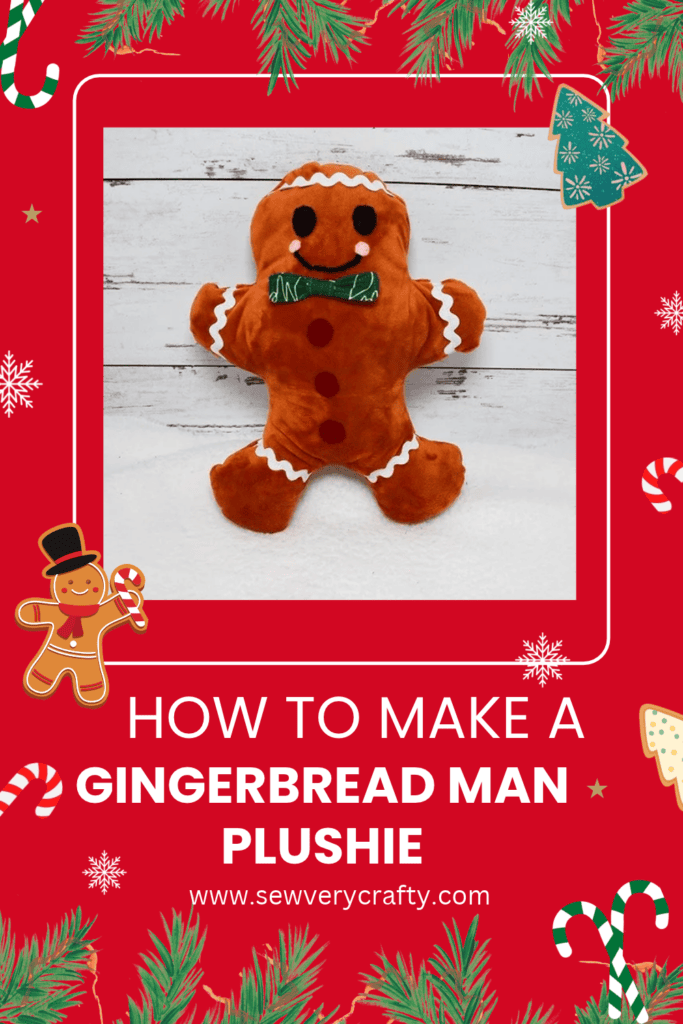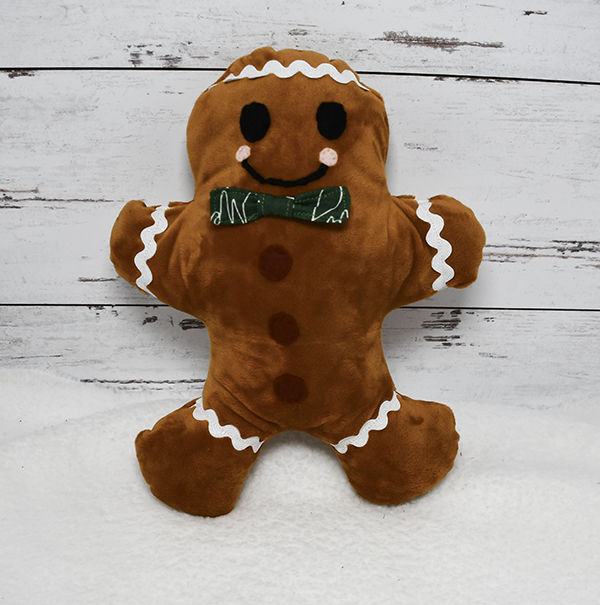
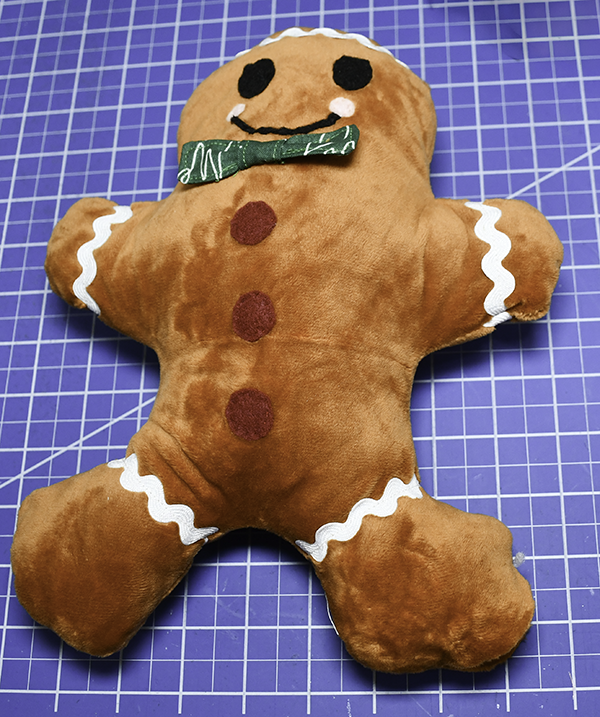
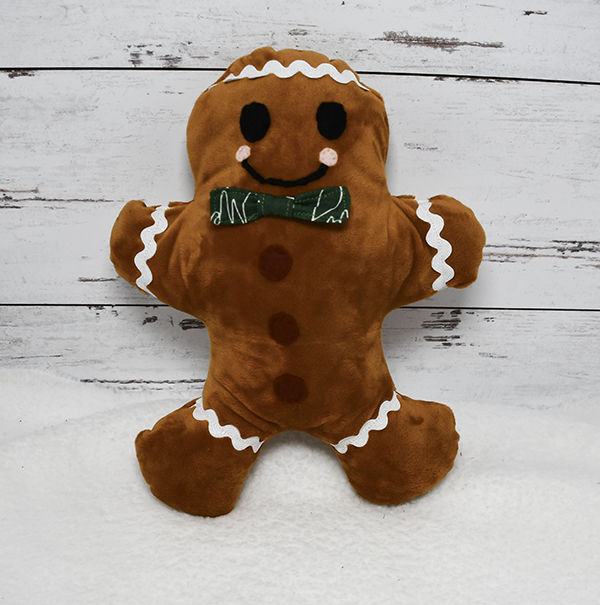
I love gingerbread. Gingerbread men are so cute that I decided to make a beginner plushie that anyone with beginner sewing skills can make in no time. This little guy is adorable. Use your beginner sewing skills and create your very own Beginner Christmas Gingerbread Man Plushie. This project is kid friendly too. Once again, I was inspired by a friend’s daughter to create this little gem. If you would like more holiday sewing and crafting projects head over to our free Holiday Project Vault for many more.

Note: This post contains affiliate links that if you click on them and make a purchase I will receive a small commission at no extra cost to you. As an Amazon Associate I earn from qualifying purchases.
What you will Need: How to Make a beginner Christmas Gingerbread Man Plushie
- Pattern You can get by Clicking on this link
- Gingerbread plush fabric
- White Rice Rac
- Back, pink and red felt
- Scrap of Christmas fabric
- Cluster Stuff Stuffing
- Sewing Machine
- Standard sewing supplies
Step 1: Cut the Fabric
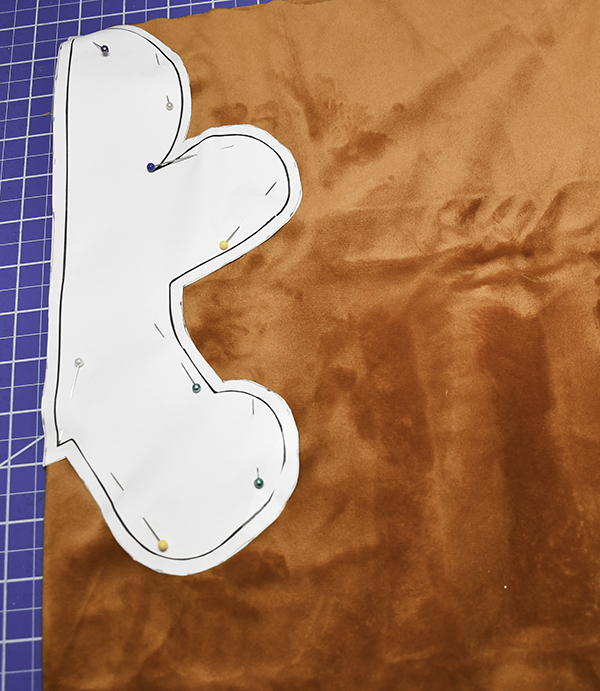
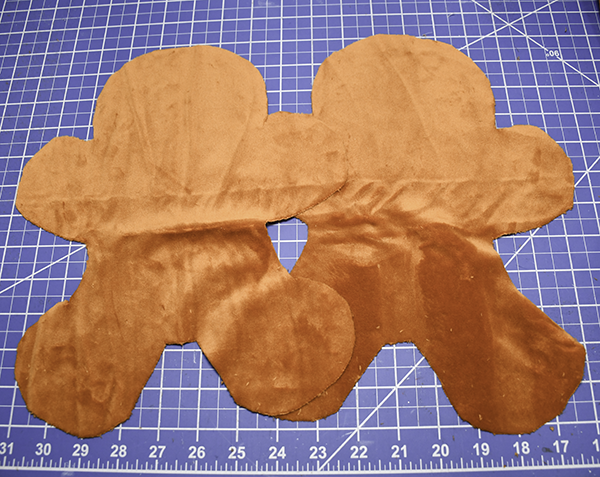
Fold the plush fabric lengthwise. Place the main body piece on the fold to create the body of the gingerbread man. Cut two of these pieces.
Step 2: Add the Ric Rac
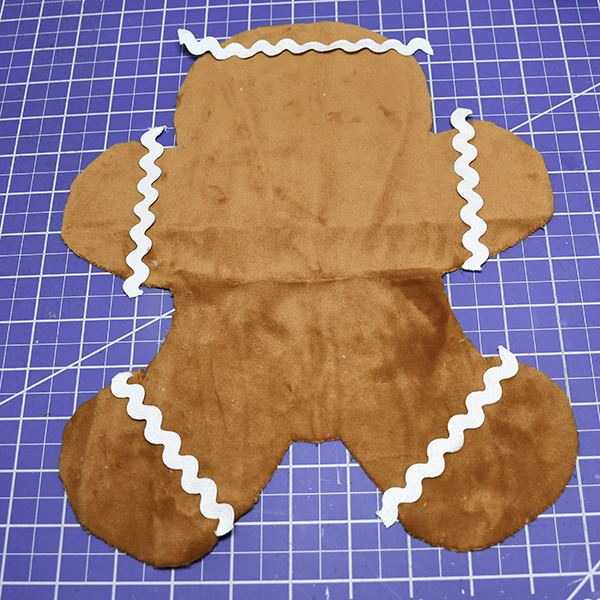
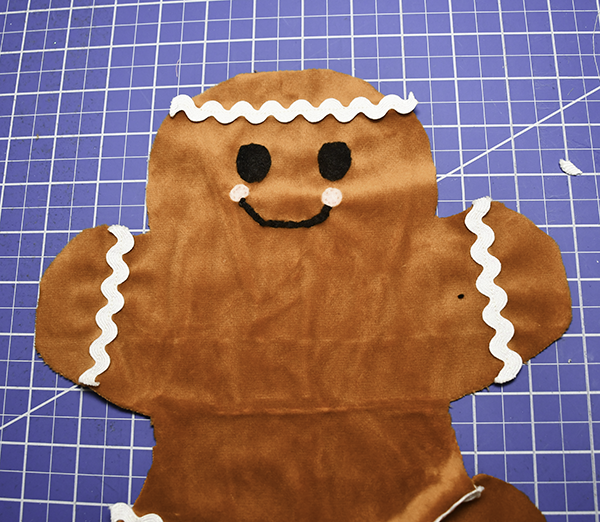
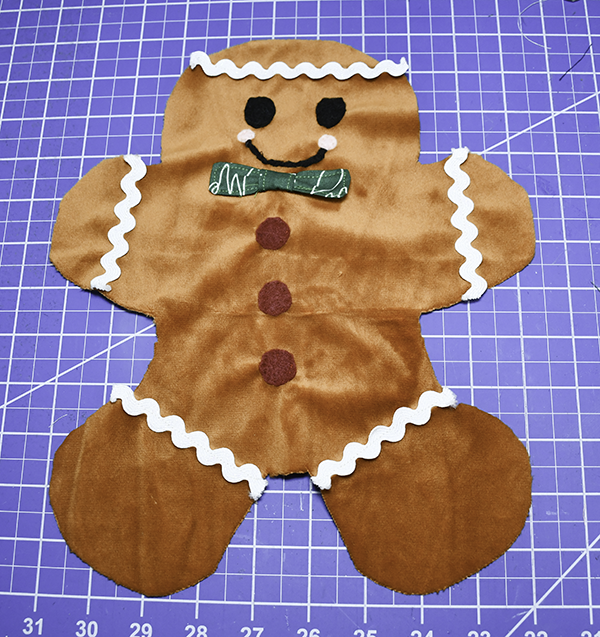
Cut five pieces of rice rac. Place one each on the arms and legs and one cross the top of the head of one of the body pieces. Stitch the pic rac. There is a sweet spot right down the center of the pic rac so that you can attach it securely. Just stitch straight down the center and it will stay nicely.
Step 3: Add the Eyes
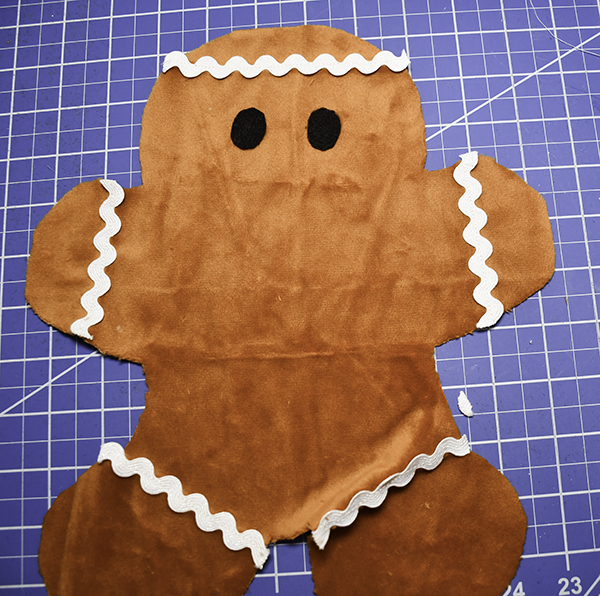
Cut two oval circles from the black felt using the attached pattern pieces. Hand stitch the two pieces to the head of the body piece where you placed the ric rac.
Step 4: Stitch the Mouth
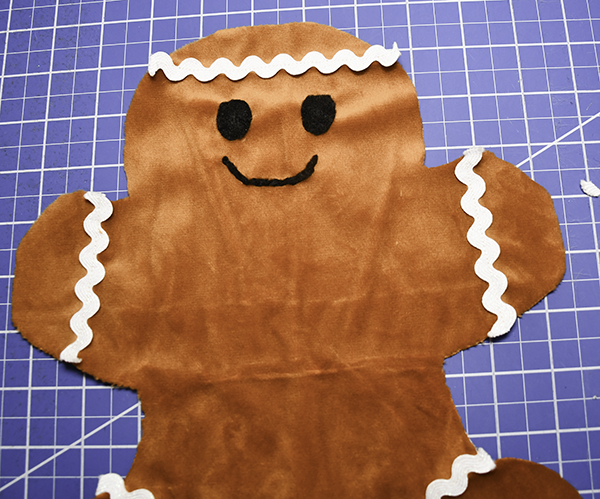
Cut the mouth piece from the black felt using the pattern piece. Hand stitch the mouth to the head of the gingerbread man under the eyes.
Step 5: Add the Cheeks
Cut the two cheeks from the pink felt using the pattern pieces. Stitch the cheeks to each end of the mouth by hand.
Step 6: Attach the Buttons
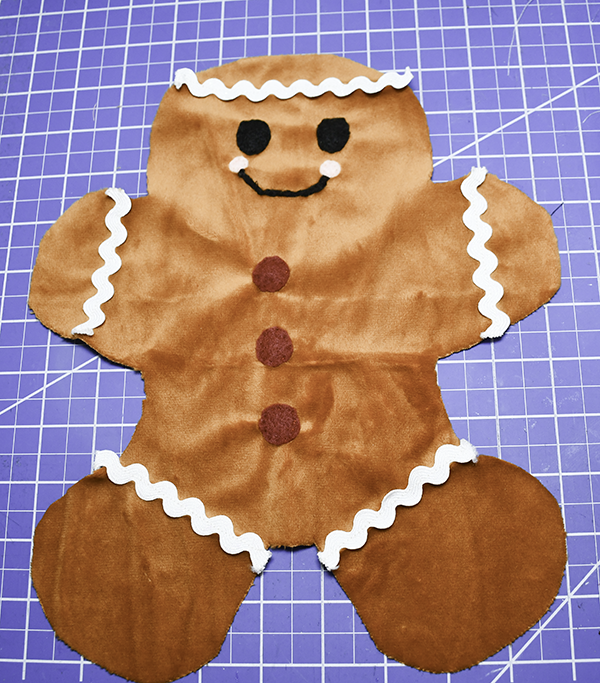
Cut three buttons any color you like. I chose red felt for my buttons. hand stitch the red buttons down the front of the body.
Step 7: Cut the Bow Pieces
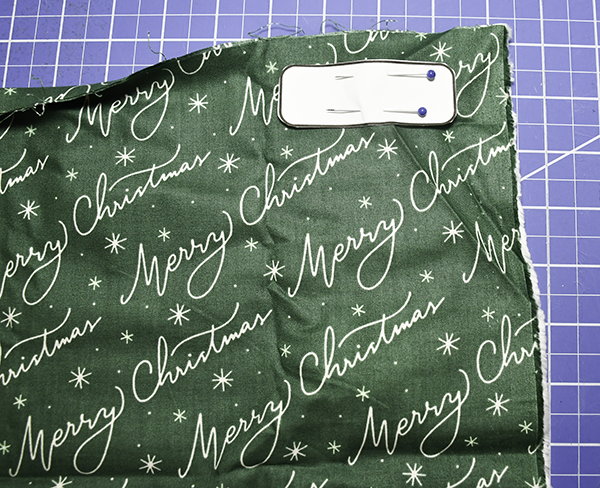
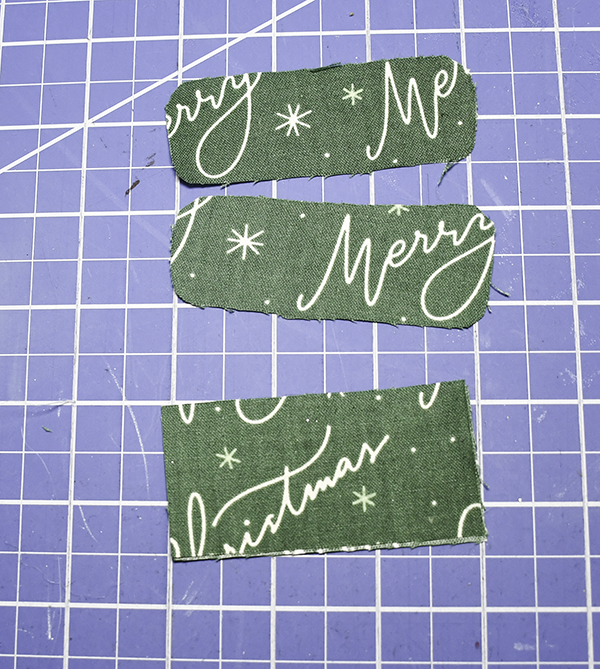
Using the pattern pieces cut two rounded rectangles and one square from you scrap Christmas fabric.
Step 8 Create the bow
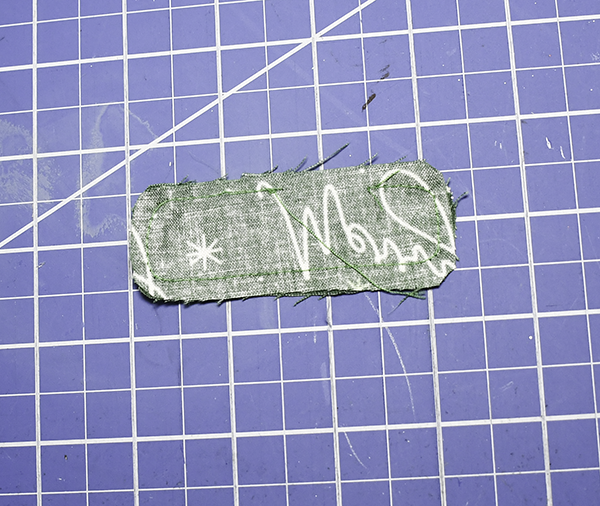
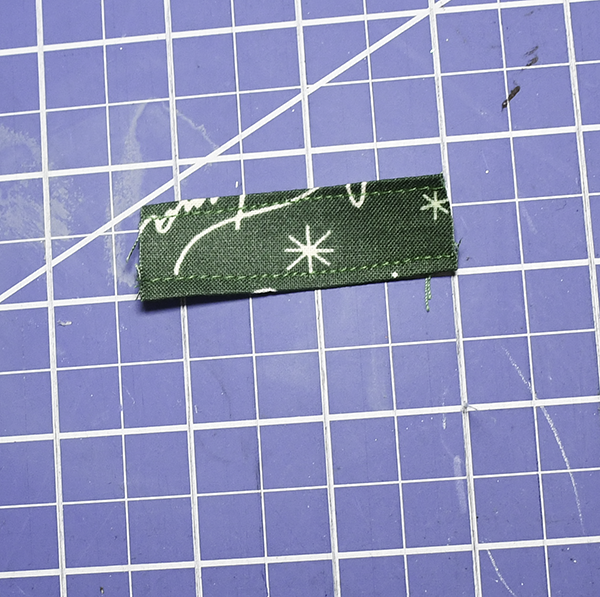
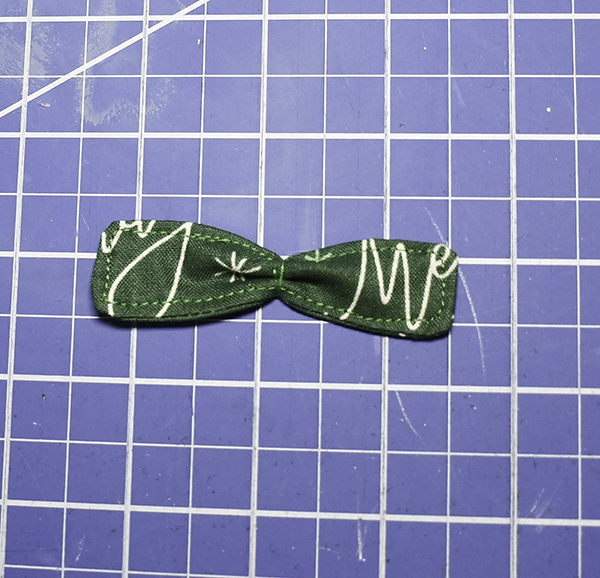
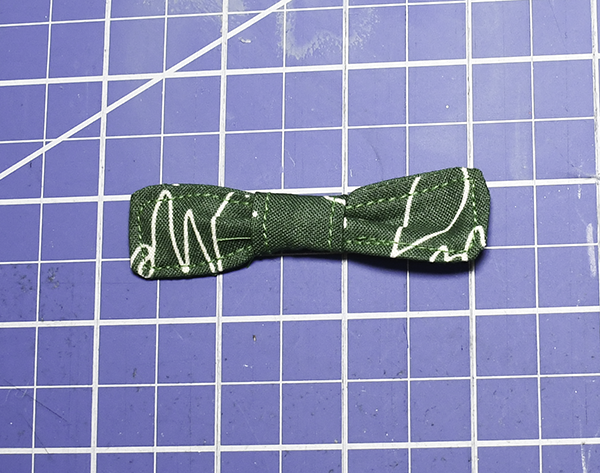
Place the rounded rectangles right sides together. Stitch all the way around using a 1/4″ seam allowance leaving an opening for turning. Turn right sides out, press and topstitch all the way around. Fold two opposing sides of the square to the center and press. Topstitch along the folded edges. Stitch a running stitch in the center of the rounded rectangles. Pull so that the rectangles are gathered in the center. Wrap the thread around and the center and knot. Wrap the square piece around the center and hand stitch in the back.
Step 9: Add the Bow
Hand stitch the bow to the front under the mouth.
Step 10: Stitch the body
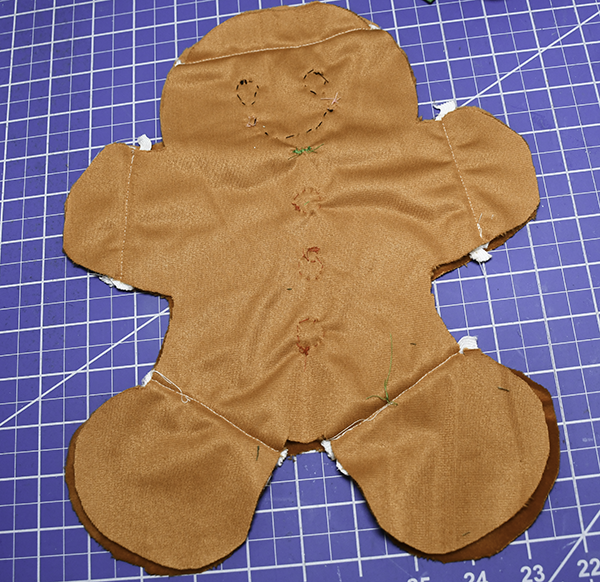
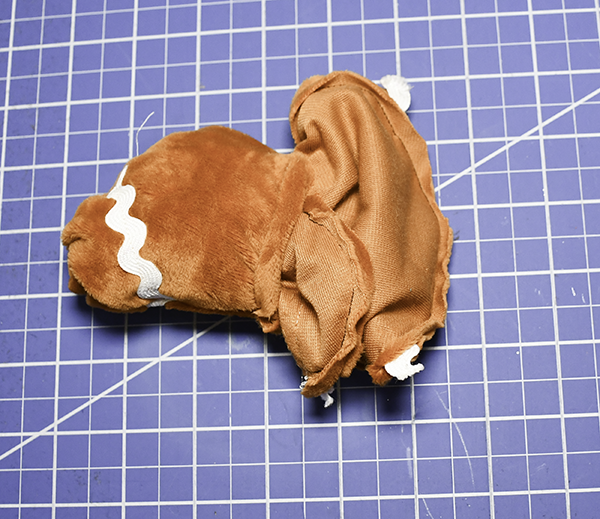
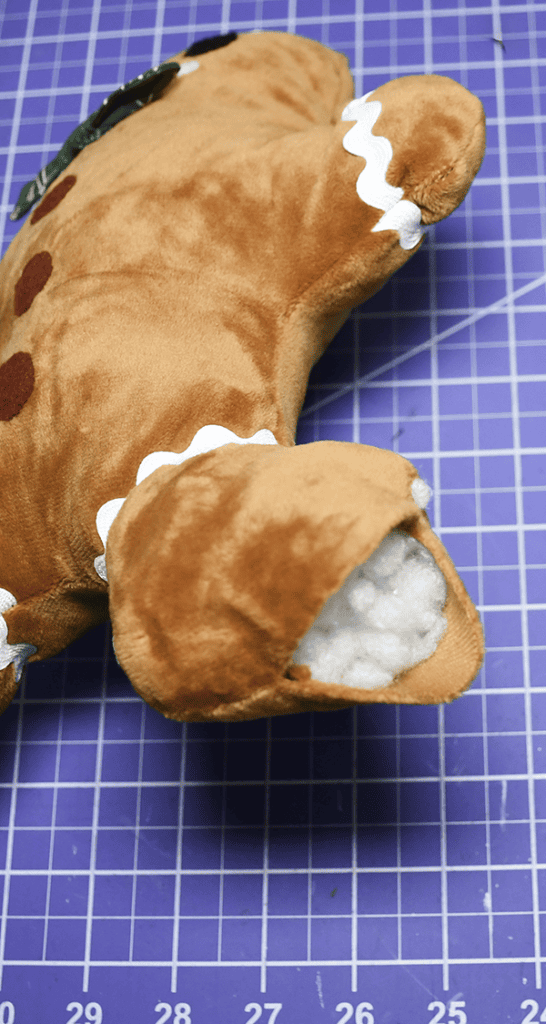
Place the body pieces right sides together using a 1/4″ seam allowance. Stitch all the way around leaving an opening for turning and stuffing. I left one foot partially open for this purpose. Turn right sides out.
Step 11: Stuff and finish the Gingerbread Man
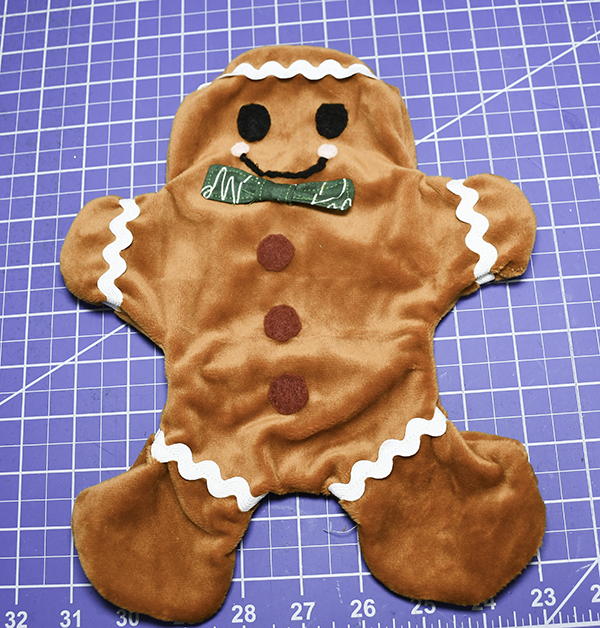
Stuff the body using polyester fiberfill. I really like cluster stuff. It is a bit more difficult to manage but the results are less lumpy and more uniform.
I hope you enjoyed this simple sewing project. If you would like more sewing and crafting projects subscribe to our free newsletter and receive access to our free printables library.
Join our Sew Very Crafty Fans Facebook group
If you want to ask questions and share your projects join our Facebook group here. The community will help to achieve your sewing and crafting dreams.

Subscribe to our Free YouTube Channel!