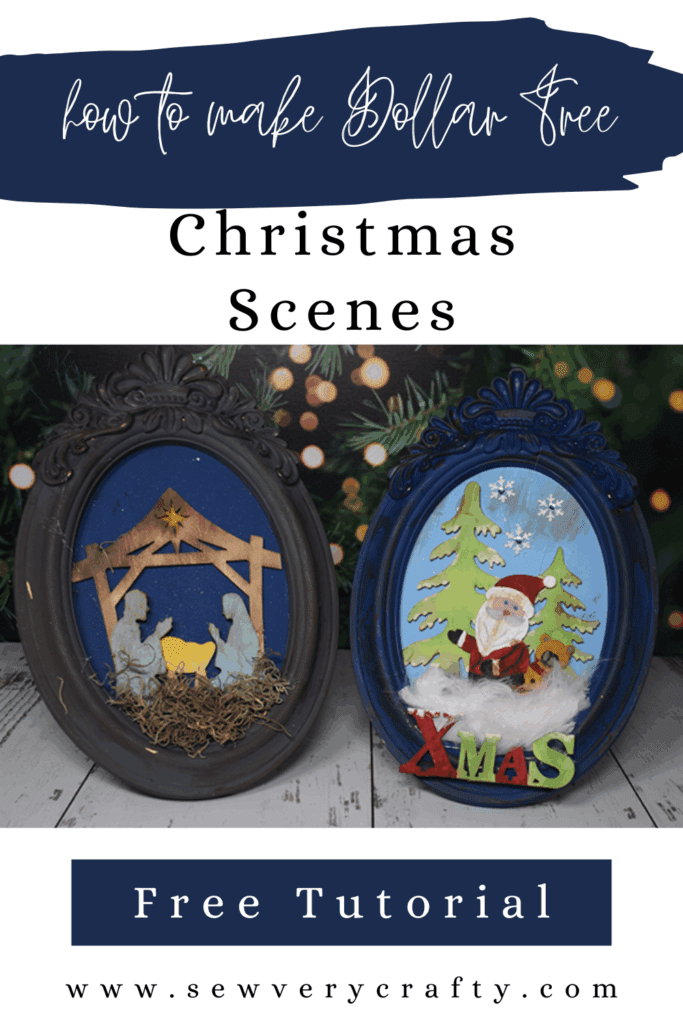
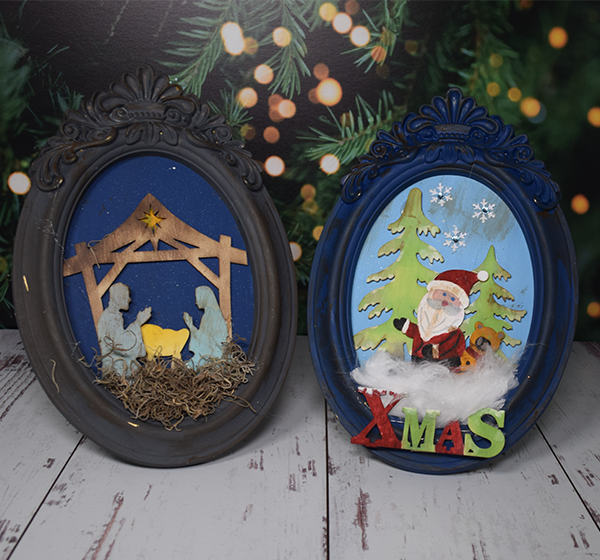
While I was in Dollar Tree O saw these ornate frames and this wood Christmas scene kit. I decided to put it all together to make a Dollar Tree Christmas Scene Frame. This is a super simple to Dollar Tree craft to make. All it needs is the Christmas kit, frame, paint, glue and a Dollar Tree duster refill. This makes it inexpensive too. If you would like more Dollar Tree crafts check out our Dollar Tree page. For more holiday sewing and crafting projects head over to our holiday project vault.
What you will Need: How to Make a Dollar Tree Christmas Scene in Frame
- Dollar Tree Ornate Frame
- Christmas wood Christmas craft kit acrylic paint
- Nautical Chalk paint
- Light Blue Acrylic Paint
- Distress Oxide
- Snowflake stickers
- Dollar Tree Duster Refill
- Tooth brush
- Antiquing wax
- Hot glue
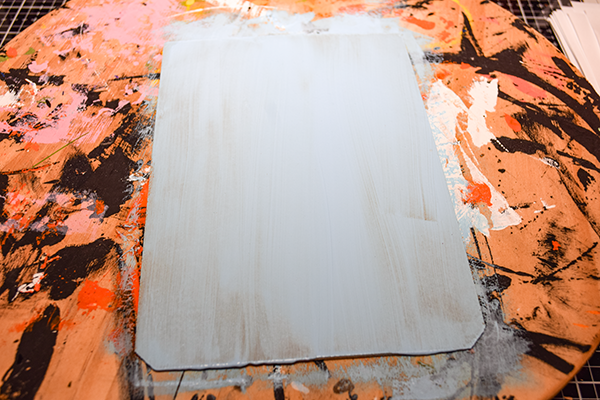
Step 1: Paint the rectangular frame insert
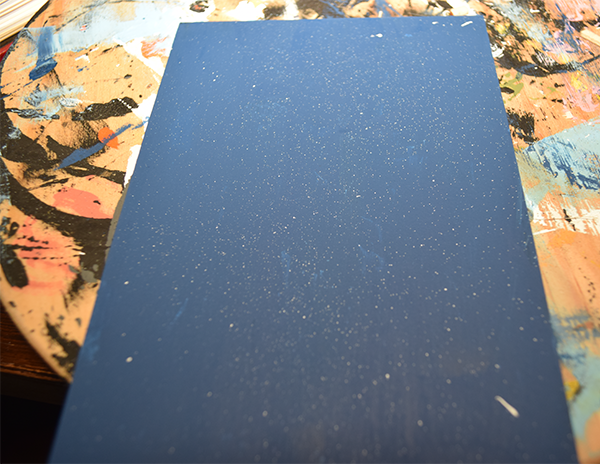
Using the dark blue paint cover the frame insert entirely. Let dry completely. You may need a second coat. Using white paint and a tooth brush flick the brush to create small dost on the insert to represent snow.
Step 2: Paint the Frame
Paint the actual frame using light blue acrylic or chalk paint. Let it dry completely. Again, you way need two coats. Make sure the paint is completely dry.
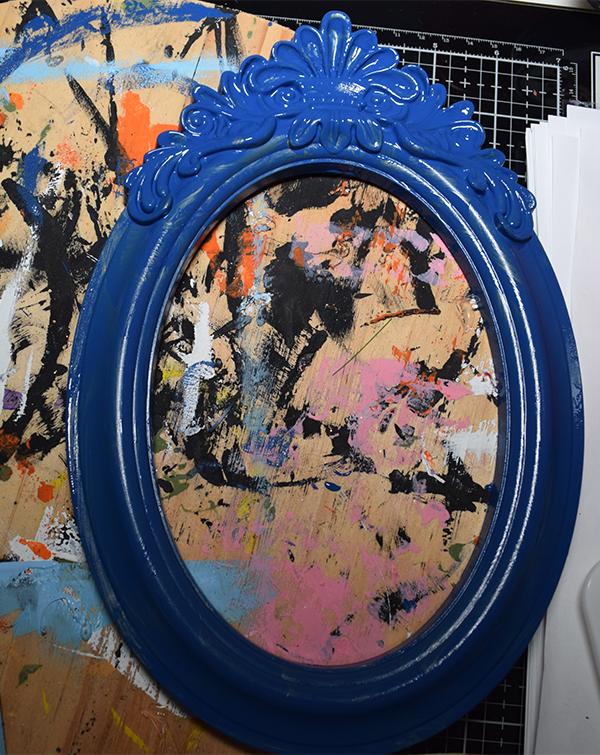
Step 3: Add the Antiquing wax
Cover the raised areas with the antiquing wax to make it look that the frame is aged. There will be more on the top design than the rest of the frame because of the grooves.

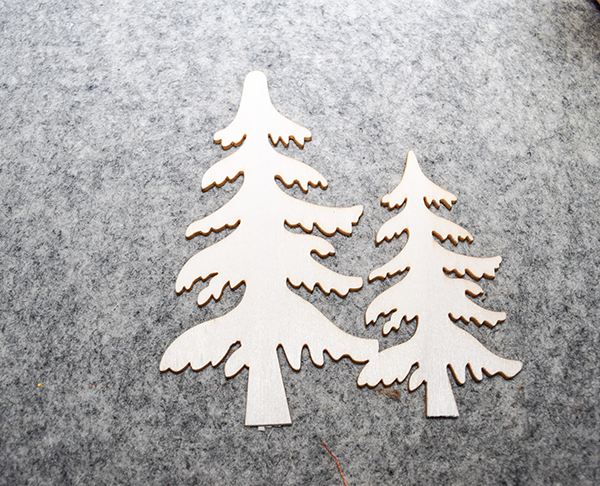
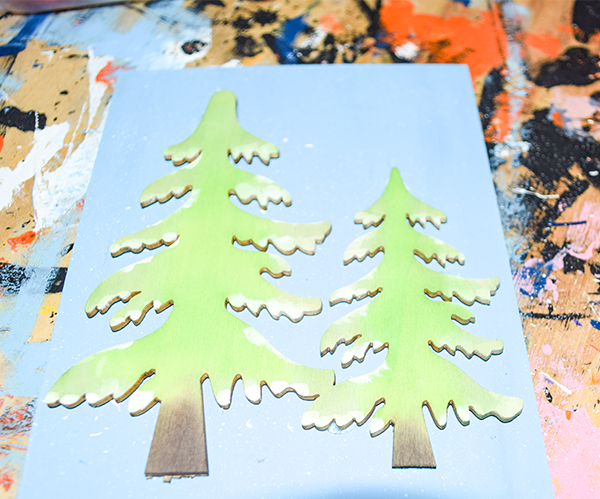
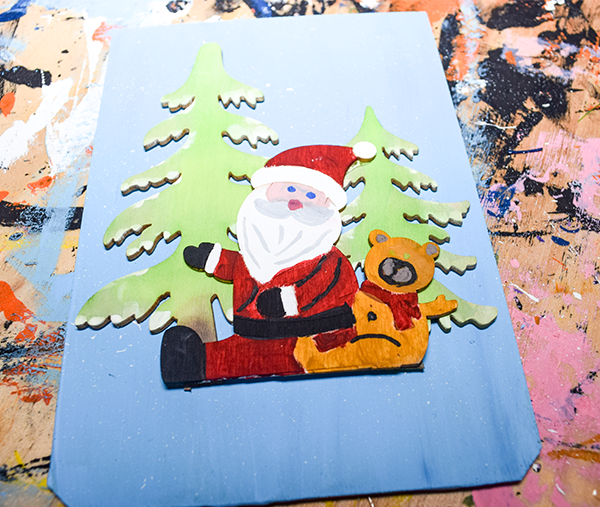
Step 4: Paint the wood Christmas Kit pieces
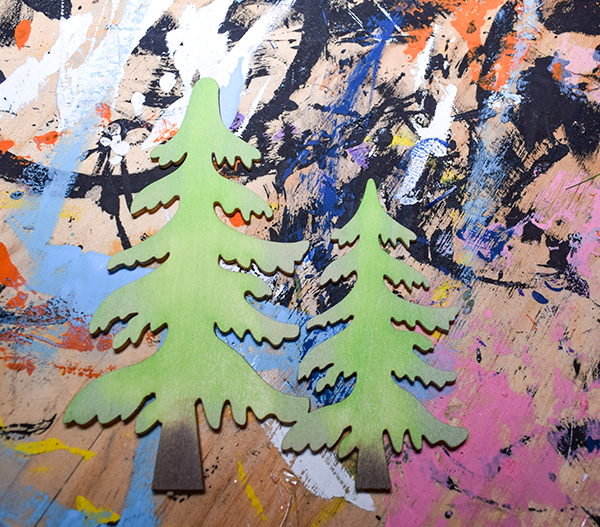
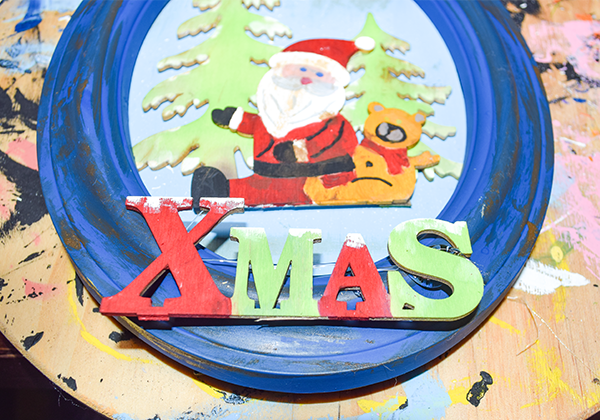
I used the two Christmas tree pieces, the Santa and bear piece and the Xmas word. You can paint them any colors you like. Because I decided to paint the creche scene in muted tones I painted the Christmas scene in traditional green and red.

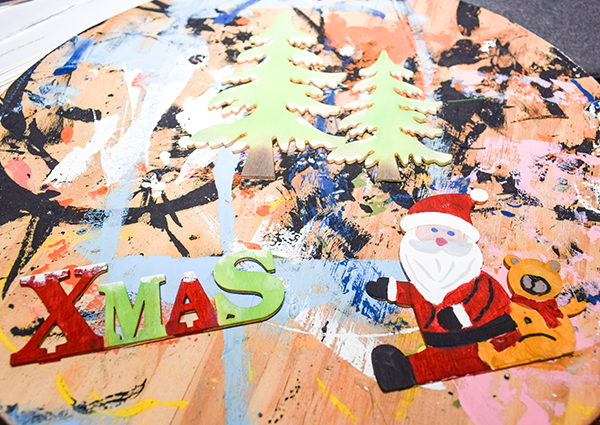
Step 5: Glue the Wood Pieces to the frame insert
Place the large Christmas tree pair onto the frame insert and secure with hot glue. In the middle on top of the trees place the Santa piece and attach with hot glue.
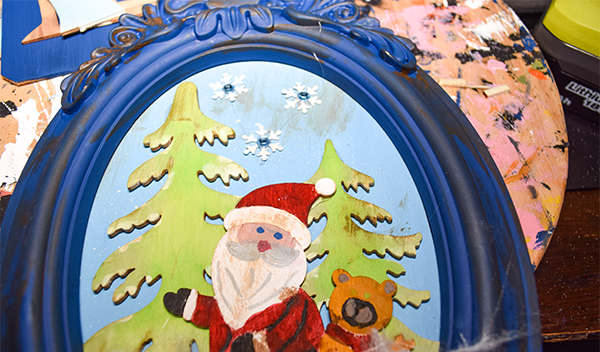
Step 6: Add the Insert to the Frame
Add the insert to the frame.

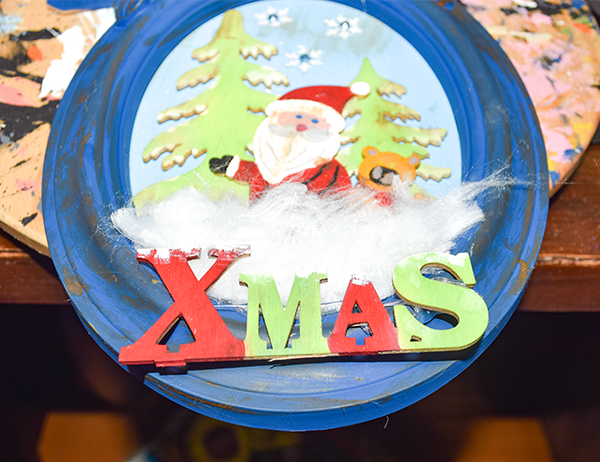
Step 7: Add the Snow flake stickers
I added some Dollar Tree snowflake stickers to enhance the look off my scene.
Step 8: Add the XMAS
Hot glue the XMAS word to the bottom of the frame and the duster refill. Once this is done you have finished your Dollar Tree Christmas Scene in Frame.
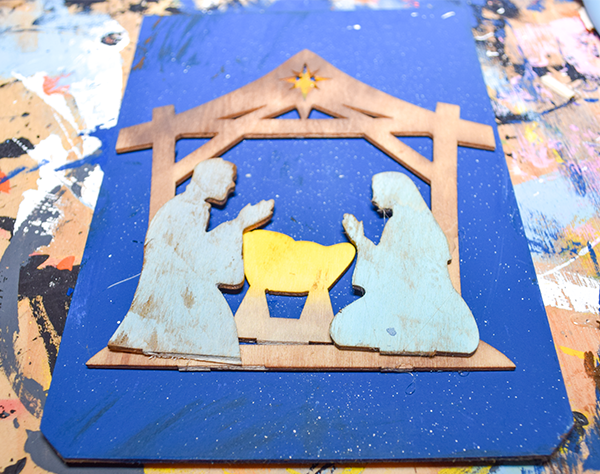
Step 8: Nativity Frame
For the nativity frame I repeated the same steps but used the Dollar Tree Nativity scene to create the frame.
I hope you enjoyed this simple Christmas Dollar Tree craft. For more sewing and crafting projects subscribe to our free Newsletter and receive you r free Holiday Dollar Tree eBook.
If you would like video tutorials of some of Sew Very Crafty's most popular Posts subscribe to our free YouTube channel here.
Join our Sew Very Crafty Fans Facebook group
If you want to ask questions and share your projects join our Facebook group here. The community will help to achieve your sewing and crafting dreams.