Yes, Christmas is just around the corner. I love all things Christmas so while I am cooking Christmas dinner I will be wearing this quick and easy Christmas Apron. This is truly a beginner sewing project that absolutely anyone can make. it doesn’t take long so you could create one for every holiday to keep with the holiday spirit. If you would like more apron projects head over to our apron page. For more holiday sewing and crafting projects he’d over to our holiday project vault.
Note: This post contains affiliate links that if you click on them and make a purchase I will receive a small commission at no extra cost to you. As an Amazon Associate I earn from qualifying purchases.
What you will Need: How to Make a quick and easy Reversible Christmas Apron
- Fabric 1: 1/2 yd
- Fabric 2: 1/2 yd
- Waistband: 1/2 yd
- Standard sewing supplies
Step 1: Cut the Fabrics
Cut the A and B fabric in a rectangle to measure 17 1/2” x 28”
Cut two waistband strips to measure 3 1/2” x Width of Fabric (WOF)
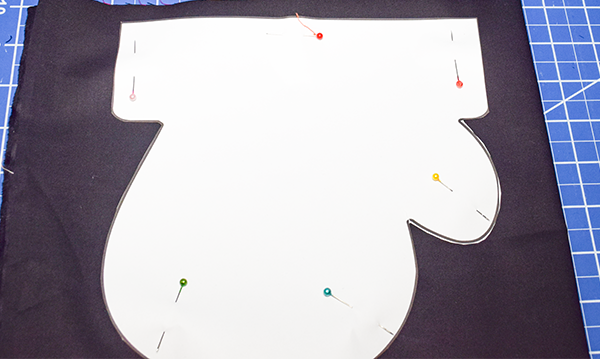
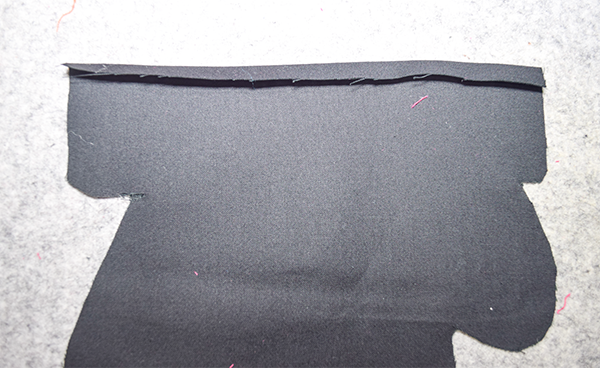
Using the attached pattern piece cut four of the shapes that you like.
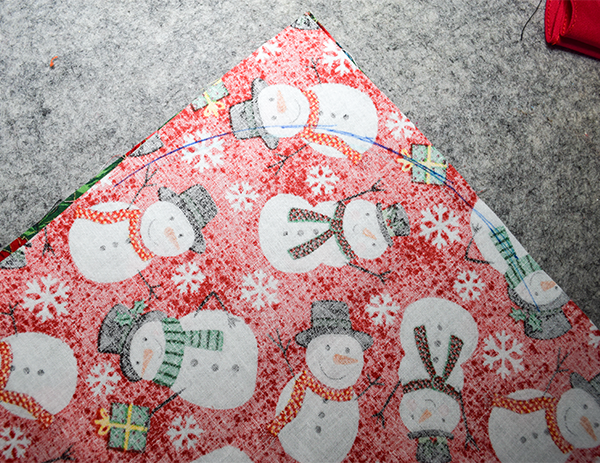
Step 2: Round the Corners
Using a rounding ruler or a plate or bowl with a 8” – 10” diameter to round the edges on the two bottom corners of both pieces of fabric.
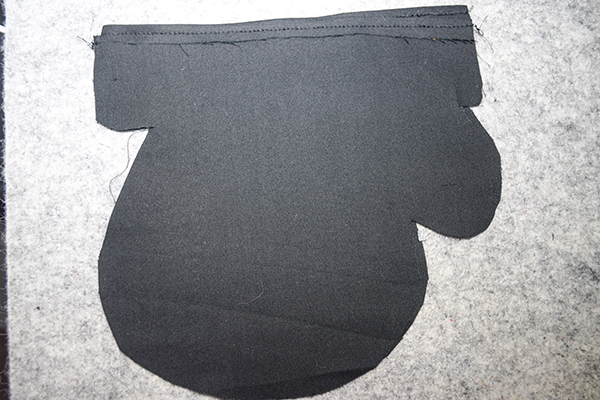
Step 3: create the Pockets
Take a shape that you like and fold the top down by 1/4″ and press. Stitch the hem you created. Place two of the shapes right sides together. Stitch the sides and bottom making sure that the top is open to create the pocket.
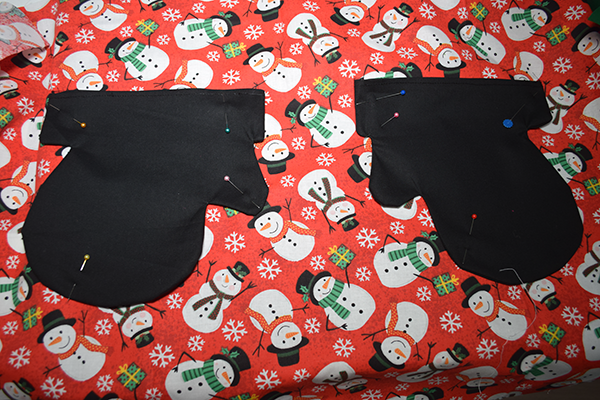
Step 4: Add the Pockets
Find the center of one of the rectangles and measure over 1/2″ on each side and place the pockets 5″ from the top. Stitch all the way around but leaving the top open.
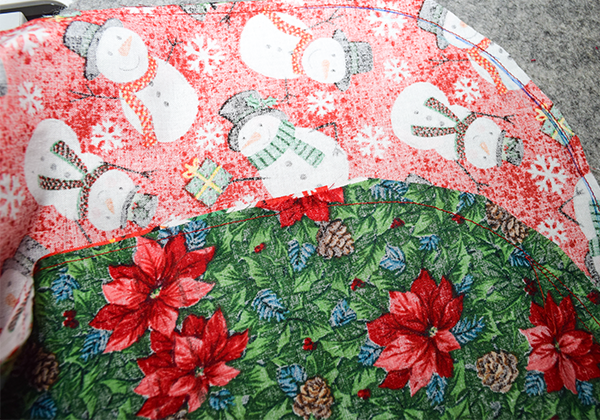
Step 5: Stitch the Rectangles
Place the two rectangles right sides together. Stitch them together on the sides and bottom leaving the top open. Turn right sides out and press.
Step 6: Prepare the Apron top
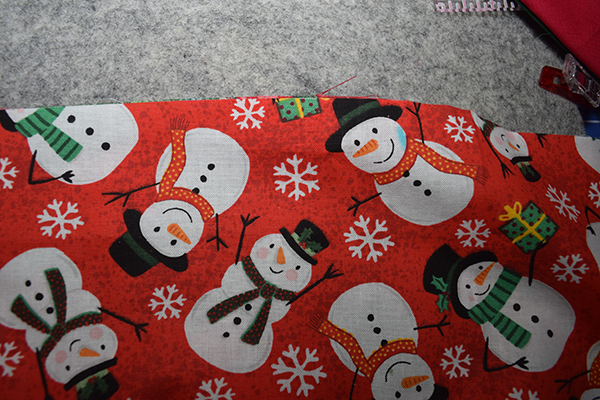
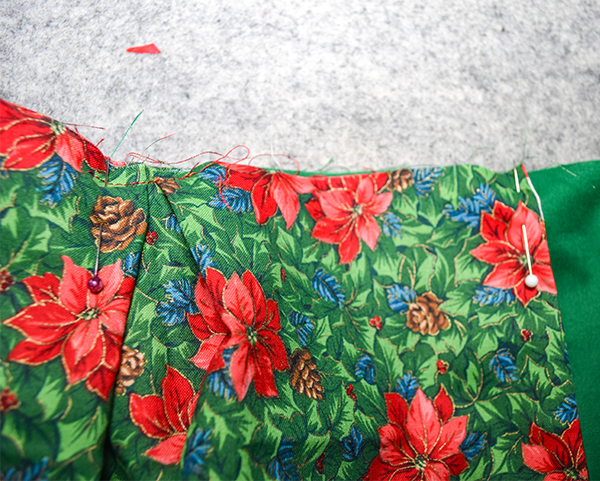
Fold the apron in half to find the center. Make a mark. Measure 6” to the right of the center mark and make a mark. Measure 7” to the left and make a mark. Take 2″. of fabric on each side of the marks and fold them to the center of each mark and clip. Stitch the pleats.

Step 7: Create the Waistband
I used two different fabrics for each side of the apron. Take two fabrics of the same pattern and stitch them right sides together on one short end. Do the same for the other fabric if you are using two. Place the two waistband pieces right sides together and stitch lengthwise and diagonally on each end. Turn right sides out and press.

Step 8: Add the Waistband
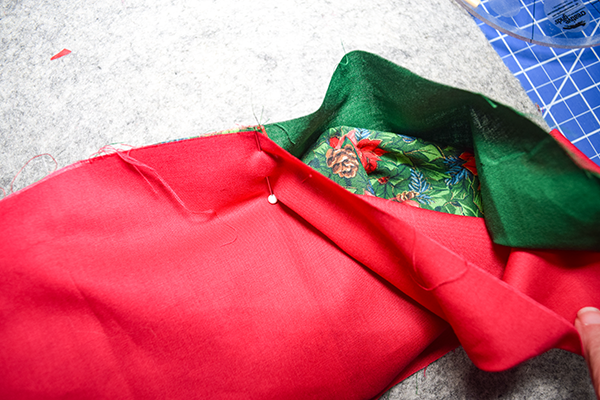
Find the center seam on the waistband. Place one side of the waistband to the front of the apron matching the centers. Pin or clip. Roll up the apron tightly. Wrap the other side of the waistband around the rolled up apron and pin or clip the raw edges at the center pint. It should look like a large burrito. This method is often used in making pillow cases. Pin or clip all of the raw edges.
Step 9: Stitch the Waistband
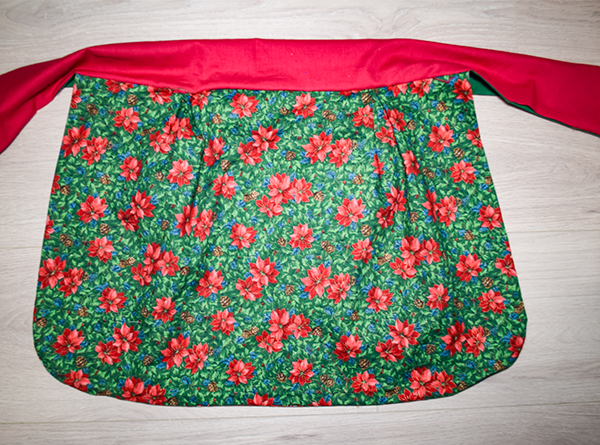
Stitch the waistband to the apron using a 1/4” seam allowance. Start at one end of the apron and stitch to the other end of the apron leaving an opening on one end for turning. Turn the whole thing right sides out through the open waistband. Press. Close the opening using ladder stitch. Once you have finished topstitching you have finished this quick and easy reversible apron.

I hope you enjoyed this simple sewing project. If you would like more sewing and crating projects subscribe to our free Newsletter and receive access to our for Printables library.
If you would like video tutorials of some os Sew Very Crafty’s Most popular posts subscribe to our free YouTube channel here.
Join our Sew Very Crafty Fans Facebook group
If you want to ask questions and share your projects join our Facebook group here. The community will help to achieve your sewing and crafting dreams.