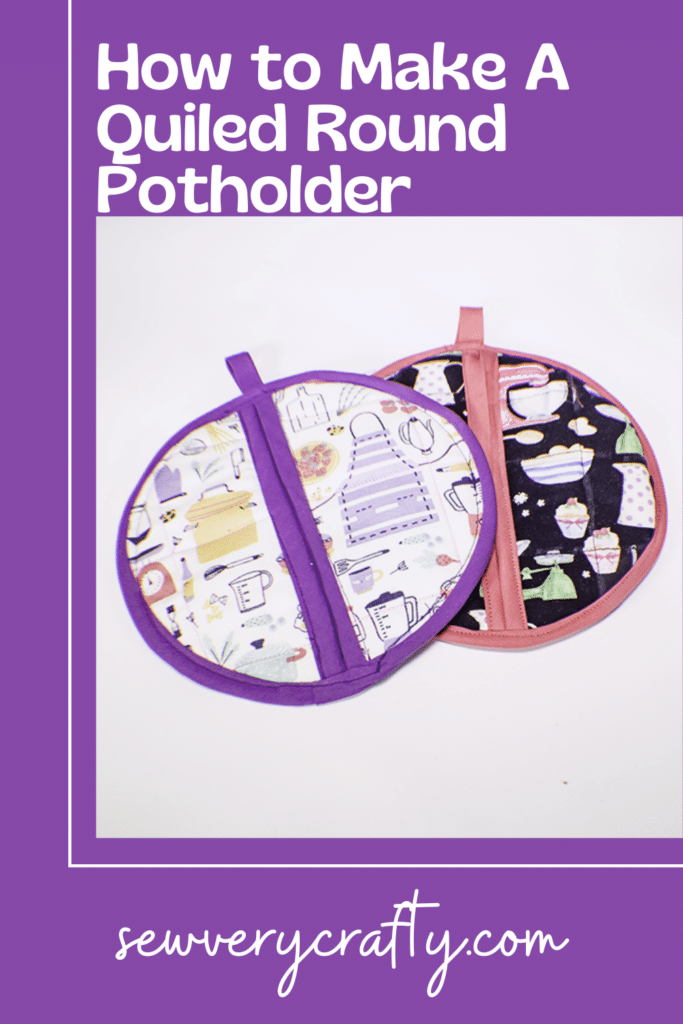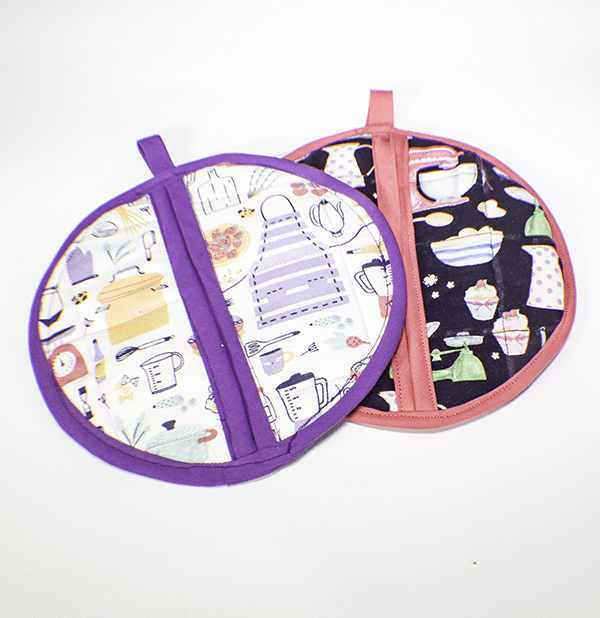
Round potholders are a great accessory to any kitchen. They are perfect for picking up hot pot and pans and they look good too. This is a very simple round potholder tutorial that anyone with basic sewing skills can make in no time at all. This is a quick quilting project for the beginner quilter as well. You only need some cotton fabric, insulation-bright and a little bit of bias binding to create this project so let's get started. Oh, and if you want more potholder projects check out this post.
I chose some fun novelty kitchen fabric for my potholder project that you can find at JOANN Fabric & Craft Stores. I got mine online but you could head to the store or head to fabric.com or onlinefabricstore.net to get exactly the fabric that matches your decor. This post contains affiliate links that if you click on them and make a purchase I may receive a small commission at no extra cost to you.
What you will need: How to make a Round Potholder
- Pattern you can get by clicking on this link
- 1/4 yd outer and lining fabric
- 1/4 yd insul-bright
- Pre packaged bias tape or you can make your own following my tutorial.
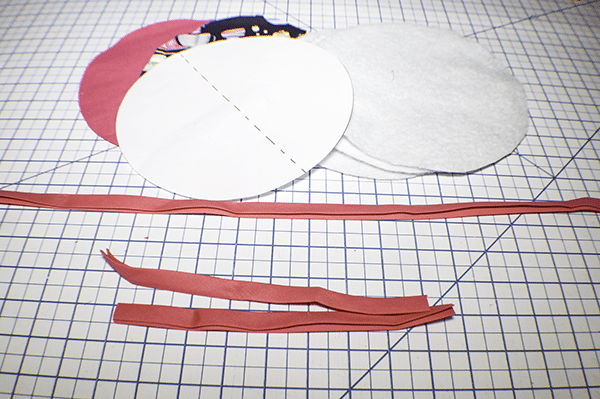
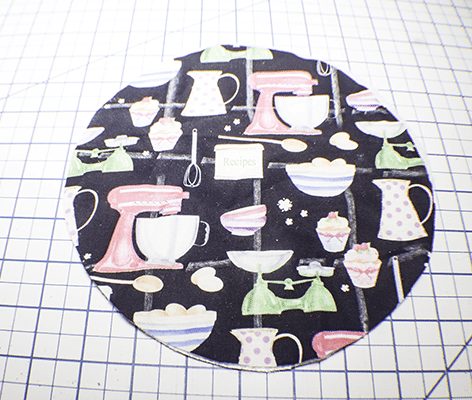
Step 1: Cut Your Fabrics
Using the circle template cut two lining pieces and two outer pieces of your fabric. Cut 3 pieces of insul- bright. In addition measure out two 9″ pieces of bias tape, a 24″ piece of bias tape and a 4″ piece of bias tape for the hanger.
Step 2: Layer your Fabrics
Layer two pieces of insul-bright between an outer and lining piece and clip. Layer the third piece of insul-bright between the remaining two pieces of outer and lining fabric and clip.

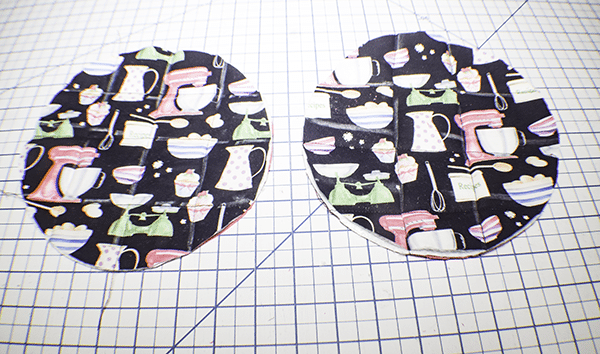
Step 3: Quilt the Circles
Stitch 2″ lines in a cross hatch design across the circles to quilt the layers together.
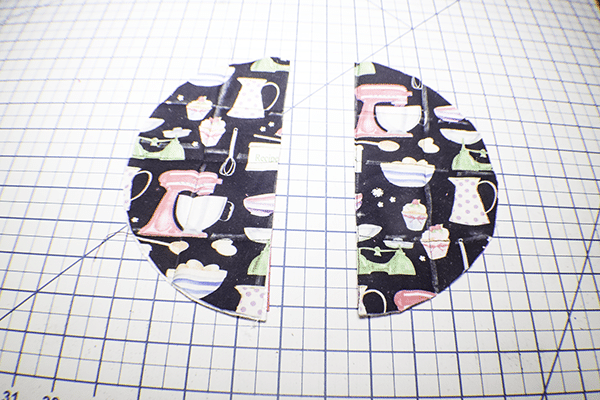
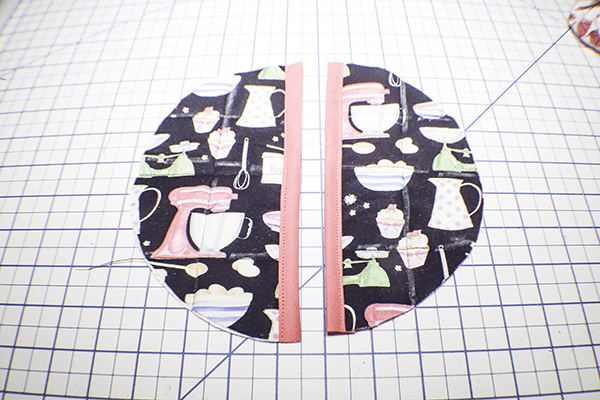
Step 4: Create the Top of the Round Potholder
Take the piece that has one piece of insul-bright and cut it in half. Place the 9″ long bias tape and stitch it to the straight edge of each of the halves that you just cut following my how to sew bias binding tutorial. Cut off the excess.

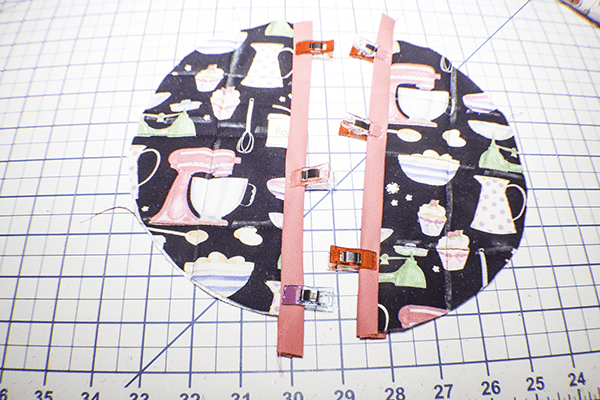
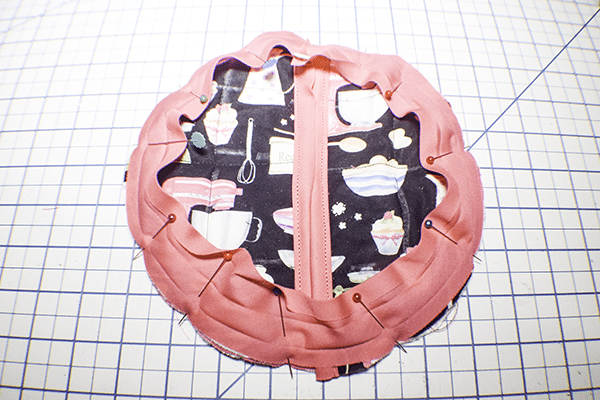
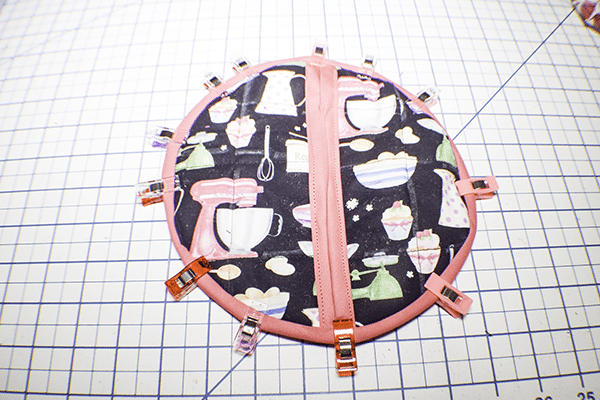
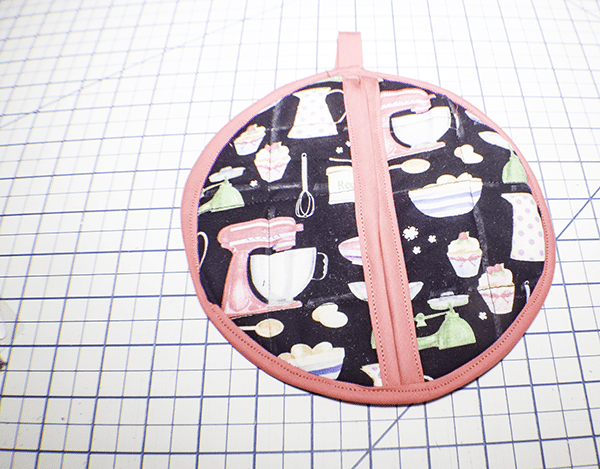
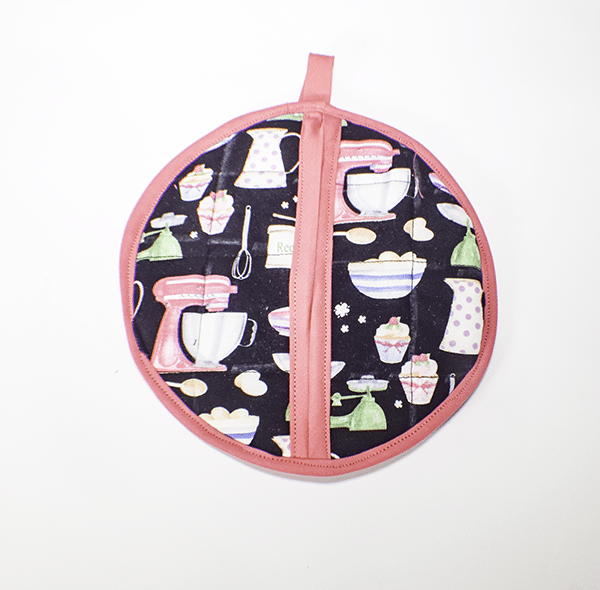
Step 5: Add the Halves to the Remaining Round
Place the two halves on the remaining round with the lining side facing in and Pin in the center. Add the remaining bias tap to the outer edge of the circle enclosing all layers. Fold under the short edge for a finished look. Take an additional piece of binding and fold it in half to make a hanger. Stitch it to the round potholder in the center top.
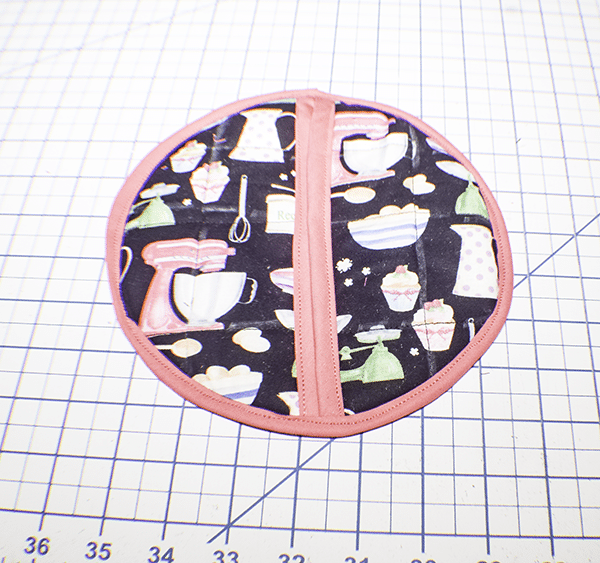
I hope you enjoyed this simple round potholder project. If you would like more sewing and crafting tutorials sign up for our newsletter and receive access to our free printables library
If you would like video tutorials of some of Sew Very Crafty's most popular posts subscribe to our free youTube channel here.