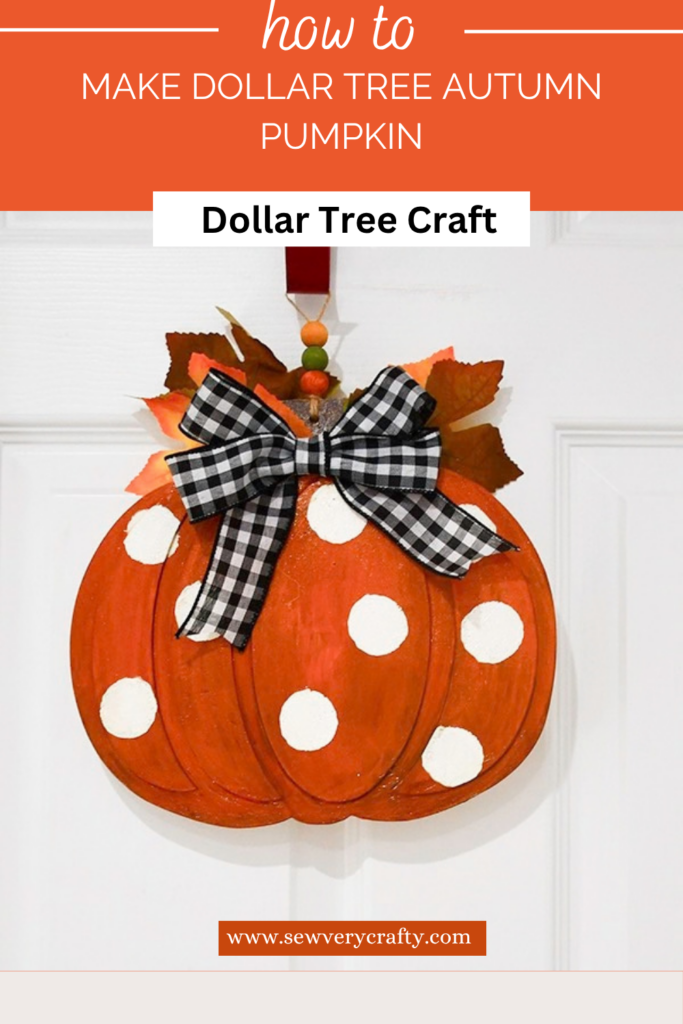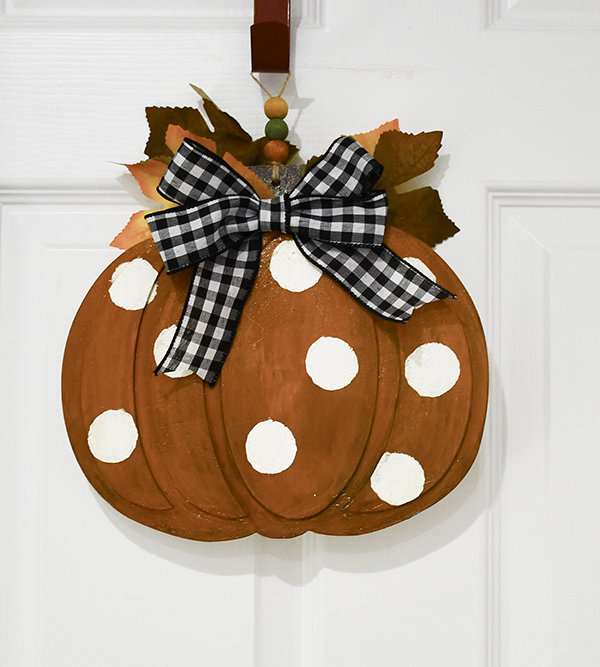
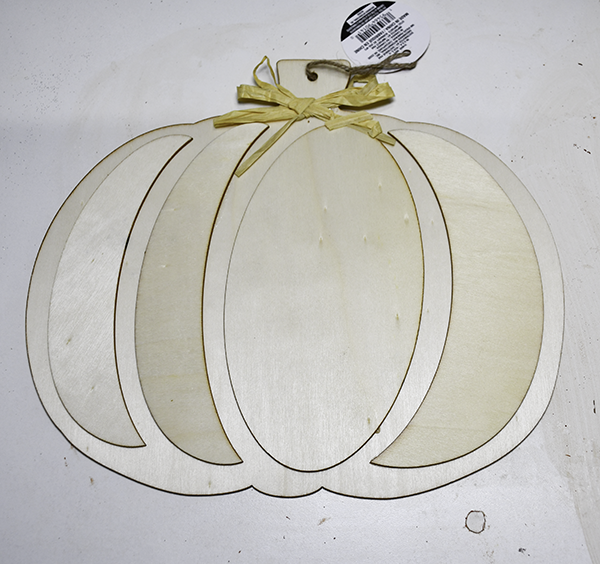
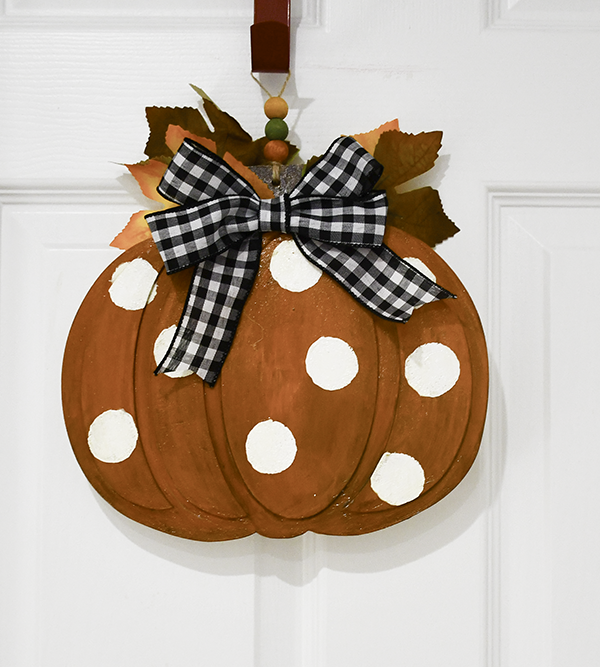
Once again I was at Dollar Tree and saw these pumpkin cutouts. They have them every year but this year I had an idea so I created this simple door hanger. To be honest, this project is all about the paint. I layered a number of paints to create the effect I wanted so it took a little bit of time. the finished project came out just the way I envisioned it in my mind. I hoe you like this project. If you would like more Dollar Tree crafts head over to my Dollar Tree page. For more holiday sewing and crafting projects check out my Holiday Project Vault.

Note: This post contains affiliate links that if you click on them and make a purchase I will receive a small commission at no extra cost to you. As an Amazon Associate I earn from qualifying purchases.
What you will Need, How to Make autumn Pumpkin Decor
Step 1: Paint the Pumpkin Black
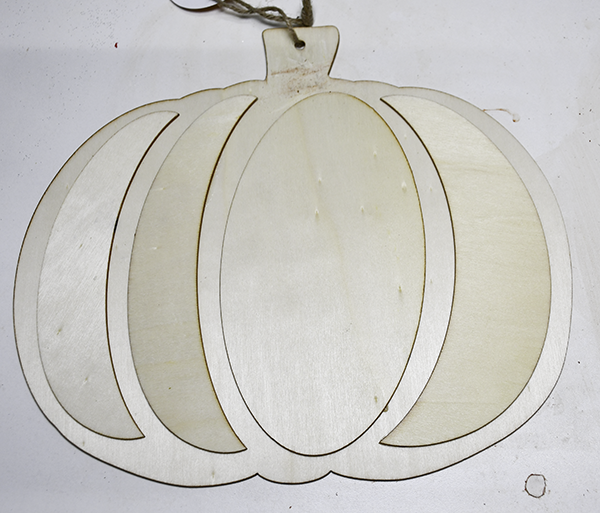
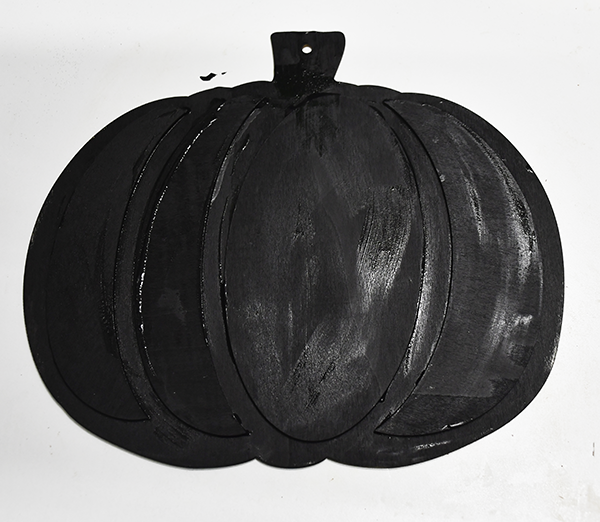
Start by removing the straw bow and twine hanger. Using the black chalk paint. Cover the entire plaque. Let dry.
Step 2: Paint the Pumpkin Mustard
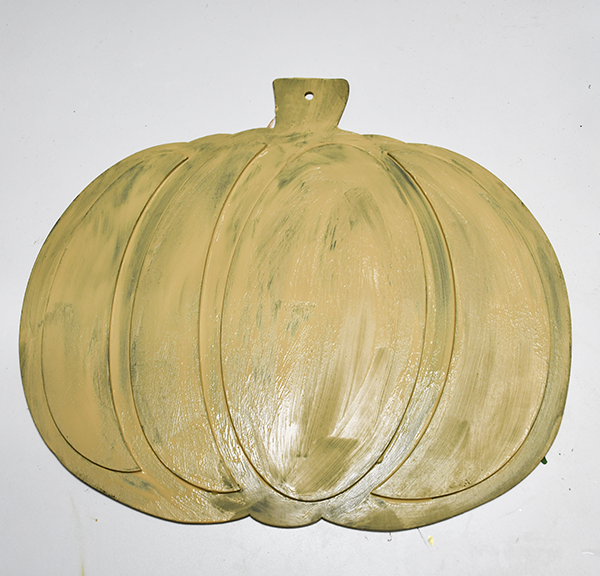
Using the mustard colored paint. Cover the black with just one coat of the paint. There should be a little black showing through.
Step 3: Paint the Pumpkin Dark Orange
I used a color called pumpkin spice. Cover the entire pumpkin with the orange spice. Let dry just a bit.
Step 4: Add Brown Paint
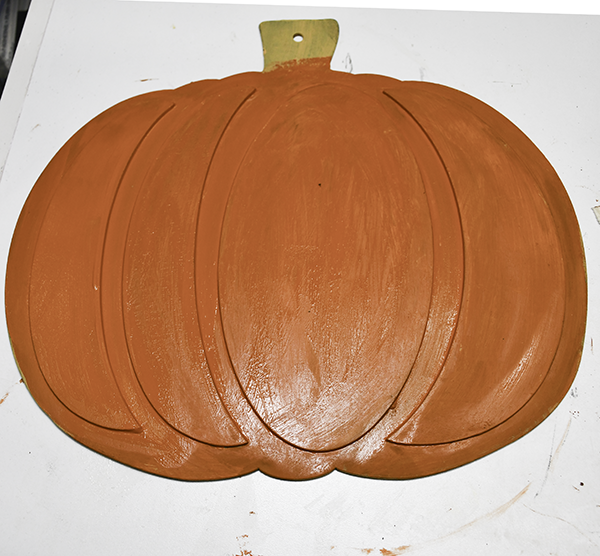
While the pumpkin spice is still a bit wet, add some brown paint to just the bottom of the pumpkin. Using a dry brush, sweep the brown toward the top of the pumpkin so that it disappears as somewhere in the center. You want the bottom to be darker than the top. Let dry. Add distress oxide to the sides of the pumpkin and each segment.
Step 5: Add Orange Chalk Paint
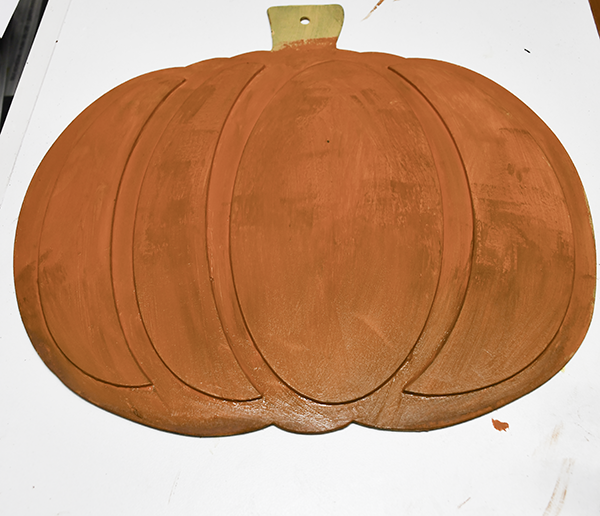
Cover the entire pumpkin with the orange chalk paint. The orange chalk paint that I used tends to be trasluscent. When you cover the pumpkin with the orange it makes the pumpkin a bit brighter.
Step 6: Add the White Dots
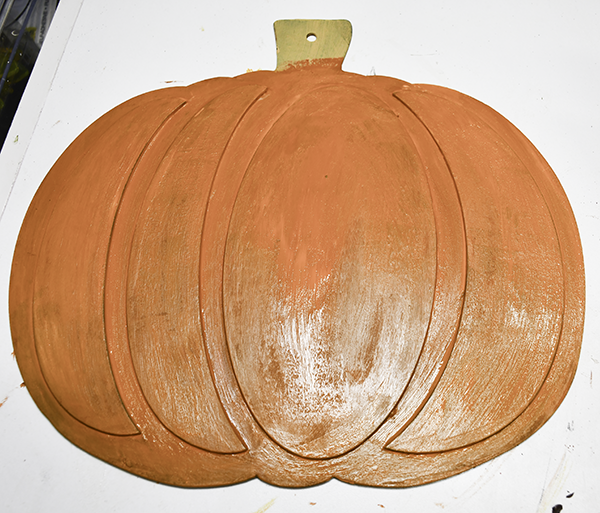
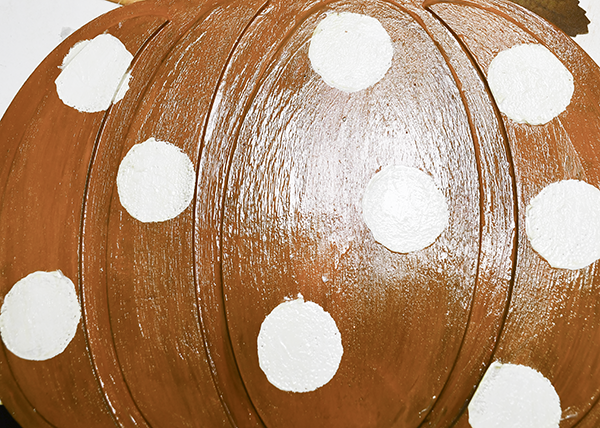
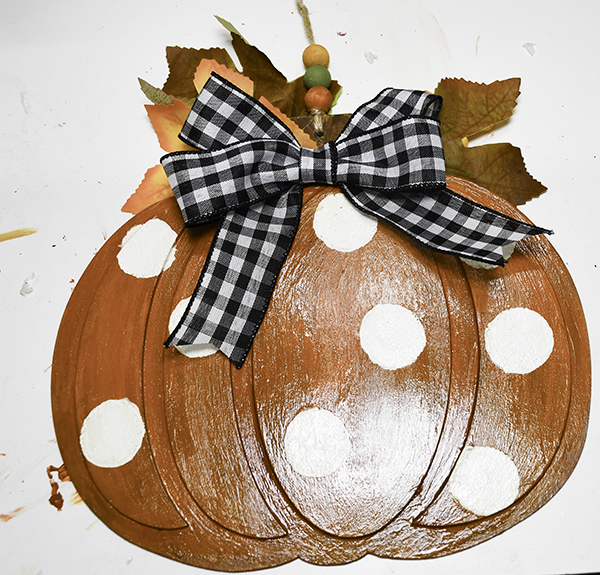
Using the white chalk paint and a foam dauber, place white polka Dotes on the pumpkin. Fill in with a paint brush if needed. Paint the brown with a wet brush so that it resembles stain.
Step 7: Add the Polycrylic
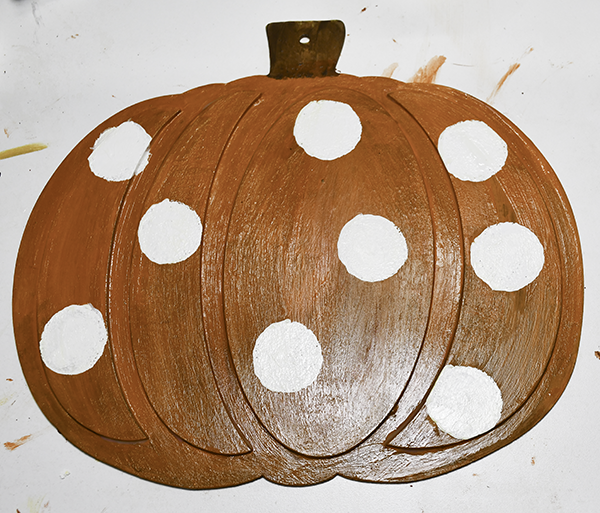
I wanted the pumpkin to have a little shine. To do this I added two coats of polycrylic. Let the polycrylic dry completely
Step 8: Add the Leaves
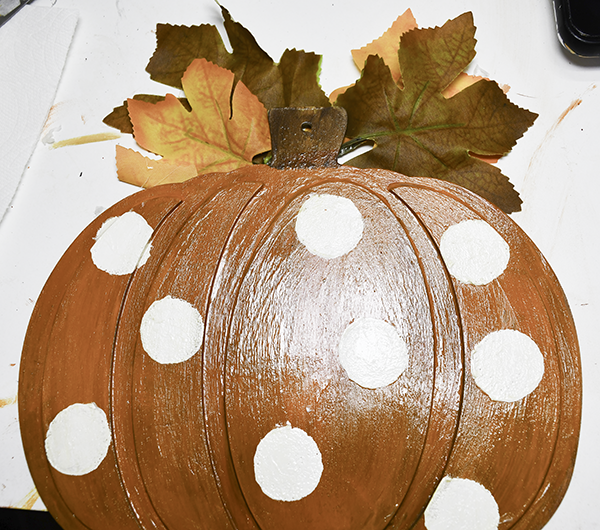
Grab some Dollar Tree faux leaved. I used leaves from a long string that I had on hand. The leaves on my long string came in pairs. I used two pairs of leave. Turn the plaque over. Hot glue the two pairs of leaves to the back on the plastic part. Attach a piece of tape to make sure the leaves remain.
Step 9: Create and add the Bow
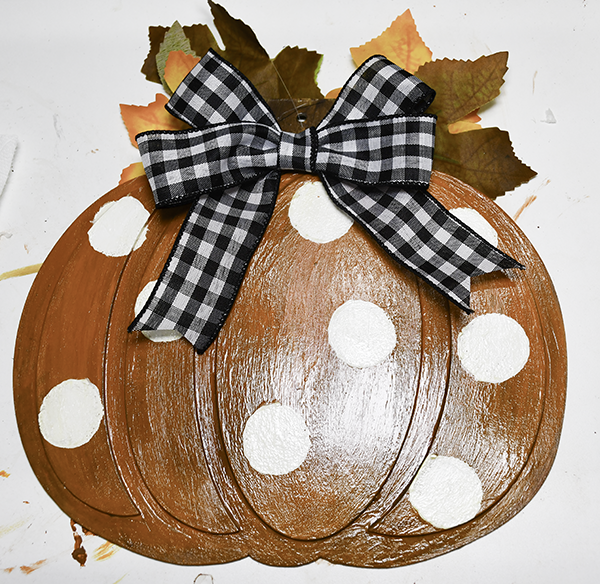
Take a length of black and white checked ribbon and create a simple bow. Add the bow to the top of the pumpkin using hot glue. If you need help creating bows head over to Southern Charm wreaths and take their bow making course. I did.
Step 10: Paint and add the beads
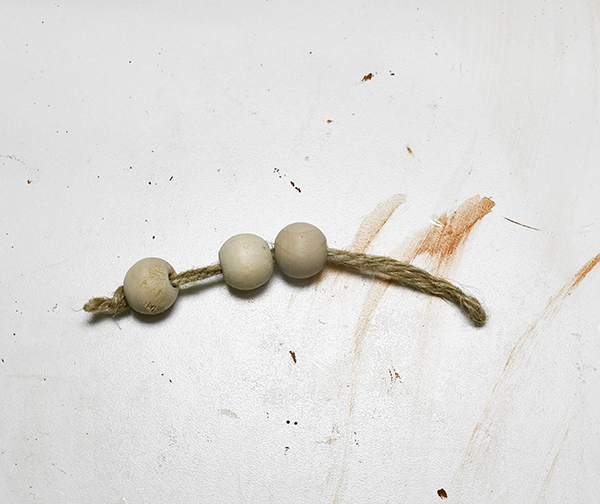
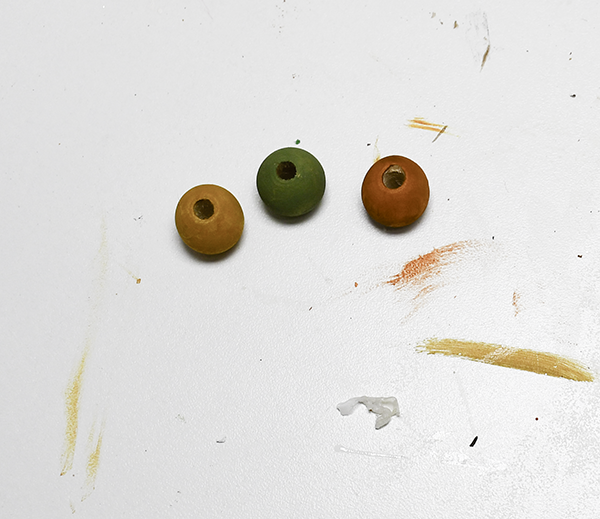
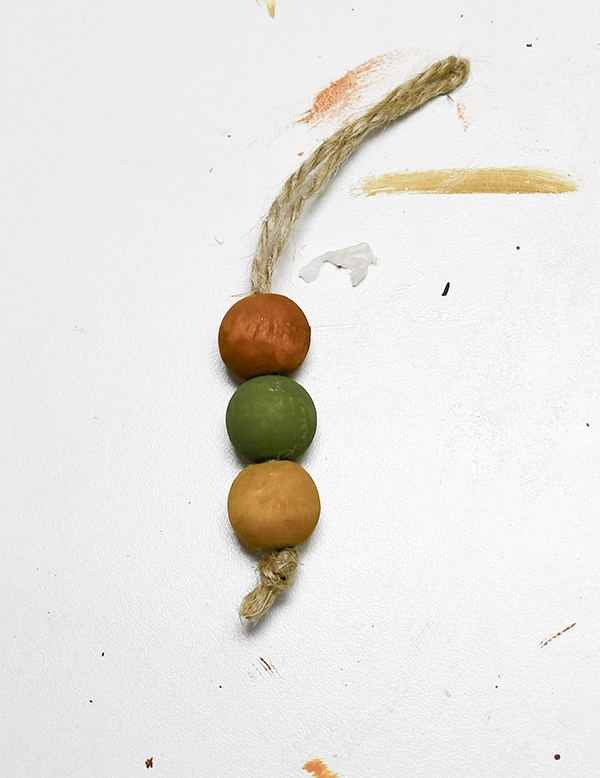
Paint three wood beads in fall colors. I used orange, green and yellow. Fold a piece of twine in half and tie a knot in the bottom. Insert the looped end into the beads in the order you like. Slip the looped end through the hole in the top of the pumpkin and push the other end through the loop you created and pull tight. This will be the hanger. Hang the pumpkin, step back and admire.
I hope you enjoyed this simple Dollar Tree Craft. I you would like more sewing and crafting projects subscribe to our free newsletter and receive your free Holiday Dollar Tree eBook.
Join our Sew Very Crafty Fans Facebook group
If you want to ask questions and share your projects join our Facebook group here. The community will help to achieve your sewing and crafting dreams.

Subscribe to our Free YouTube Channel!