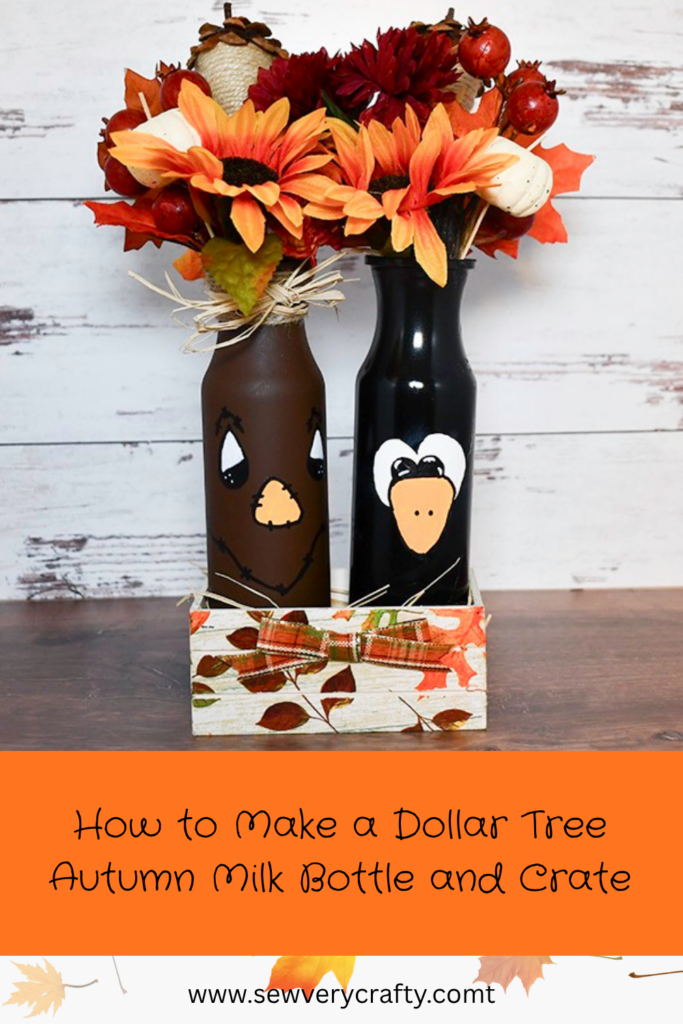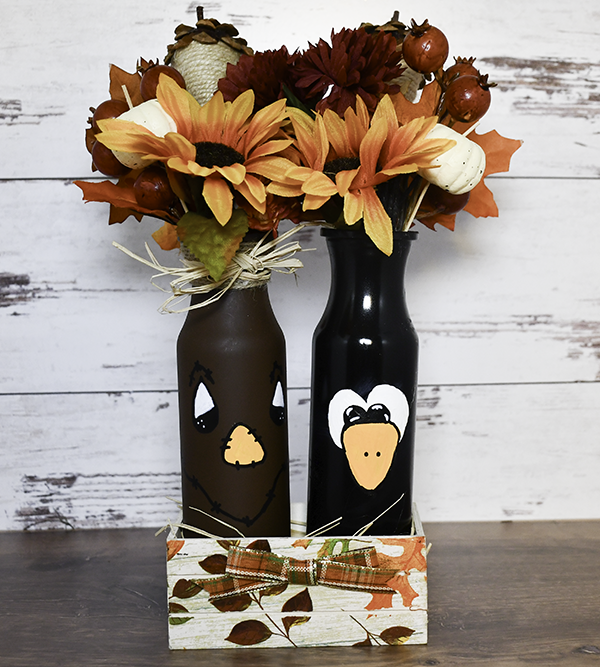
I have had these translucent Milk bottles in my Dollar Tree stash for ages. I wasn’t sure what to do with them but decided to use the autumn theme and create these adorable scarecrow and crow bottles with them. This project is all about the painting or you could use your Cricut to create the faces of this too cute craft project. I hade all of the paint in my standard crafting supplies so this project was very inexpensive to make but I love how it came out. I hope you do too. For more Dollar Tree crafts head over to my Dollar Tree page. If you want holiday sewing and crafting projects check out my holiday project vault.

Note: This post contains affiliate links that if you click on them and make a purchase I will receive a small commission at no extra cost to you. As an Amazon Associate I earn from qualifying purchases.
What you will Need: How to Make Dollar Tree Autumn Milk Bottles and Crate
Step 1: Paint the Bottles
Using spray paint, cover one bottle black and one brown. Use light layers of paint for the best coverage and to avoid drips.
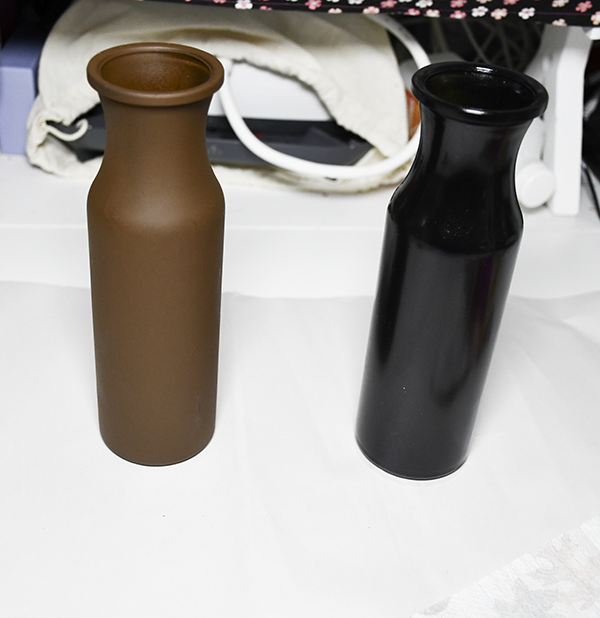
Step 2: Create the Scarecrow Face
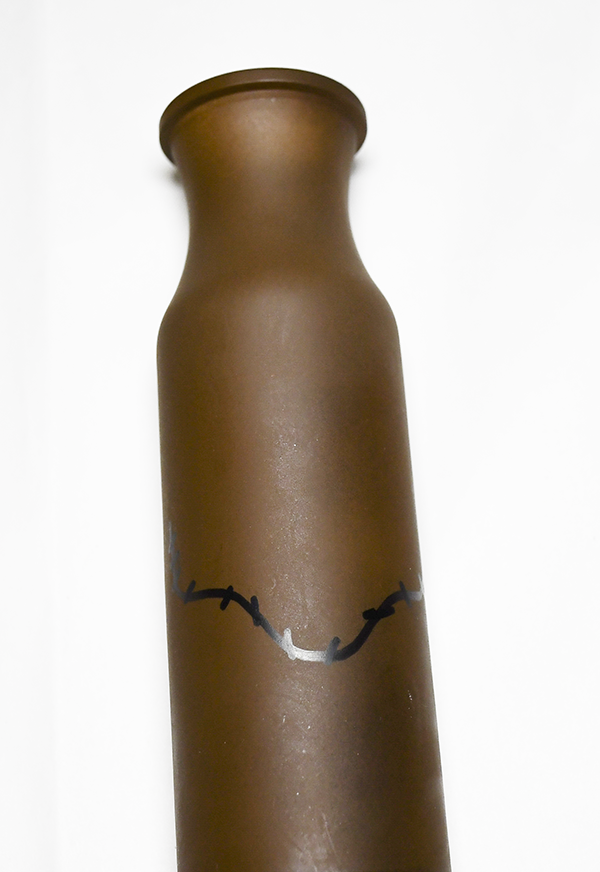
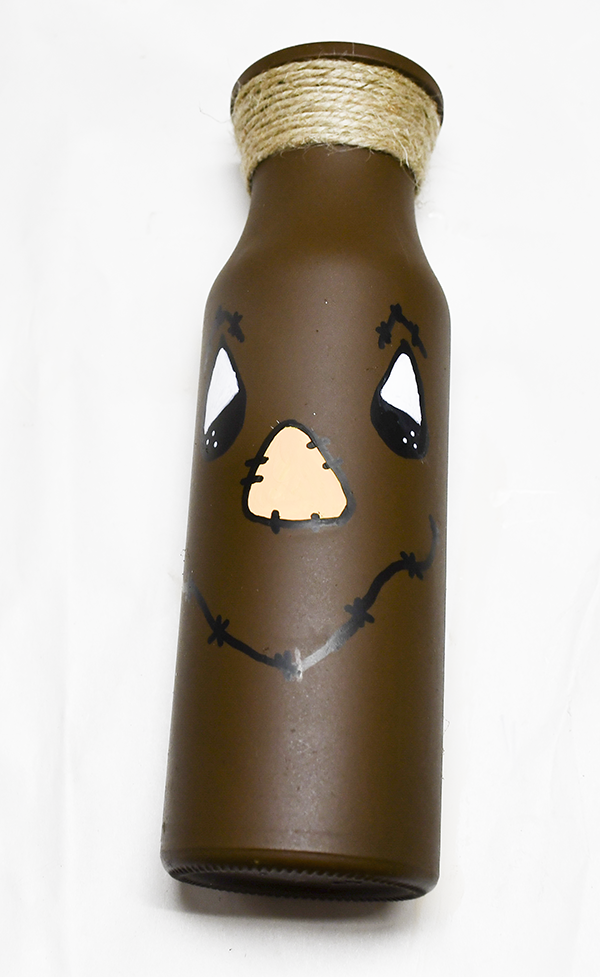
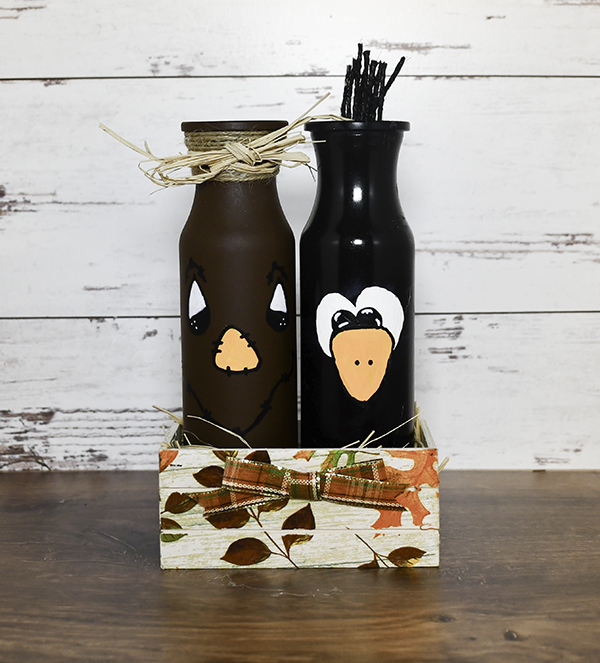
I started by using a black paint pen to create the mouth. Just paint a squiggly line across the front of the face about 1/4 way up from the bottom of the brown colored bottle. Place cross hatches to indicate stitching. Next, add the nose. Draw a rounded triangle in the center of the bottle. Paint the center of the triangle white and let it dry then paint over it in orange. Outline it using black paint pen. Then add some cross hatches for stitching.
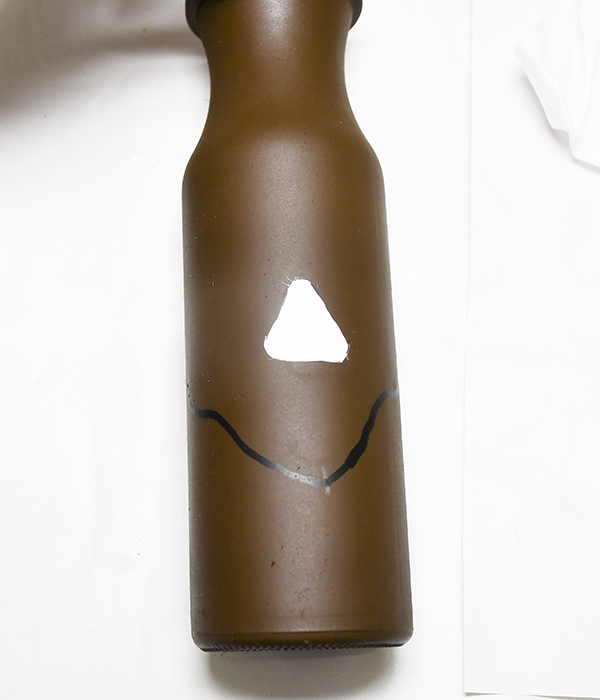
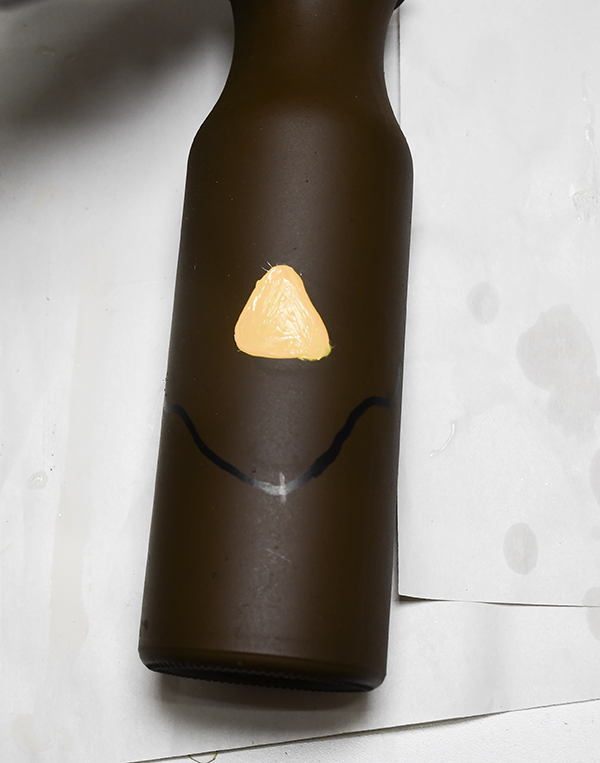
Make teardrop eyes above and to either side of the nose using a black paint pen. Color the inside of the teardrop white. Once the white paint has dried add block to the bottom. Let the black dry then embellish the eyes with a few white dots.Add the eyebrows using the black paint pen. Cross hatch those also.
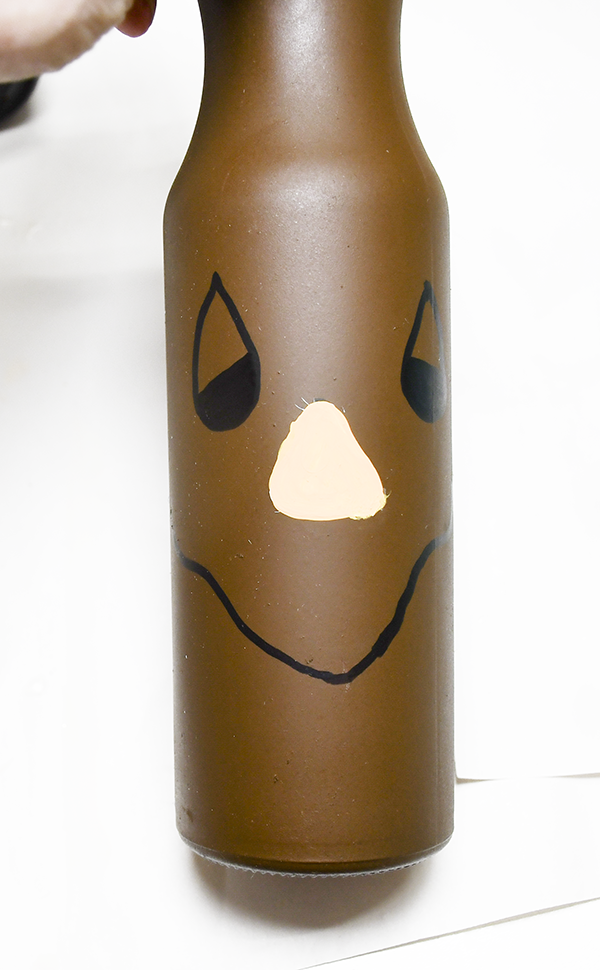
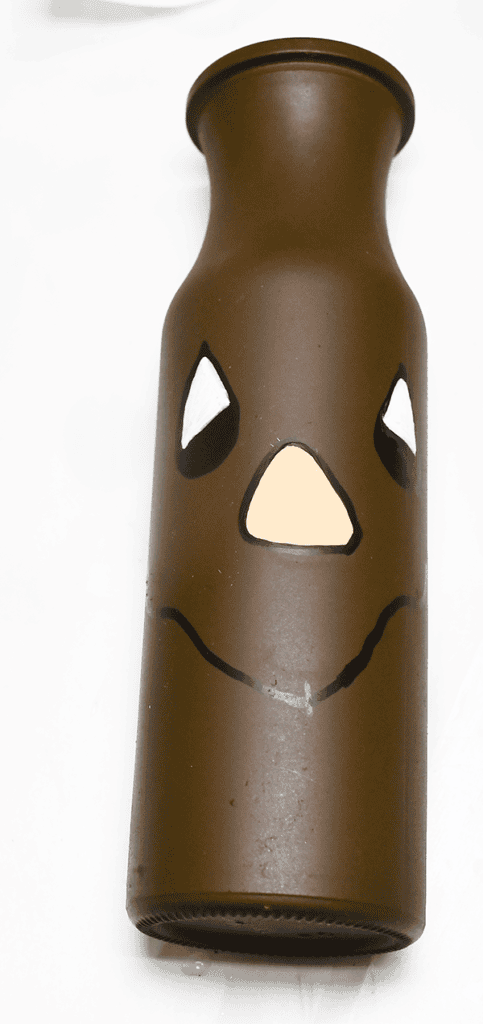
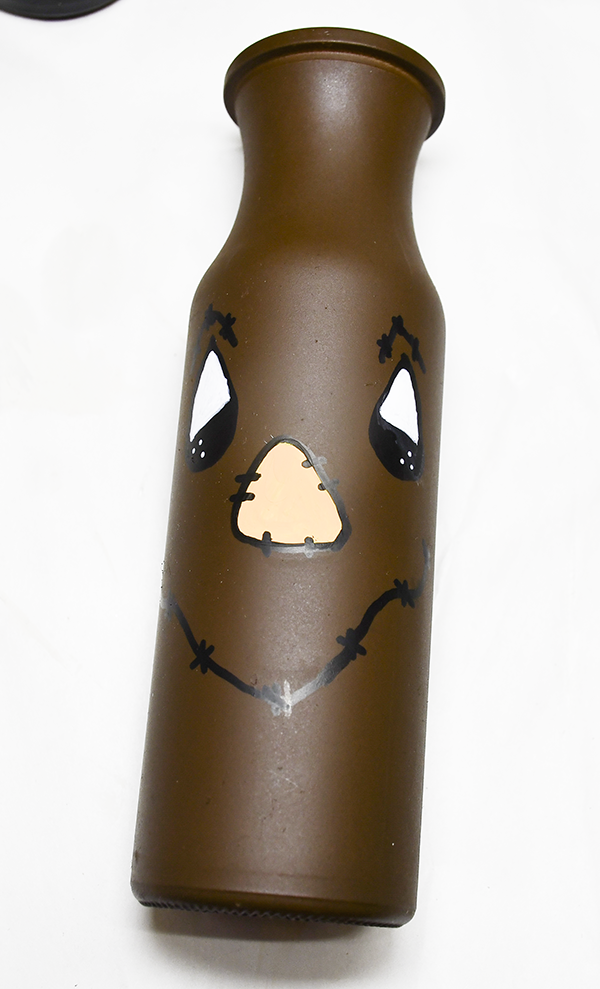
Wrap the top with jute twine. Then, add a bow made out of straw.
Step 3: Create the Crow Face
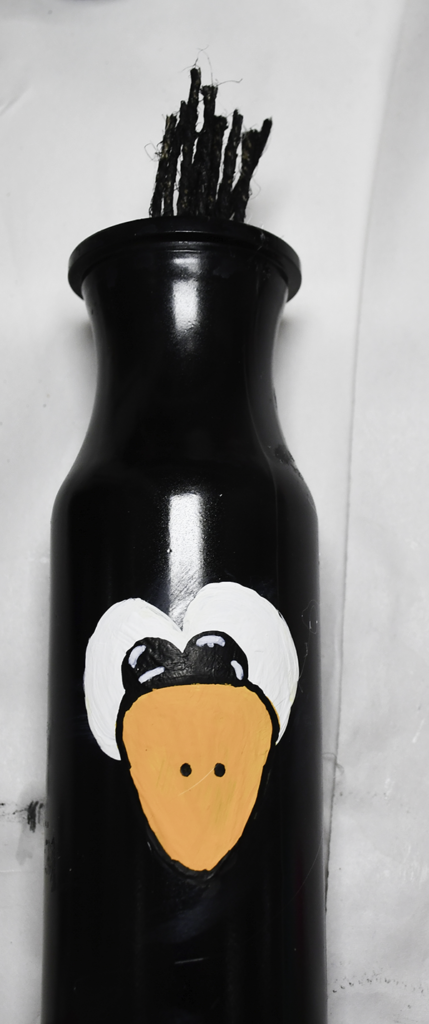
Start the crow’s face by painting a heart on a bit of angle on the front of the black bottle using your white paint. When the white paint is dry draw an upside down rounded triangle on top of the bottom part of the heart. Paint the triangle orange. Once the orange paint is dry outline the eyes and beak with black paint pen. Then, add some black dots on the top 1/3 of the beak using the black paint pen. Finally, draw the eyes above the beak on top of the white paint using a the top part of a heart shape but smaller. Highlight the eyes with a white paint pen.
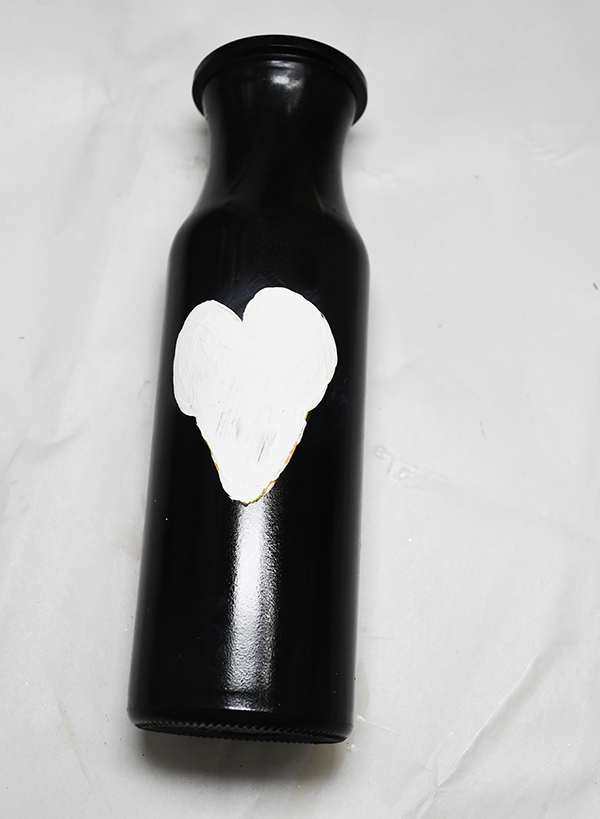
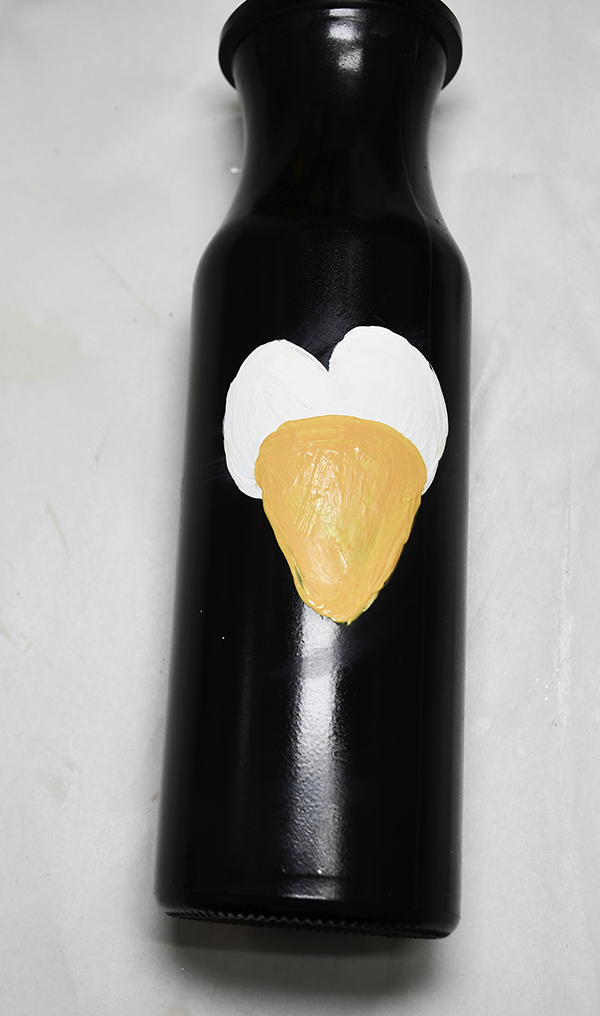
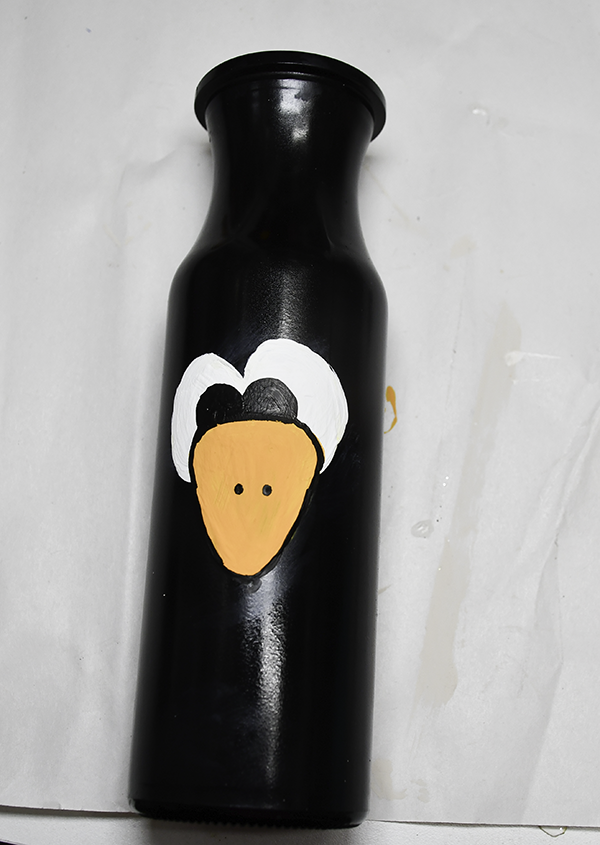
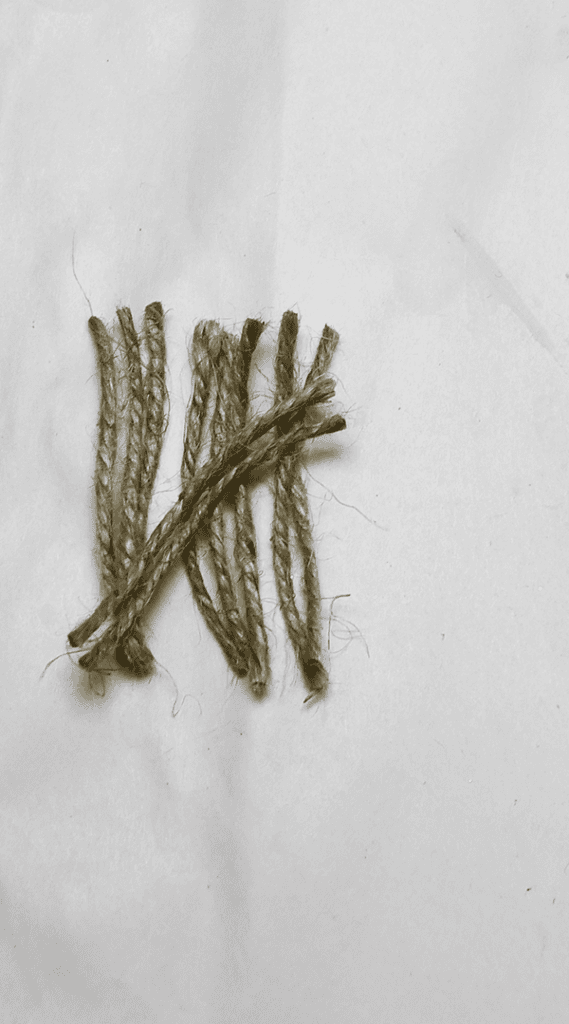
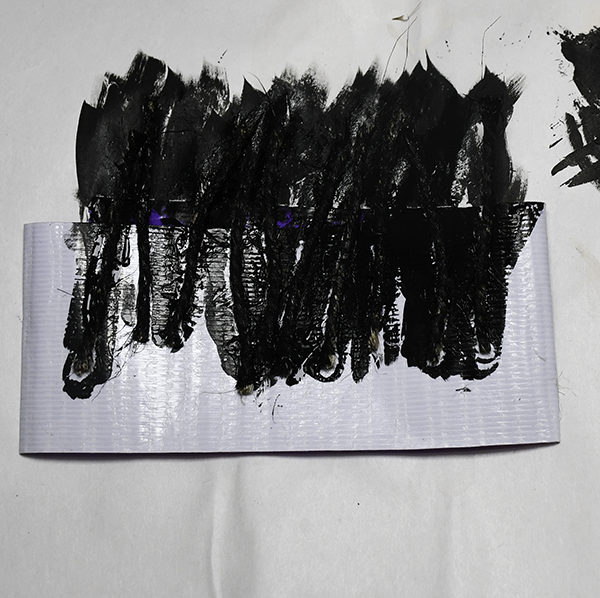
Cut some small pieces of twine. Paint them black. Hot glue them to the inside of the bottle in the front to act as feathers sticking up.
Step 4: Decoupage the Crate
I found these leaf napkins at Dollar Tree. I used them to decoupage the crate. Start by Removing the top layer from the bottom layer. Then paint the crate a light brown or gray color. Let the paint dry. Cover the crate with Mod Podge and let it dry. Place the napkin on the crate. Then, cover the napkin with a piece of parchment paper. Iron the parchment paper to fuse the napkin to the crate. One napkin will cover the crate. Once the napkin has been added cover the crate. Sand off the excess using a gator sander. Then, cover the napkin with Mod Podge again the seal it.
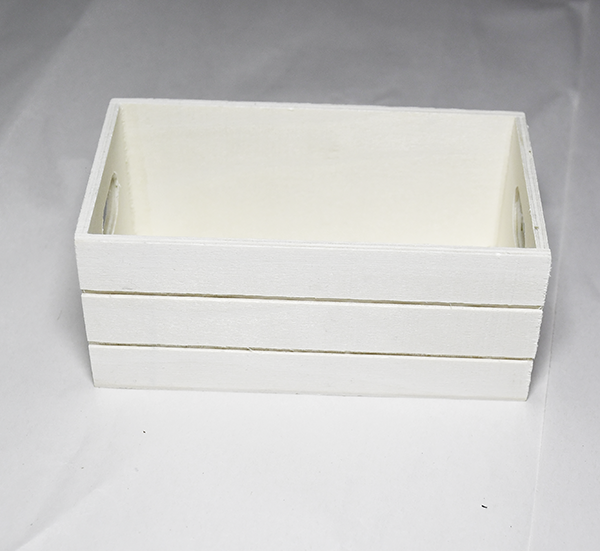
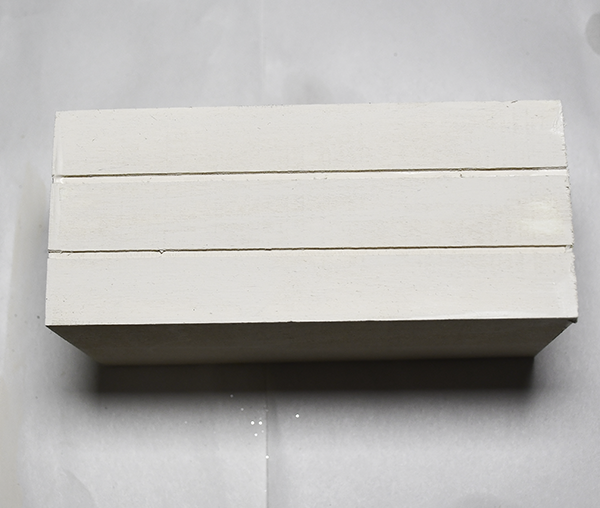
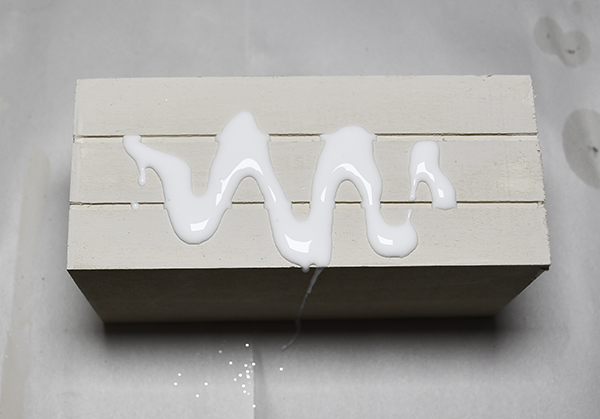
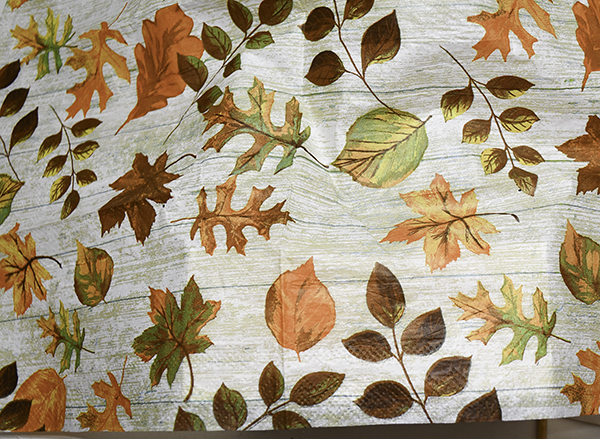
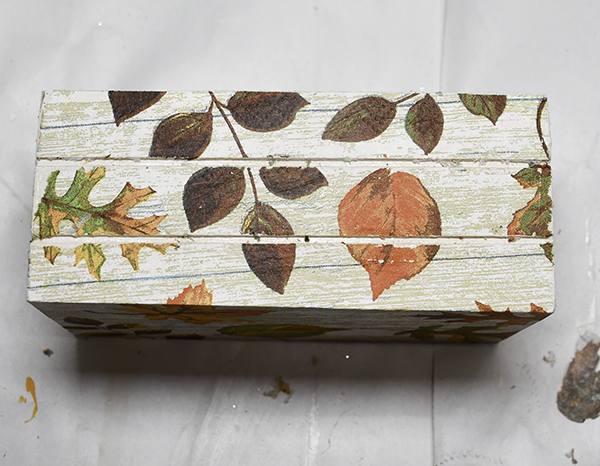
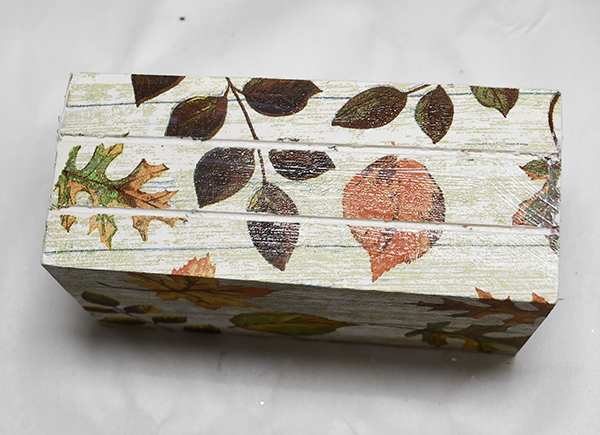
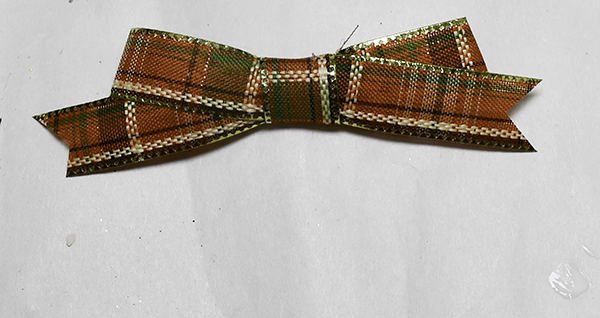
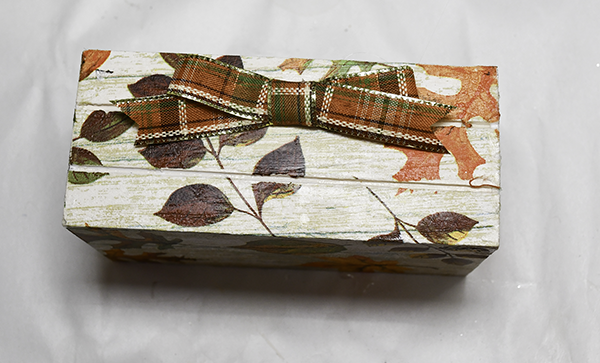
I cut down a Dollar Tree pallet and placed it at the bottom of the crate because I did not like how low the bottles were sitting and the pallet raised it just enough. Cut and add some straw inside the crate as an embellishment.
Step 5: Add the Florals
Grab some autumn florals and greenery to the bottles. You can use real or faux flowers. I had autumn florals in my Dollar Tree stash so I used them.
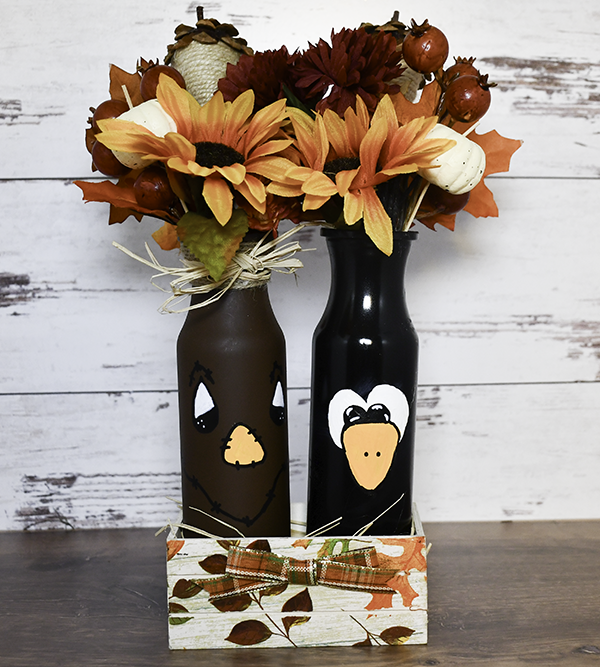
I hope you enjoyed this simple Dollar Tree Autumn Decor project. If you would like more sewing and crafting projects subscribe to our free newsletter and receive your free Dollar Tree Holiday eBook.
Join our Sew Very Crafty Fans Facebook group
If you want to ask questions and share your projects join our Facebook group here. The community will help to achieve your sewing and crafting dreams.

Subscribe to our Free YouTube Channel!