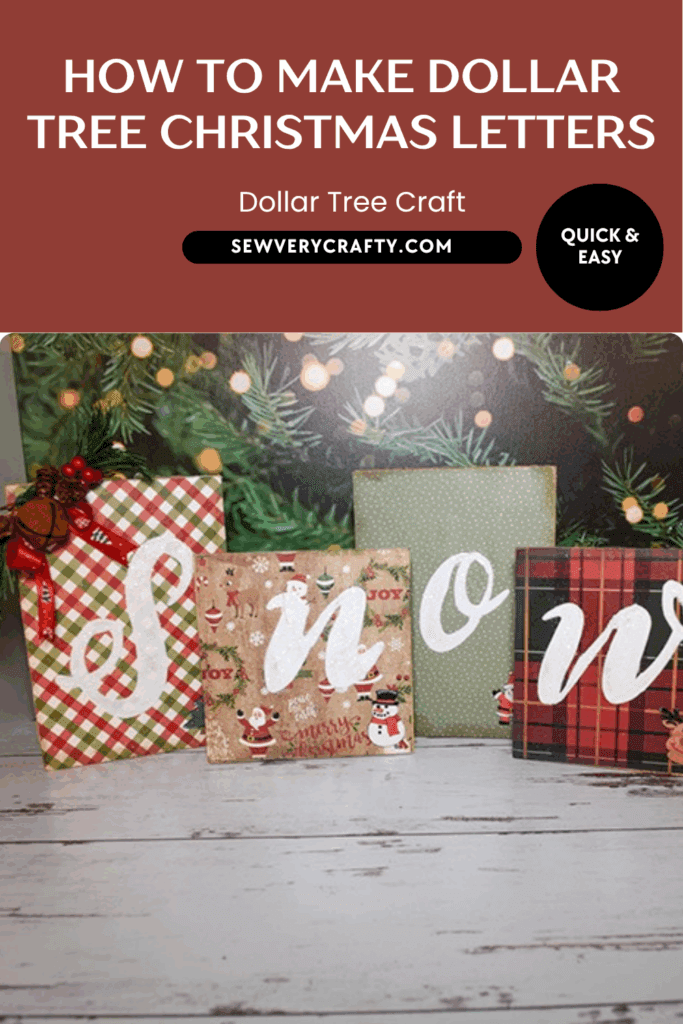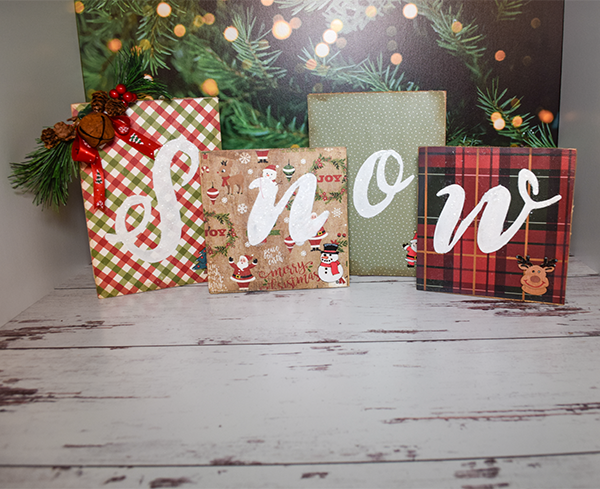
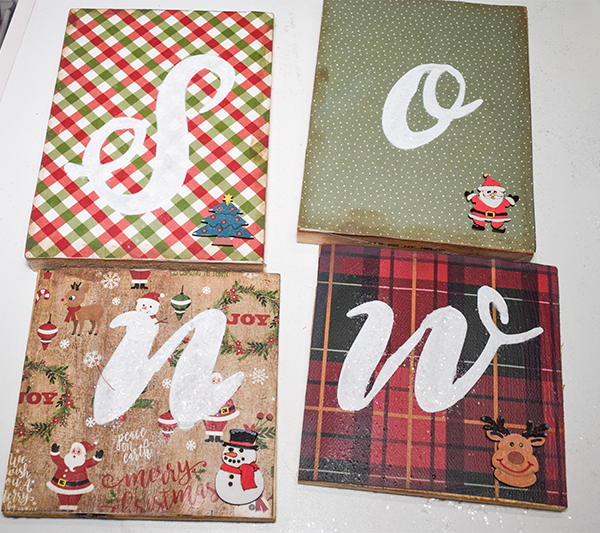
With Christmas just around the corner I thought to use up some of my Dollar Tree stash to create this simple word decor that shouts of winter and Christmas. This is a simple beginner Dollar Tree Craft that anyone with basic crafting skills can make. Even though it doesn't snow here in California I thought the word SNOW was appropriate for the season. I hope you enjoy this simple project. If you would like more holiday sewing and crafting projects head over to my holiday project vault. For more Dollar Tree crafts check out my Dollar Tree page.
Note: This post contains affiliate links that if you click on them and make a purchase I will receive a small commission at no extra cost to you. As an Amazon Associate I earn from qualifying purchases.
What you will Need: How to Make Dollar Tree Word Decor
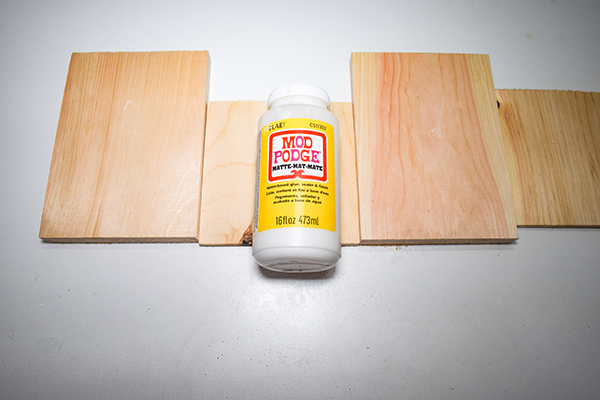
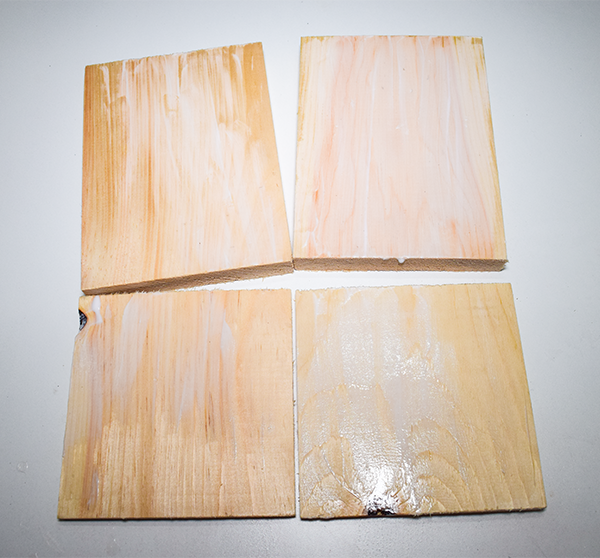
- 4 Dollar Tree boards
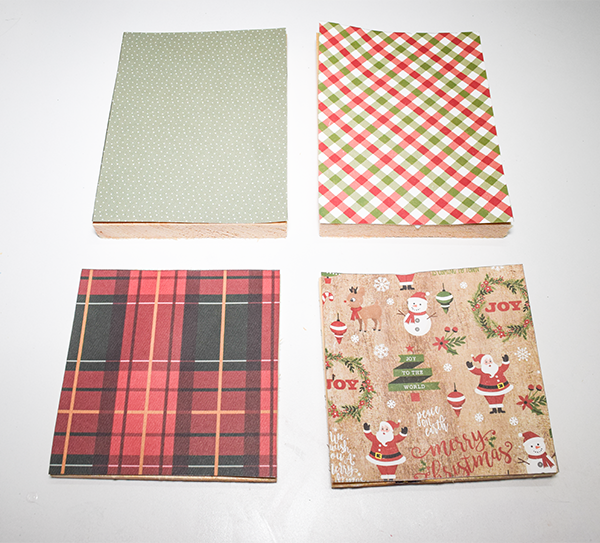
- 4 different patterns of holiday paper
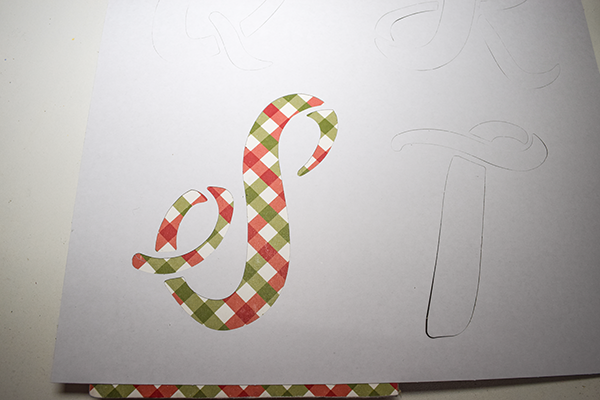
- Letter Stencils
- Chalk paste
- Glitter
- Pixie Spray
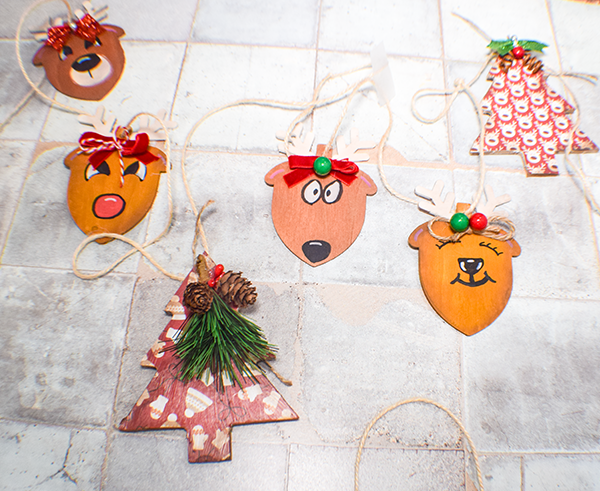
- Mini Holiday wood cutouts
- Greenery
- Mod Podge
- Distress Oxide
Step 1: Mod Podge the Boards
Add a coat of Mod Podge to each of the four boards. I used cardstock that I had on hand so I added a liberal amount of Mod Podge to the four boards. Let dry completely.
Step 2: Add the Paper
Cut the paper or napkins to size by tracing the boards onto the paper. Place the paper onto the boards. Add a piece of parchment paper on top of the boards. Use an iron on top of the parchment paper to meld the paper to the boards. Once the paper is melded to the boards add an additional coat of Mod Podge to the paper.
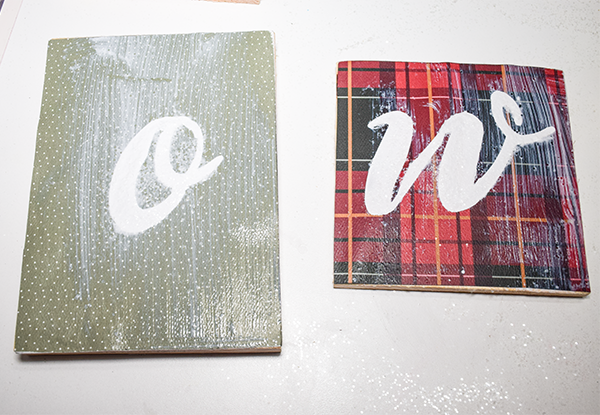
Step 3: Stencil the Letters
Using the Pixie Spray cover the back of the stencil. Attach the stencil to the boards. Paint the stencil letters onto the boards.
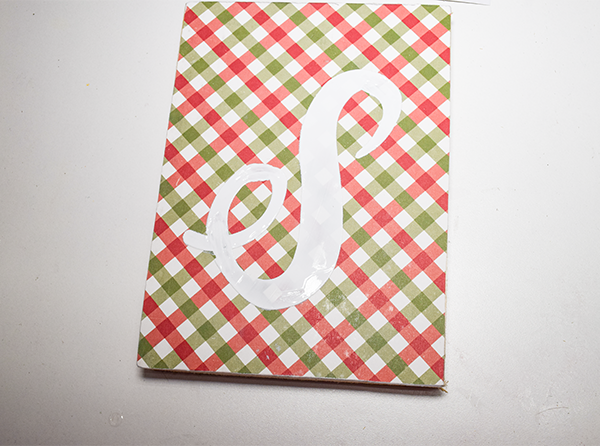
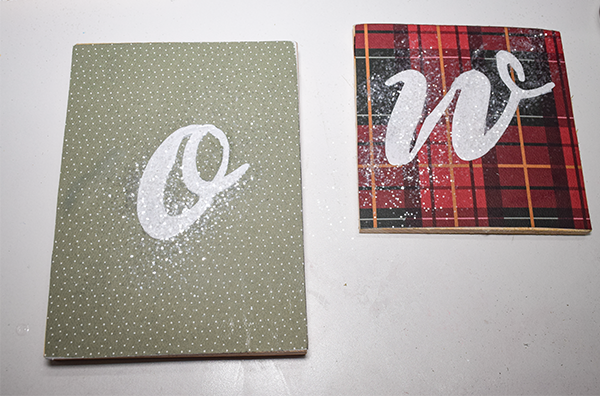
Step 4: Add Mod Podge
Once the paint is dry add another coat of Mod Podge.
Step 5: Add the Glitter
While the topcoat of Mod Podge is drying add the glitter so that it is glued to the top of the Boards
Step 6: Paint the Mini Cutouts
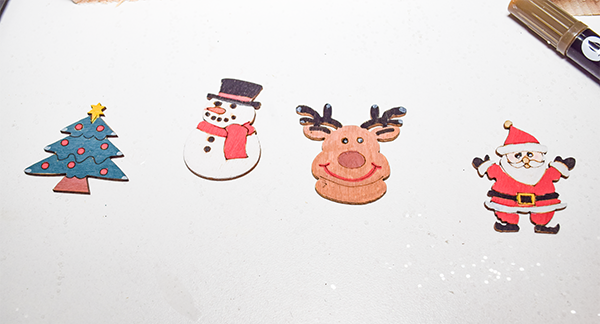
Step 7: Add Age
Using the distress oxide add age to the boards around the edges and on the cutouts.
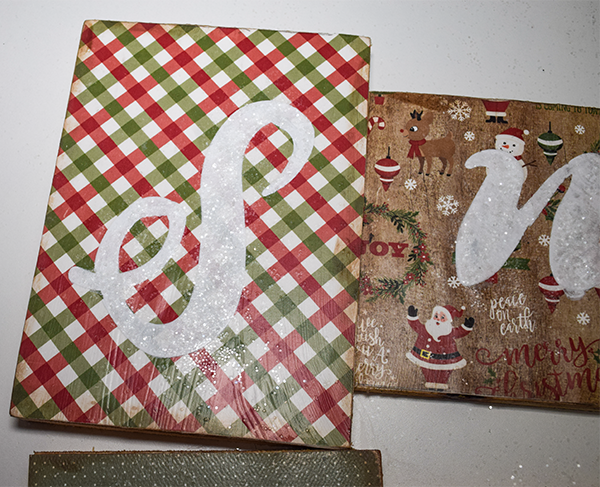
Step 8: Add the Cutouts to the Boards
Using hot glue, add the cutouts to the boards.
Step 8: Add the Embellishments
Add the greenery as embellishments to the first wood piece.

I hope you enjoyed this simple Dollar Tree craft. If you would like more sewing and crafting projects subscribe to our free newsletter and receive your free Dollar Tree holiday eBook
If you would like video tutorials of some of Sew Very Crafty's most popular posts subscribe to our free YouTube channel here.
Join our Sew Very Crafty Fans Facebook group
If you want to ask questions and share your projects join our Facebook group here. The community will help to achieve your sewing and crafting dreams.