It is spring!! With this in Mind I have done a few bee themed projects using Dollar Tree items. This time I decided to create a bee that any beginner sewist can stitch up in minutes. This project comes with a free pattern and step by step instructions. It is perfect to add to my other bee themed projects for fun spring home decor. I really hope you enjoy this simple project. For my other bee themed projects head over to my Dollar Tree page to get them.
Note: This post contains affiliate links that if you click on them and make a purchase I will receive a small commission at no extra cost to you. As an Amazon Associate I earn from qualifying purchases.
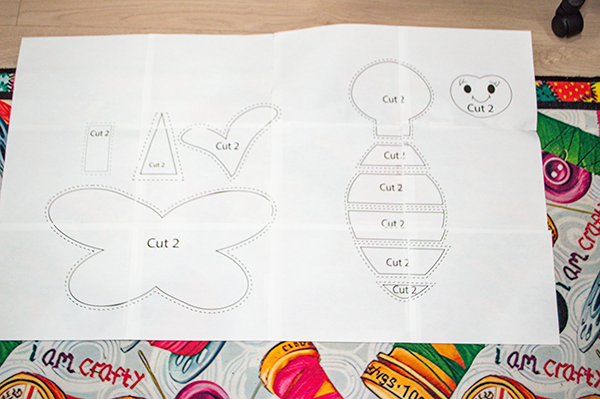
Step 1: Print and Cut out the Pattern
Print the pattern and tape it together. There are ten pattern pieces.
Step 2: Cut the Fabrics
Using the pattern pieces cut two each of the head, middle, and bottom body pieces from your black fabric. The remaining body pieces will be cut from the yellow fabrics. From the white patterned fabric and the Pellon 808 cut two wings. Cut two of the antenna pieces from a yellow fabric and the Pellon 808. Then cut two face pieces from a yellow fabric and two of the stinger pieces from the white fabric and the Pellon 808.
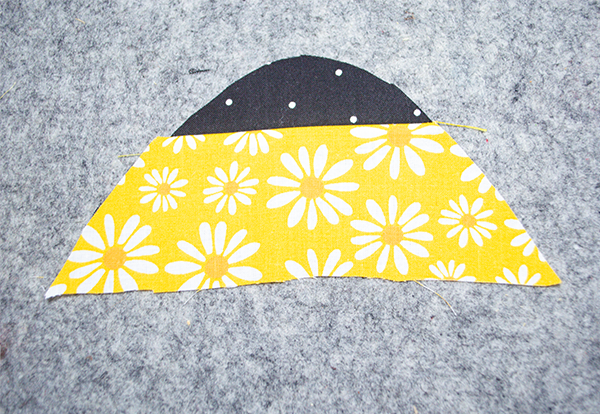
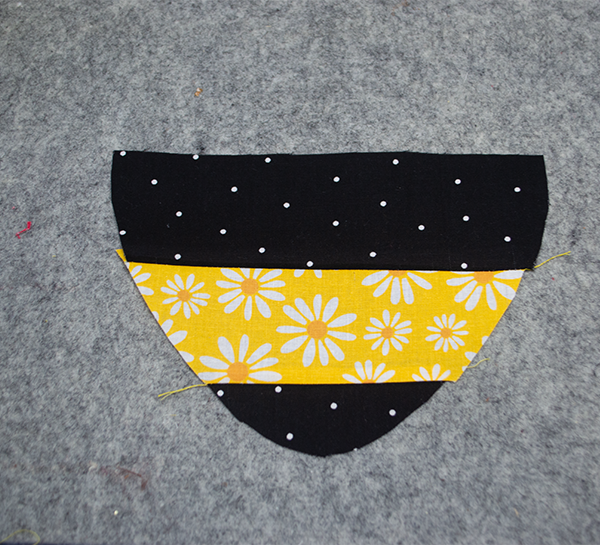
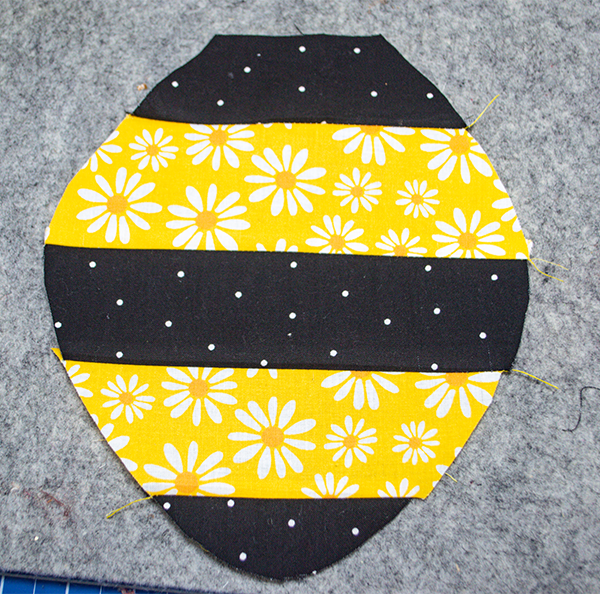
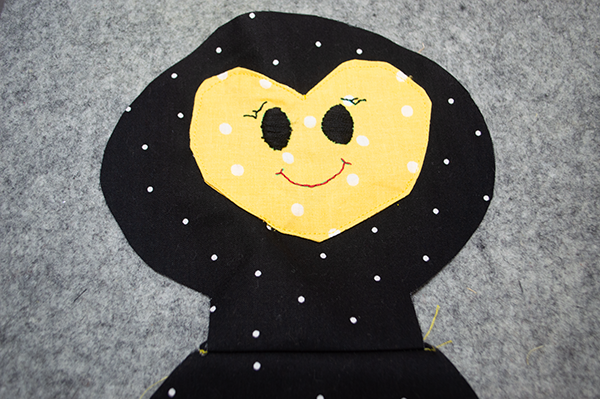
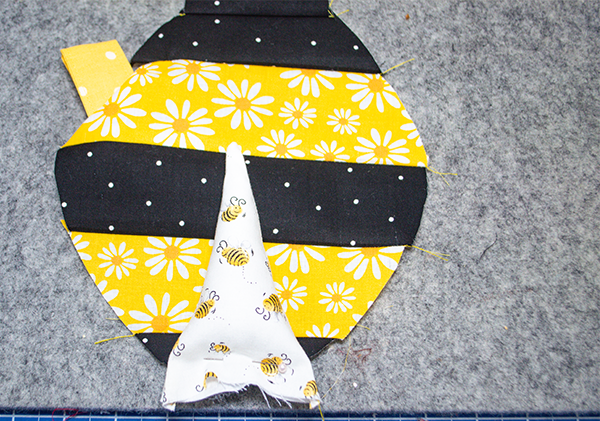
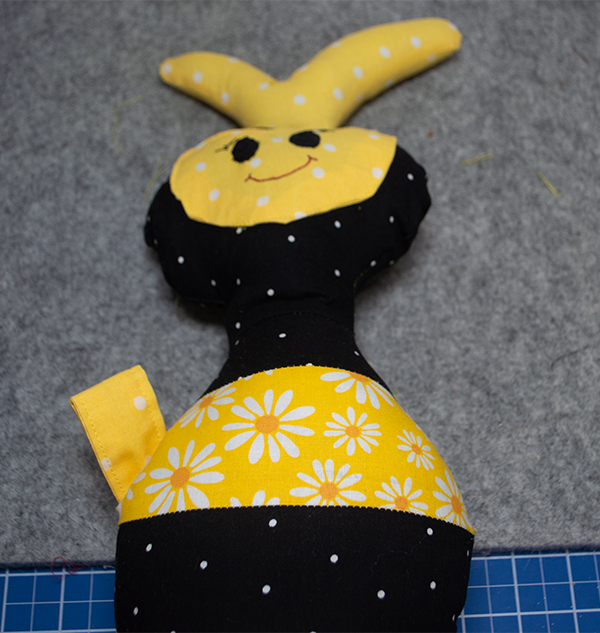
Step 3: Stitch the Body
Create the body by stitching the pieces in alternate black and yellow fabrics using a 1/4″ seam allowance. Stitch two body pieces in this way.
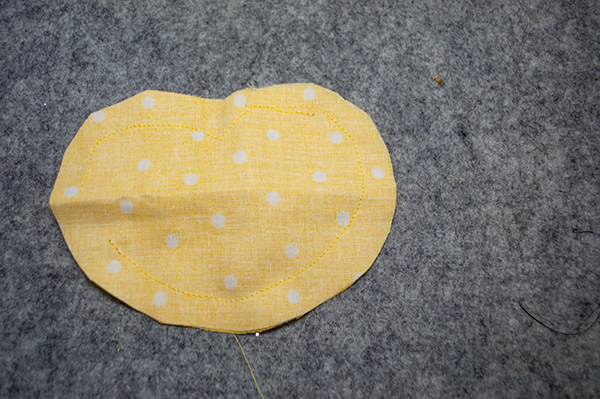
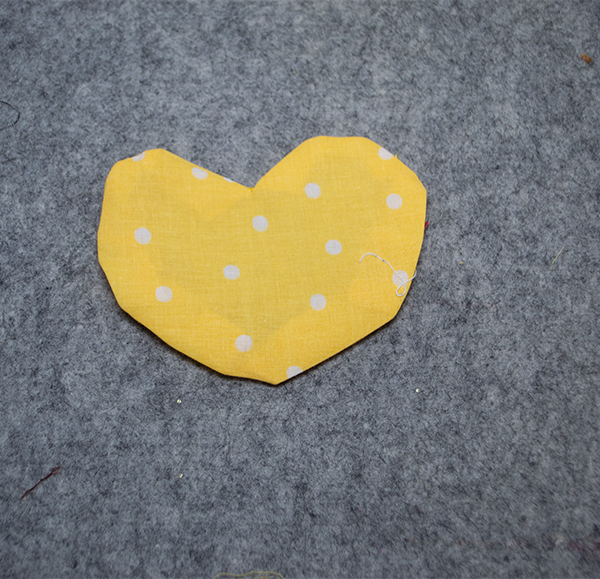
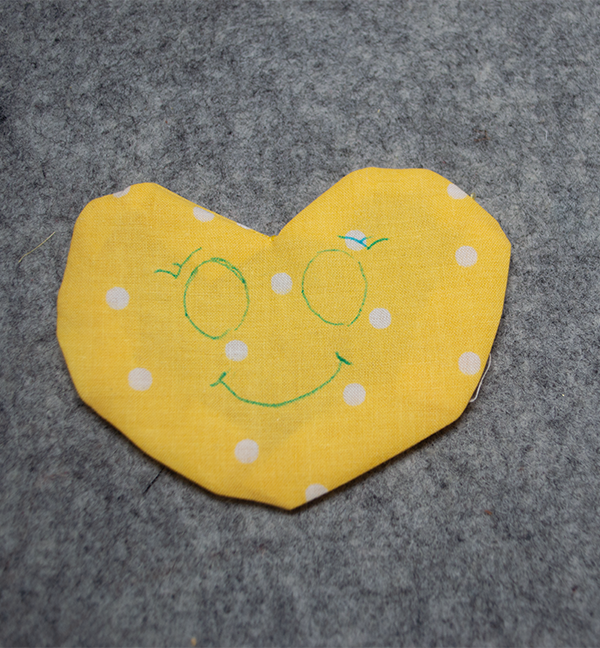
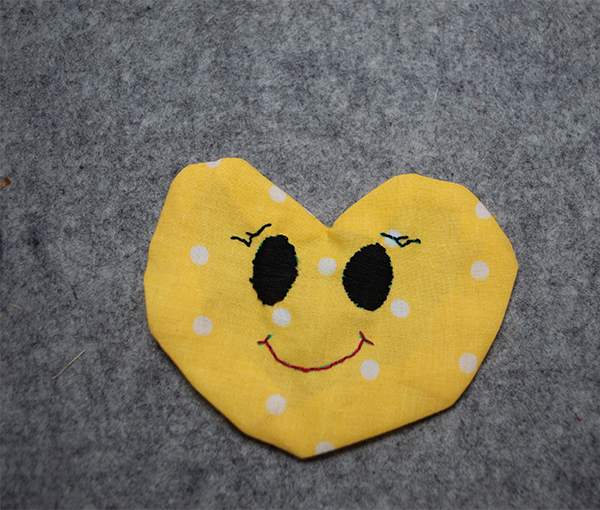
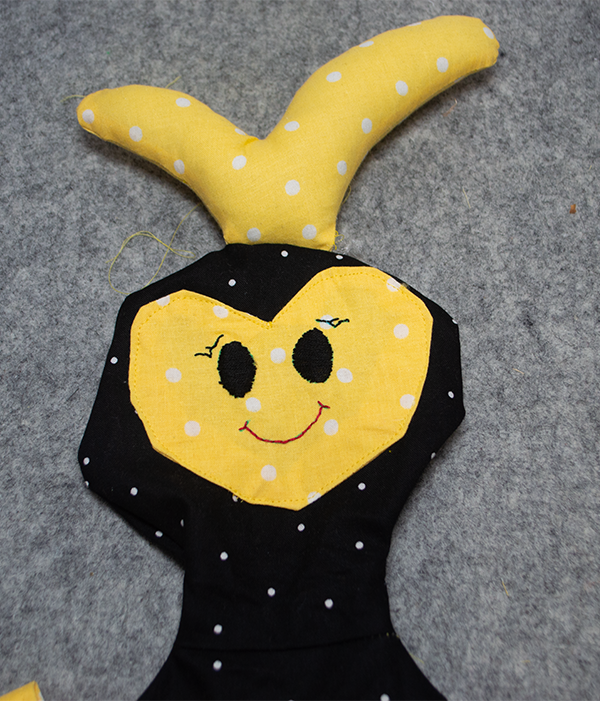
Step 4: Create the Face
Using the embroidery thread add the face to one of the yellow face pieces. I added two eyes with eyebrows and a mouth. If you are uncomfortable with the embroidery you can appliqué the face using standard appliqué techniques.
Step 5: Create the Antenna
Fuse the Pellon 808 to each of the antenna pieces using a hot iron and following the manufacturer's instructions. Place two antenna pieces right sides together. Using a 1/4″ seam allowance stitch all the way around the pieces leaving the bottom open. Stuff the antenna using polyester fiberfill leaving a little unstuffed at the bottom.
Step 6: Fuse the Interfacing
Fuse the Pellon 808 to the stinger pieces and the Peltex to the wing pieces using a hot iron and following the manufacturer's instructions.
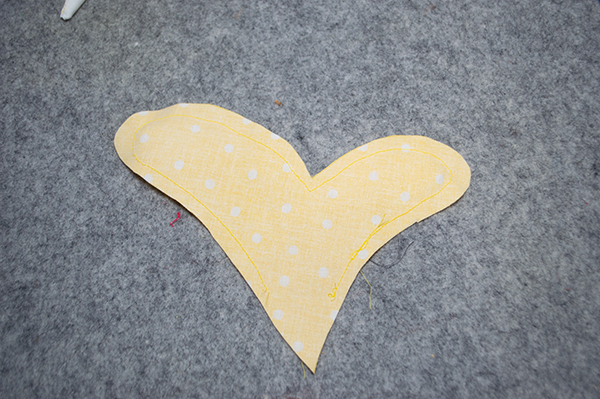
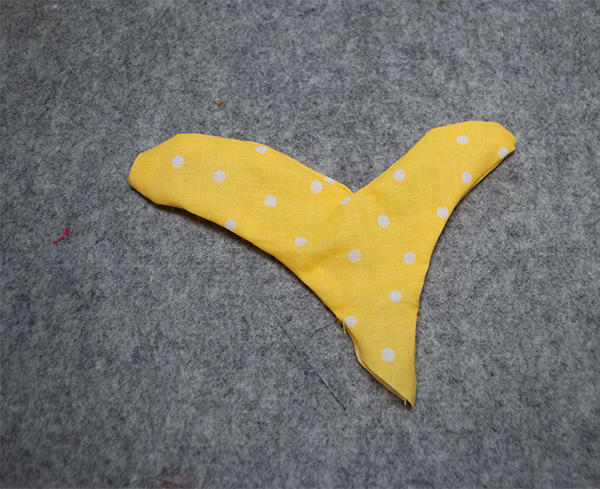
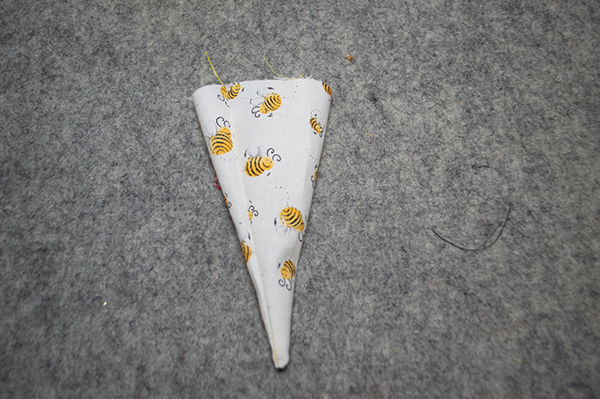
Step 7: Create the Stinger
Place the two stinger pieces right sides together. Stitch along the sides using a 1/4″ seam allowance and leaving the bottom open.
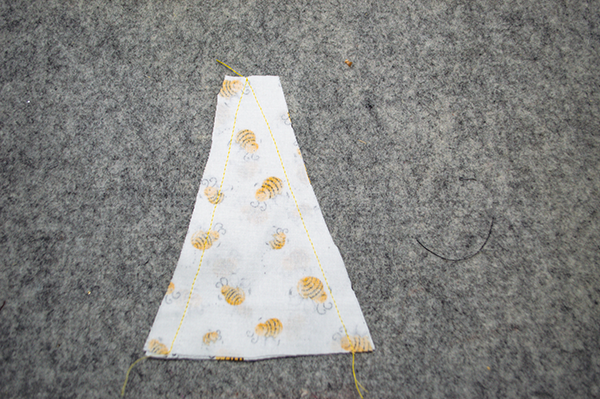
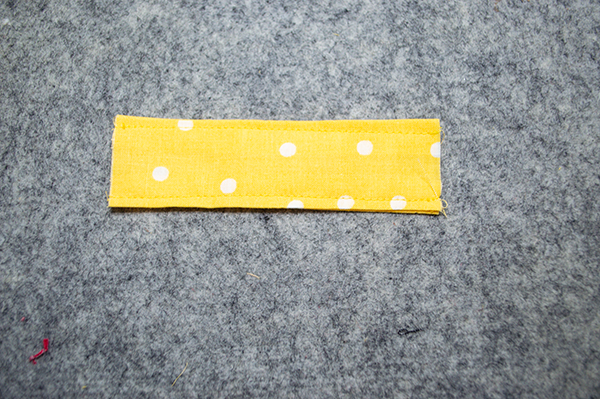
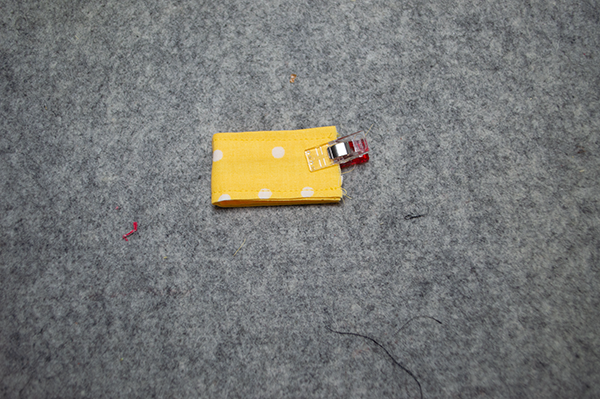
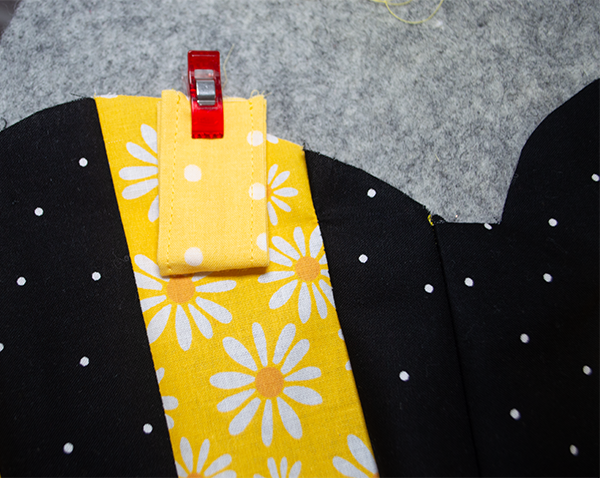
Step 8: Create the Hanger
Place the hanger pieces right sides together, Stitch along the long sides using a 1/4″ seam allowance. Turn right sides out and press. Topstitch along the seams.
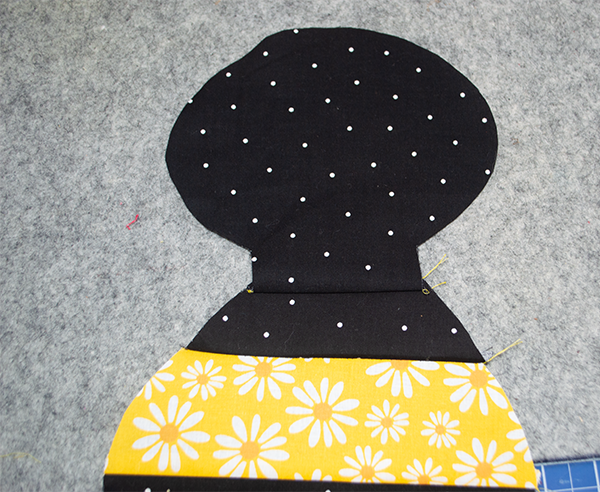
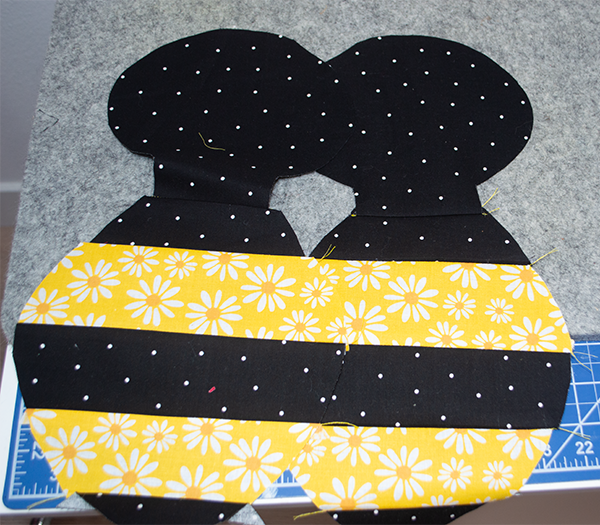
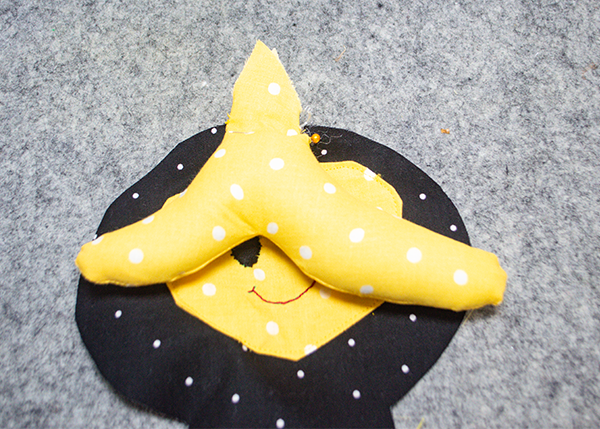
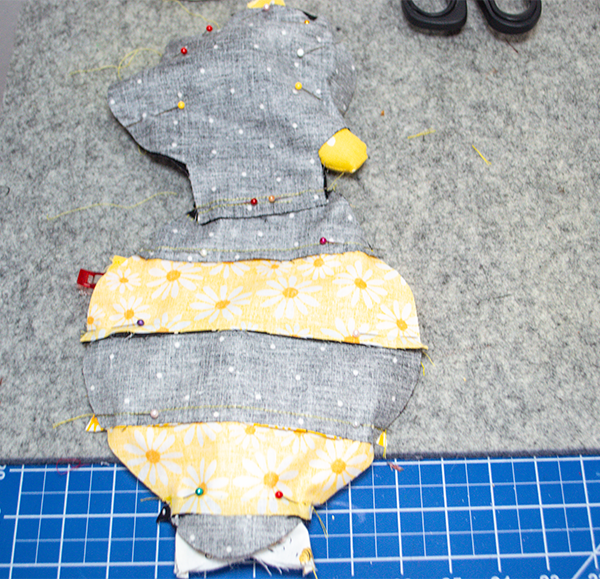
Step 9: Add the Antenna, Stinger and Hanger
Place one body piece right sides up on your work surface. Lay the antenna on the head in the center and facing down. Place the stinger right sides together with the bottom of the body so that it is facing up. Add the hanger to the middle of the body in the same way. Place the second body piece right sides down sandwiching the antenna, stinger and hanger. Stitch all the way around using a 1/4″ seam allowance and leaving an opening on the side opposite the hanger. Turn right sides out through the opening.
Step 10: Stuff the Body
Using the polyester fiberfill stuff the body completely. When the body is stuffed to your satisfaction close the side using ladder stitch.
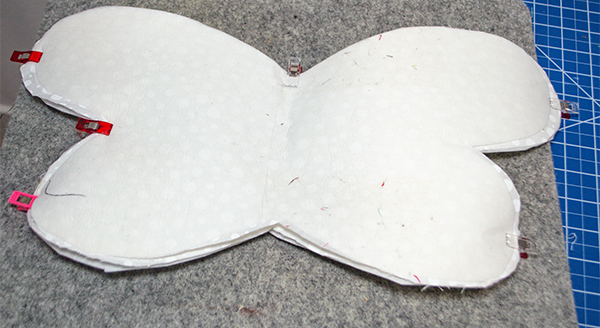
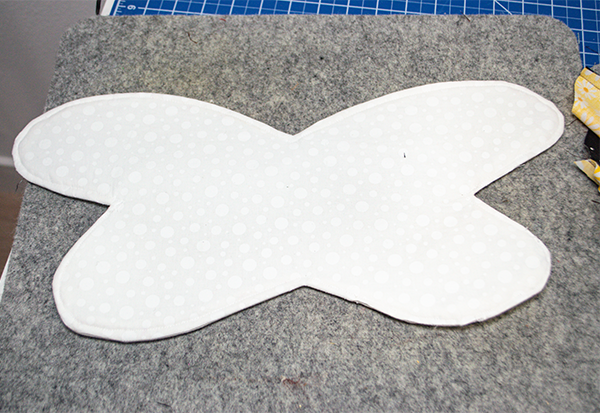
Step 11: Create the Wings
Place the wing pieces right sides together. Stitch all the way around using a 1/4″ seam allowance but leaving an opening for turning. Turn the wings right sides out and press. Topstitch all the way around making sure that you close the opening as you pass. Stitch down the middle of the wings.
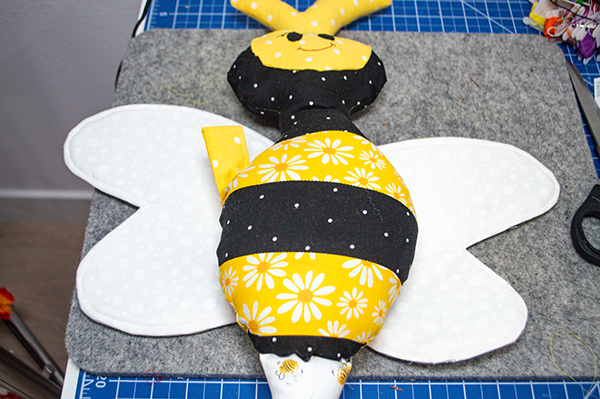
Step 12: Add the Wings to the Body
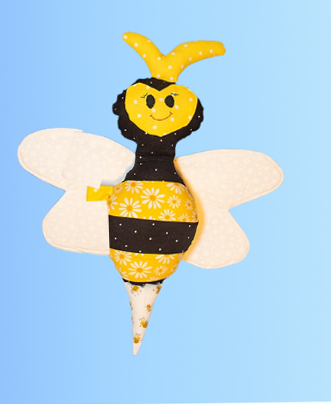
You have two options here. You can use hot glue or you can stitch the wings to the body. I hand stitched the wings to my bee along the machine stitching I did in the previous step. Once the wings are on you have now finished your Fabric Bumble Bee toy.
I hope you enjoyed this simple fabric bee. If you would like more sewing and crafting projects subscribe to our free newsletter and receive access to our free printables library.
If you would like video tutorials of some of Sew Very Crafty's most popular posts subscribe to our free YouTube channel here.
Join our Sew Very Crafty Fans Facebook group
If you want to ask questions and share your projects join our Facebook group here. The community will help to achieve your sewing and crafting dreams.