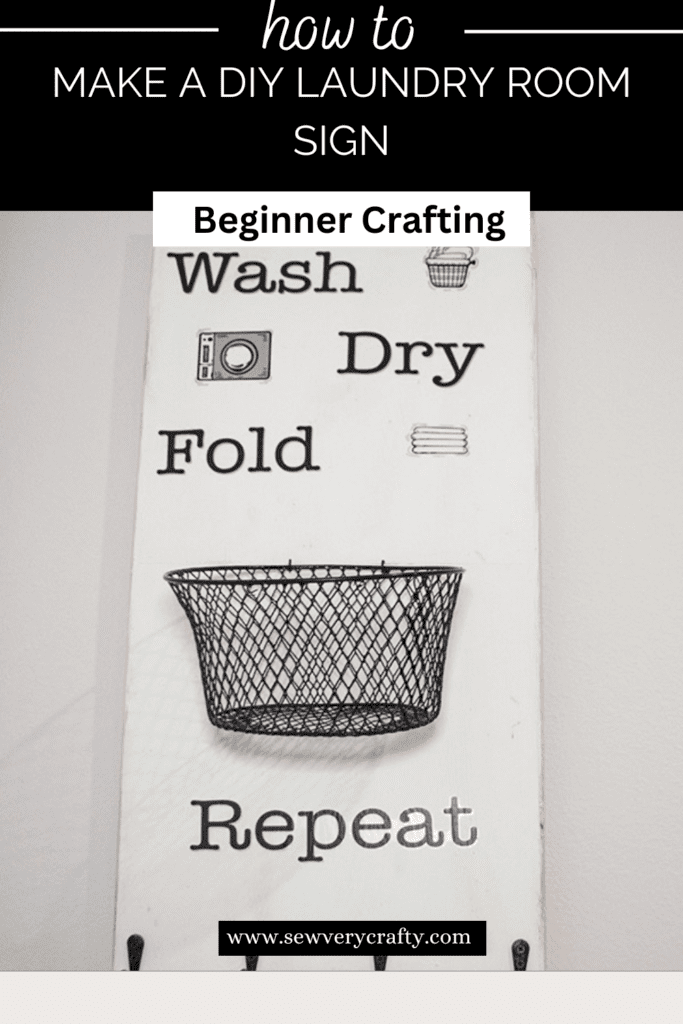
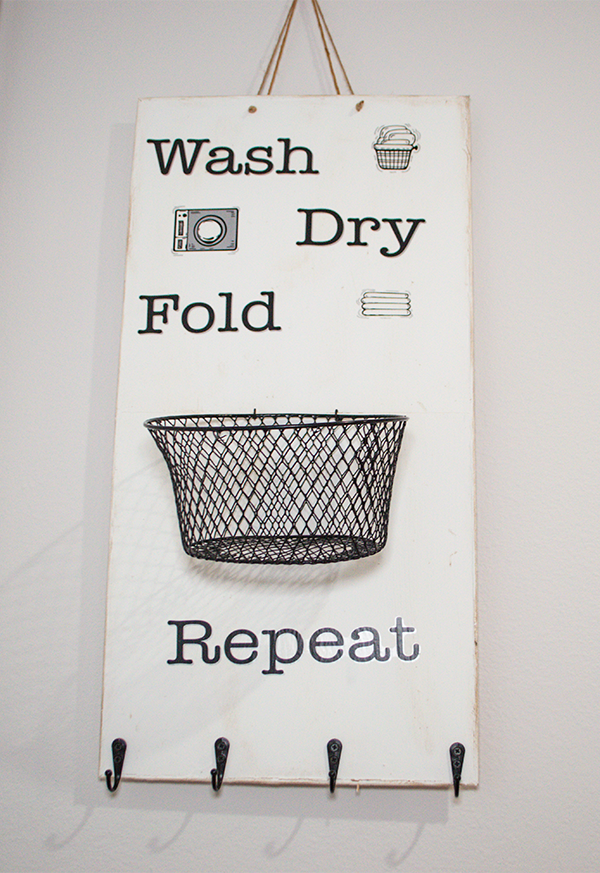
I happened to see this wall sticker at Dollar Tree and wondered what to make with it. My laundry room could use some sprucing up so I decided to create a DIY Laundry Room Sign. This is such a simple project but it really livens up the room. I had a piece of board that was just the size I needed. I am not sure where I got it but it was in my stash so I added it to the things I would need for this project. Some standard crafting supplies and hooks rounded out the supplies. I hope you like this project. If you would like more crafting projects head over to my Dollar Tree page for more.
Note: This post contains affiliate links that if you click on them and make a purchase I will receive a small commission at no extra cost to you. As an Amazon Associate I earn from qualifying purchases.
What you will Need: How to Make a DIY Laundry Room Sign
- Laundry Room Wall Sticker
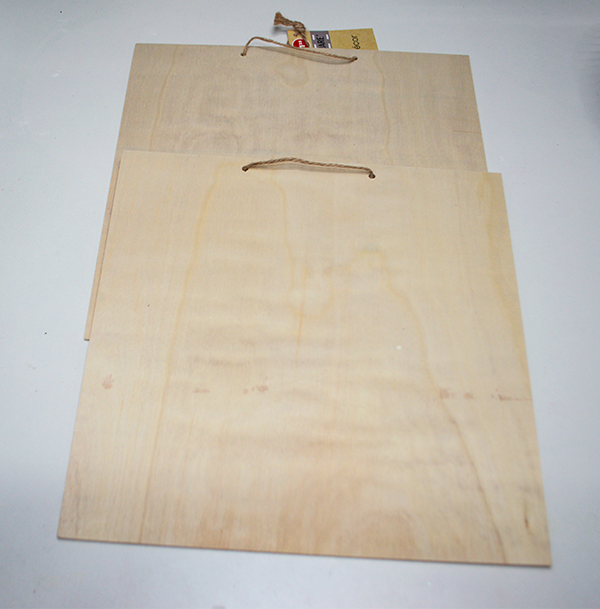
- 2 square 12″ x 12″ Wood boards
- 1 small basket
- 3 Large craft sticks
- Hooks
- 4 1/8″ dowels
- Paint
- Walnut stains distress oxide
- Wood filler
- Wood glue
- Hot glue
- Sand paper
- Small screws
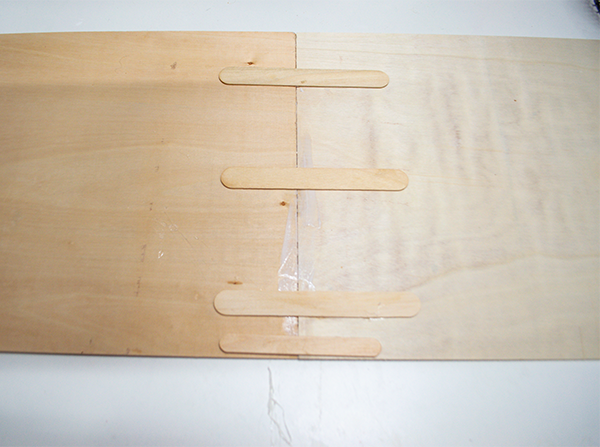
Step 1: Join the two square boards together
Place some wood glue and hot glue along one edge of one of the boards and join them together. Add three large craft sticks to the back of the boards across the join to strengthen and secure.
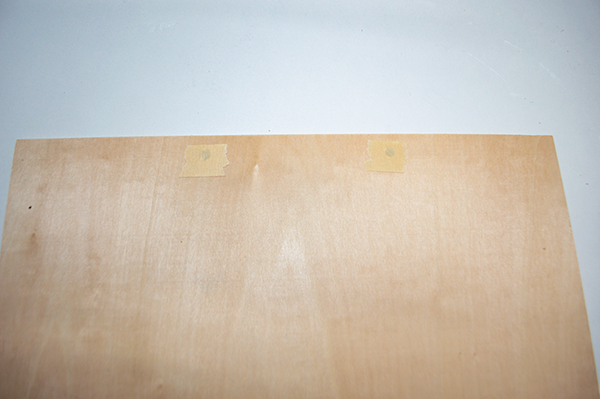
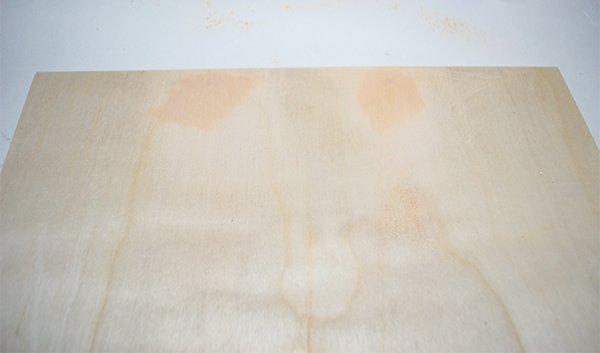
Step 2: Fill in the holes
If you have wood squares that have a twine hanger remove the twine. Using the plastic wood or spackle fill in the holes on one of the boards where the twine was. I added some tape to the back so that the wood filler would not seep through. I also put some filler along the seam between the two boards. Once the filler has completely dried sand it so that the surface is even.
Step 3: Add the Dowels
Cut the dowels to fit along the sides and the bottom. You can miter the corners if you like. Once they have been cut to the size that you need attach them around the perimeter of the boards using hot glue and wood glue.
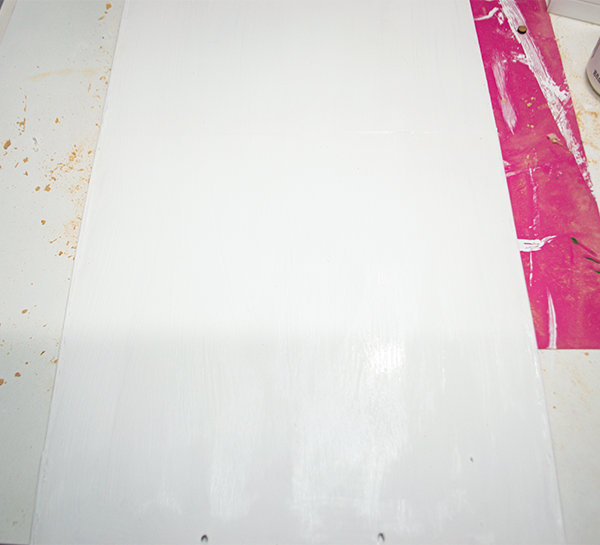
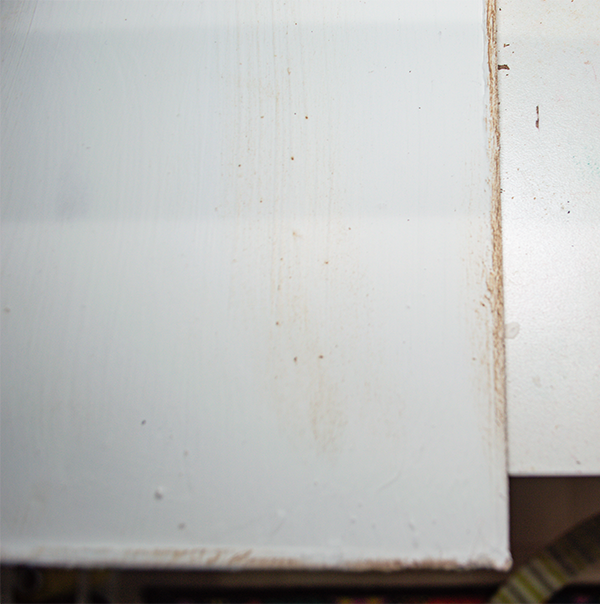
Step 4: Paint The boards
I decided to give this a shabby chic look so I painted the boards and dowels white. I needed a few coats to get the coverage that I wanted.
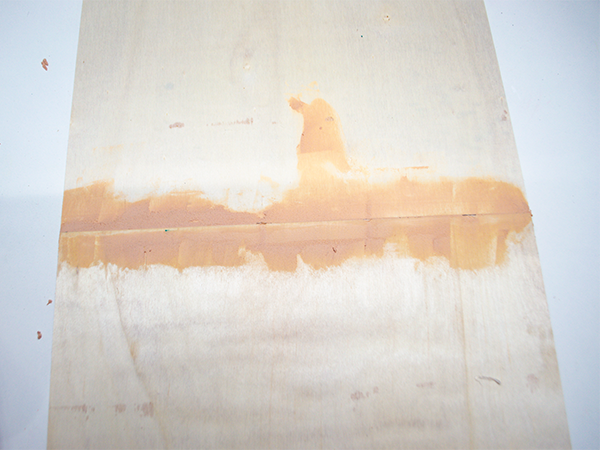
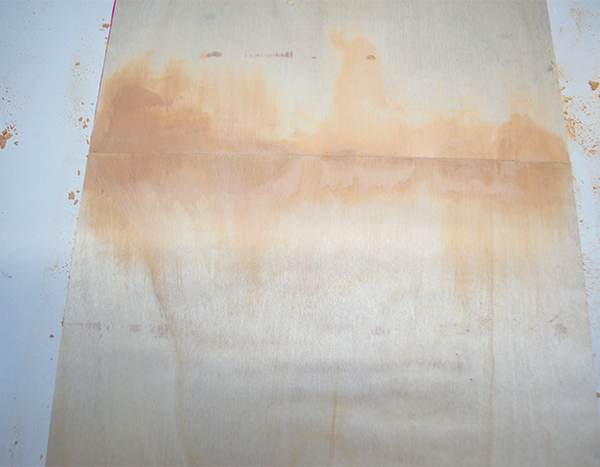
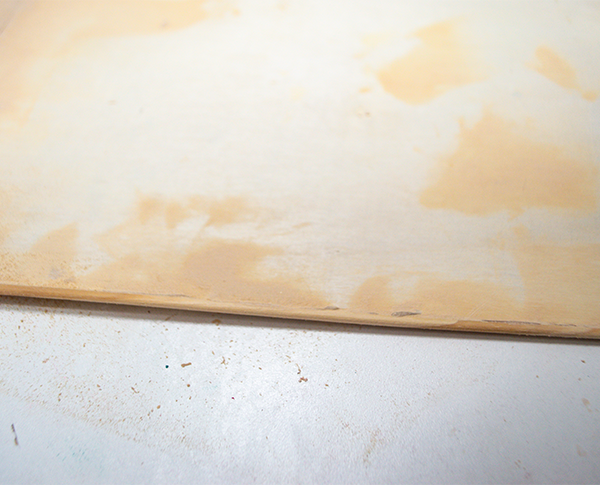
Step 5: Age the Boards
Use a round brush and the walnut stain distress oxide and highlight the edges of the boards and dowels a well as a bit in the center. You can add as much or as little age as you like. Start lightly and add more to get it where you want.
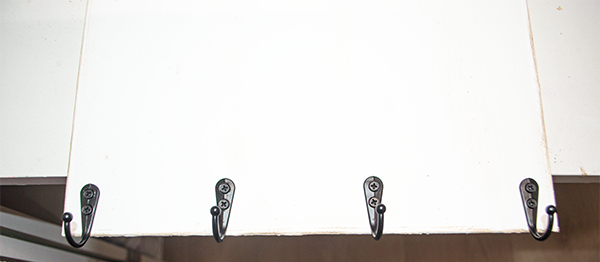
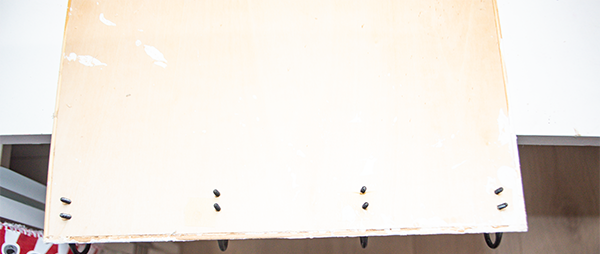
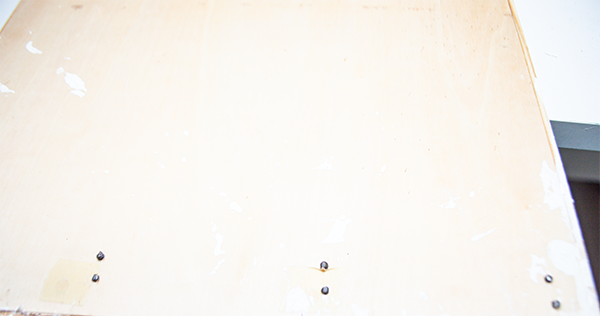
Step 6: Add the Hooks
Place the hooks onto the boards wherever you like. I place mine. You can screw them in and cut off the ends or just glue them in place. It is completely up to you.
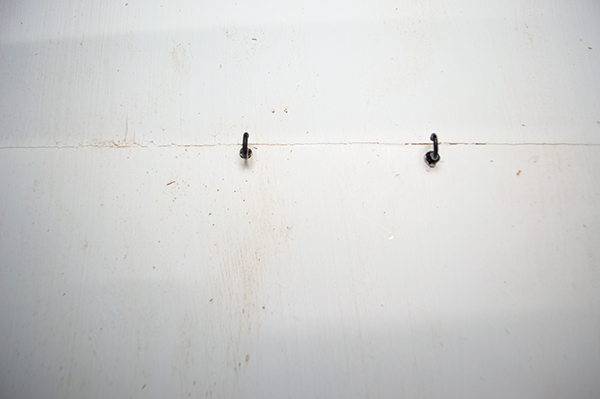
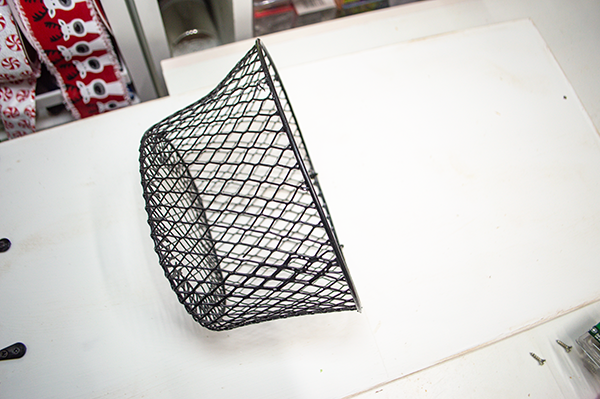
Step 7: Hang the Basket
Add two cup hooks in the middle of the boards. I painted mine black. I cut them short and added some glue and screwed them in. Attach the basket to the cup hooks. The boards are quite thin so go slowly so you do not crack the wood. Depending on the screws you use you may have to cut off the ends of the screws. I had to paint my screws black to match the basket.
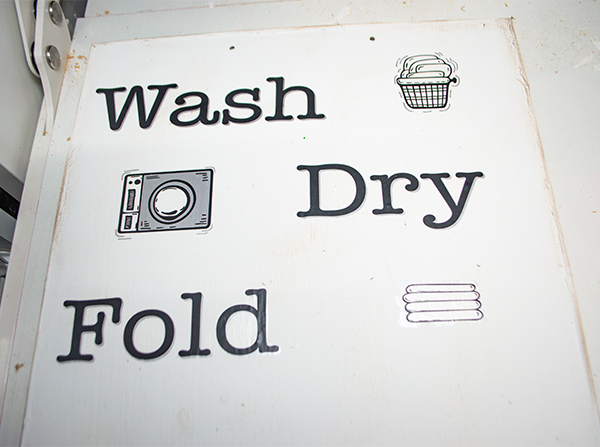
Step 8: Add the wall Stickers
I cut my sticker apart so that I could place the pieces where I needed them. They are translucent so I I did not have to worry about the background. Because these are stickers you just need to put them in place. Of course you can always make your own if you have a Cricut. Once you have added the wall stickers you have finished your DIY Laundry Room Sign.
I hope you enjoyed this simple DIY project. For more sewing and crafting projects subscribe to our free newsletter and receive your free Dollar Tree holiday eBook.
If you would like video tutorials of some of Sew Very Crafty's most popular posts subscribe to our free YouTube channel here.
Join our Sew Very Crafty Fans Facebook group
If you want to ask questions and share your projects join our Facebook group here. The community will help to achieve your sewing and crafting dreams.