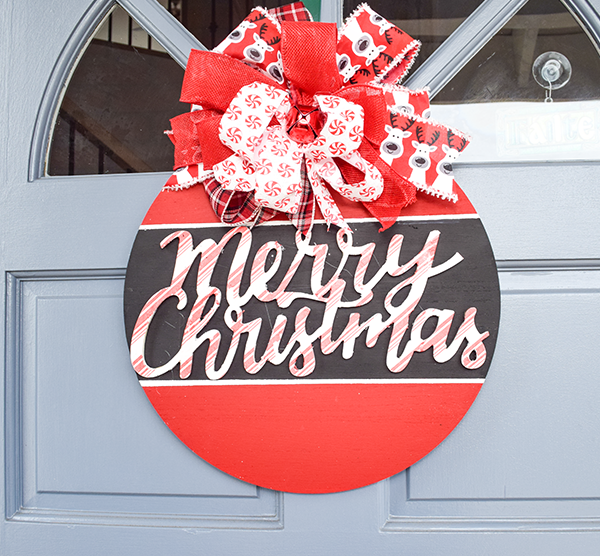
I know that I do a lot of Dollar Tree Crafts on the site but I got the components for this project from Michael's, Hobby Lobby and Amazon. I really wanted a larger size Christmas door hanging for my door this holiday season. Usually, I give away the projects that I make but this one was just for me. This festive Christmas door hanging uses basic crafting skills and supplies so anyone can create it. If you would like more holiday sewing and crafting projects head over to my Holiday Project Vault.
Note: This post contains affiliate links that if you click on them and make a purchase I will receive a small commission at no extra cost to you. As an Amazon Associate I earn from qualifying purchases.
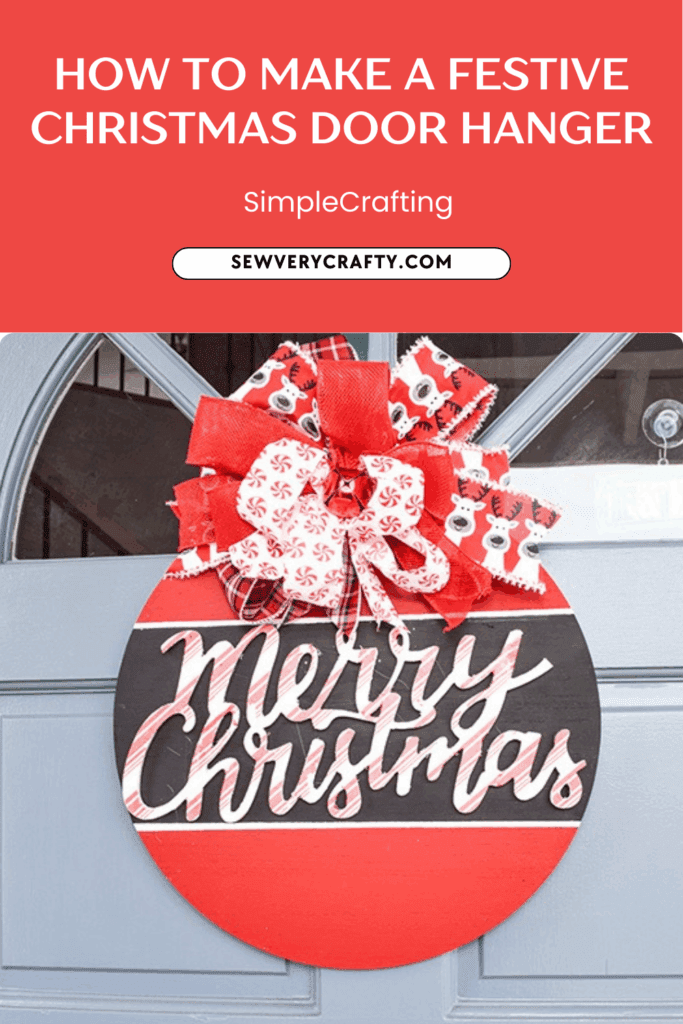
What you will Need: How to Make a Festive Christmas Door Hanger
- 15″ Wood Round from Michael's
- Merry Christmas Wood Word
- Red Chalk Paint
- Black Chalk Paint
- White Chalk Paint
- Dollar Tree Napkins
- Christmas Ribbon
- Mod Podge
- Masking Tape
- Sand Paper
- Emory Board
- Bowdabra
- Hot Glue
- Wood Glue
- Large Jingle Bell
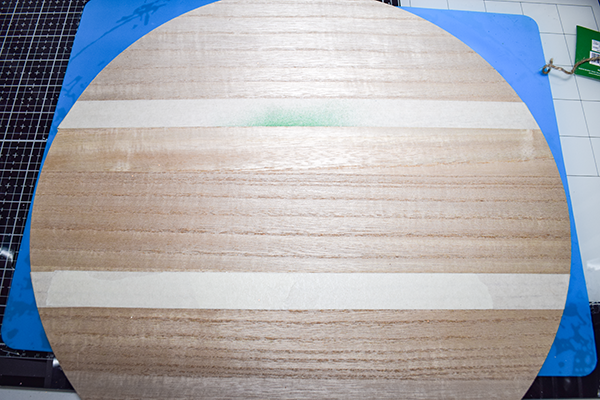
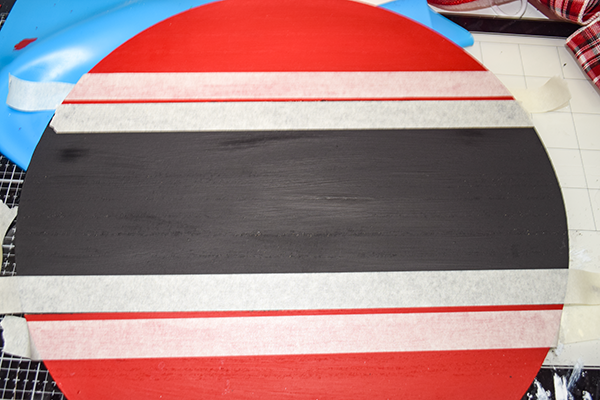
Step 1: Tape the Wood Round
Measure down 4 1/2″ from the center of the top and the center of the bottom o fhte wood round. Place masking tape just below the 4 1/2″ mark. Burnish the tape so it is solidly adhered.
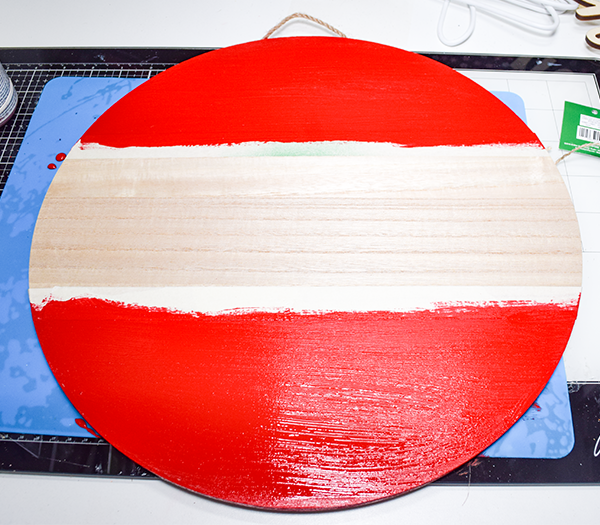
Step 2: Paint the Top and the Bottom of the Wood Round
Using the red chalk paint cover the top and bottom of the wood round. Use two coats and let dry completely.
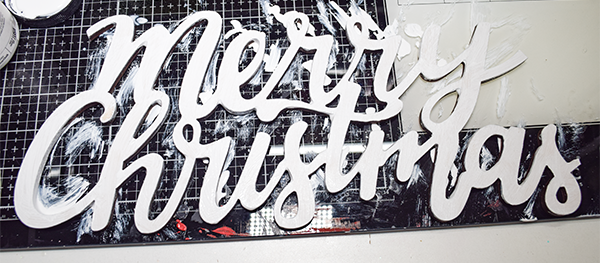
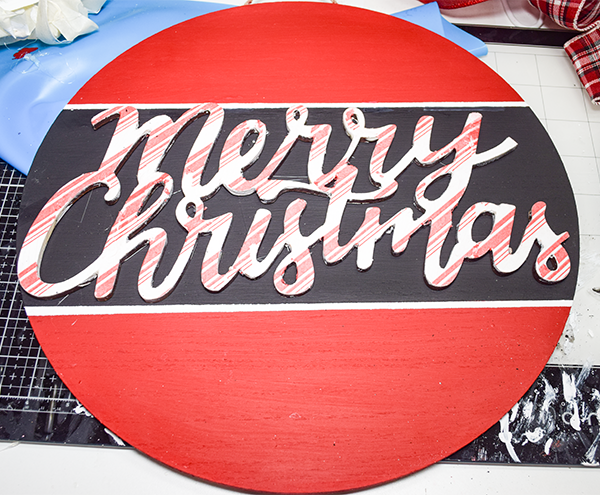
Step 3: Paint the words
Paint the words white.
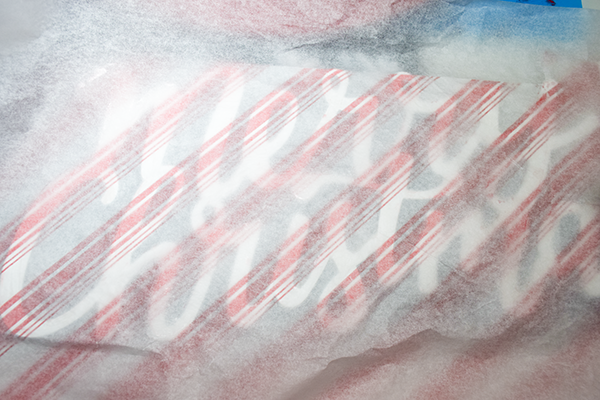
Step 4: Decoupage the Wood Words
Cover the Merry Christmas words with Mod Podge. Let the Mod Podge dry completely. Choose a festive napkin and divide the layers. Place the top layer on the words. Place a piece of parchment paper pn top of the napkin. Using an iron press the parchment paper and napkin so that the mod podge adheres to the napkin and there are no wrinkles. Use the sand paper and emory board to remove any excess napkin. Cover the words with Mod podge.
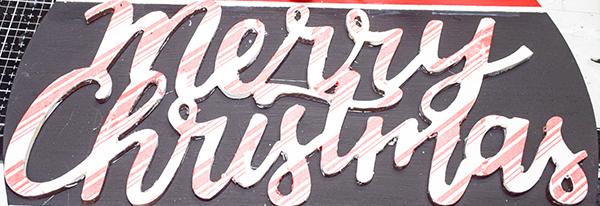
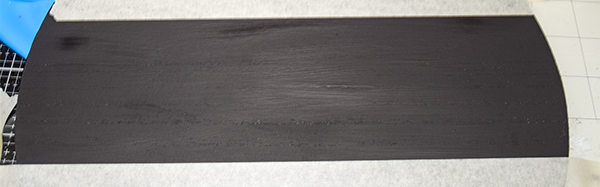
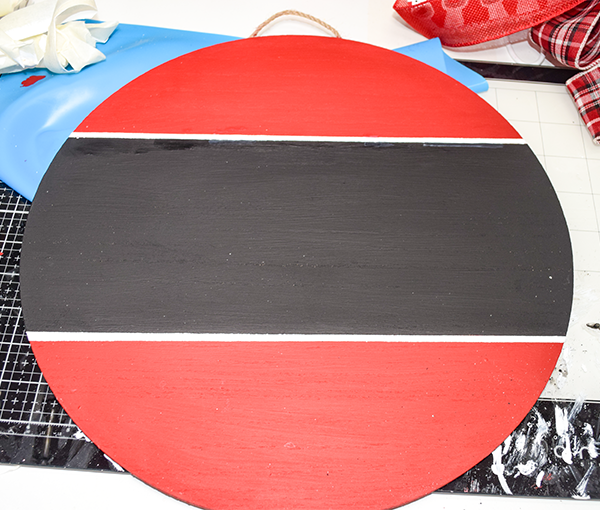
Step 5: Paint the Center of the Round
I used red colored napkins so I decided to paint the center of the round black to set off the color. You could paint it white or green if you like depending on the napkins you choose. Let dry completely.
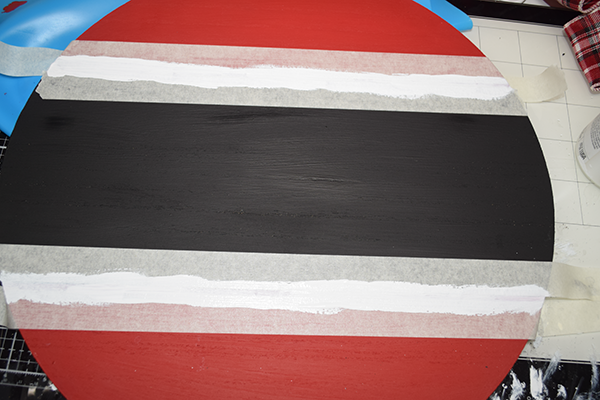
Step 6: Paint the White Stripe
Tape off a thin stripe and paint it white. You will need a few coats for this.
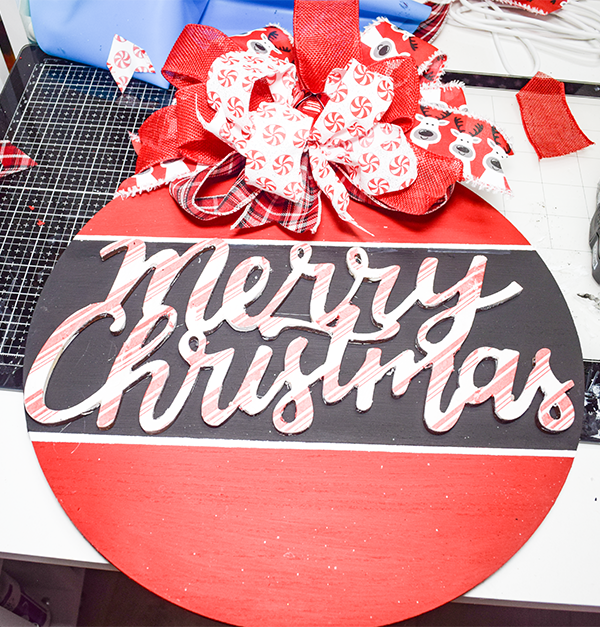
Step 7: Glue the Words to the round
Using a combination of hot glue and wood glue attach the words to the center of the wood round.
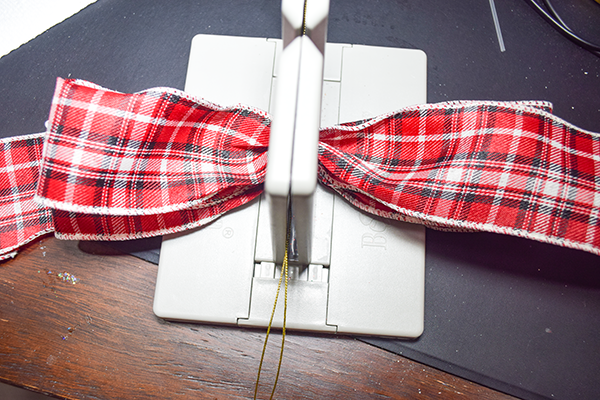
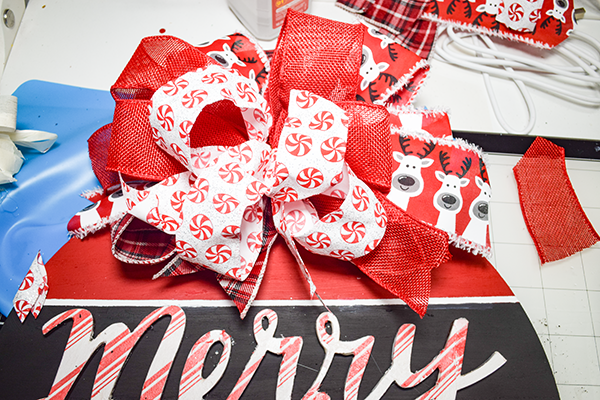
Step 7: Create the Bow
Using the bowdabra create a nice sized bow. If you are uncomfortable making bows head over to southern Charm Wreaths and take their bow making course. Attach the bow using wood and hot glue. Once the bow is added place it on your door and enjoy.

I hope you enjoyed this simple craft project. For more sewing and crafting projects subscribe to our free newsletter and receive your free Dollar Tree Holiday eBook.
If you would like video tutorials of some of Sew Very Crafty's most popular posts subscribe to our free YouTube channel here.
Join our Sew Very Crafty Fans Facebook group
If you want to ask questions and share your projects join our Facebook group here. The community will help to achieve your sewing and crafting dreams.