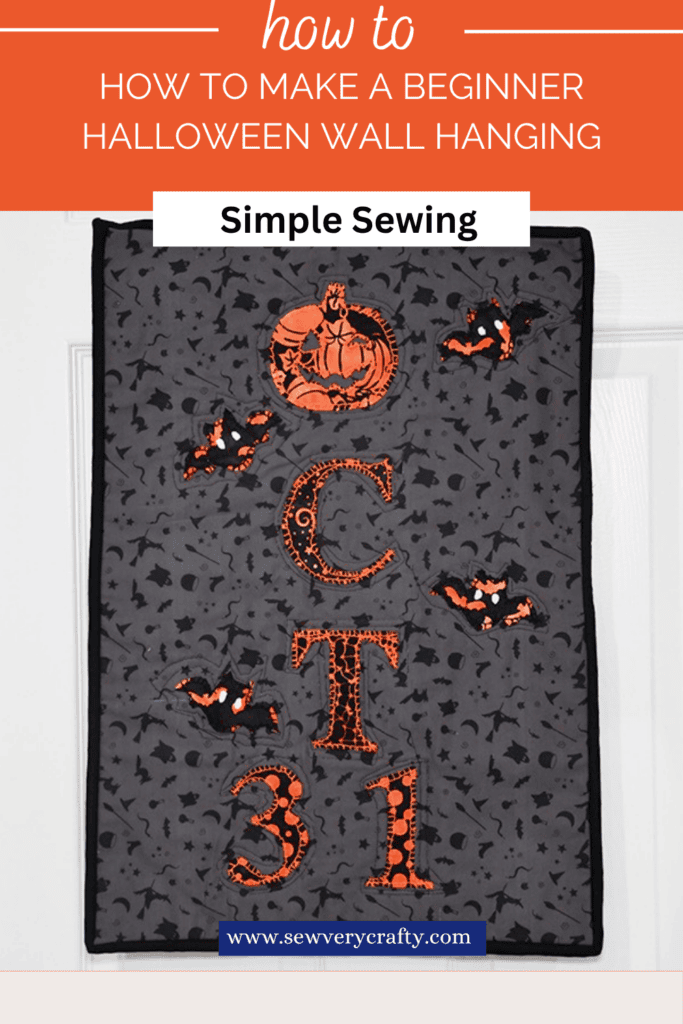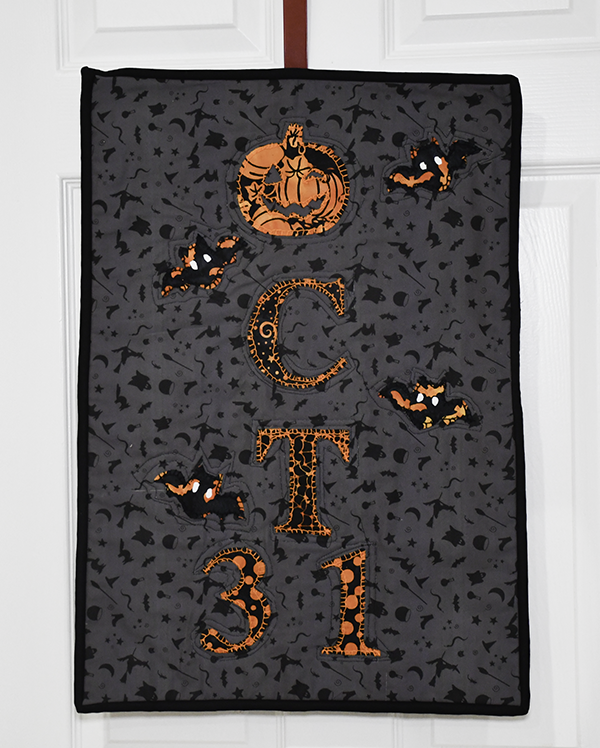
I really wanted to make a super easy Halloween quilted wall hanger so I pulled out some wonder under to make this a super simple beginner quilting project. You can amain fabric and fat quarters or scraps of Halloween fabric to complete the look. If you have never used Wonder Under you don’t know what you are missing. It makes appliqué simple and easy and appliqué is great for the beginner quilter. If you would like more holiday sewing and crafting projects head over to my Holiday Project Vault for many more.

Note: This post contains affiliate links that if you click on them and make a purchase I will receive a small commission at no extra cost to you. As an Amazon Associate I earn from qualifying purchases.
What you will Need: How to Make a Halloween Quilted Table Runner using fusible grid
Step 1: Cut the fabric
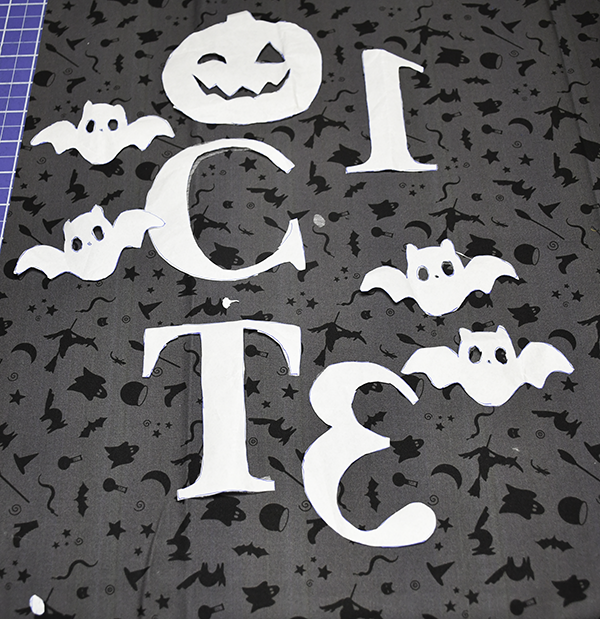
Start by cutting the main fabric for the front of your wall hanging. I used a 20" x 25" rectangle. Cut a piece about 2" larger for the backing fabric and quilt batting. Next cut the appliqué fabric. Cut 5" x 5" squares of fabric for the letters, numbers and four bats. Repeat for the Wonder Under. Cut two 2 1/2" wide strips of fabric for the binding.
Step 2: Create the appliqué
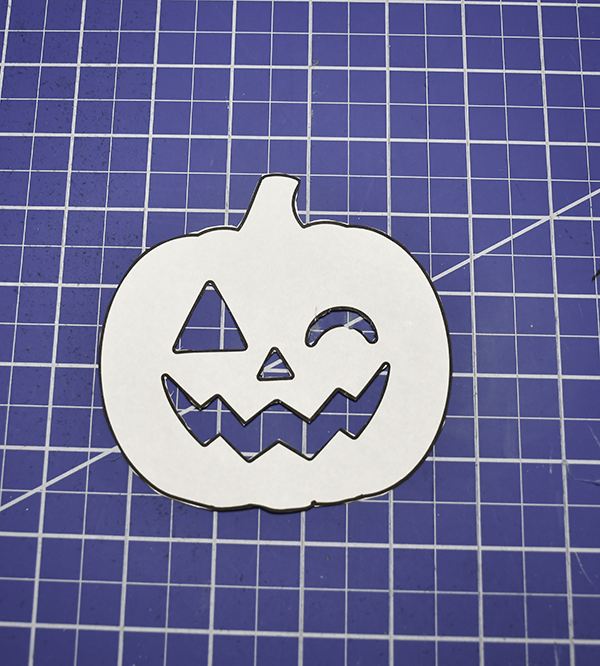
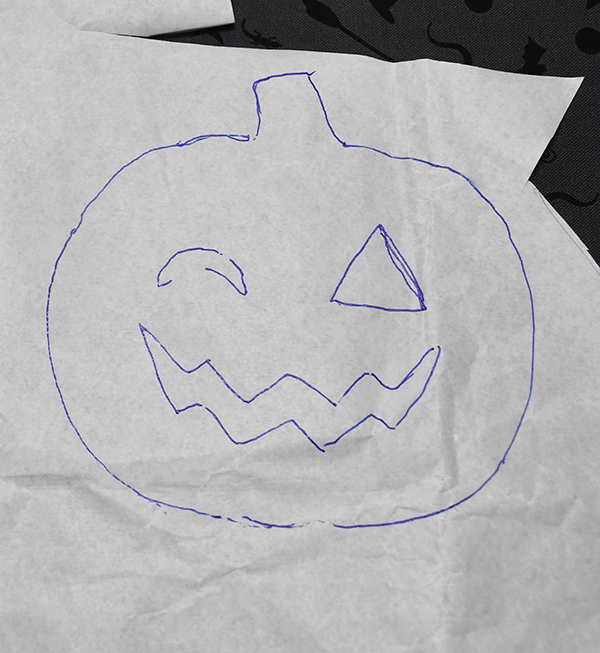
To create the appliqué trace each pattern piece onto the paper side of the wonder under. For the "C" and the numbers trace them on the reverse of the pattern so that they will be in the correct position when you fuse them. Once each of the pieces has been traced, cut them out.
Step 3: Fuse the appliqué Pieces
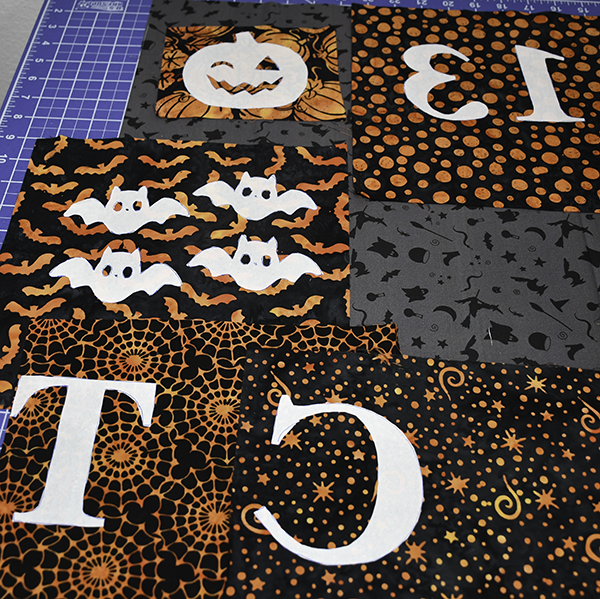
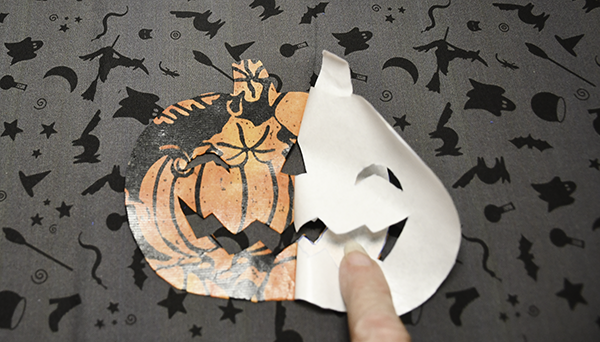
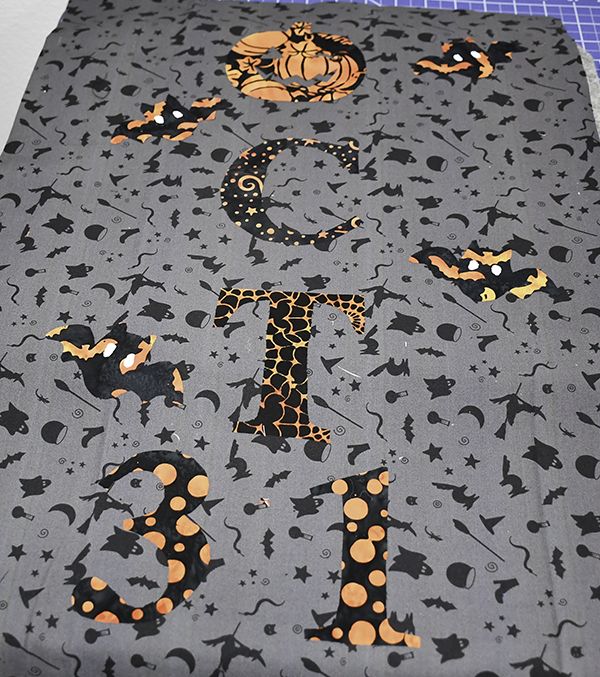
Start by measuring 2" down from one of the short ends of your main fabric piece in the center and make a mark. Place the Jack-O-Lantern stem on that mark. Place the vertical pieces evenly down the center leaving room for the horizontal pieces on the bottom. Once the vertical pieces have been placed, lay out the vertical pieces as you like.. Place the appliqué pieces with the glue side down on top of the marks you made and fuse them using a hot iron. Place the iron onto the paper side of the appliqué for a few seconds until they are fused. Remove the paper.
Step 4: Stitch the appliqué
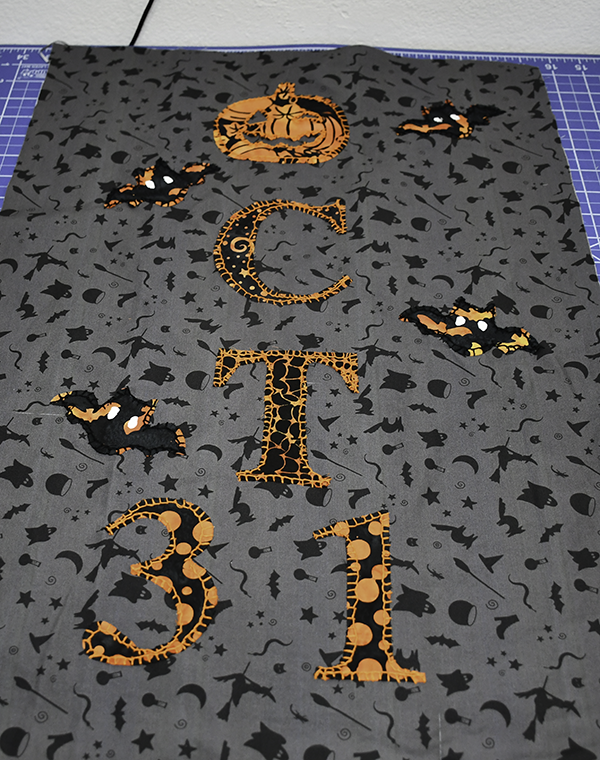
Once the appliqué pieces have been fused, stitch all the way around using blanket or zig zag stitch. You can do this by hand or with your machine.
Step 5: Sandwich your quilt
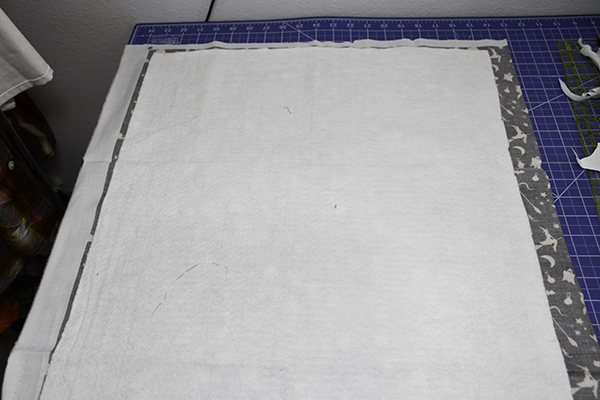
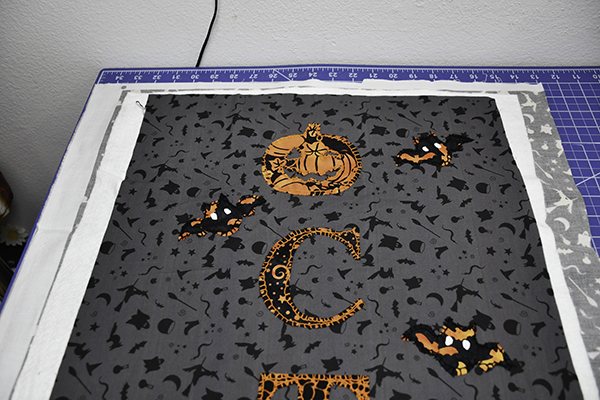
Place the backing fabric right sides down on your work surface and spray it with quilt adhesive. Lay the quilt batting onto the wrong side of the backing fabric. Spray the batting with quilting adhesive and then place the front of the wall hanging wrong side down on top of the batting.
Step 6: Quilt the pieces together
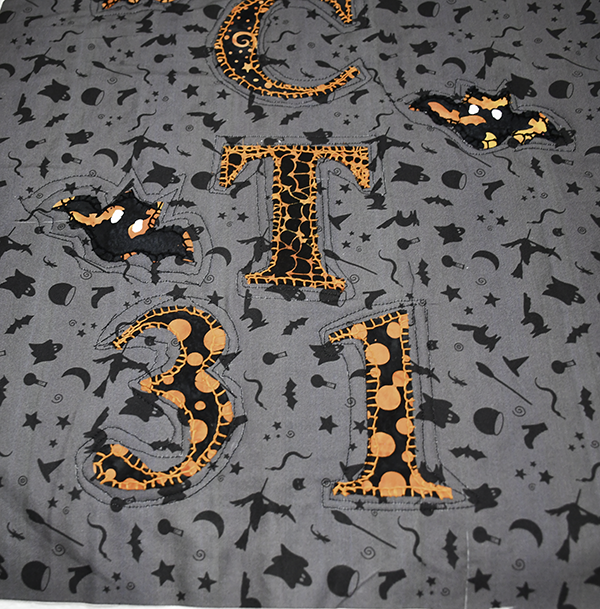
Stitch through all layers in any patter you want. I used a quilting stencil for my wall hanging. I used chalk to create the pattern. Use a walking foot to quilt the pieces for the best outcome. The walking foot will feed the quilt sandwich evenly so there are few puckers. Once you have finished quilting the piece trim the edges so that they are nice and neat.
Step 7: Create the Binding
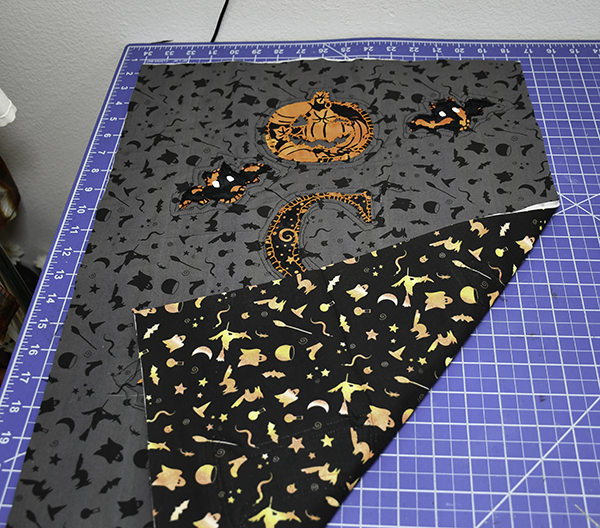
First, lengthen the binding strip so that it is long enough to go all the way around the wall hanging. To do this, place one end of a 2 1/2" binding strip perpendicular with the other so they are right sides together. Stitch diagonally starting from the top left side to the bottom right of the square you created when you positioned the ends. Open to make sure that the raw edges are even. If they are trim off the excess seam to 1/4". Fold the binding strip in half lengthwise and press.
Step 8: Stitch the Binding
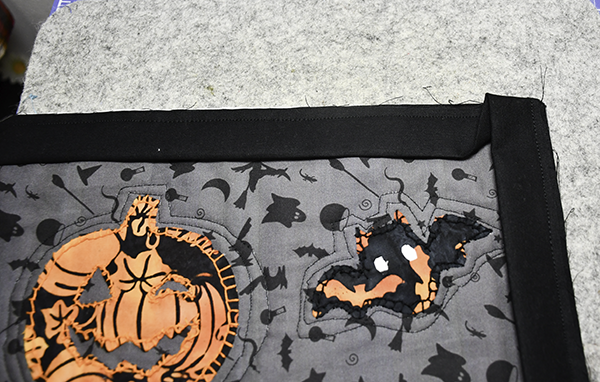
Place the raw edges of the binding strips right sides together with the front side of the wall hanging half way along one side. Leave a tail of fabric before starting to stitch. Using a 1/4" seam allowance, stitch the binding fabric to the wall hanging through all layers. When you reach the end of the first side stop and stitch diagonally off the edge. Fold the binding so that the binding raw edges meet the next side of the quilt . Make sure that the folded edge is even with the top of the next side. Begin stitching the next side. Repeat for all sides.
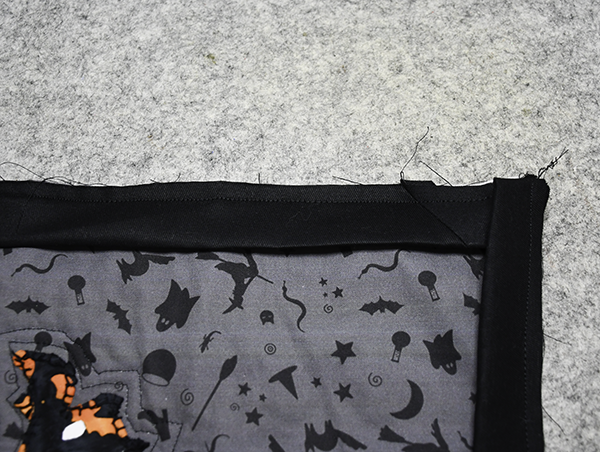
For photos of this portion see my post here.
Once you have reached the end overlap the ends by 2 1/2" and cut off the remainder. Place the ends right sides together so that they are perpendicular I n the same way you did to join the binding strips. Pin. This is a bit fidgety but I promise it will be fine. Stitch diagonally in the same way as before. Pull the pieces to make sure the edges are straight. If they are trim off the excess seam to 1/4". Stitch the remainder of the binding.
Step 9: Finish the Wall Hanging
Fold the binding over the raw edges of the wall hanging. Clip using wonder clips. Either hand stitch or machine stitch the binding. I prefer to use an invisible hand stitch to finish my binding. Secure the binding all the way around.
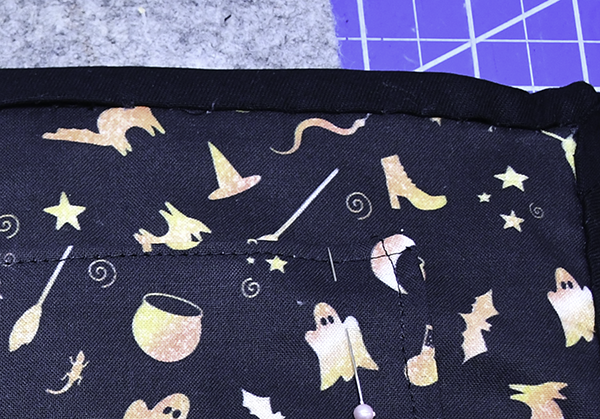
Step 10: Add a Hanger
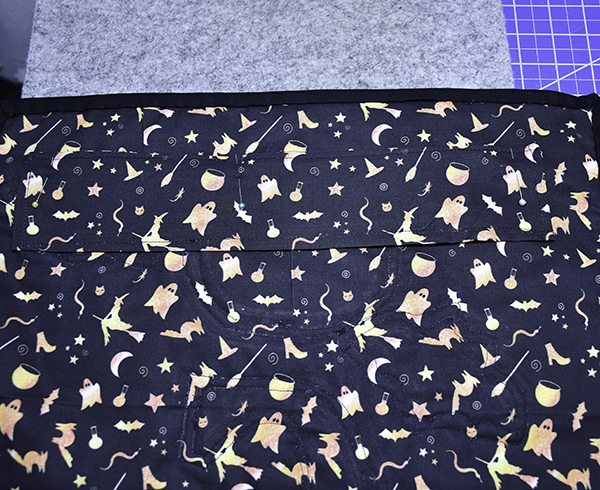
Take the two backing fabric rectangles and place them right sides together. Stitch all the way around using a 1/4" seam allowance leaving an opening for turning. Turn right sides out. Topstitch all the way around making sure to close the opening as you go. Place the finished rectangle near the top of the backing side of the wall hanging and hand stitch it to the back leaving the short ends open. Insert a dowel through the short ends. Wrap twine around each end of the dowel to create a hanger. Hang and enjoy!
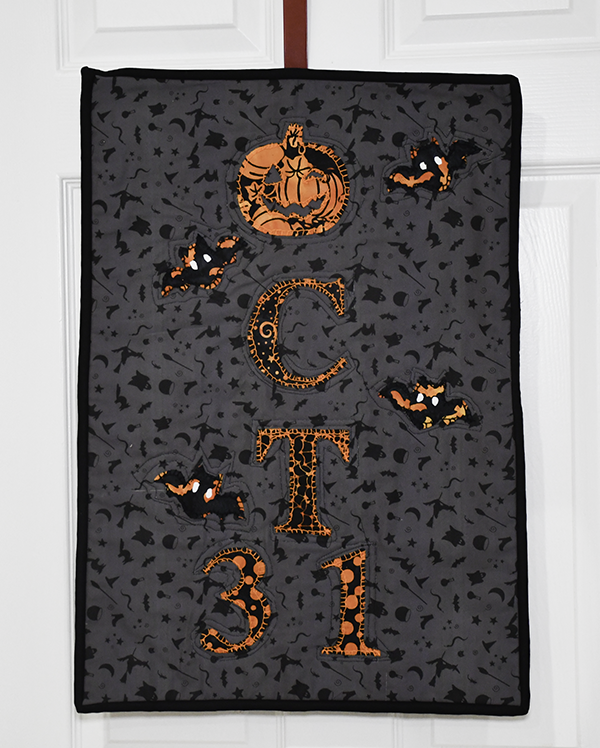
I hope you enjoyed this simple quilting project. If you would like more sewing and crafting projects subscribe to our free newsletter and receive access to our free printable library.
Join our Sew Very Crafty Fans Facebook group
If you want to ask questions and share your projects join our Facebook group here. The community will help to achieve your sewing and crafting dreams.

Subscribe to our Free YouTube Channel!