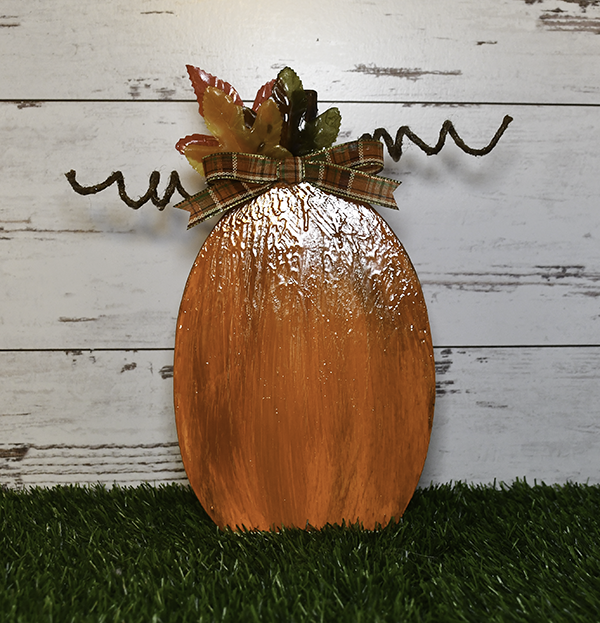
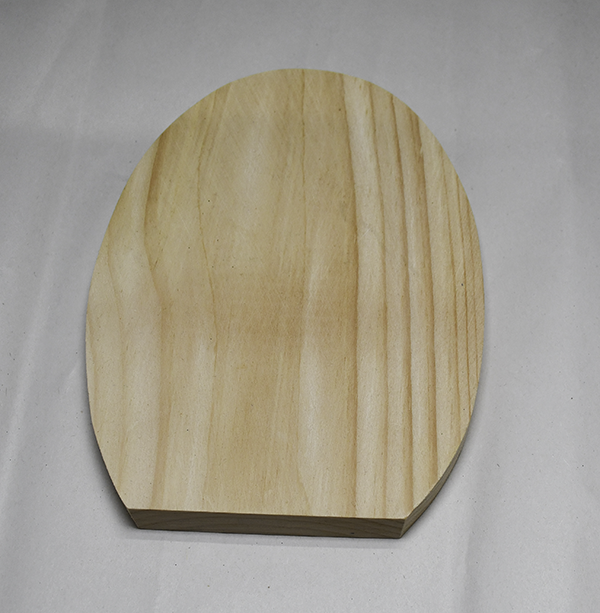
I had this left over Dollar Tree wood egg from Easter. It was just sitting my stash so I thought I would use it to create a cool pumpkin home decor craft. This piece is all about the paint. I layered several different colors of paint to create this cool pumpkin. Once I was satisfied that I like the paint I covered the entire thing with resin to make it look like glass. It was a very nice effect. I hope you like this very simple kid friendly craft. For more holiday sewing and crafting head over to my Holiday Project Vault. If you would like more Dollar Tree crafts check out my Dollar Tree page.

Note: This post contains affiliate links that if you click on them and make a purchase I will receive a small commission at no extra cost to you. As an Amazon Associate I earn from qualifying purchases.
What you will Need: How to Make Dollar Tree Autumn Pumpkin Decor
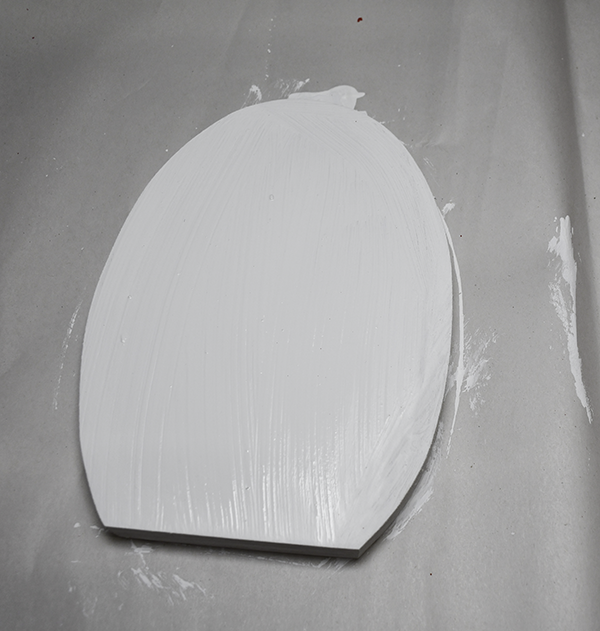
Step 1: Paint the Egg White
Start by painting the entire egg white. This is just the base for all of the other paint. You really only need one coat but it is up to you if you want to add more.
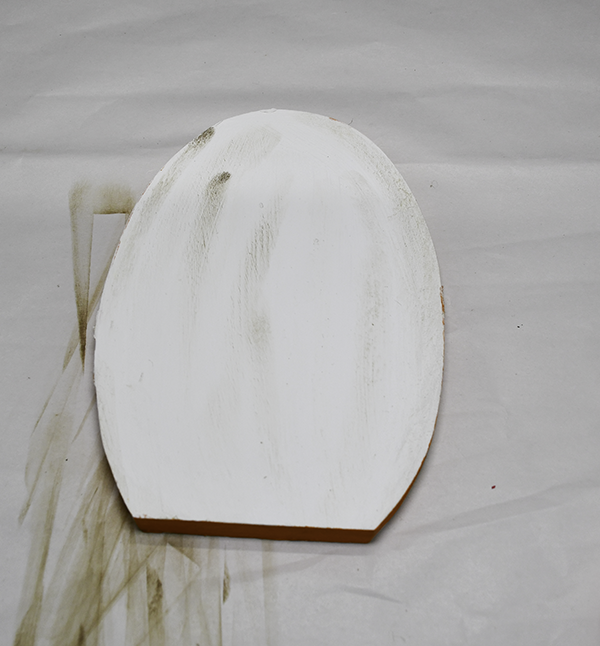
Step 2: Add the Walnut Distress Oxide
Use the walnut distress oxide to draw curved lines in the shape of the egg to create dimension to the egg.
Step 3: Add the Orange Chalk Paint
I have used this orange chalk paint many times. The thing that I noticed about this paint is that unlike other chalk paint it is translucent. I felt that this was important for the look that I wanted. Paint two layers of the orange chalk. You should see the distress oxide through the orange paint.
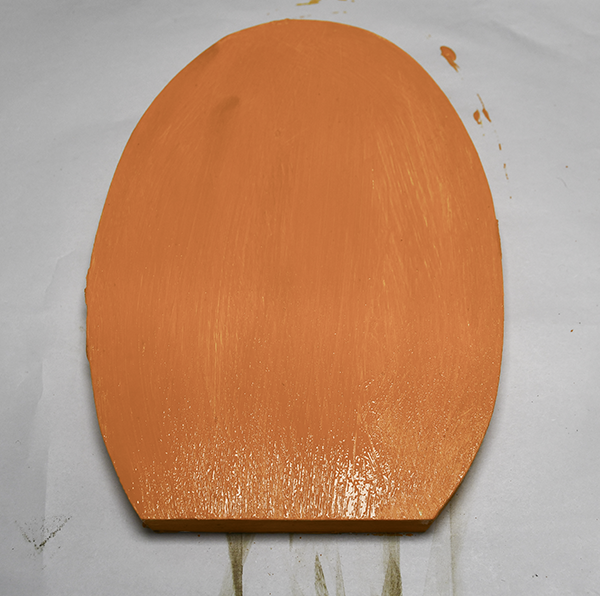
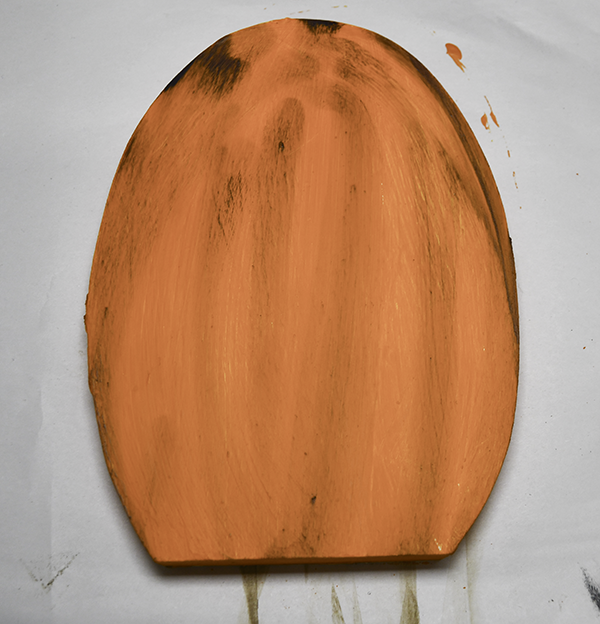
Step 4: Add the Black Soot Distress Oxide
Add the black soot distress oxide in the same way you did the walnut but in different areas.
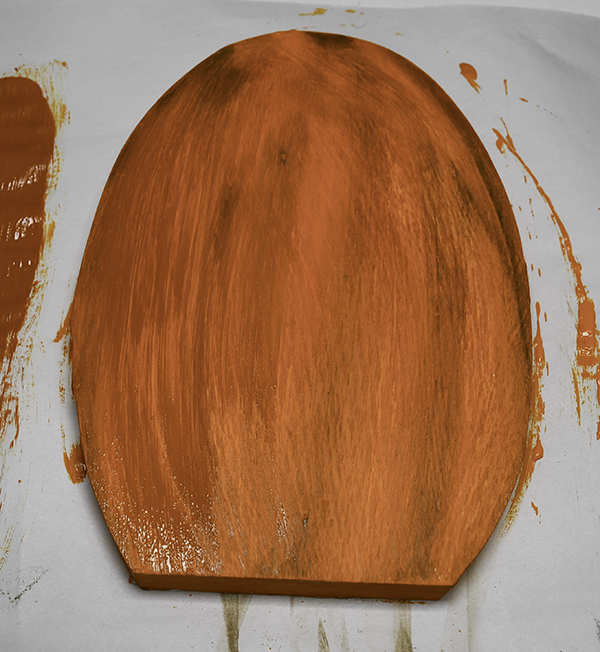
Step 5: Paint the Orange Acrylic Paint
Wipe the acrylic paint onto the egg using a baby wipe. Again you want to use a darker colored orange paint to add depth and dimension . Once you have the colors so that they blend seemlessly and are where you want the to be. Let the paint completely dry.
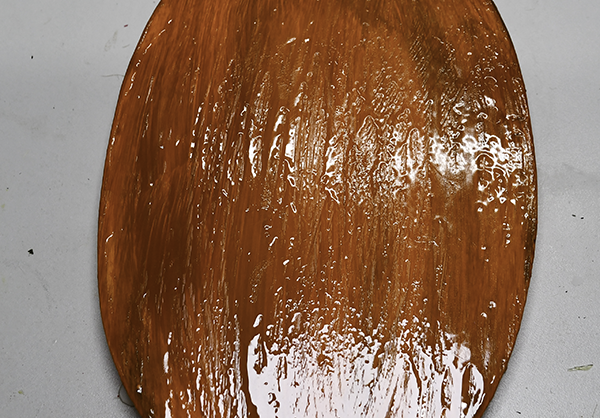
Step 6: Cover the Piece with Clear Resin
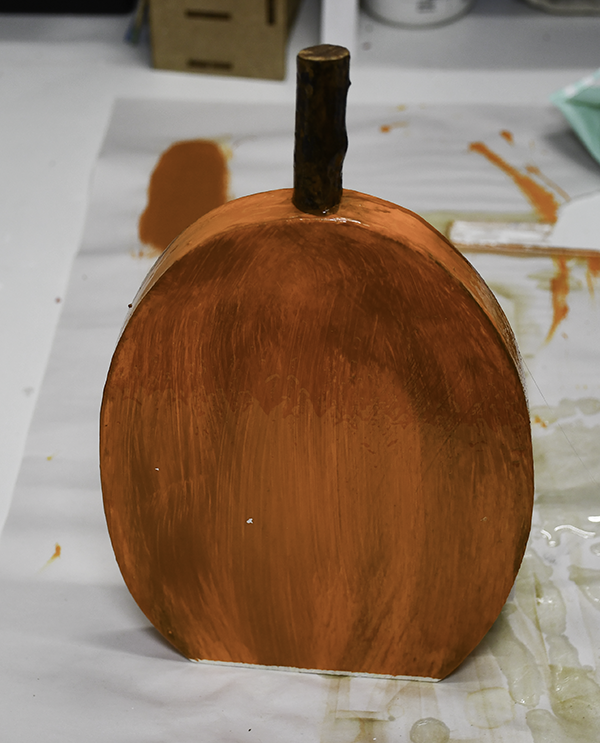
If you have never used resin make sure you wear gloves before mixing and applying the resin. Mix equal parts of the resin materials. You do not need much resin for this project. Make sure it is thoroughly mixed. Once it is, cover the entire egg and the wood stem with the resin. Let the resin dry completely. I let mine dry over night.
Step 7: Glue the stem
Using hot glue, glue the stem to the top of the egg in the center.
Step 8: Embellish the Egg
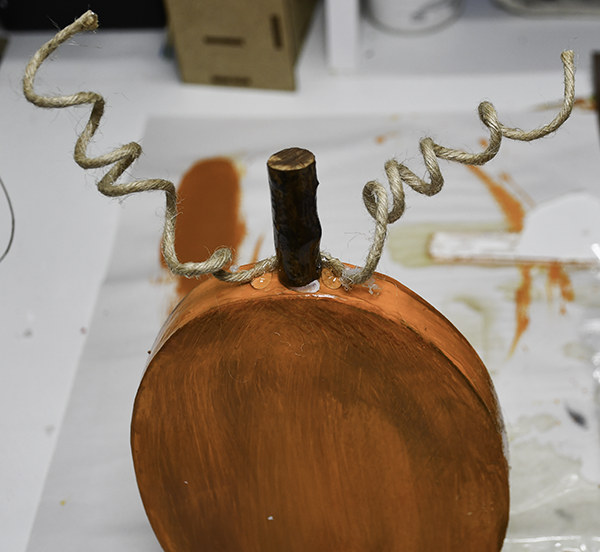
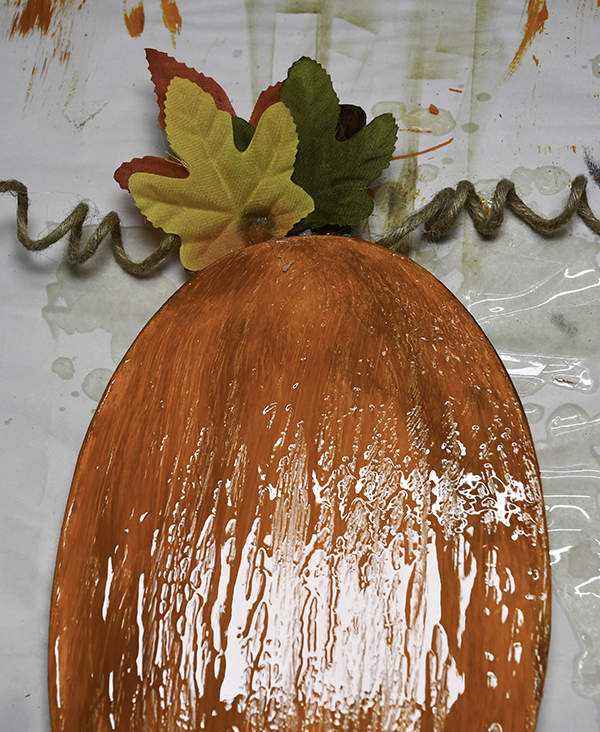
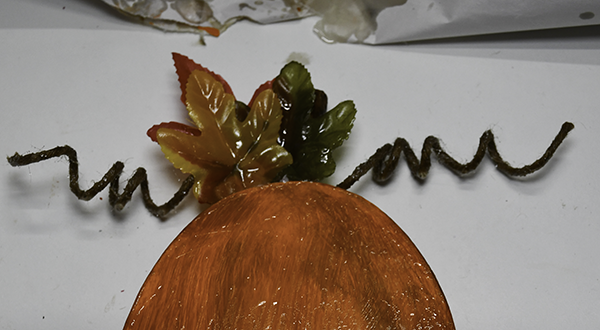
First, take the wired jute and twist the ends around a pencil so that it curls. Glue the jute to the top of the egg around the stem. Add some Dollar Tree leaves by gluing them to the top as well. I wanted the entire egg to shine like glass so I covered the tendrils and leaves with the resin. Because the tendrils and leaves were in place, I applied the resin with a brush.
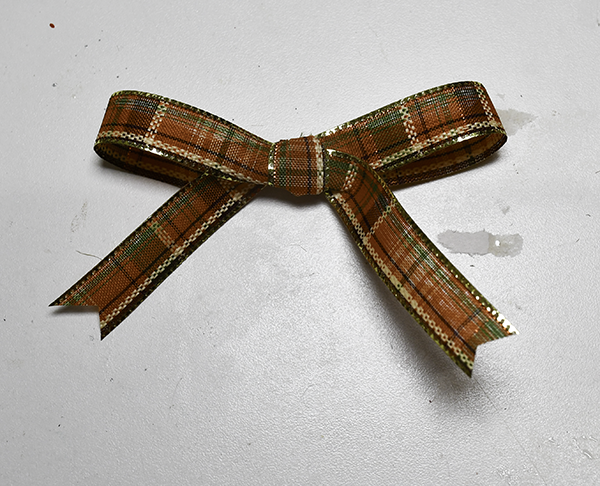
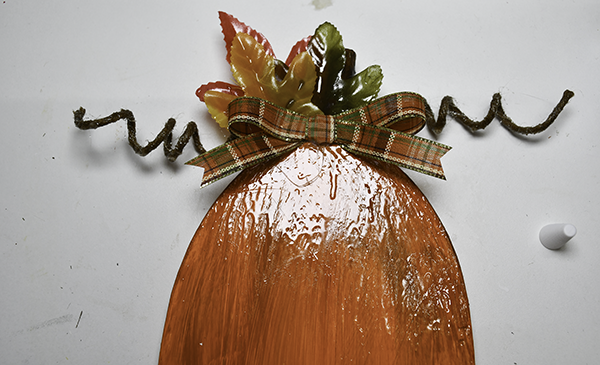
Step 9: Attach the Jenga Block
Glue a full sized Jenga block or several tumbling tower blocks to the back of the egg on the bottom. The purpose of this is to make sure the egg can stand up on its own. Once you have added the blocks you have finished your Dollar Tree autumn pumpkin decor.
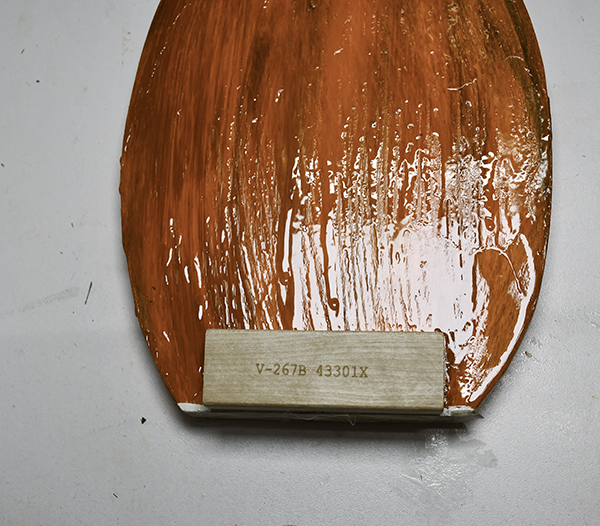
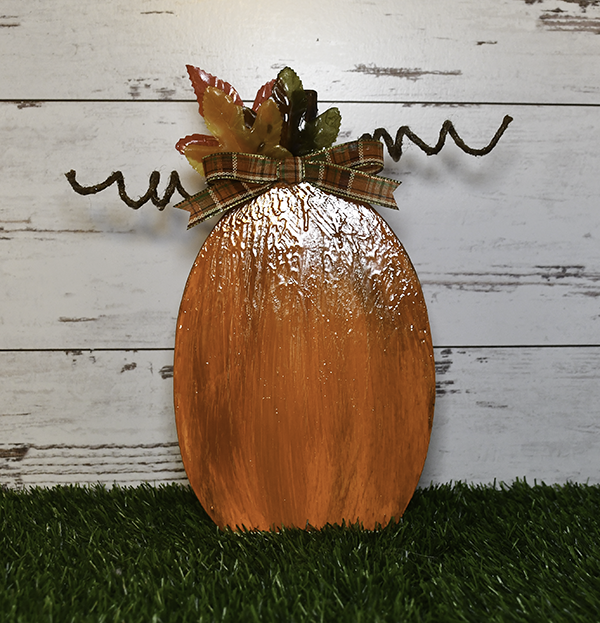
I hope you enjoyed this simple Dollar Tree craft. For more sewing and crafting projects subscribe to our free newsletter and receive your free Dollar Tree Holiday eBook.
Join our Sew Very Crafty Fans Facebook group
If you want to ask questions and share your projects join our Facebook group here. The community will help to achieve your sewing and crafting dreams.

Subscribe to our Free YouTube Channel!