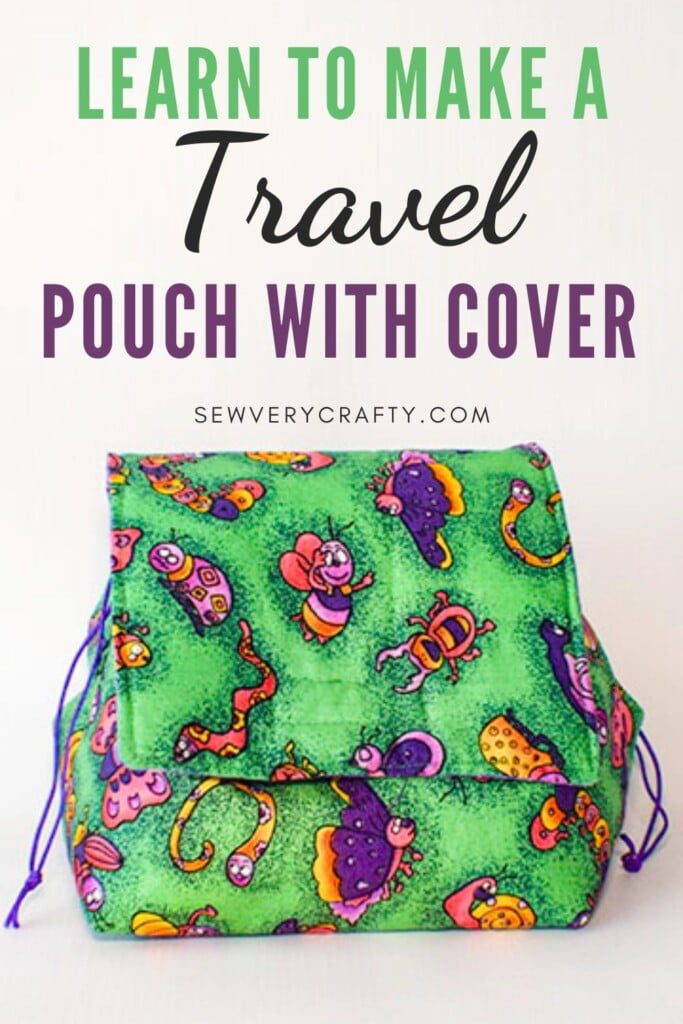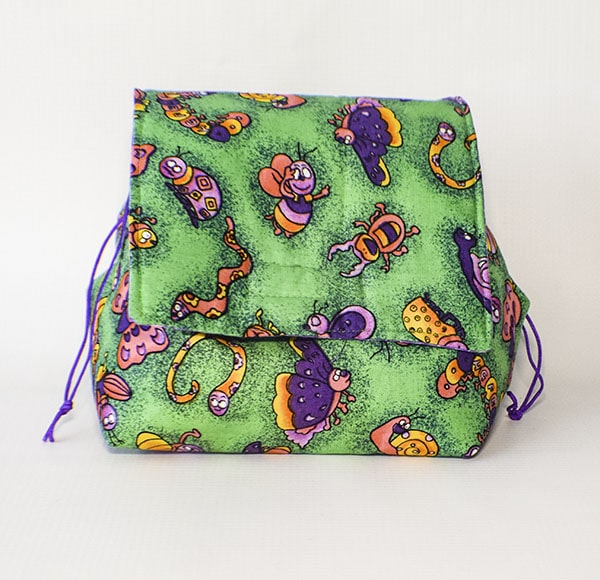
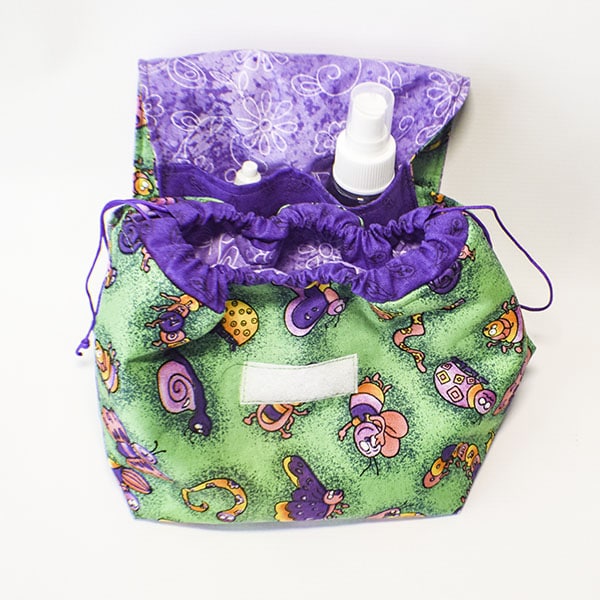
I am anxious for travel to open up. In preparation, I stitched up this travel pouch with cover that I saw at Sewing Times on YouTube. This is a fun and functional travel project that anyone with basic sewing skills can make. There are small compartments for makeup and a large center compartment for everything else. There is a cover that is secured by Velcro and a drawstring closure. I would not categorize this as a beginner sewing project but it is straight stitch sewing. Just follow the tutorial and you should be able to create this project. The time it takes will depend on your skill level.
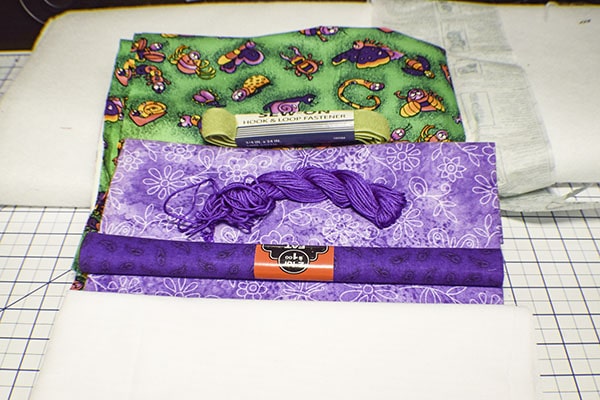
Believe it or not my husband found the fabric I used for this project when he was cleaning out the garage. I have no idea where I purchased it. I just know that I have had it for at least 20 years. It is really cute novelty fabric that I thought to use for this project because why not? It is in amazing condition so I might as well use it. Of course you can head to JOANN Fabric & Craft Stores![]() , Hobby Lobby, Fabric.com or onlinefabricstore.net to get exactly what you need for your travel pouch with cover. This post contains affiliate links that I you click on them and make a purchase I may receive a small commission at no extra cost to you. As an Amazon Associate I earn from qualifying purchases.
, Hobby Lobby, Fabric.com or onlinefabricstore.net to get exactly what you need for your travel pouch with cover. This post contains affiliate links that I you click on them and make a purchase I may receive a small commission at no extra cost to you. As an Amazon Associate I earn from qualifying purchases.
What you will Need: How to Make a Travel Pouch with Cover
- 1/2 yd outer fabric and lining fabric
- 1/2 yd fusible fleece like Pellon 987F
- 1/4 yd contrasting fabric
- 1/4 yd Pellon SF 101
- Small piece of Velcro
- 48″ of 3mm cording
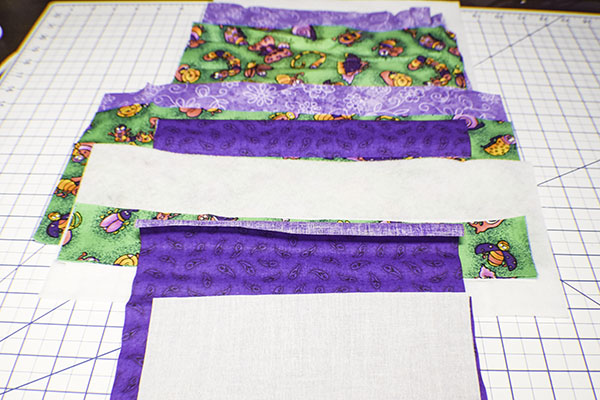
Step 1: Cut your Fabrics
- 2 Outer, Lining and Fleece Fabric pieces that measure 10 3/4″ x 8 3/4″
- 2 Contrast fabric pieces that measure 10 3/8″ x 2″ for the casing
- 1 outer and lining piece that measures 6 3/4″ x 14 3/4″
- 1 Fleece piece that measures 6″ x 14″
- 2 outer and two SF 101 pieces that measure 13″ x 2″ for the handle
- 1 Contrasting fabric that measures 6 3/4″ x 8 3/4″
- 1 Piece of SF 101 that measures 6″ x 8″
- 2″ pieces of 1″ Velcro
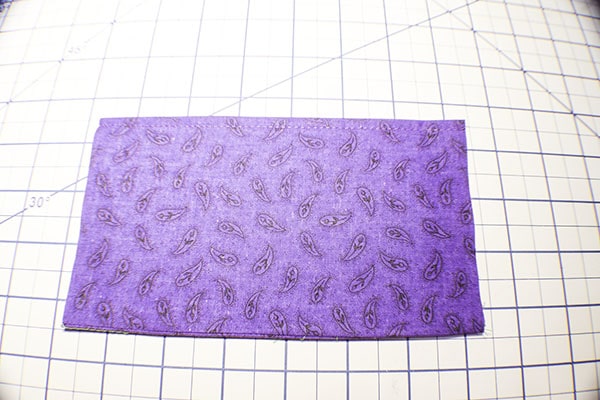
Step 2: Fuse Fleece
Fuse the fleece to the corresponding outer fabric pieces using a hot iron and following the manufacturer's instructions.
Step 3: Cut the Corners
Cut 2″ x 2″ squares from the bottom corners of the outer and lining pieces that measure 10 3/4″ x 8 3/4″.
Step 4: Prepare the Casing
Take the two contrasting casing pieces and fold the short ends to the wrong side by 3/8″ and press. Fold the casing pieces in half lengthwise wrong sides together and press.
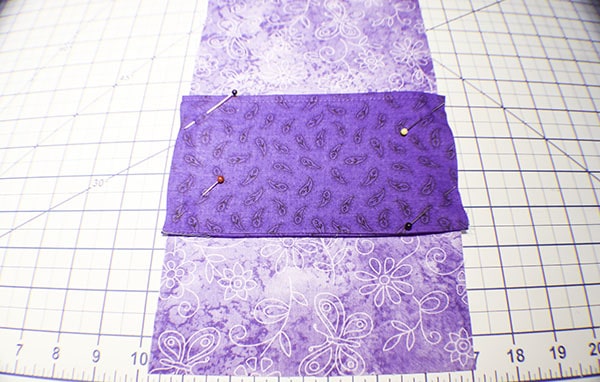
Step 5: Add the Casing
Take the two main outer pieces that measure 10 3/4″ x 8 3/4″ and place them right sides up on your work surface. Place each of the casings on the top of the outer pieces right sides together and matching the raw edges. Make sure that the casings are centered on the outer piece. Stitch the casing to the outer piece using a 1/4″ seam allowance.

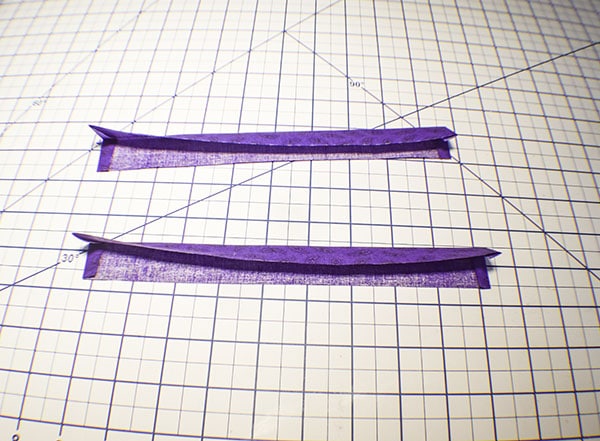
Step 6: Create the Handle
Fuse the SF 101 to the Handle pieces that measure 13″ x 2″ following the manufacturer's instructions. Place the two pieces right sides together and stitch both sides using a 3/8″ seam allowance. Turn right sides out. Press. Topstitch on both sides.
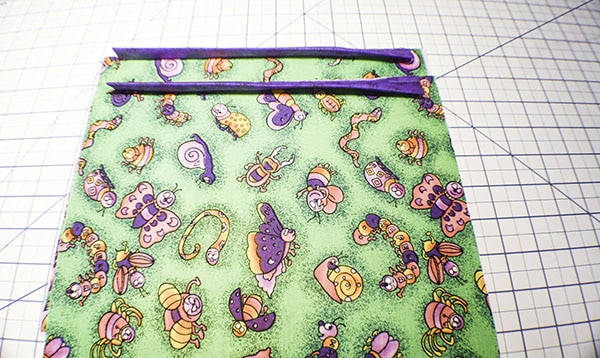
Step 7: Add the Handle
Place one end of the handle onto one of the outer pieces 1″ from the top and just under the casing and pin. Place the other end of the handle on the other side of the same outer piece also 1″ from the top and pin. Stitch to two ends using a 1/4″ seam allowance.
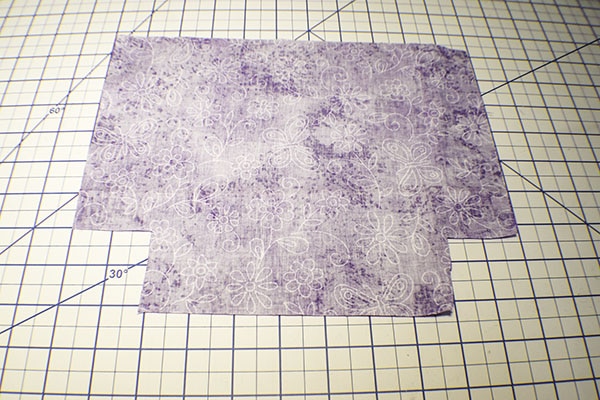
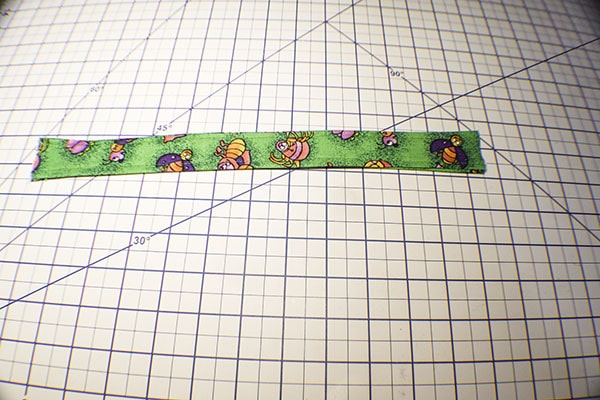
Step 8: Create the Makeup Pocket
Take the contrasting fabric that measures 6 3/4″ x 8 3/4″ and fuse the corresponding SF 101 to the wrong side following the manufacturer's instructions. Fold the piece in half right sides together widthwise and stitch the bottom using a 3/8″ seam allowance. Turn right sides out and press. Topstitch along fold.

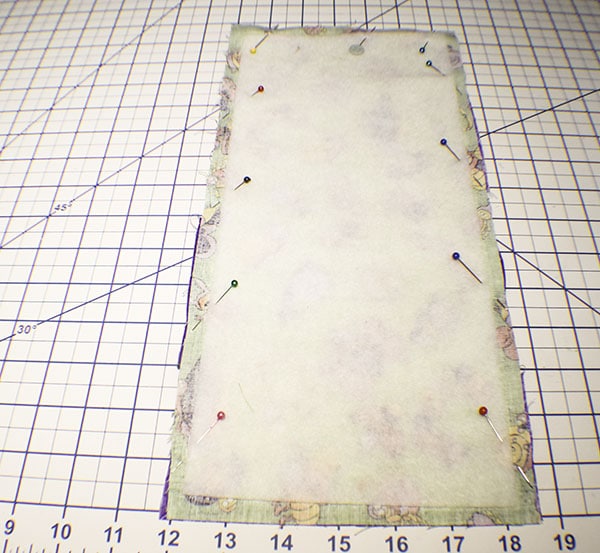
Step 9: Add the Makeup Pocket
Take the lining piece that measures 6 3/4″ x 14 3/4″ and measure 3″ up from the bottom and mark. Place the Bottom of the pocket you just made on that mark and pin. Stitch along the sides and bottom. Then stitch two divider lines to create three pockets of whatever size you want.
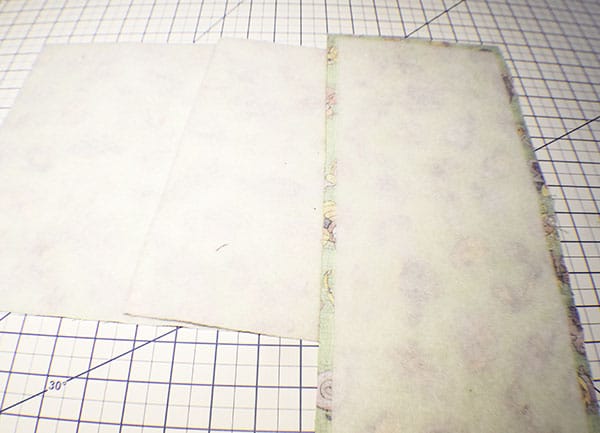
Step 10: Create the Flap Cover
Place the two 6 3/4″ x 14 3/4″ pieces right sides together. Stitch around three sides of the the two pieces using 3/8″ seam allowance leaving the bottom open. Clip the top corners and turn right sides out and press. Topstitch around the three seams.
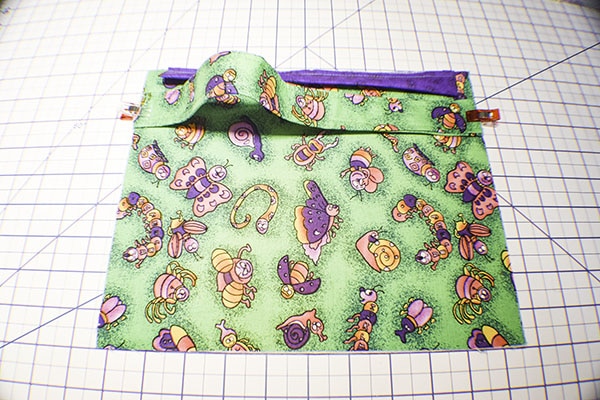
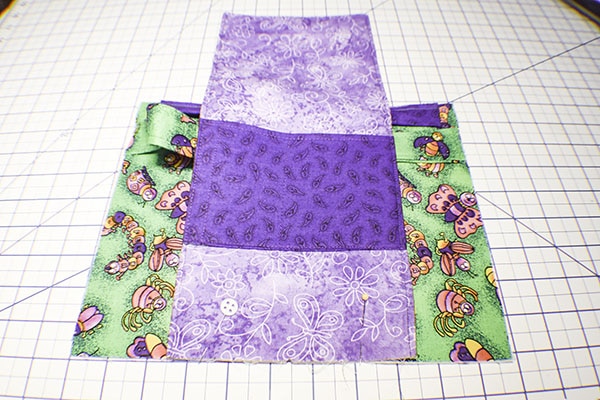
Step 11: Add the Flap Cover
Take the outer piece that has the handle and place it on your work surface. Place the Flap Cover right sides together with the outer piece matching the raw edges at the bottom and making sure that it is centered on the outer piece. Stitch using 1/4″ seam allowance.
Step 12: Add the Velcro
Measure down 2″ from the top of the outer piece with the handle and place one side of the Velcro in the center and stitch all the way around. Measure down 5/8″ from the bottom of the flap cover on the lining side and place the other half of the Velcro in the center and stitch it down.

Step 13: Create the Outer Bag
Fold up the flap onto the outer piece. Place the other outer piece right sides together with the first outer piece. Stitch along the sides and the bottom using a 3/8″ seam allowance.

Step 14: Box the Corners
Take the bottom corners and box them. To do this match the bottom seam with the side seam and clip the seam you create. Repeat for the other corner. Stitch across the seam using a 3/8″ seam allowance on both sides. Take care not to catch the flap cover that is on the inside. Turn the bag right sides out.
Step 15: Create the Lining Travel Pouch
Place the lining pieces right sides together. Stitch the sides and bottom using a 3/8″ seam allowance. This time leave an opening in the bottom for turning. Box the corners in the same way you did for the outer bag.
Step 16: Add the Pouches Together
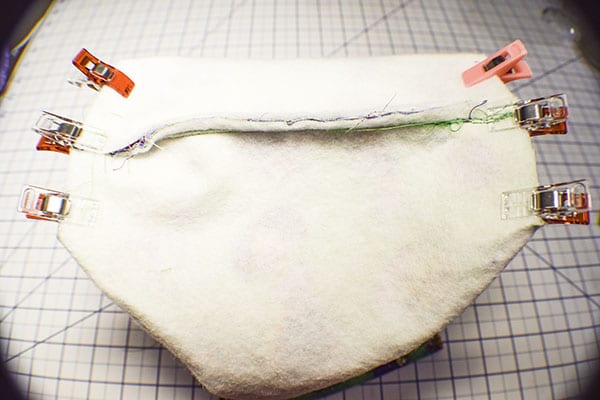
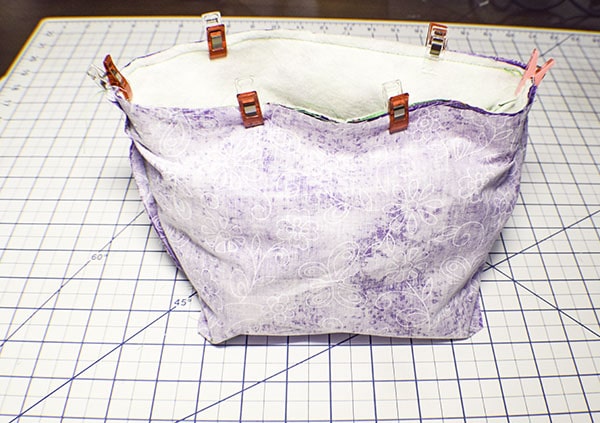
Place the outer bag into the lining bag Sio that they are right sides together and the flap cover is sandwiched inside. Match the side seams. Stitch the bags together around the top using a 3/8″ seam allowance.
Step 17: Turn Right Sides Out
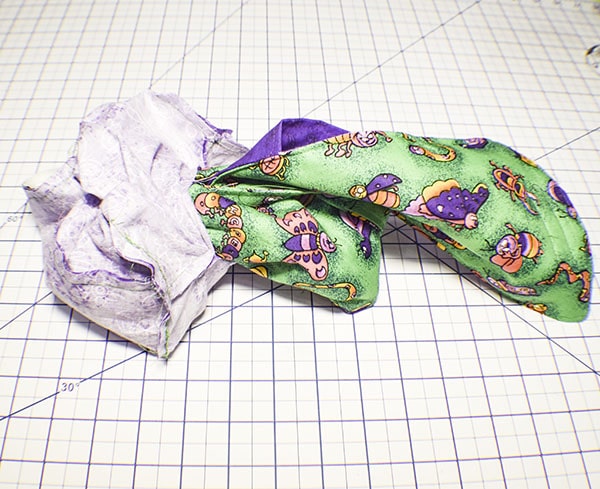
Turn the bag right sides out through the opening you left in the lining. Close the opening in the lining using ladder stitch or your machine.
Step 18: Finish the Travel Pouch with Cover
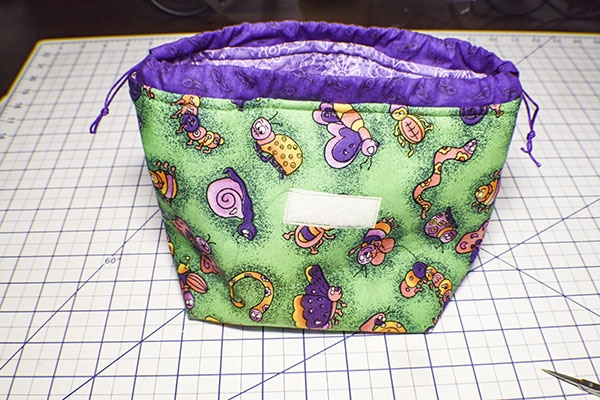
Push the lining into the outer bag and press. Topstitch along the top making sure to leave the casing facing up. Cut the cording in half. Thread the cording through each side of the casing all the way around so that you can pull the cards from both sides. Tie the cord ends together on both sides. You have now finished your travel pouch with cover.
I hope you enjoyed this travel pouch with cover. If you would like more sewing and crafting projects sign up for our newsletter and receive your free eBook of 15 handbag patterns and tutorials taken from the blog.
If you would like video tutorials of some of Sew Very Crafty's most popular posts subscribe to our free YouTube channel here.