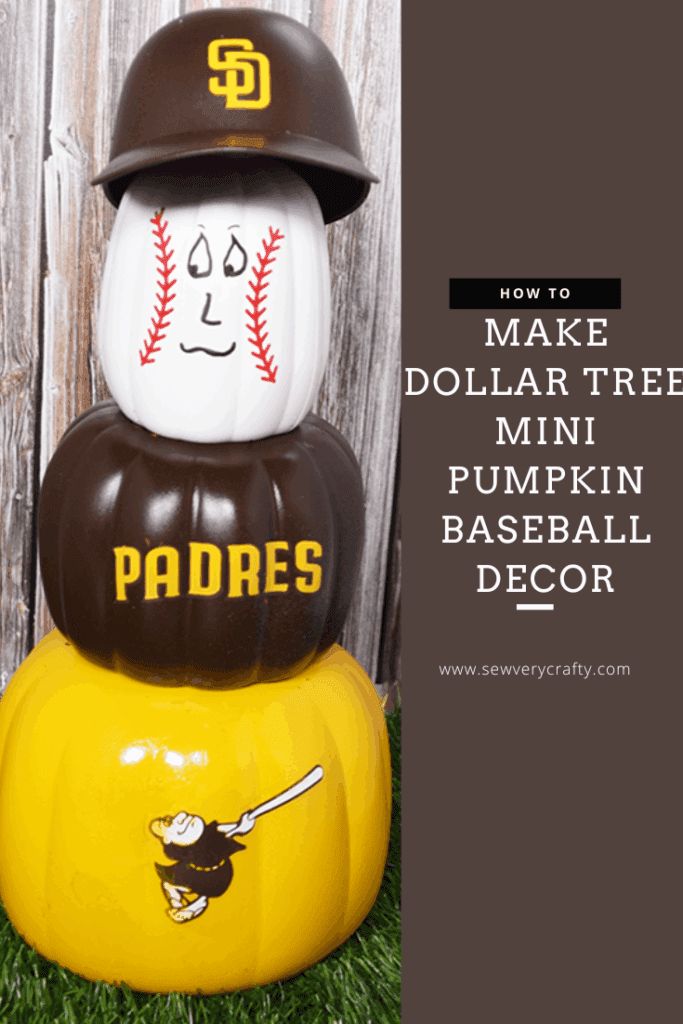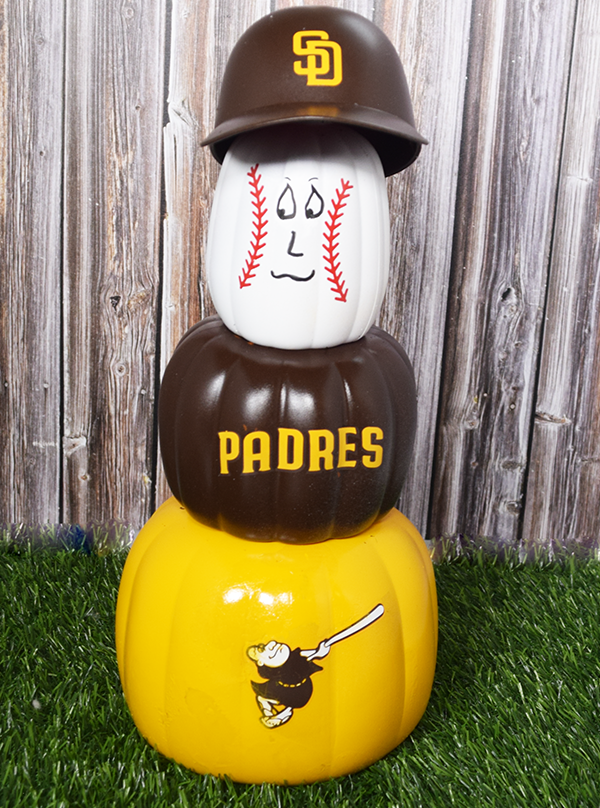
It is getting to playoff time in Major League Baseball. My team didn't make it but my sister in law's team did so I wanted to make something to celebrate her team's entry to the playoffs. I saw some Dollar Tree mini stacked pumpkins and thought these were perfect for what I had in mind. I decided to make Dollar Tree mini pumpkin baseball decor. The stickers were made using my Cricut but you can purchase these online for just about every team. If you would like more Cricut crafts head over to my other website www.paperdaisy.com and if you would like more Dollar Tree projects check out my Dollar Tree page right here.
Note: This post contains affiliate links that if you click on them and make a purchase I will receive a small commission at no extra cost to you. As an Amazon Associate I earn from qualifying purchases.
What you will Need: How to Make Dollar Tree Mini Pumpkin Baseball Decor
- 1 set of Dollar Tree Mini Pumpkins
- Spray Paint to match your team
- Cricut SVGs for your Team or Stickers
- 1 small plastic baseball hat
- Piece of styrofoam
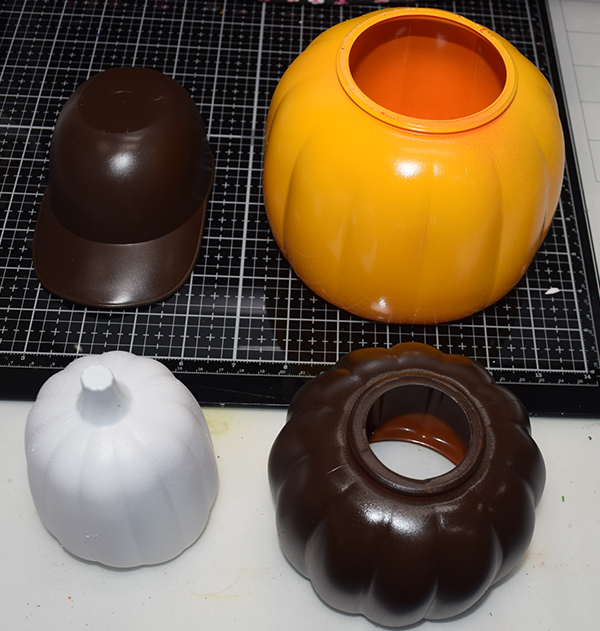
Step 1: Paint the Pumpkins and Hat
My sister-in-law's team is the San Diego Padres so I chose white, gold and brown for my pumpkins. The white was used for the baseball top pumpkin while I used brown for the center and gold for the bottom. Make sure to lightly sand the pumpkins before spraying them. Spray light coats to cover the pumpkins and hat. I had an ice cream hat that I got at a St. Louis Cardinals game (my team) that I spray painted brown.
Step 2: Create the Emblems
I used my Cricut Maker 3 to create the emblems because the Padres logos are quite integrate. You can always paint your team's logos, use a stencil or buy the emblems online. The baseball stitching was simple to make with the Cricut but painting is just as easy.
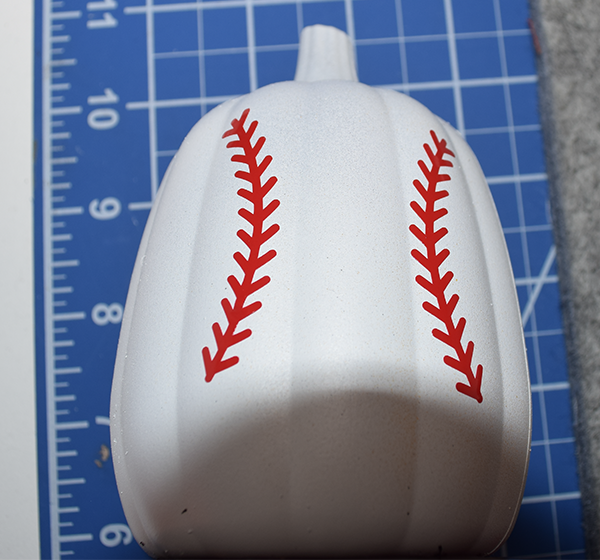
Step 3: Add the Stitching
I started with the top and added some baseball stitching to really drive home the theme of this project. I used my Cricut and permanent vinyl but you can choose any way you like to create yours.
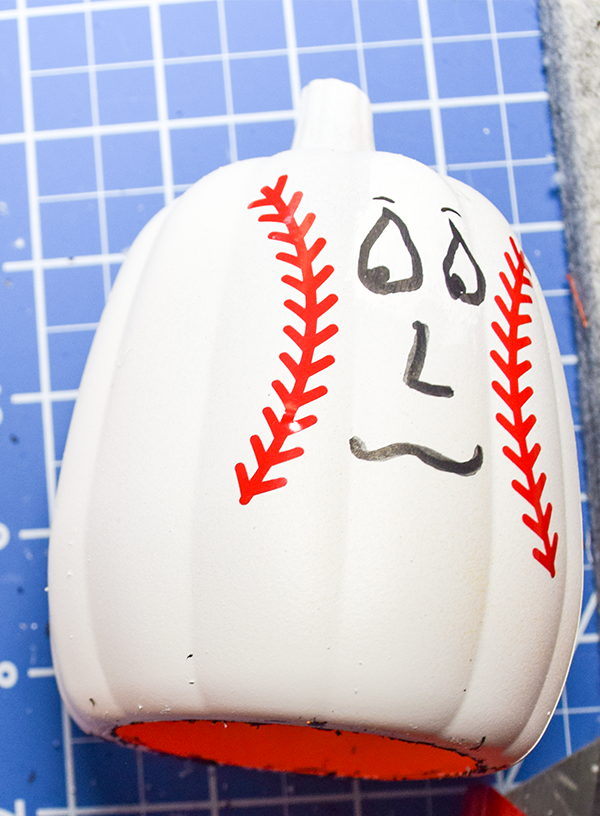
Step 4: Add the Face
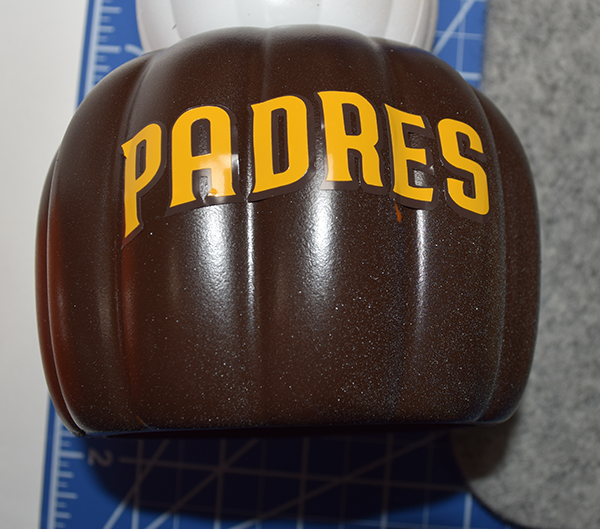
Step 5: Add the Team Name
For the center pumpkin I added the team name. Once again I used my Circut but you can paint, stencil, or purchase your team's name.
Step 6: Add the Logo
The Padres have a very distinctive logo of a monk swinging a bat. Using my Cricut and an SVG I purchased online I created the Monk using permanent vinyl.
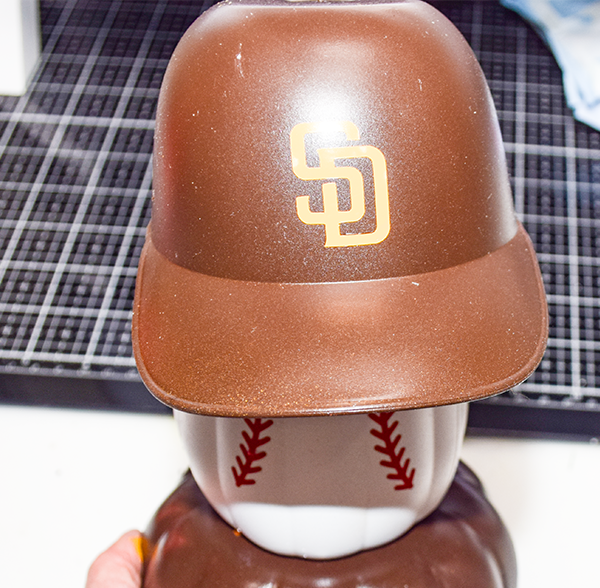
Step 7: Add the Hat Emblem
I added the SD logo to my hat. This is where painting or a Cricut come in handy because the hat logo is small. I was able to make it the right size with the Cricut. You could do the same with paint.
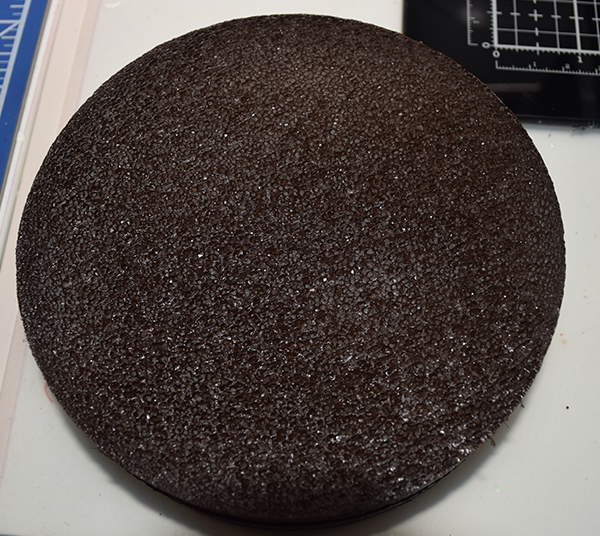
Step 8: Add the Styrofoam
I painted some styrofoam brown that I purchased at Dollar Tree. Cut a piece to fit into the hat. Glue it inside. The reason I did this was my hat was a bit wide for the top of the pumpkin. The pumpkin has a stem that I could insert into the styrofoam to keep it sturdy.
Step 9: Add the Hat
Place the hat on top of the top pumpkin with the stem pressed into the styrofoam. You can add glue if you like Once the hat is added you are finished with your Dollar Tree mini pumpkin baseball decor. Let's Play Ball!!
I hope you enjoyed this fun baseball decor project. If you would like to have more sewing and crafting projects subscribe to our free newsletter and receive your free Dollar Tree Holiday eBook.
If you would like video tutorials of some of Sew Very Crafty's most popular posts subscribe to our free YouTube channel here.