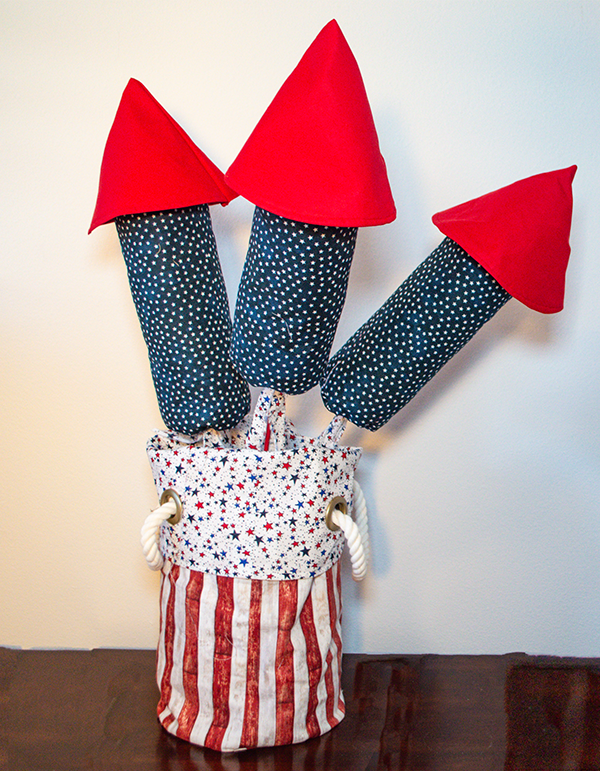
I love all things patriotic. Whether it is Memorial Day, July 4th or Veterans Day there is nothing like the red, white and blue. This year I thought I would create a patriotic bucket with firecrackers to celebrate the patriotic season. This is an amazingly simple project with real patriotic boom. I hope you enjoy this fun and simple sewing project. Grab some patriotic fabric to make this project shine.
Note: This post contains affiliate links that if you click on them and make a purchase I will receive a small commission at no extra cost to you. As an Amazon Associate I earn from qualifying purchases.
What you will Need: How to Sew a Patriotic bucket with Firecrackers
- Pattern you can get by clicking on this link
- 1 yd red and white striped fabric
- 1 yd blue fabric with white stars
- 1 yd red and blue stars fabric
- 1 yd solid red fabric
- 2 yd Pellon 808 interfacing
- Polyester fiberfill
- 4 1″ curtain Grommets
- Rope
- 3 long skewers
- Styrofoam disc
- Red acrylic or chalk paint
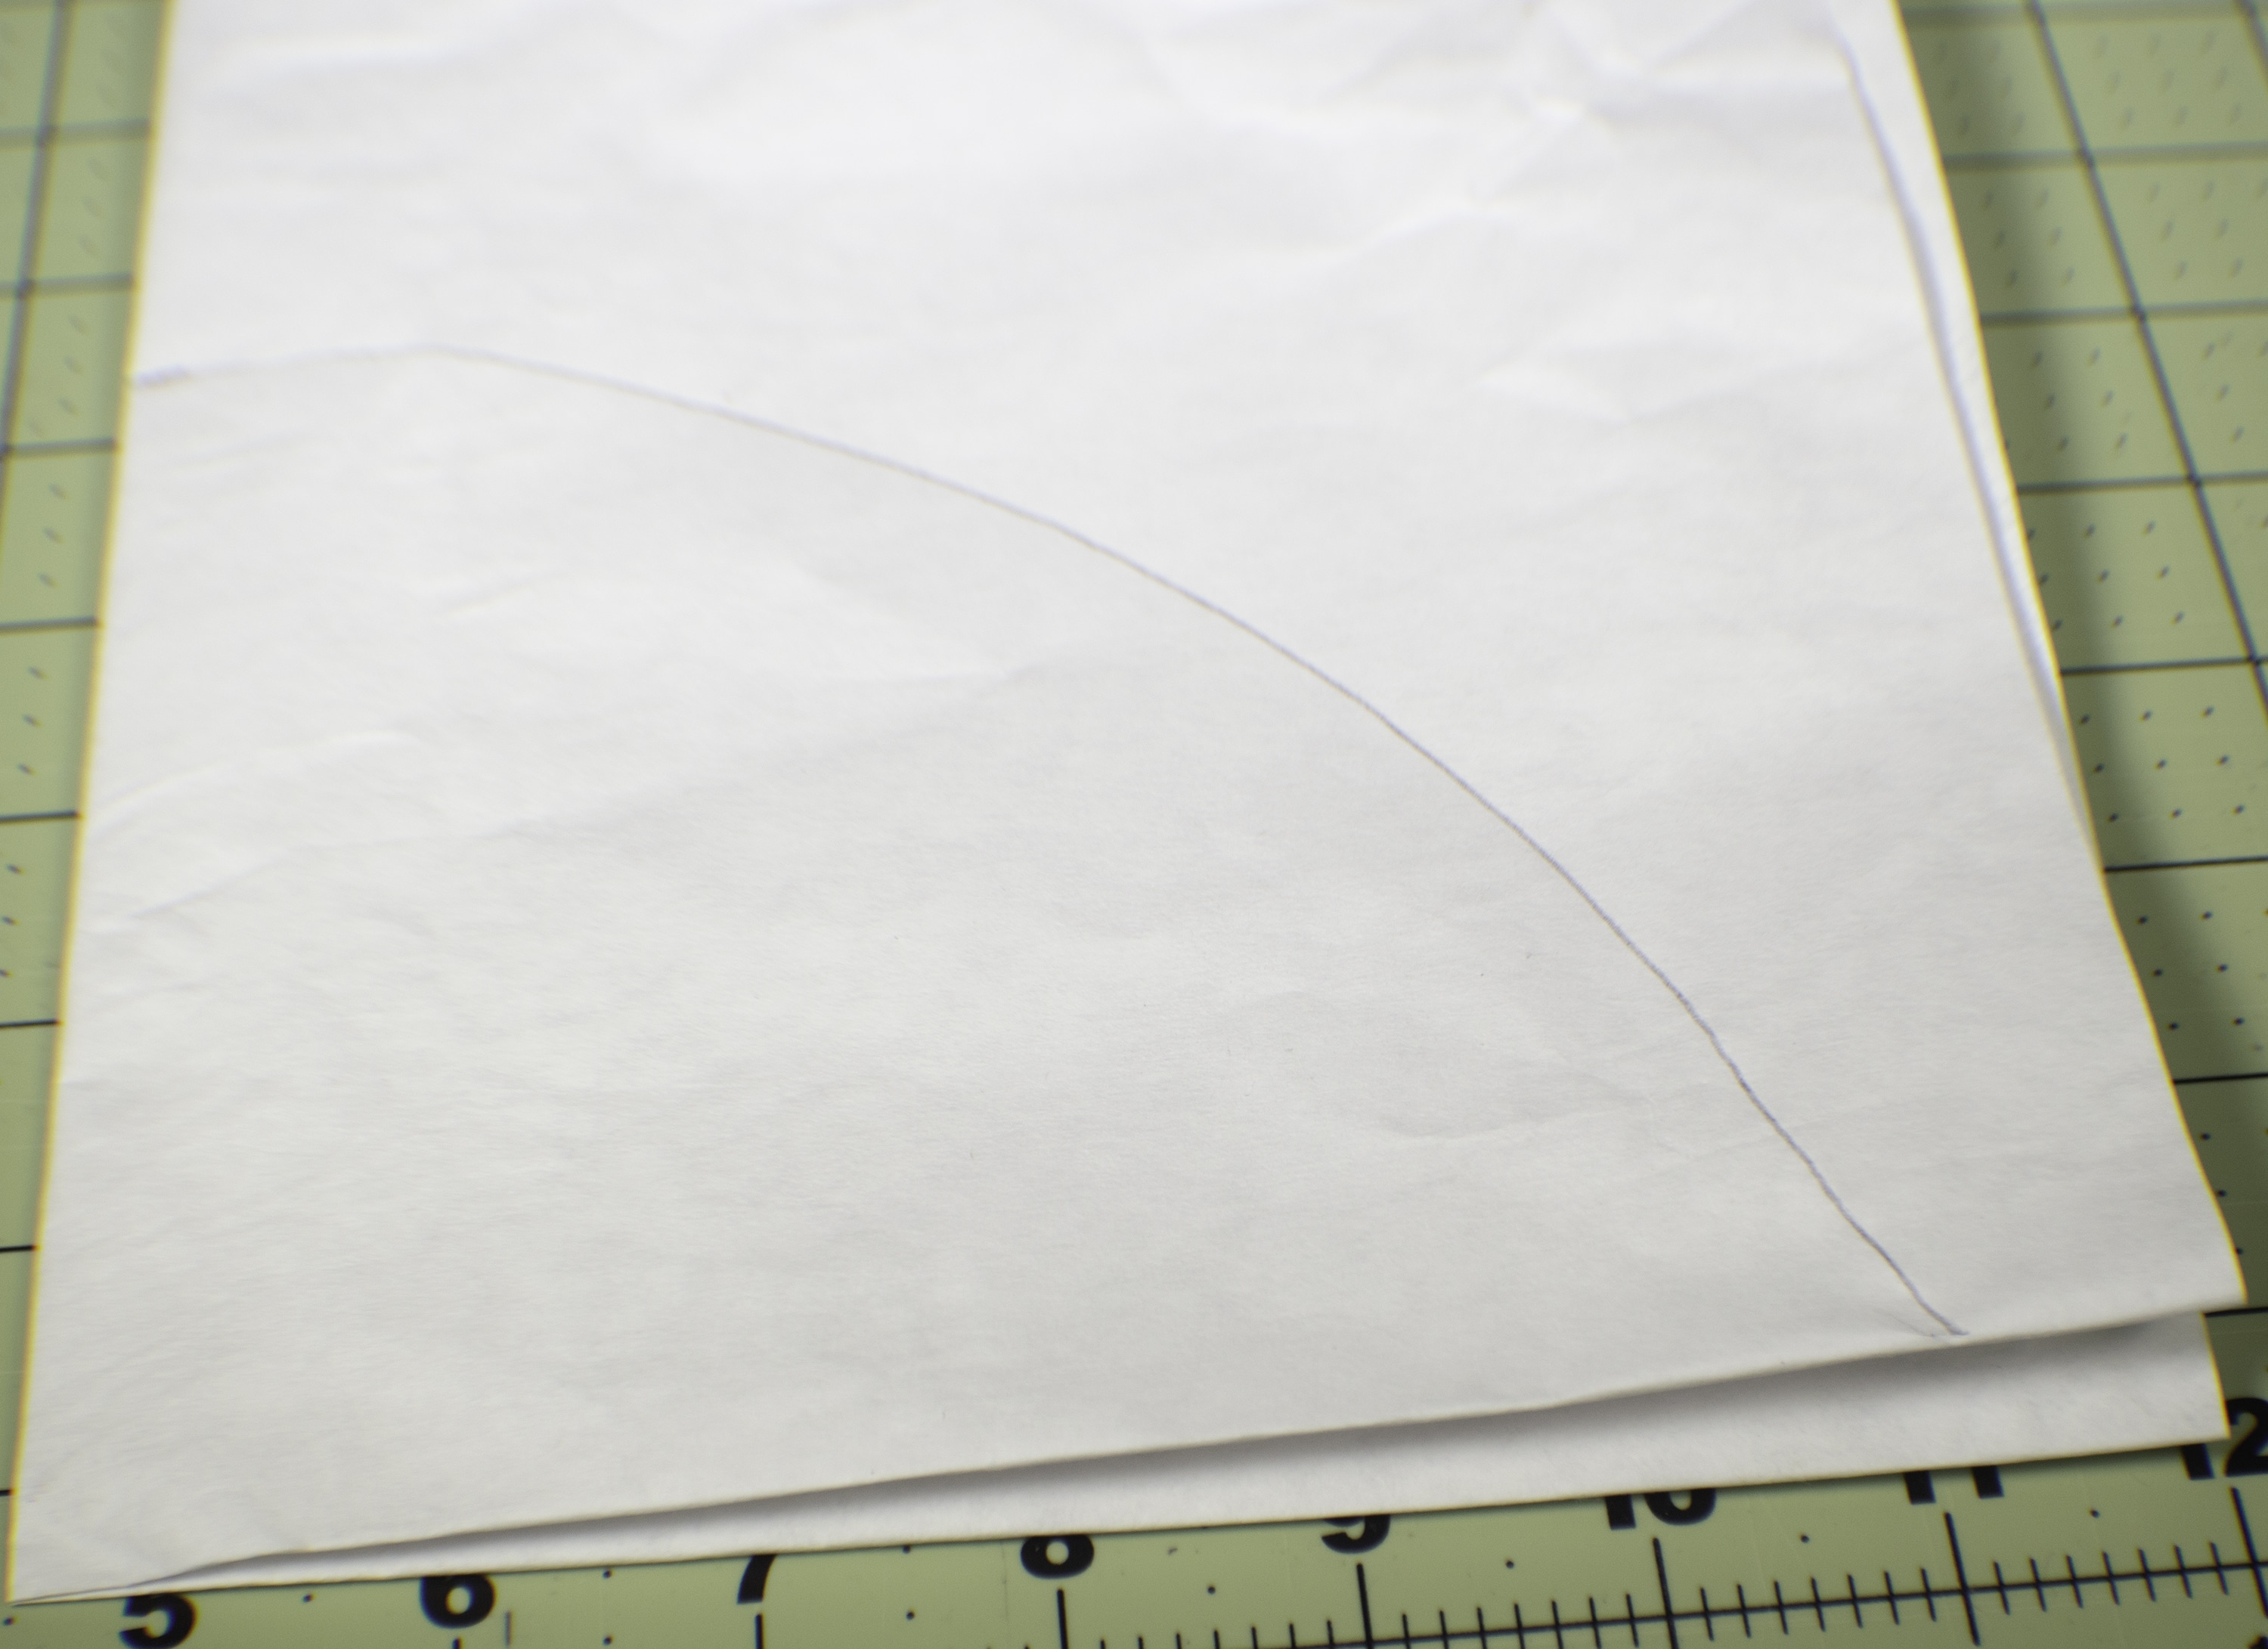
Step 1: Tape the Pattern Together
Print out the pattern and tape it together.

Step 2: Cut the Fabrics
Using the half round pattern piece cut 6 pieces in the solid red fabric and three pieces of the Pellon 808. From the striped fabric cut one rectangle that measure 22″ long x 29″ wide and one round piece that measures 9 1/2″ in diameter. Repeat for the blue and white starred fabric. Cut one Pellon 808 rectangle that measures 22″ long x 29″ wide and a round one with the same diameter as the fabric circles. Finally, cut three rectangles that measure 14.5″ x 13″ from the blue star fabric, six small round circles also from the blue star fabric and three rectangles and six small circles from the Pellon 808.

Step 3: Fuse the Pellon 808
Place the Pellon 808 to the wrong side of one of the red striped fabric pieces, one of the large red striped circles, three of the blue star rectangles, three of the half round pieces, six of the small circles. Fuse the Pellon 808 to the fabric using a hot iron and following the manufacturer's instructions.

Step 4: Create the Firecracker Tops
Place a one half round, non interfaced piece right sides up on your work table. Place the interfaced piece right sides together with the first piece. Stitch all the way around using a 1/4″ seam allowance but leave an opening for turning. Turn the piece right sides out and press. Topstitch all the way around making sure to close the opening as you go. Repeat this process for the other half round pieces. Fold the pieces to create a cone shape and stitch along the outer edge to secure.


Step 5: Create the Fire Cracker Bodies
Place the long raw edges of the blue starred fabric right sides together and stitch the long raw edge using a 1/4″ seam allowance creating a tube. Place one small circle right sides together with one end of the tube and stitch all the way around using a 1/4″ seam allowance. Repeat for the other end of the tube but leaving an opening for turning and stuffing. Repeat the process for the other two firecrackers. Turn right sides out and stuff using the polyester fiberfill. Close the openings using ladder stitch.


Step 6: Add the Cones to the Bodies
Place the solid red cones you created in step 1 on one end of the body. Take the cone in place by hand.

Step 7: Add the Skewer
Place the skewers in the center of the bottom of the firecrackers. I painted my skewers red but you can leave them natural if you like. Rip some fabric strips and glue the strips to the top of the skewers.


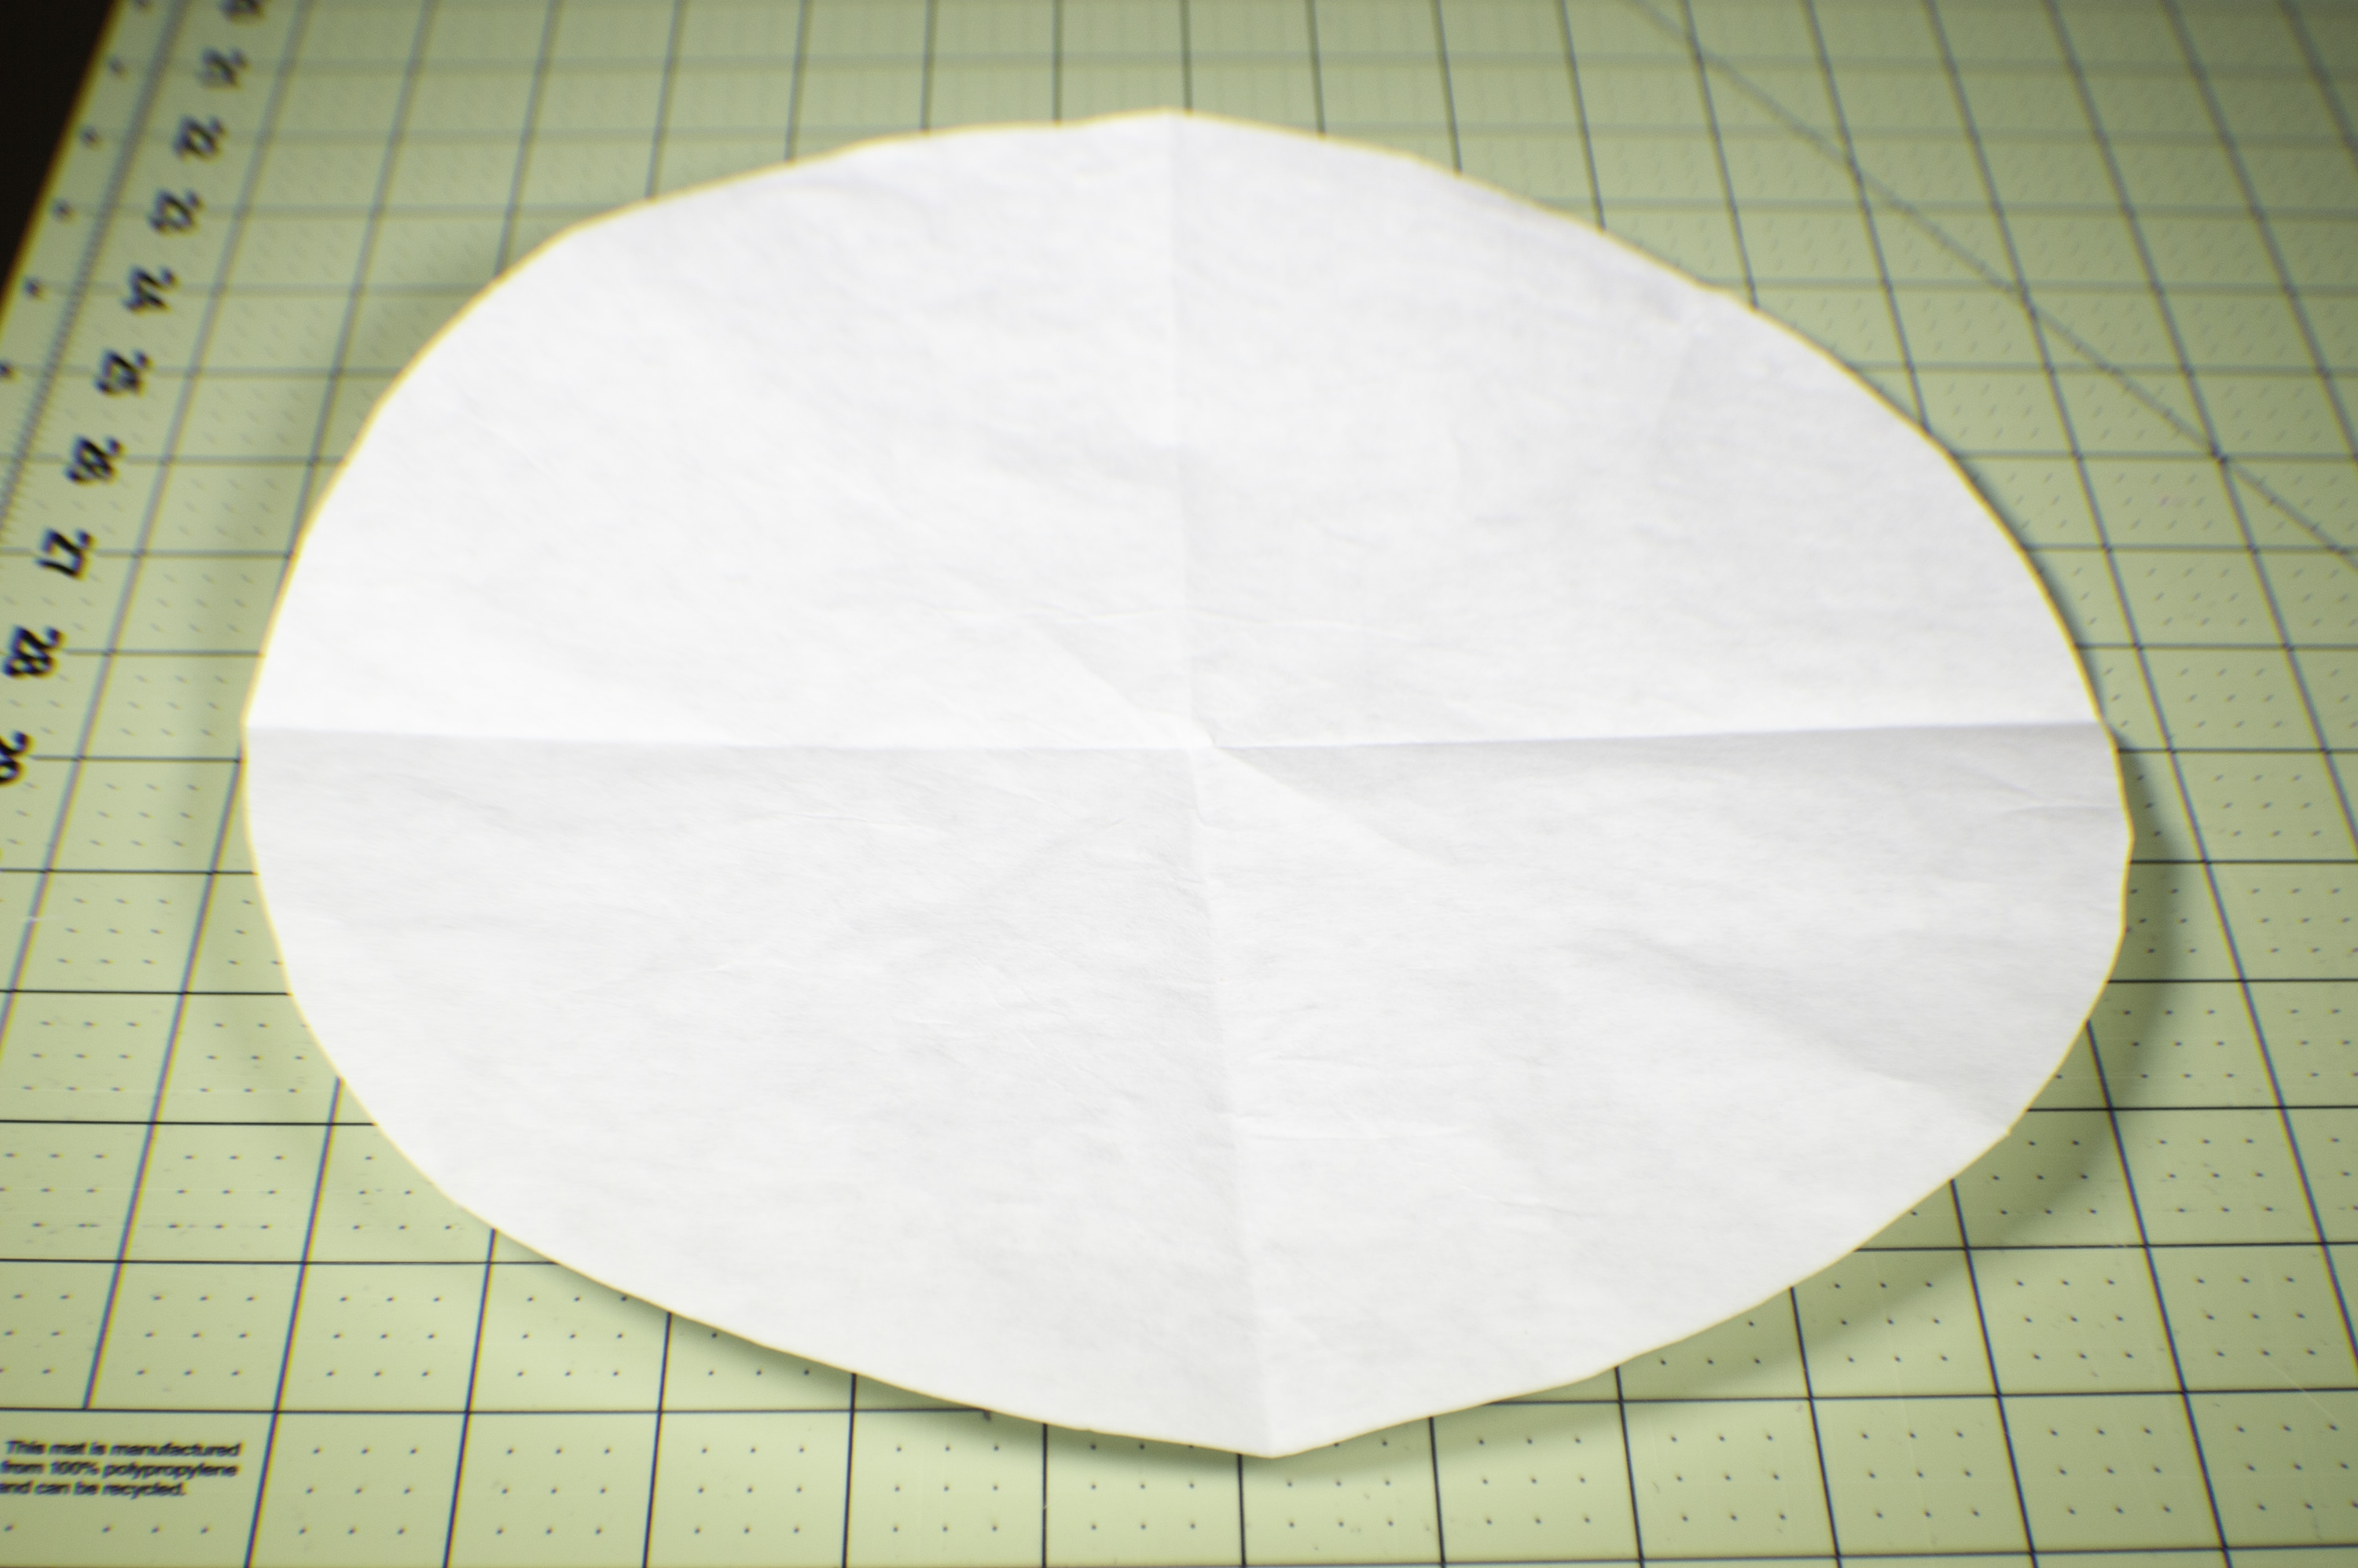
Step 8: Create the Bucket Bottom
Cut out the pattern for the bottom of the bucket. You can do this by folding a large piece of news paper or craft paper in half and in half again so that it resembles a wedge. Mark a point that is 4 1/2″ along the bottom edge. Place a piece of string around a pencil or use a large compass. Put the end of the string at the corner point and draw an arc from the first point that you made. Cut along the arc. When you have opened the circle you should have a circle with a diameter of 9 1/2″. I had to adjust my circle a bit to get it to measure the 9 1/2″ diameter but that was easily done. You could also use the pattern.
Step 9: Stitch the Outer Seams
Place the 22″ long and 29″ wide pieces right sides together. Sew a seam using a 5/8″ seam allowance. You should have two tubes.
Step 10: Add the Bottoms
With right sides together pin the circles to one end of each tube and sew using a 5/8″ seam allowance. When sewing the circle to one of the tubes leave a 3″ opening for turning.

Step 11: Place Outer and Lining Together
Turn the outer bucket right sides out and place it inside the bucket with the opening. Match the side seams and pin the raw edges so that they are even. Sew around the top of the bucket using a 1/4″ seam allowance.

Step 12: Turn Right Sides Out
Turn the bucket right sides out by pulling the outer fabric through the opening you left in the inner fabric. Push the blue and white starred inner fabric inside the striped fabric and press so that the top seam is neat and even. Topstitch around the rim for a more professional look. Close the opening using either your machine or ladder stitch.


Step 13: Fold Down the Top
Fold down the top of the bucket about 6 1/2″ so that the starred fabric is showing on the outside. Lay the bucket flat so that the seam is on one side. Measure 3 1/4″ down from the top and 4″ in from each side and make a mark. Do this on all sides. You should have four marks, two on the front and two on the back.

Step 14: Add the Grommets
Take the plastic grommet template and center it on each dot and mark through the slitsc . Cut out a hole from each of the circles on the folded down part only. Place the male part of the grommet through the back of the hole making sure it fits snugly in the hole. Place the female side of the grommet over the male side sandwiching the fabric and snap into place by pressing firmly on the grommet. Do this for all four grommets.


Step 15: Add the Rope
Cut two 28″ pieces of rope making sure to put tape at the ends before cutting or it will unravel. Tie a knot at one end and thread it through the back of one of the grommets. Feed the other end through the front of the other grommet and tie a knot. Repeat for the other side and you have finished your patriotic bucket.


Step 16: Add the Styrofoam
Place a 8 large round pieces of styrofoam into the bottom of the bucket. You can glue it if you like. Fill the top of the bucket with Spanish moss. You have now finished your patriotic bucket with firecrackers.


Step 17: Add the Firecrackers
Insert the skewer end into the styrofoam at different angles and heights.

I hope you enjoyed this patriotic sewing project. If you would like more sewing and crafting projects subscribe to our newsletter and receive access to our free printables library.
Subscribe to our Free YouTube Channel!
Join our Sew Very Crafty Fans Facebook group
If you want to ask questions and share your projects join our Facebook group here. The community will help to achieve your sewing and crafting dreams.