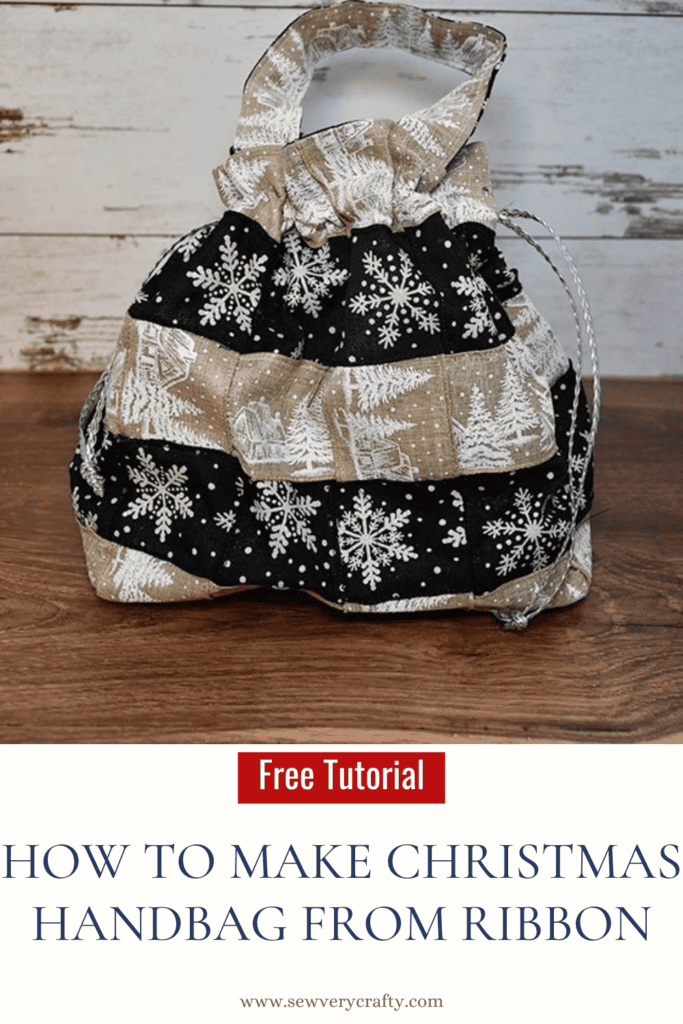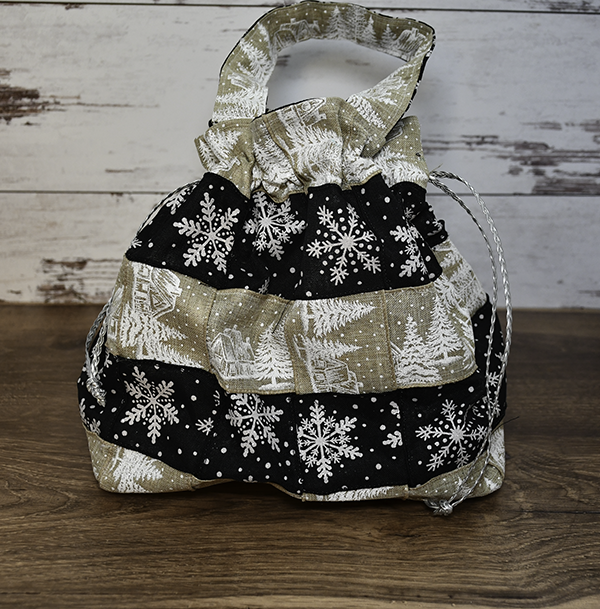
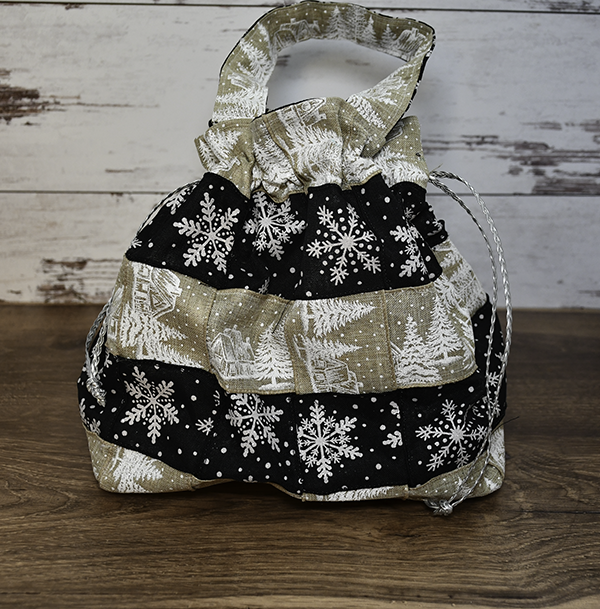
I just had to make another handbag. I think they are my favorite things to make. This one is fun. I thought that I would use ribbon to create the outside of the bag and line it using cotton. I was surprised at how well this drawstring handbag using ribbon. came out. One of the ribbons I had on hand but the other I purchased at Costco now that their Christmas ribbon is in stores. I hope you enjoy this project it is a beginner project and can be made in a snap. If you would like more handbag patterns and tutorials head over to our handbag page. For more holiday projects check out our Holiday Project Vault.
What you will Need: How to Make a Drawstring Handbag using Ribbon
Step 1: Cut the Ribbon
Cut 6 pieces of one ribbon that measure 2 1/2″ x 15″ and 5 Pieces of a second ribbon that measure the same. Then cut 3 pieces of the first ribbon and 3 pieces of the second ribbon that measure 2 1/2″ x 27 1/2″.
Step 2: Weave and stitch the Ribbon
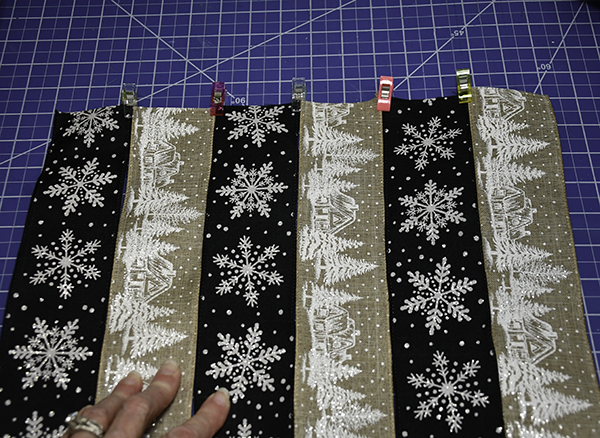
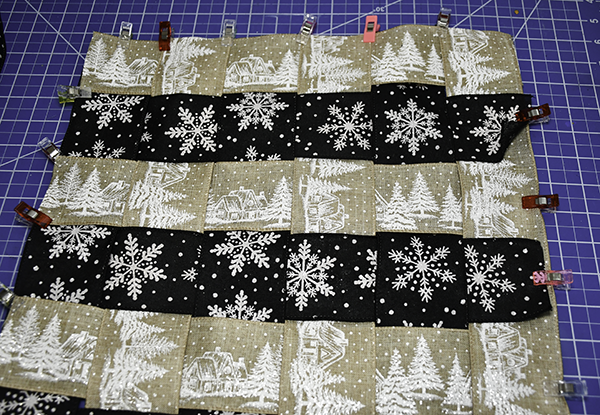
Start by laying out the long pieces of ribbon alternating the different colors of ribbon. Then, place the first shot pieces over and under the long pieces to create the weave, Stitching the top long pieces and the first row of sort pieces along the wired portion of the ribbon. Next stitch the bottom of the first short width piece also along the wire. Insert the next ribbon piece in the same way. Stitch in the same way. Continue until you have competed all of the ribbon pieces. Next, stitch the vertical edges of the ribbon so it doesn’t snag on anything.
Stop 3: Cutout the corners
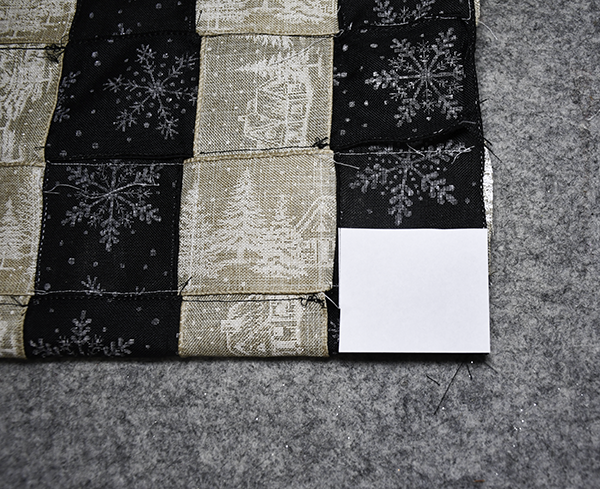
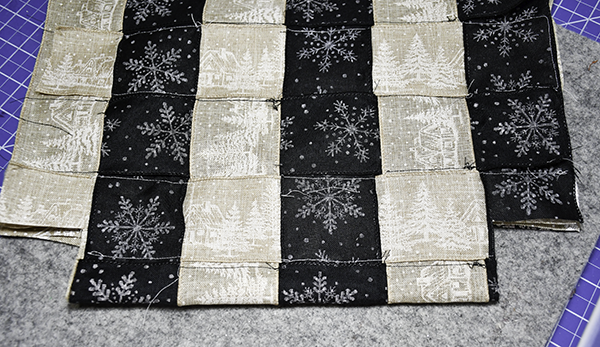
Cut out a piece of paper or cardboard that measures 2 1/3″ wide by 2″ long. Fold the weaved piece in half widthwise ride sides together. Place the template you just created and draw the box on each corner. Cut along the length and width so that the corners are cutout.
Step 4: Create the Handles
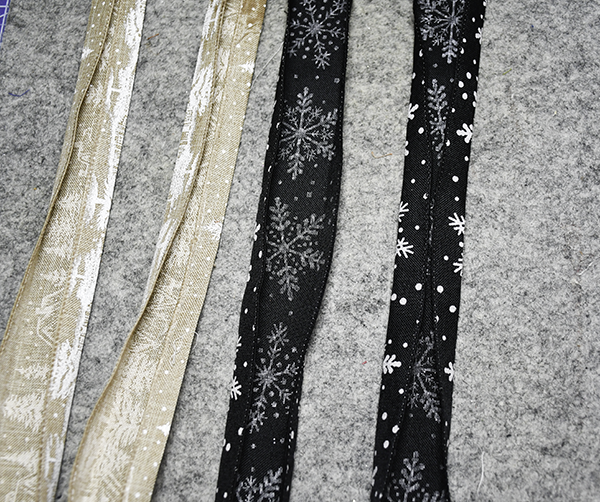
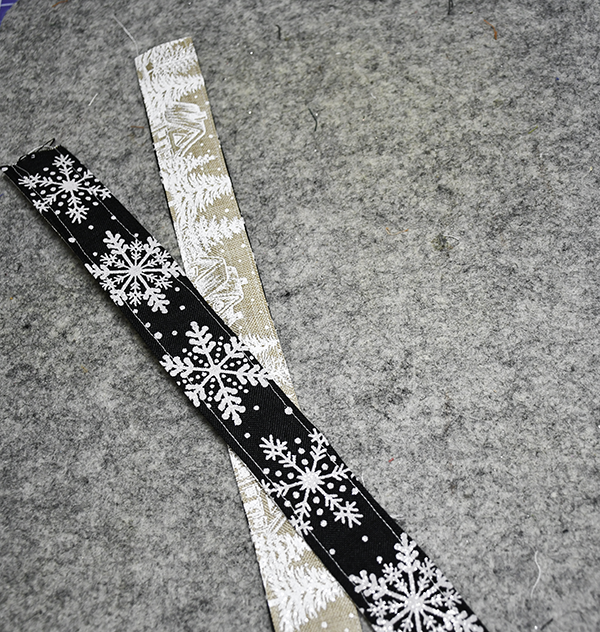
You can use ribbon or fabric for the handles. I chose to use the ribbon. My ribbon is 2 1/2″ wide and I wanted 1″ handles. To do this you will fold the long wired edges to the center and press. Create four pieces like this. Place two of the pieces folded side together and topstitch along the each long edge. Repeat for the second handle. for fabric cut two pieces that measure 4″ x 14″. Fold the long raw edges to the center. The fold in half lengthwise to enclose the raw edges. Topstitch the long edges to secure.
Step 5: Add the Handles
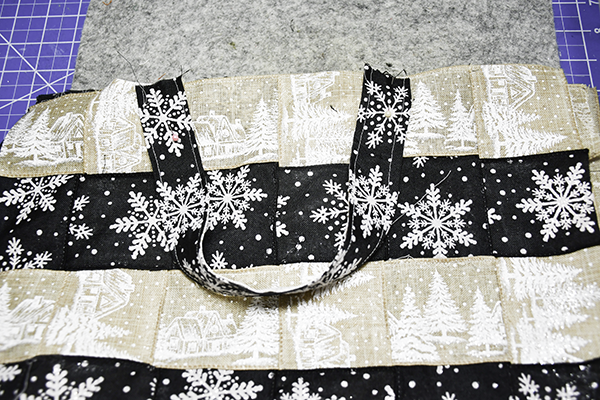
Place the first handle on the right side of one short end of the weaved piece. Measure in 4″ from each edge and place one the ends of the handles inside the 4″ mark. Repeat for the other short end. Stitch the handles to the weaved piece using a 1/8″ seam allowance.
Step 6: Draw the Casing
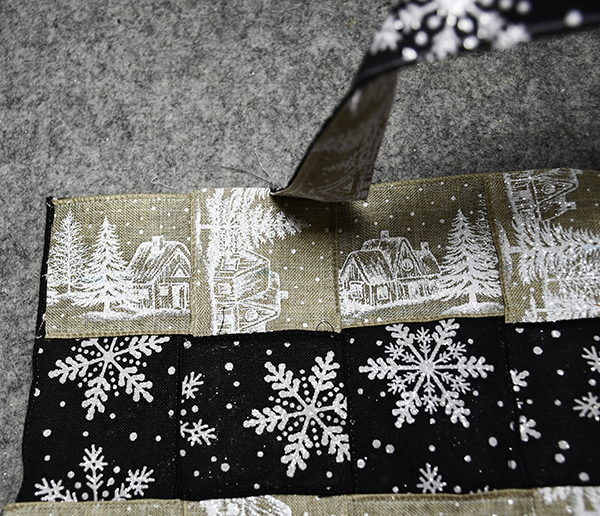
Measure down 1 1/2″ from the sort end of the casing. Draw a line across the width. Measure down 7/8″ from the first line and draw another line.
Step 7: Stitch the outer bag
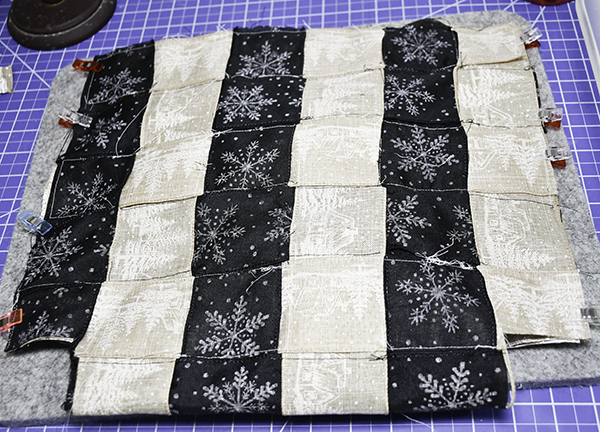
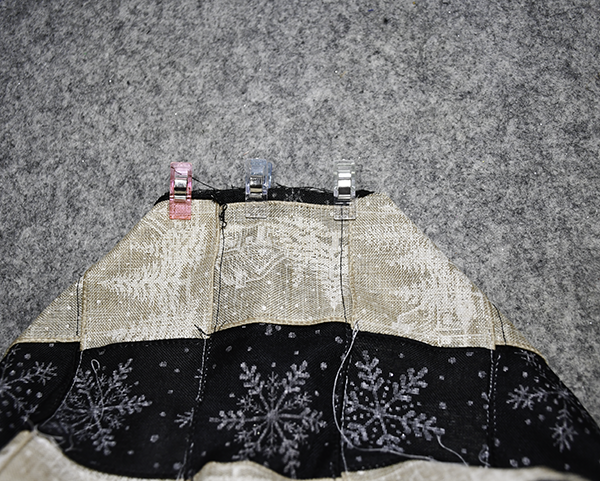
Fold the outer bag in half widthwise. Stitch the sides starting and the short raw edged. Stitch down 1 1/2″ using a 1/4: seam allowance and backstitch. Skip 7/8″ the stitch all the way to the folded edge.
Step 8: Box the Corners
Place the raw edges of each corner together. Stitch the raw edges using a 1/4″ seam allowance.
Step 9: Create the lining
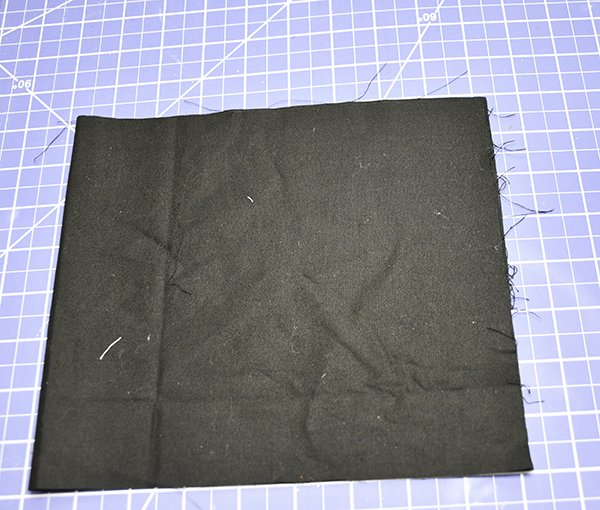
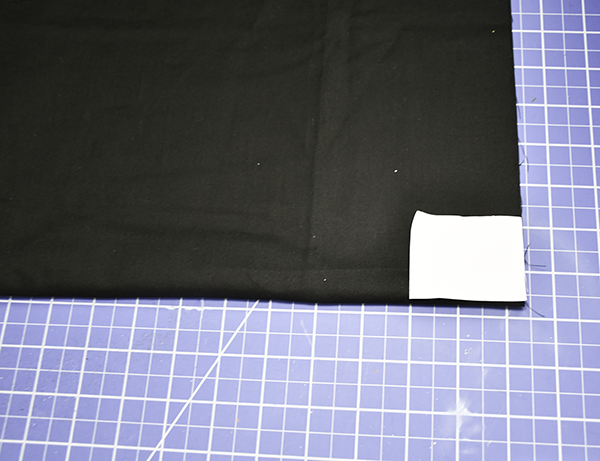
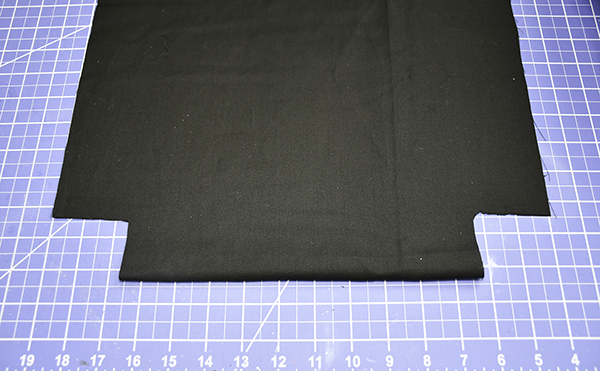
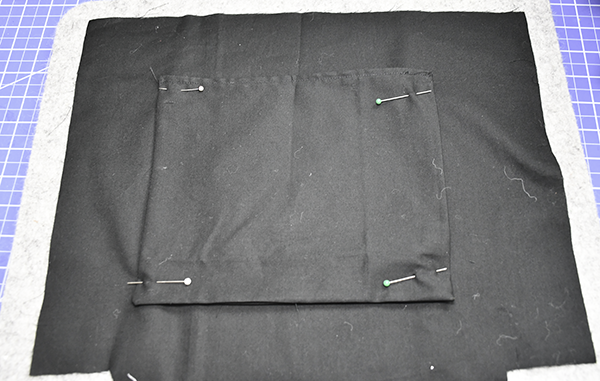
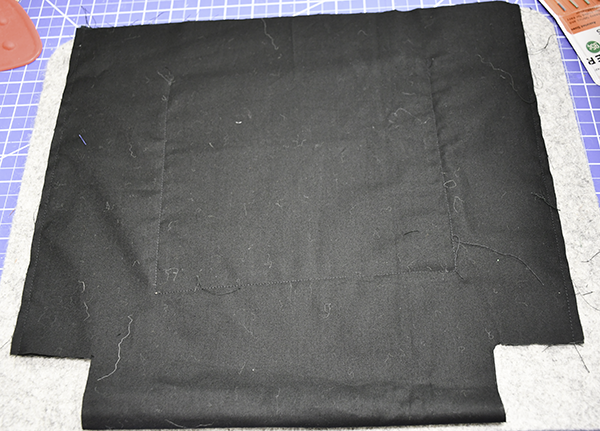
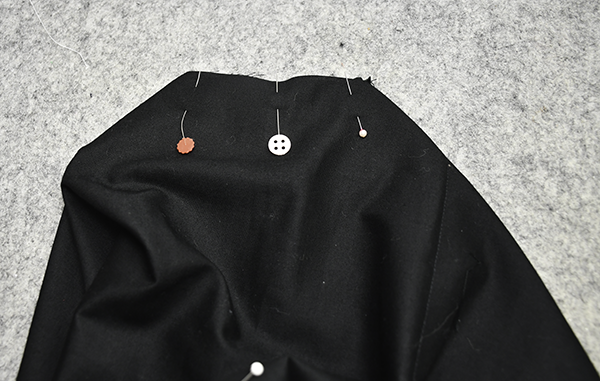
Cut a piece of cotton fabric to measure 27 1/2″ x 15″. Cut a pocket piece that measures 12″ x 8″. Fold the piece right sides together. Stitch along the top and sides leaving an opening for turning. Turn right sides out. Press. Topstitch along the folded edge. Place the pocket piece in the center of one side of the lining. Stitch along the sides and bottom making sure to close the opening as you go. the fabric in half right sides together. Cut out the corners as you did for the weaved piece. Fold the lining in half and stitch the sides together using a 1/4″ seam allowance but leave an opening on one side for turning. Box the corners in the same way you did for the weaved piece.
Step 10: Add the lining to the Weaved Piece
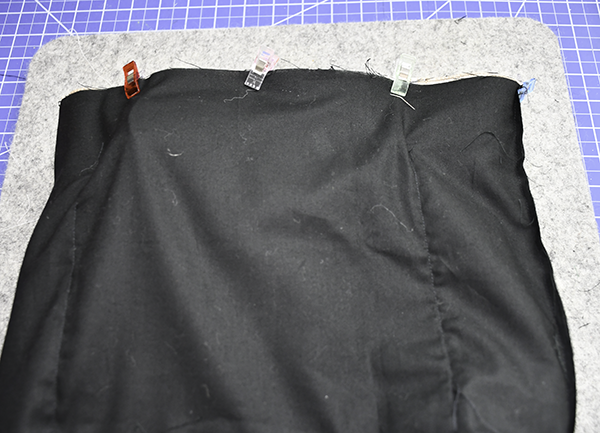
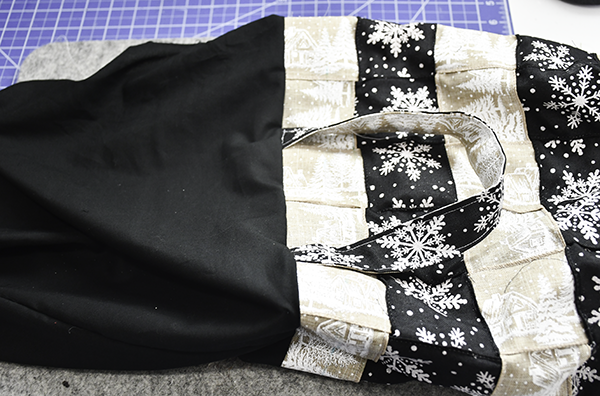
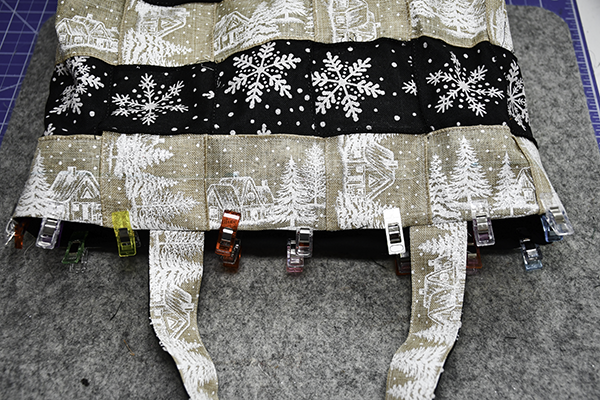
Place the outer bag inside the lining bag so that the two bags are right sides together. Make sure the handles are in between the two bags. Stitch all the way around the top using a 1/4″ seam allowance. Tuen right sides out through the opening in the lining. Close the opening with your machine or by hand. Push the lining inside the outer bag and topstitch all the way around the top.
Step 11: Finish the casing
stitch the casing lines all the way around. It is best to use your free arm for this process.
Step 12: Add the Cording
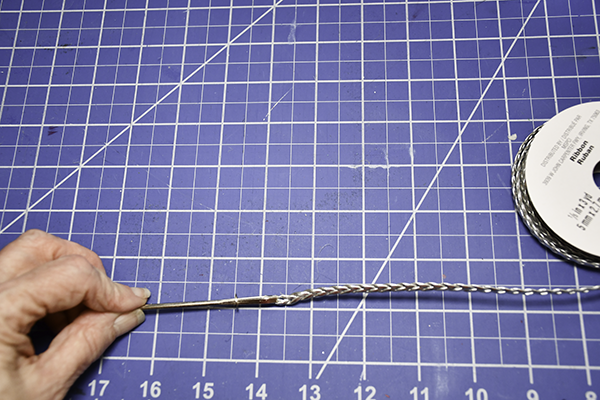
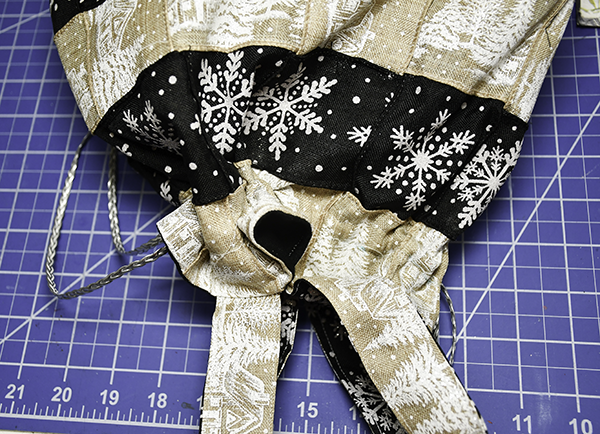
Cut two 33 1/2″ pieces of cording. Using a safety pin or bodkin, insert one of the pieces of cord through one side of the casing all the way around until it comes out the same hole it entered. Repeat but start on the other side. Tie the ends of the cord on each side together creating a know. You have now finished your drawstring handbag using ribbon.
I hope you enjoyed this easy to make project. For more sewing and crafting projects subscribe to our free newsletter and receive your free handbag ebook.
Join our Sew Very Crafty Fans Facebook group
If you want to ask questions and share your projects join our Facebook group here. The community will help to achieve your sewing and crafting dreams.

Subscribe to our Free YouTube Channel!