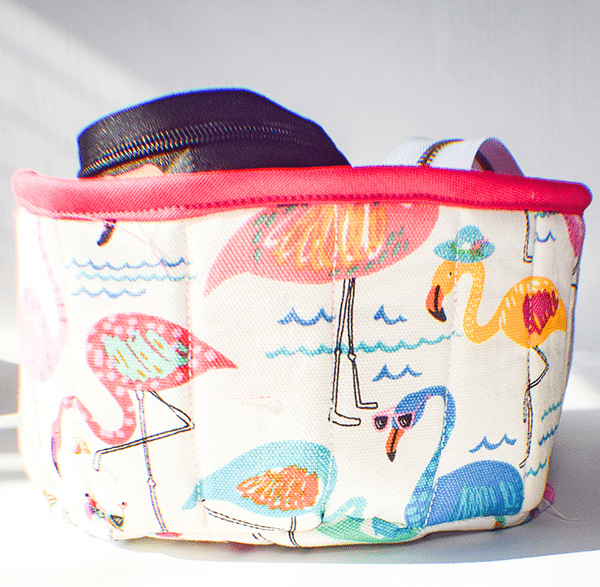
Storage is good thing to have and these quilted fabric storage bins are a beautiful way to add storage to your home. You can choose any cotton fabric you like to match your decor. Using cotton opens a world of options to you for these bins. This is an intermediate sewing project that uses French seams and bias binding. It is a good way to build on your sewing skills if you are a beginner. For a beginner storage bin project check this out
I used cotton fabric and double sided foam to create this project. I purchased these items and got this project from JOANN Fabric & Craft Stores![]() . You could head to Amazon Fabrics or
. You could head to Amazon Fabrics or
What you will Need: How to Make Quilted Fabric Storage Bins
- 2 Fabrics:
- Cotton outer
- Lining (and bias tape)
- Small: 1/4yd each
- Medium: 1/3yd each
- Large: 2/3yd each
- 1 yd Flex-Foam 2-Sided Fusible Stabilizer
- Sewing Machine
- Standard Sewing Supplies
Step 1: Cut the Fabrics
- Side fabric, cut 1 each – lining and outer fabric:
- Small: 21″x 4″
- Medium: 27″x 5″
- Large: 33 1/2″x 7″
- Circle Fabric
- Small: 8″ circle
- Medium: 10″ circle
- Large: 12″ circle
- Bias tape fabric, cut 1:
- Small: 22″x 2″ W
- Medium: 28″x 2″ W
- Large: 34 1/2″x 2″ W
- Side Foam, cut 1:
- Small: 19″x 3″
- Medium: 25″x 4″
- Large: 33 1/2″x 6″
- Bottom circle foam, cut 1:
- Small: 6″ circle
- Medium: 8″ circle
- Large: 10″ circle
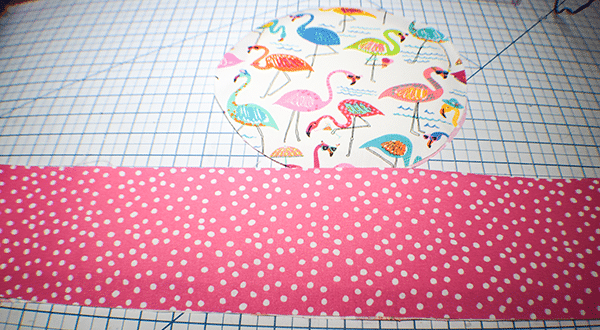
Step 2: Fuse the Foam
Sandwich the foam between the outer fabric and the lining fabric on the wrong sides. Place the foam so that the to raw edges are aligned and centered. There will be a 1″ border of fabric on the sides and bottom. Fuse the foam using a hot iron and following the manufacturer's instructions. Repeat for the bottom circle but once the circe is fused stitch the excess fabric together using a 1/8″ seam allowance.
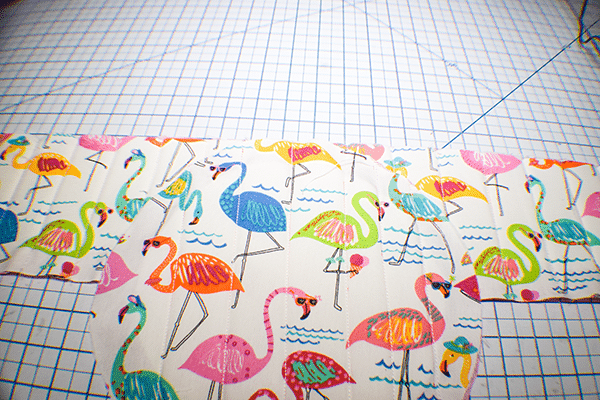
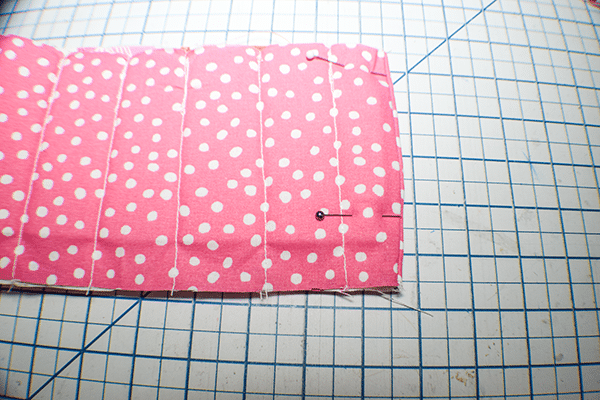
Step 3: Quilt the Pieces
Stitch 1″ – 1 1/2″ wide lines on the fabric pieces starting at one short edge on the rectangle and the center on the bottom circle.
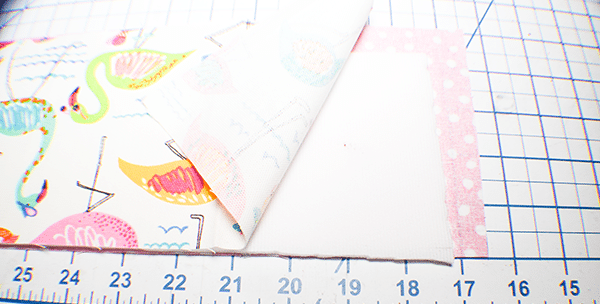
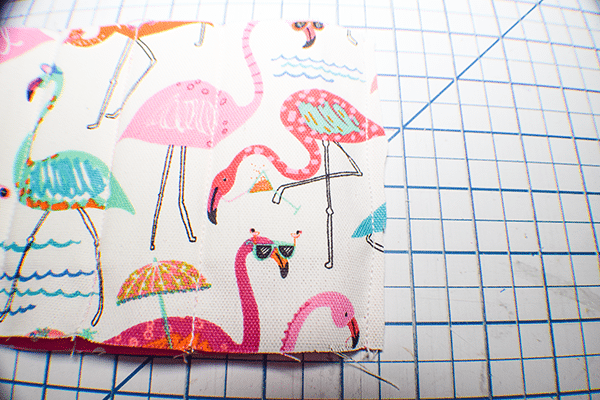
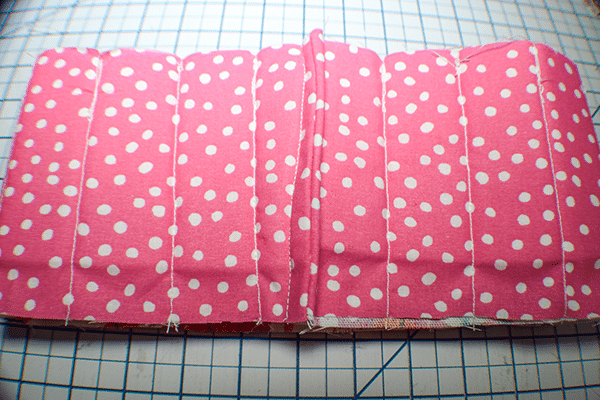
Step 4: Stitch the Sides
Place the short lining sides together and stitch together along the excess fabric using a 1/2″ seam allowance. Trim the seam to 1/4″. Turn the piece so that the lining side is facing out. Press the seam flat. Stitch along the edge of the foam encasing the raw edge of the seam in a French seam. Press the seam to one side and topstitch the seam flat.
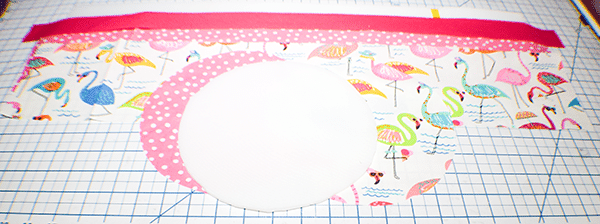
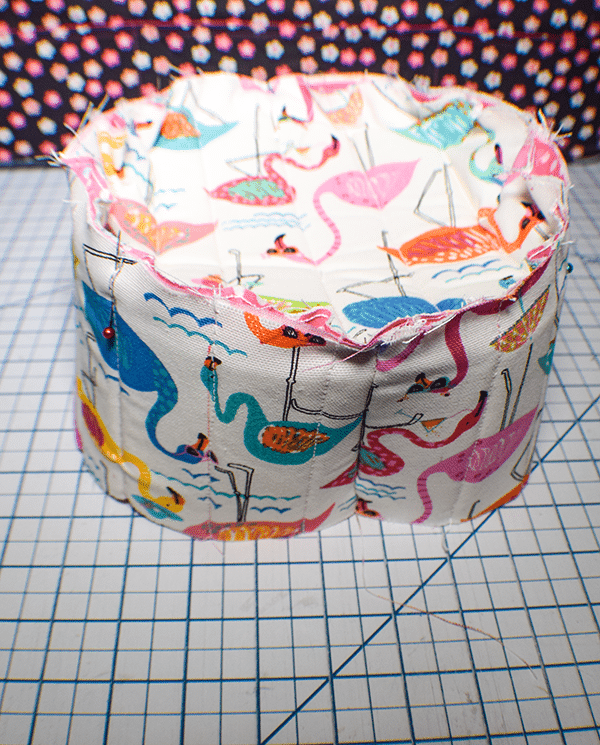
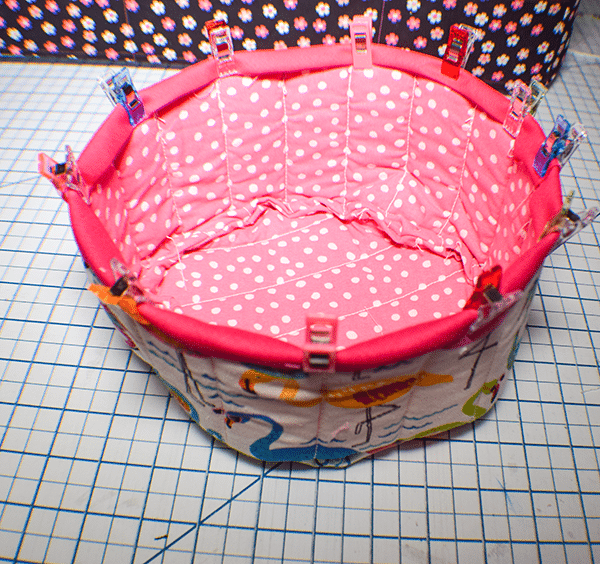
Step 5: Add the Circle Bottom
Divide the tube you created in half and make a mark on each side. Match the marks and fold again and mark the other side. Do the same for the circle. Place the bottom circle and the tube lining sides together matching the marks you made. Pin or clip. Stitch all the way around using a 1/2″ seam allowance in the excess fabric. Trim the seam allowance to 1/4″. Turn the lining side out. Stitch along the edge of the foam encasing the raw edge of the seam in a French seam. Our the bin right sides out.
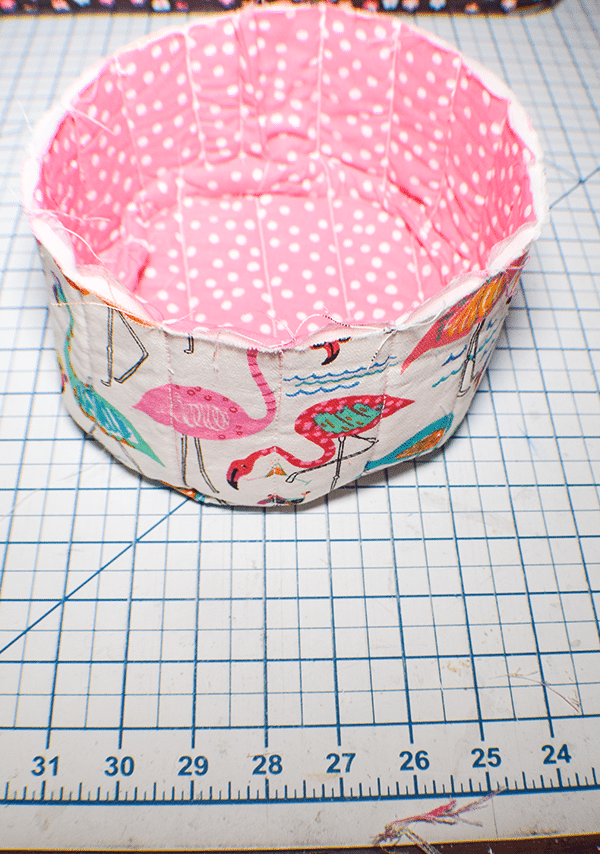
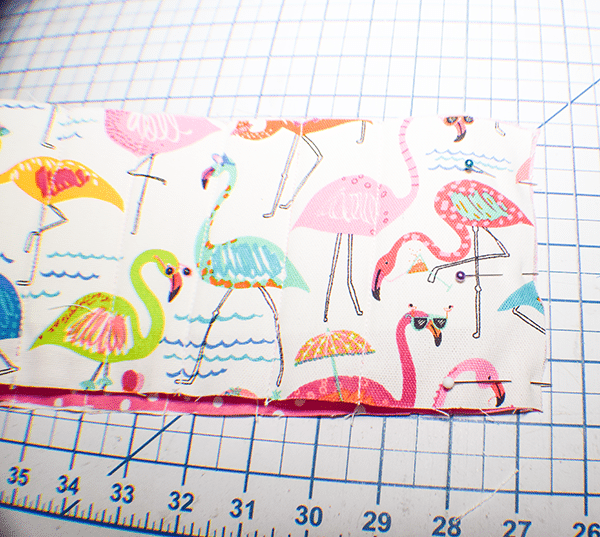
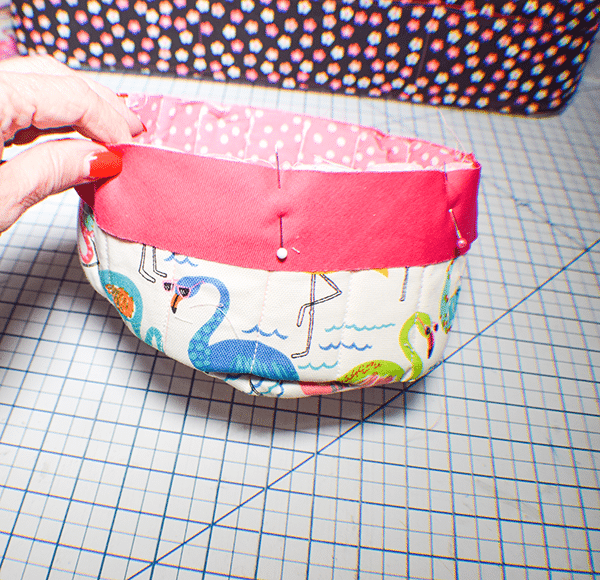
Step 6: Add the Bias Binding
You can create your own bias binding by following my making bias binding tutorial or you can use premade binding. Place the binding at the top of the bin and wrap it all around the top folding the end to cover the short raw edge. Stitch the raw edges together along the first fold line or using a 1/8″ seam allowance. Fold the binding over the top raw edge and under on the linining side. Stitch close to the edge to secure. Once the binding is complete so is the quilted fabric storage bin.

I hope you enjoyed this storage project. if you would like more sewing and crafting projects subscribe to our newsletter and receive access to our free printables library.
If you would like video tutorials of some of Sew Very crafty's most popular posts subscribe to our free YouTube channel here.